Saturday, September 17, 2022

Vegan Sweet Potato Blondies from Wandering Chickpea

1 1/2 cups Japanese sweet potato, cooked, mashed
6 tablespoons vegan butter, softened 
1/2 cup granulated sugar
2 teaspoons apple cider vinegar
1 teaspoon vanilla extract
1/4 cup plant-based milk
1 1/4 cups all-purpose flour
1 teaspoon baking powder
1/4 teaspoon baking soda
3/4 teaspoon salt
3/4 cup dairy-free chocolate chunks (I left them out)
  1. Preheat oven to 350 degrees F. Line an 8 x 8-inch baking pan with foil and lightly spray with nonstick cooking spray.
  2. In a medium bowl, beat together Japanese sweet potato, butter, sugar, apple cider vinegar, vanilla extract and milk.
  3. Add flour, baking powder, baking soda and salt, mixing until combined. Fold in chocolate chunks.
  4. Spread evenly in prepared pan and bake 27-32 minutes or until a toothpick inserted near the center comes out clean or with a few moist crumbs. Let cool completely before cutting and serving.
I'm not really a vegan baker but every once in awhile, I'll try out a vegan recipe in case I ever need to bake for someone who has a vegan way of eating. This recipe caught my eye because it uses Japanese or murasaki sweet potatoes, which is my favorite sweet potato. They're not available year round but they do start making an appearance in the late summer/early fall timeframe. Which is now.

I get them from Trader Joe's but I've heard they're also available at Asian grocery stores and Whole Foods. You'll recognize them by their purple skins and white insides. They look like a regular potato and have a firm texture but taste like a sweet potato. They're good baked, boiled, steamed and fried.

Turns out they also make good blondies. I had intended for these to go in military care packages but they turned out moist and cakey more than firm and brownie-like so I didn't send them, fearing the moisture might make them mold before they got to their destination. Hey, more for me.
This tastes like a Japanese sweet potato in cakey form. I enjoyed it and it's an easy-to-make vegan recipe. I left out the dairy-free chocolate chips in mine, partly because I'm against chocolate in blondies and partly because I didn't have dairy-free chocolate chips. Without them, this was more like a slightly sweet and slightly dense breakfast cake.

Thursday, September 15, 2022

Dark Chocolate Brownies from 12 Tomatoes

Dark Chocolate Brownies - made August 26, 2022, modified slightly from 12 Tomatoes 
2/3 cup flour
1/3 cup unsweetened cocoa powder
1/2 teaspoon cinnamon
1/2 teaspoon salt
2 teaspoons espresso powder, optional
1 cup dark or bittersweet chocolate chips
1 cup (2 sticks) unsalted butter
2 cups granulated sugar
2 teaspoons vanilla extract
5 large eggs
  1. Preheat oven to 350 degrees F. Line a 9 x 13-inch baking pan with foil and lightly spray with nonstick cooking spray.
  2. In a medium bowl, whisk together flour, cocoa powder, cinnamon, and salt.
  3. In the top half of a double boiler set over hot water, melt espresso powder (if using), butter and chocolate chips, whisking together until completely melted and smooth. Remove from heat and cool for several minutes.
  4. Whisk in sugar and vanilla extract. Whisk in eggs, one at a time, until completely combined.
  5. Stir in dry ingredients and mix until combined and mixture is glossy. Do not overmix.
  6. Pour batter into prepared pan, smoothing top evenly. Bake 25-30 minutes or until a toothpick inserted near the center comes out with a few moist crumbs. Let cool completely before cutting and serving.
This is a good, basic, fudgy brownie. It's a bit soft, partly because I underbaked it but also because it has less flour/dry ingredients compared to the amount of butter and liquid ingredients (sugar is considered a "liquid" ingredient because it melts during baking).
I did include the espresso powder in these and the flavor came through nicely. I rewrote the ingredients so that if you do decide to include espresso powder, melt it with the butter and chocolate step. That way you'll be sure the espresso flavor will evenly incorporate throughout the batter and there won't be any grit from partially melted espresso powder or granules, depending on what you use.


Sunday, September 11, 2022

Stamped Cookies #23 - Susan's Favorite Recipe

Stamped Cookies #23 Susan's Favorite Recipe - made dough August 30, 2022 from Susan Moniz (Molded Cookies of the World Facebook page) 
2 ½ cups flour (15.1oz/428 grams) - I weighed the flour for greater accuracy. 428 grams on my food scale is ~3 1/4 cups, not 2 1/2
½ teaspoon salt 
¾ cup (1 ½ sticks) unsalted butter, room temperature 
1 cup sugar, minus 1 ¾ tablespoons (6.8oz/198 grams) 
1 egg 
1 ½ teaspoon vanilla extract 
  1. Beat the butter on med-high speed until creamy. Scrape down sides of bowl when needed. Reduce speed and slowly add sugar. Return to med-high speed and beat until creamy (note: mixture lightens when creamed). 
  2. Reduce speed to medium and add the egg and vanilla. Mix until well incorporated. Scrape down sides of bowl when needed. 
  3. In a separate bowl combine the flour and salt together with a whisk or fork. Reduce the speed to low and add half of the flour and salt mixture. When almost fully incorporated, add the remaining flour and salt mixture and mix until dough starts pulling away from sides of the bowl. Dough should not feel sticky--more like a Play-Doh texture. If dough is sticky, add more flour 1 teaspoon at a time till desired texture is achieved. Too much flour can cause cookies to crack, so check often to prevent over drying.
  4. Divide dough into 2 portions. Form each into disk shape and wrap in plastic wrap. Refrigerate for at least 2 hours or freeze for later use. (If frozen, best when used within 6 months.) Bake cookies at 350˚F on parchment paper until lightly browned on edges. Turn cookie sheet about halfway through baking time. Times vary according to size and thickness of cookie (between 10 and 17 minutes).
I don’t normally post anything on 9/11 of any year as it isn’t “just another day”. But I thought it would be fitting to post this today in visual support of our troops (through cookies) and commemorate those who’ve made and continue to make the sacrifices they make so I could have the privilege to make this post and bake the cookies shown from the safety and security of my home. 

This is another recipe I got from the files in the Molded Cookies of the World Facebook group and this might be the best one yet in terms of keeping the stamped impressions, having a chewy but soft texture and tasting good. It was a great recipe to test out my new Marine Corps stamp from Kitchen Vixen as well.
After so many stamping attempts (at least 23 according to my tracking), it's nothing short of thrilling. Plus I've finally unpacked all my stamps and have them organized so I can see what I have. The one pictured above is from Kitchen Vixen and the one below is part of the citrus set from Nordic Ware. I love them all.


I love even more that the impressions held up so well in baking, even the finer details like the lettering and stars. I'm getting better with practice so my stamping is also more consistent.

The dough handled well but was a bit dry. I weighed everything so I know I got the dry ingredients right. But my egg, supposedly "large" was a trifle small so I don't think it added enough liquid. So I ended up more than doubling the amount of vanilla extract just to get more liquid into the dough. It worked beautifully, not only to get the right consistency but added flavor to the cookies.
Another option is to add more egg white. Susan Moniz, the original author of the recipe, suggests using powdered whole eggs for the most consistent results. With a little experience, you'll be able to tell from the feel of the dough what adjustments you need to make. You want the dough pliable but not too soft and not sticky. 
This came together well enough that I didn't even need to refrigerate it before I stamped it. Instead, I stamped and cut out the cookies right after mixing, covered them and chilled them before baking. And voila, look at the results. I'm thrilled, I tell you, thrilled.

I almost need not reiterate these tasted good as well and wasn't too hard or crisp to eat. Definitely use fresh butter as that flavor will absolutely come through.


Friday, September 9, 2022

Stamped Cookies #22 - Lemon Shortbread

Stamped Cookies #22: Lemon Shortbread - made August 30, 2022 from Brown Bag Cookie Company
1/2 cup butter
1/2 cup powdered sugar
2 teaspoons grated lemon peel
1 cup all-purpose flour
  1. Cream the butter until light and fluffy. Add powdered sugar and lemon peel, creaming until well combined. Add the flour and mix until combined.
  2. Shape into prepared molds or stamp with cookie stamps, lightly dusted with powdered sugar. Cover and chill or freeze for several hours or overnight.
  3. Preheat oven to 350 degrees F. Line baking sheets with parchment paper. Bake for 12-15 minutes, depending on the size of your mold, or until lightly golden brown at the edges.
Remember the Brown Bag Cookie company? They made large-ish cookie molds where you're supposed to fill it with dough and tap out the molded impressions. I'm not sure if they're still in business as their molds were somewhat expensive, larger than most cookies people-who-are-not-me would eat and it wasn't always easy to tap out the molded cookie intact. Then the rise of silicone molds probably hurt their business as well since silicone molds are easier to take cookie dough out of and are cheaper. I don't really use either as I prefer to use cookie stamps.
Such as this citrus set from Nordic Ware. I bought these months ago when there wasn't a cookie stamp I didn't like. But I haven't used them until now when I *had* to use them with this lemon shortbread recipe. I'm glad I waited as this was an excellent cookie, good texture, pure lemon flavor which comes from the lemon zest so don't skimp on that if you're a lemon lover. It seems fitting to match the citrus flavor of the shortbread with the citrus stamps. Next time I'm going to try these with orange zest.


Wednesday, September 7, 2022

Emily Luchetti's Blondies

Blondies - made August 18, 2022 from The Fearless Baker by Emily Luchetti
10 tablespoons unsalted butter, softened
1 cup firmly packed light brown sugar
1 large egg
2 teaspoons vanilla extract
1 1/4 cups unbleached all-purpose flour
3/4 teaspoon baking powder
1/4 teaspoon salt
1 cup chocolate chips
  1. Preheat oven to 350 degrees F. Line 9 x 9-inch baking pan with foil and lightly spray with nonstick cooking spray.
  2. In the bowl of a stand mixer fitted with the paddle attachment, beat the butter and brown sugar together until smooth. Scrape down the sides sand bottom of bowl to keep mixture even textured. Beat in egg then vanilla extract. Add the flour, baking powder and salt, mixing until just combined. Stir in the chocolate chips. 
  3. Pour batter into prepared pan and smooth top. Bake until a toothpick inserted near the center comes out with a few moist crumbs or clean and top is a light golden brow, about 30 minutes. Cool completely before cutting.
Since I'm still trying to eke out my dwindling supply of unsweetened chocolate, I've switched to trying out more blondie recipes, especially from my existing baking book collection. I'm not a huge blondie fan. Most of them are essentially brown sugar bar cookies without chocolate.
I did like Alice Medrich's version though and thought I'd try out this one from Emily Luchetti. Unlike Alice's version, this one didn't call for rum and while I thought I might try adding a dash, I refrained so I could make this as it was originally intended to be. Except that went out the window as I decided to swap out the chocolate chips called for in the original recipe and substituted white chocolate instead.
This was okay (remember my picky taste buds where "okay" to me might be greeted with more enthusiasm by someone else). But it was okay in terms of being a nice cakey brown sugar bar cookie. The white chocolate adds considerably to the flavor profile so if you prefer "real chocolate", use semisweet or milk chocolate chips instead of white chocolate.
But now that Alice Medrich has spoiled my taste buds with rum, I think I will lean towards adding rum into blondie recipes to kick up the flavor profile.

Monday, September 5, 2022

Chocolate Chunk Cookies

Chocolate Chunk Cookies - made dough August 12, 2022 from The Essence of Chocolate by John Scharffenberger and Robert Steinberg
1 1/4 cups all-purpose flour
1 cup bread flour
1 teaspoon baking soda
1/2 teaspoon salt
16 tablespoons unsalted butter
3/4 cup granulated sugar
3/4 cup light brown sugar, firmly packed
2 large eggs
1/2 teaspoon pure vanilla extract
9 ounces 70% bittersweet chocolate, chopped into chip-size chunks
2 1/2 ounces 41% milk chocolate, chopped into chip-size chunks  
  1. In a medium bowl, stir together all-purpose flour, bread flour, baking soda and salt.
  2. In the bowl of a stand mixer fitted with the paddle attachment, cream together butter, granulated sugar and brown sugar on medium speed for about 5 minutes or until pale, light and fluffy. Scrape down the bottom and sides of bowl to keep mixture even textured.
  3. Beat in eggs and vanilla, mixing until combined. Reduce the speed to low and add the dry ingredients. Mix until just combined, scraping the sides and bottom of bowl as needed.
  4. Fold in chocolate chunks until evenly distributed. Portion dough into golf-ball-size dough balls. Cover and chill or freeze several hours or overnight.
  5. When ready to bake, preheat oven to 350 degrees F. Line baking sheets with parchment paper and evenly space dough balls. Bake for 15 minutes or until edges are golden and middles no longer look raw. Let rest on baking sheet for 5 minutes then transfer cookies to wire rack to cool completely.
After baking multiple counts (think in the hundreds, if not thousands) of chocolate chip cookies, and trying out many, many different recipes for them, I put chocolate chip cookie recipes in two categories.
There's the awesome, great, amazing category that make thick, chewy cookies with crisp edges, soft middles, melt-y chocolate chips, a texture you can really sink your teeth into and a brown sugar caramelization only a truly great chocolate chip cookie can deliver. Many of the Crumbl and Levain Bakery copycats I've tried fall into this category as does the most recent one I've tried from Baking with Blondie.

Then there's the other category that I would consider the more basic Nestle Tollhouse-back-of-the-bag recipe type of cookie. It doesn't mean it's bad but, thousands of cookies later, I don't find them to be that special. They're either too thin for my taste or not thick enough. When cool, they taste okay but tend to have a dry mouthfeel, even if not overbaked. 
Unfortunately, this one falls into that latter category. It was okay but nothing special, not thick enough, not brown-sugar-caramelized enough and the texture was, again, "just okay". 


Saturday, September 3, 2022

Soft Peanut Butter Oatmeal Chocolate Chip Cookies

2/3 cup (90 g) all-purpose flour
1 1/4 cups (130 g) old-fashioned rolled oats
1/2 teaspoon baking soda
1/2 teaspoon baking powder
1/2 teaspoon salt
1/2 cup (130 g) creamy peanut butter
1/2 cup (110 g) unsalted butter, room temp (vegan or dairy)
1/2 cup (100 g) dark brown sugar, packed
1/4 cup (55 g) granulated sugar
2 tablespoons unsweetened apple sauce
1 teaspoon vanilla extract
1 cup mini semisweet chocolate chips (vegan or regular)
Flaky sea salt for sprinkling
  1. Preheat oven to 350 degrees F. Line baking sheets with parchment paper.
  2. In a large mixing bowl, cream together butter, brown sugar and sugar until no butter lumps remain. Add peanut butter and cream until well combined. Mix in the apple sauce and vanilla.
  3. Add the flour, oats, baking soda, baking powder and salt; mix to combine. Fold in chocolate chips.
  4. Using a 1/4 cup measuring cup, portion the cookie dough into dough balls. Flatten slightly. Evenly space on baking sheets. 
  5. Bake for 12-15 minutes or until edges are a very light golden brown and middles are set. Remove from oven and garnish with additional chocolate chips, pressing gently over tops. Sprinkle lightly with sea salt if desired.
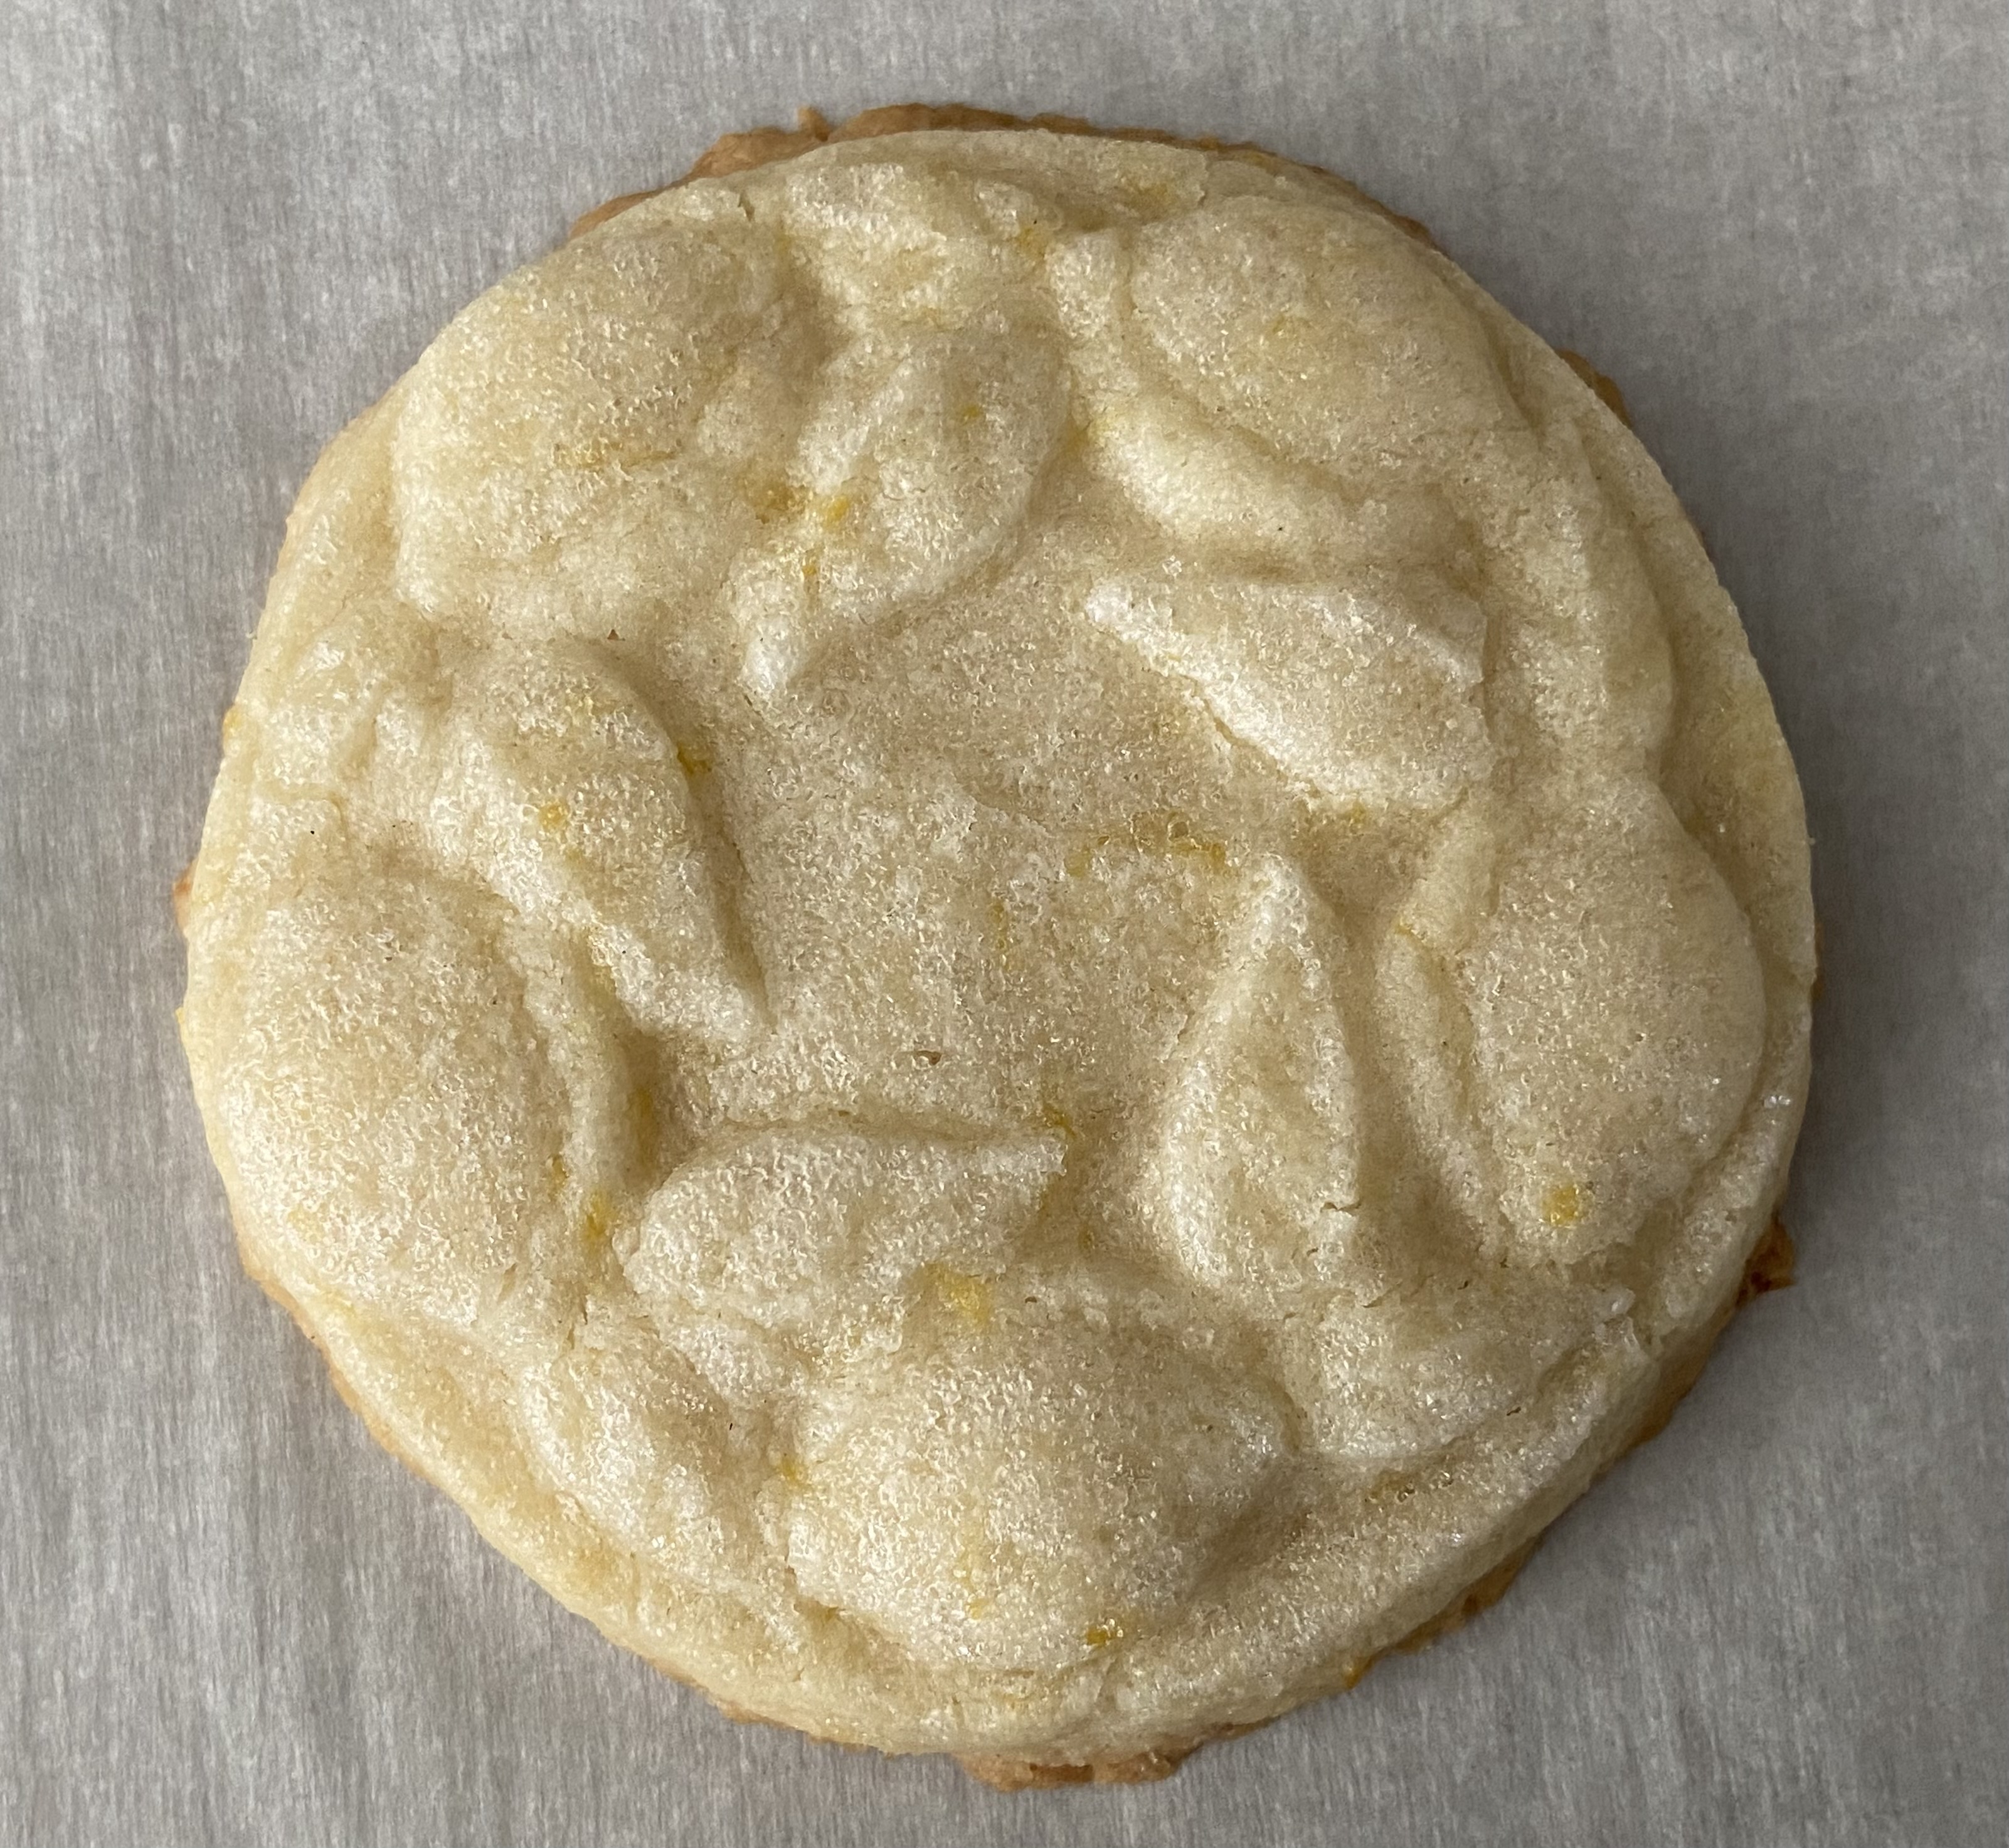
These are exactly as advertised - they're soft, they're peanut butter and they have chocolate chips. 
If you like those things, this is a good cookie to make. Peanut butter cookies tend to be a bit fragile but the oatmeal makes this a little more sturdy. This does still have a soft chewiness to it rather than a crispness so it delivers well on its title.

The dough was easy to make and this bakes well from frozen dough; no need to thaw before baking. It doesn't spread too much and the oats give it a hearty chewiness.

I'm not a big fan of peanut butter but made this for Soldiers Angels care packages as I figure the deployed military service members could get some enjoyment from that combination of peanut butter, oats and chocolate. For myself, my favorite recipe from Butternut Bakery still remains her Chewy Sugar Cookies.

Thursday, September 1, 2022

Milk Chocolate Brownies

Milk Chocolate Brownies - made August 20, 2022 from Chef Lindsay Farr 
10 tablespoons unsalted butter
2 ounces milk chocolate
1 cup granulated sugar
1 tablespoon vanilla extract
2 large eggs
1/2 cup cocoa powder
1/2 cup all-purpose flour
1/2 teaspoon salt
4 ounces milk chocolate, chopped

Milk Chocolate Ganache
4 1/2 ounces milk chocolate
2 tablespoons heavy whipping cream
  1. Preheat oven to 325 degrees F. Line an 8 x 8 baking pan with foil and lightly spray with nonstick cooking spray.
  2. In a medium bowl, whisk together flour, cocoa powder and salt; set aside.
  3. In the top half of a double boiler set over hot water, melt butter and 2 ounces milk chocolate. Whisk until completely melted and smooth.
  4. Add granulated sugar to melted chocolate mixture, whisking to combine. Add the vanilla and eggs, whisking until completely incorporated and smooth. Stir the dry ingredients into the melted chocolate mixture, stirring until combined. Fold in the remaining chopped milk chocolate.
  5. Pour batter into prepared pan, smoothing the top with a small metal spatula. Bake 25-30 minutes or until top is set and a toothpick inserted near the middle comes out with a few moist crumbs.
  6. Milk Chocolate Ganache: in the top half of a double boiler set over hot water, melt milk chocolate and heavy cream, stirring until combined, completely melted and smooth.
  7. When the brownies have cooled for 10 minutes out of the oven, spread ganache in an even layer over the top. Refrigerate until set. 
Although these are titled Milk Chocolate Brownies, my rendition didn't turn out very milk chocolatey. It was more like a dark chocolate. That's because I used a rich dark cocoa which likely overwhelmed the small amount of melted milk chocolate in the batter. I also didn't make the milk chocolate ganache to pour over it since I was mailing these out in care packages. Instead, I added milk chocolate chips (turned upside down for easier packaging) on top before baking.

Regardless, I thought these turned out well, nice and fudgy with a good rich chocolate flavor. It still doesn't unseat my favorite brownie recipe but it remains triple digit temps where I live so I'm still being parsimonious with using my dwindling supply of unsweetened chocolate. But summer heat has to end sometime (!) and the minute it cools down, I can place an online order and stock up without worrying the chocolate will melt en route or at delivery. Meanwhile, I'm testing out more cocoa-powder-based brownie recipes.