Tuesday, October 29, 2019

Death by Chocolate Cupcakes

Death by Chocolate Cupcakes - made October 15, 2019 from Sprinkle with Murder by Jenn McKinlay
Every once in awhile, the baking gods like to mock me. As in with a baking fail. Bastards. I had just finished re-reading this book, the first in the Cupcake Bakery Mysteries by Jenn McKinlay. It was a re-read because the first time I read it, I hadn't been tracking my reads on Goodreads yet and while most of the rest of the series was duly logged, this one wasn't. That kinda bugged my sense of series completion since I knew I had already read the first one and it seemed like cheating to backdate that I'd read it, especially since I can't remember when I had first read it and, to be honest, I didn't remember the story that clearly. So I read it again. Problem solved.

As with most culinary cozy mysteries, recipes are included. This one was in the back of the book and I had some milk to use up so it seemed like a good one to try. I haven't been making a lot of cakes since I moved to a higher altitude but I have noticed some recipes are affected more than others. I'm going to assume this is one of the affected ones. The recipe said this made 12 cupcakes. I filled 12 cupcake liners plus 1 extra. 9 of the 13 cupcakes overflowed. Oops.

That's common with high altitude baking as the cakes puff up quickly before their structure is set then sink in the middle. Joy. You know all those food blogs that have perfect looking desserts? Yeah, this isn't one of them. But all was not lost as, despite their sad appearance, these actually tasted quite good. Chocolate flavor was on point because I used a high quality cocoa powder (Droste and Valrhona). The texture was cakey, maybe just the tiniest bit on the dense side but not too much and only because I probably could've baked it an extra minute. I did forget to add the chocolate chips to the batter though but I think it still turned out okay. When it comes to cake, I like mine pretty plain so nothing interferes with that cakey texture.
I didn't frost them with the ganache as listed. They looked kinda sad already and truthfully, I didn't want to waste the heavy cream. Good thing I care more about flavor than appearance.
1 1/3 cups all-purpose flour
2 teaspoons baking powder
1/4 teaspoon baking soda
3/4 cup unsweetened cocoa powder
1/8 teaspoon salt
3 tablespoons butter, softened
1 1/2 cups granulated sugar
2 eggs, room temperature
3/4 teaspoon vanilla extract
1 cup milk
12 ounces semisweet chocolate chips
  1. Preheat oven to 350 degrees F. Line muffin tins with cupcake liners.
  2. Sift together flour, baking powder, baking soda, cocoa and salt. Set aside.
  3. In a large bowl, cream together the butter and sugar until well blended. Add the eggs, one at a time, beating well after each addition; stir in vanilla. Add the flour mixture alternately with the milk; beat until just combined. Fold in chocolate chips.
  4. Portion into cupcake liners. Bake for 15 to 17 minutes or until toothpick inserted near center of cupcakes comes out clean or with a few moist crumbs.
Dark Chocolate Ganache
2 cups dark chocolate chips
2 cups heavy cream
2 teaspoons vanilla extract
  1. Place chocolate chips in large bowl. Pour cream into a saucepan and bring to a boil. Once the cream boils, remove from heat and pour over the chocolate. Let stand for 1-2 minutes then stir with a whisk until smooth. 
  2. Stir in the vanilla until well blended. Place a piece of plastic wrap directly on the surface of the ganache and allow to cool to room temperature. Dip tops of cooled cupcakes into the ganache and allow to dry.

Friday, October 25, 2019

Baking Meetup #2 - Fall Desserts

Baking Meetup #2 - Fall Desserts
Here are the desserts we had for our second baking meetup. Besides the Apple Pecan Spice Cake that I brought, here was everyone else's contribution. Since it was a Fall theme, there were 2 pumpkin desserts. The Salted Caramel Madeleines are good for autumn and year-round. Everything was delicious and I enjoyed getting to try desserts I don't normally make myself.
Chocolate Pumpkin Cake

Slice of Chocolate Pumpkin Cake
Chocolate Pumpkin Cake - made by Vikki (note: the frosting recipe below came with the original cake recipe. Vikki used a different recipe but I forgot to get a copy of that one so I'm including the original frosting recipe below)

2 1/2 cups plus 2 tablespoons all-purpose flour
1 cup plus 2 tablespoons unsweetened cocoa powder
1 tablespoon baking powder
1 1/2 teaspoons baking soda
2 1/4 teaspoons ground cinnamon
3/4 teaspoon fresh-grated nutmeg
3/4 cup buttermilk
1 1/2 cups pumpkin puree
1 1/2 teaspoons vanilla extract
2 1/4 sticks unsalted butter, softened
1 1/2 cups firmly packed dark brown sugar
1 1/2 cups granulated sugar
5 large eggs
  1. Preheat oven to 350 degrees F. Lightly butter three 8-inch cake pans and fit each bottom with an 8-inch circle of parchment paper. Lightly butter the parchment paper. Set aside.
  2. Sift the flour, cocoa, baking powder, baking soda, cinnamon and nutmeg in a large bowl; set aside. Combine the buttermilk, pumpkin and vanilla in a medium bowl and set aside. 
  3. Beat the butter and sugar together in a large bowl, with an electric mixer on medium speed, until fluffy. Add the eggs, one at a time, beating well after each addition, until the mixture is smooth and light. Alternately add the flour and buttermilk mixtures, blending well after each addition.
  4. Divide the batter evenly among the pans and bake until a toothpick inserted near the middle comes out clean or with a few moist crumbs, about 35 minutes. Cool the cakes in the pans for 20 minutes. Remove cakes from pans and cool completely.
  5. Trim the layers. Place one layer on a cake plate and top with one third of the frosting. Spread evenly. Repeat with the second and third layers.
Orange Cream Cheese Frosting
1 8-ounce package cream cheese, softened
1/4 cup unsalted butter, softened
1 tablespoon fresh orange juice
1 teaspoon grated orange zest
1/2 teaspoon vanilla extract
4 cups confectioners' sugar
1/4 teaspoon orange food coloring
  1. Blend the cream cheese, butter, orange juice, orange zest and vanilla in a large bowl, using an electric mixer set at medium speed, until smooth. 
  2. Add the confectioners' sugar and continue to beat until light and creamy, about 3 more minutes. Add the food coloring and gently stir until the color is uniform. Chill the frosting until ready to ice the cakes.
Salted Caramel Apple Madeleines

Add caption

inside the madeleine
Salted Caramel Apple Madeleines - made by Dawn
2 large eggs
2/3 cup granulated sugar
1 pinch salt
1 cup all-purpose flour
8 tablespoons unsalted butter, melted and cooled
2 1/2 tablespoons unsweetened cinnamon apple sauce

Salted Caramel
1 cup granulated sugar
6 tablespoons salted butter, room temperature, cut into pieces
1/2 cup heavy cream
sea salt flakes
  1. Preheat oven to 375 degrees F. Spray 2 madeleine pans with Bakers Joy (or spray with nonstick cooking spray and dust with flour).
  2. Using an electric mixer, beat eggs with 2/3 cup granulated sugar until blended. Beat in applesauce and salt. Add flour and beat until blended with mixer on low. Gradually add butter until blended.
  3. Spoon 1 tablespoon of batter into each shell indentation. Bake for 11-13 minutes.
  4. Make the caramel: In a medium saucepan over medium heat, melt sugar while stirring constantly until a brownish liquid forms.
  5. When sugar has completely melted, add butter and stir until well combined.
  6. While still stirring, carefully add heavy cream. Once all the cream has been added, let the mixture boil without stirring for one minute.
  7. Remove from heat. Stir in salt, transfer to a mason jar and let cool.
  8. Dip madeleines into caramel sauce, place on wire rack to harder and sprinkle with sea salt.
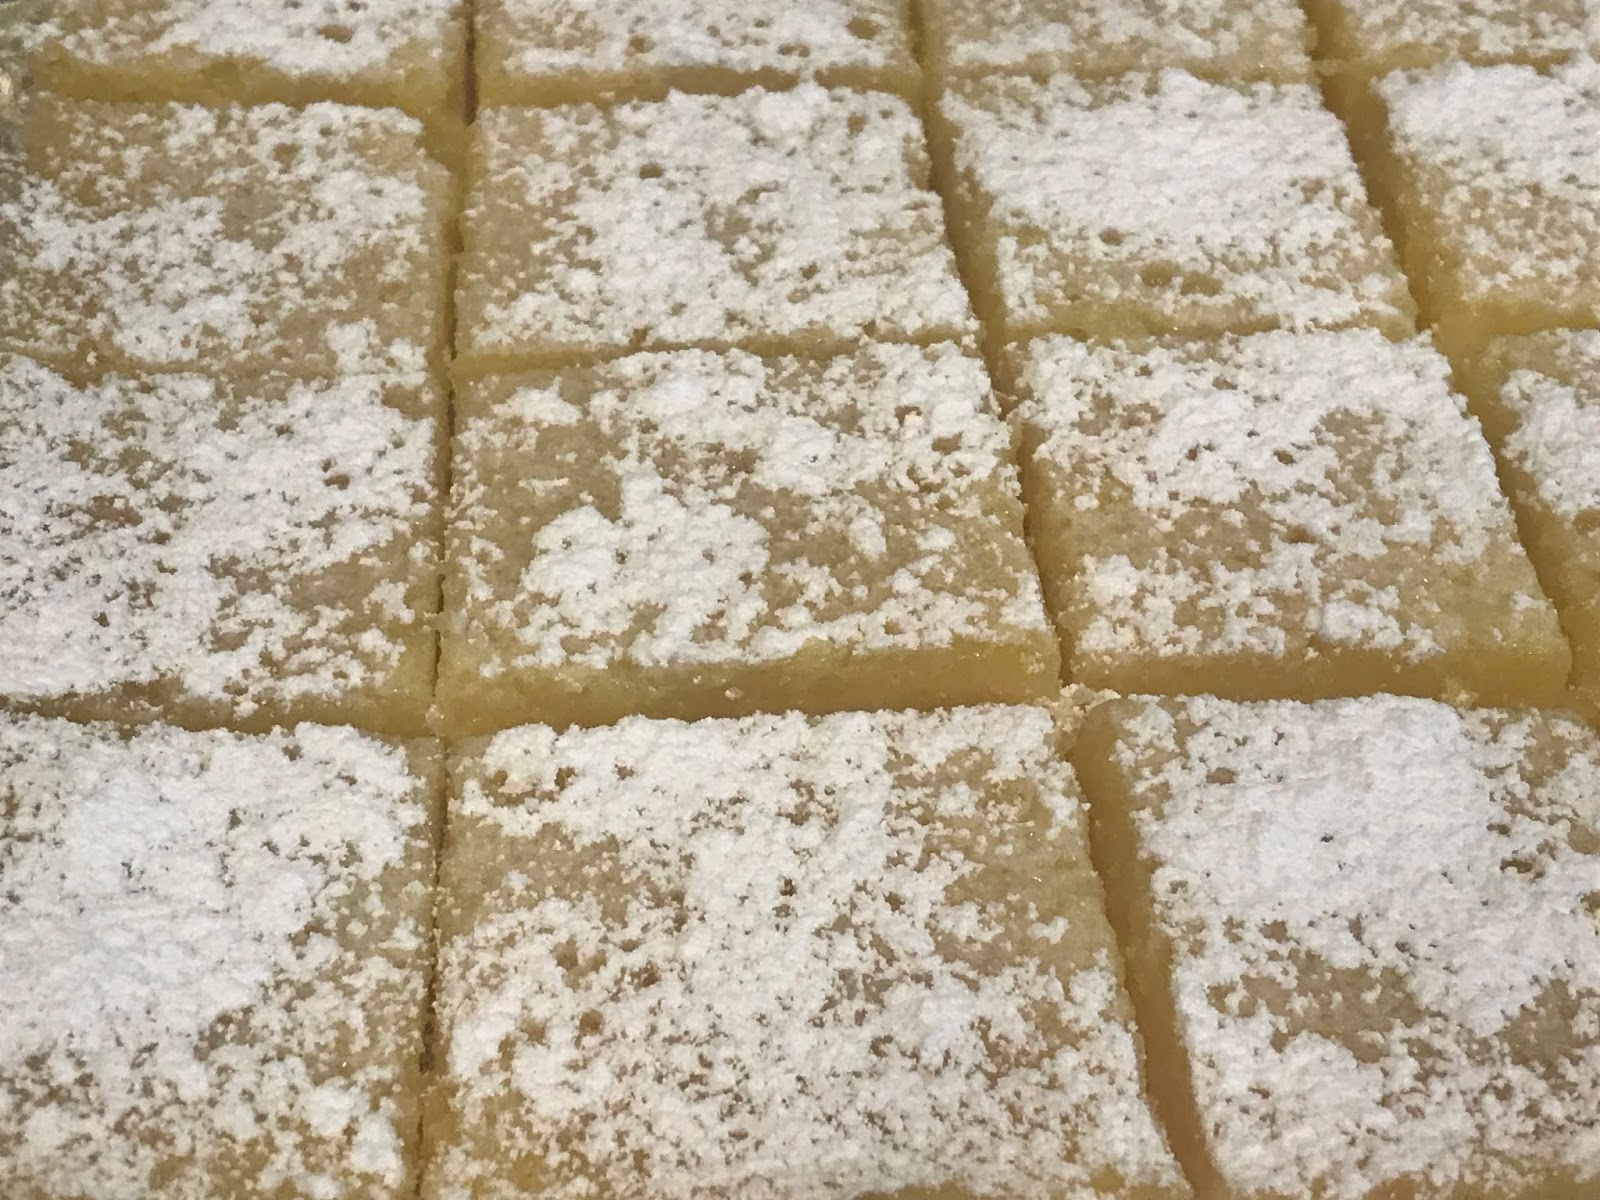
Pumpkin Squares


Pumpkin Squares - made by Bonnie
1 cup sifted flour
1/2 cup quick cooking oats
1/2 cup brown sugar
1/2 cup butter
1 13-ounce can milk
2 eggs
3/4 cup sugar
1/2 teaspoon salt
2 1/2 teaspoon pumpkin pie spice
1 16-ounce can pumpkin puree

Topping
1/2 cup pecans
1/2 cup brown sugar
2 tablespoons butter
  1. Combine flour, oats, brown sugar and butter until crumbly, using electric mixer on low speed. Press into ungreased 9 x 13-inch pan. Bake at 350 degrees for 15 minutes.
  2. Combine pumpkin, milk, eggs, sugar, salt and spices in mixing bowl. Beat well and pour onto crust; return to oven and bake for 20 minutes more.
  3. Combine pecans, brown sugar and 2 tablespoons butter until crumbly. Sprinkle over pumpkin layer and bake another 15-20 minutes or until filling is set. Cool completely. Cut into squares and serve with whipped topping.

Monday, October 21, 2019

Apple Pecan Spice Cake with Brown Sugar Cream Cheese Frosting

Apple Pecan Spice Cake with Brown Sugar Cream Cheese Frosting - made October 12, 2019 modified from The Recipe Critic

For my second baking meetup (post to follow after this one), the theme was Fall Desserts. While that might mean pumpkin or pumpkin spice for some people, for me, autumn is about apples. That's when they're best in season. Although, truthfully, I eat them year round.

I decided to go with this sheet cake for Apple Pecan Spice Cake since I'd been traveling for the past few weeks, knew I was getting back late on Friday night before the Sunday meetup and I wanted something easy to shop for and make. Which this was.

Although I normally like baked goods to be served same day as much as possible, I made this the day before the meetup as I wanted the cake to develop its flavor overnight and I figured with the apples, there would be sufficient moisture to make sure the cake didn't dry out when consumed a day later. Fortunately, I was right. This cake was pretty moist and made a good fall dessert.

I feel like the only fail was the frosting. I followed the recipe to the letter but the frosting came out really soft, almost runny. I could've countered that by adding more brown sugar but I didn't want the frosting to be too sweet so I tried chilling it instead. Nope, that didn't work. Unlike frostings with confectioners' sugar that help the frosting to "set", brown sugar does not. Still, it wasn't too bad. Oh and I did modify the original recipe to add the pecans as a garnish on top of the frosting instead of incorporating into the cake batter. I'm not a fan of nuts in cakes or cookies or brownies themselves since the nuts soften and steam in baking. In my mind, softened pecan pieces would've detracted from the texture of the cake which was already "lumpy" with the apples. So I toasted the chopped pecans and sprinkled them over the frosted cake instead. It provided an added crunch and toasted pecan flavor that contributed to the fall dessert theme.

4 cups Granny Smith Apples, peeled, chopped into small pieces
2 cups granulated sugar
1/2 cup vegetable oil
2 eggs, lightly beaten
1 teaspoon vanilla
2 cups all-purpose flour
2 teaspoons baking powder
1/2 teaspoon baking soda
2 teaspoons cinnamon
1/2 teaspoon nutmeg
1 teaspoon salt
1/2 cup milk

Brown Sugar Cream Cheese Frosting
1 8-ounce package cream cheese, room temperature
1/4 cup butter, room temperature
2 teaspoons vanilla
1 cup golden brown sugar
1 cup pecans, lightly toasted, roughly chopped
  1. Preheat oven to 350 degrees F. Line a 9 x 13-inch baking pan with foil and lightly spray with nonstick cooking spray.
  2. In a large mixing bowl, combine apples and sugar. Stir in oil, eggs and vanilla.
  3. In another mixing bowl, combine flour, baking powder, baking soda, cinnamon, nutmeg and salt. Add the flour mixture to the apple mixture. Add milk and stir until just combined. 
  4. Pour in to the prepared pan. Bake for 30-40 minutes or until toothpick inserted near center comes out clean. Cool completely.
  5. Make the frosting: beat the cream cheese and butter together until smooth and free of lumps. Scrape down sides of bowl as needed. Add vanilla and brown sugar. Beat for 5 minutes until light and fluffy and sugar has dissolved. Spread evenly on top of cake. Garnish with toasted, chopped pecans.

Thursday, October 17, 2019

Baking Meetup #1 - Cookies

Baking Meetup #1 - Cookies - held September 15, 2019
Caramel Apple Bars (left), Reese's Chip Cookies (top left) Almond Crescent (top right), Chocolate Chip Cookies (right middle), No Bake Lentil Bars (bottom)
One of the things I wanted to do after I settled into my new house was to start a baking meetup in order to meet other baking-minded people. I had a lot going on over the summer and leading into fall but I finally made the time to set up the meetup and hosted the first one at my house.The idea of the meetup was for each person to bring a dessert they'd made along with the recipe to share with the other members. My original plan was for the members to make a dozen for sharing and a dozen for giving away to a nonprofit. It was a good idea in concept and I still believe in it but, being new to Reno, I hadn't yet established many contacts in the nonprofit world who I knew well enough to make the offer for homemade baked goods. So we settled on just sharing among the attendees for now, although I would still love to establish contacts with nonprofits who could use the desserts.

I originally thought we could do a "baking circle" that my friend and culinary school classmate, Annie the Baker, told me she did. A baking circle has a baker's dozen of 13 members who met regularly. So I capped the limit of the meetup at 13.  In hindsight, I'm not sure how I thought I could eat 13 desserts. So it was a good thing that for the first meetup, we had only 6 members show up. 5 people brought something and the 6th confessed her planned dessert didn't turn out but we were glad to see her anyway. Not just so we could all meet and make new friends but also because we needed more eaters for the 5 dozen desserts that showed up, lol.

This post is light on pictures. I was so busy chatting with my fellow bakers that I forgot (a first for me) to take pictures of each dessert. The only pic I have is the one I took of my own plate. Erk,

Each month's meetup has a baking theme and this first one was Cookies. I wanted something easy to get things started and figured cookies would be easy enough. For my own, I made the ubiquitous chocolate chip cookies but I offered two different kinds to see if people could taste the difference. One was Gideon's Bakehouse Copycat Chocolate Chip Cookies that had cake flour and bread flour and the butter was creamed. The other one was the Basic, Great Chocolate Chip Cookies I made for Shyla's wedding and had all-purpose flour and melted butter. It was also a chance for me to make both doughs again and note the differences. I've discovered that while I thought the higher altitude in Reno didn't make much difference to cookies, I've realized it does. Even though I baked from frozen dough like I always do, my cookies are spreading more than when I baked at sea level in the Bay Area. Fortunately, they still tasted good, although no one could really tell the difference between the two. Neither could I.

Here are the other recipes everyone else brought - logging them here even though I don't have decent pictures of them so I can share with everyone else in the meetup who couldn't attend. We held our second baking meetup last weekend and I did a better job of taking pictures there so stay tuned for that post shortly.

from Kim

from Vikki

from Rochelle

from Mary

Tuesday, October 15, 2019

Shrimp Pad Thai

Shrimp Pad Thai - made September 30, 2019 , modified from Piggy Out
I think pad thai is going to be my go-to dish from now on whenever I want to cook something quick and easy. This recipe is similar to the first one I tried in terms of its ingredients. I substituted tamarind concentrate for the ketchup since I still had some and because I don't like ketchup.
I learned from experience last time and only soaked the rice noodles in tap water, not hot water. When I added it to the pot along with the sauce, that cooked the noodles well enough without making them too mushy like last time. The only mistake I really made is I didn't take the pot off the heat soon enough and the sauce dried up a little.

This pad thai still tasted pretty good but next time, I would remove it from the heat while there were more sauce still coating the noodles. Oh, also, make sure you dissolve the palm sugar in hot water first before adding the rest of the sauce ingredients. Otherwise, nothing really melts the palm sugar and you'll have crunchy bits of sugar in your pad thai, I rectified that for this recipe and it worked pretty well.
14 ounces thin rice noodle
1 cup bean sprouts (I left out)
8 ounces large shrimp
3 eggs, beaten
3 cloves garlic, minced
1 medium-sized shallot, thinly sliced
2 Thai chilies, thinly sliced (I left out)
2 stalks green onion, chopped
olive oil

Sauce
1/4 cup boiling water
3 tablespoons brown sugar (I used palm sugar)
2 tablespoons white vinegar
2 tablespoons fish sauce
1 tablespoon soy sauce
2 tablespoons ketchup (I used tamarind concentrate)
  1. Prepare the rice noodles according to the package directions. Drain, add about 3 tablespoons olive oil and mix well to prevent sticking.
  2. In a mixing bowl, pour the 1/4 cup boiling water over the palm sugar and stir until dissolved. Whisk together the rest of the sauce ingredients; set aside.
  3. Preheat 1 tablespoon of olive oil in a wok over medium heat. When hot, add the beaten eggs, stir and cook until soft scrambled. Transfer to a plate and set aside.
  4. Increase heat to medium high. Add 2 tablespoons oil.
  5. Add garlic, shallot and Thai chili. Stir and cook until fragrant.
  6. Add sauce and rice noodles. Toss until the noodles are thoroughly mixed with the sauce. Add shrimp and stir until cooked. Add scrambled eggs and green onions. Serve immediately.

Saturday, October 12, 2019

Classic Pound Cake

Classic Pound Cake - made October 1, 2019 from Perfect Cakes by Nick Malgieri
The origins of pound cake was that it required a pound of each of its ingredients: a pound of butter, a pound of sugar, a pound of flour and a pound of eggs. Hence, "pound" cake. No chemical leaveners and likely no pricey vanilla extract.

I've never personally made a pound cake of those proportions but always pictured something really dense since there were no Kitchen Aid mixers back then to beat and aerate the batter and a true pound cake didn't have chemical leaveners like baking soda or baking powder to also help with the rise.
This recipe from Nick Malgieri doesn't either and if you back-calculate against the original pound cake proportions, the measurements don't quite line up to a pound of each but I did use my trusty Kitchen Aid mixer to beat air into the batter and the pricey vanilla extract for flavoring. For once, I even beat the butter and sugar for the required 5 minutes. Usually, I never beat as long as the recipe suggests as I'm always leery that the butter will become too soft and melt into the batter. But I did this time and the butter-sugar mixture was definitely "light" by the time the 5 minutes were up.

Due to the higher altitude at which I'm baking, I did increase the oven temperature to 350 degrees F and left it there for the entire baking time. I find this necessary to make sure the cake bakes quickly enough to set the structure before it fully bakes. I made this as 3 mini loaves instead of 1 big loaf. It's just easier to store and serve that way.
This is a good, straightforward, classic pound cake. It does have the expected dense texture and a tight crumb. While it wasn't as buttery as I expected, it was a bit flavor-neutral. I think this would be great served warm with melting butter or would be a perfect tea-cake to serve at an afternoon tea.
1/2 pound (2 sticks or 16 tablespoons) unsalted butter, softened
1 cup granulated sugar
2 teaspoons vanilla extract
5 large eggs, room temperature
2 cups cake flour, dip and sweep method, sifted after measuring
  1. Preheat oven to 325 degrees F. Line a 9 x 5 x 3" loaf pan with parchment paper, lightly spray with nonstick cooking spray and flour.
  2. Place the butter and sugar in the bowl of a stand mixer fitted with the paddle attachment and beat on medium speed until very light, about 5 minutes.
  3. Beat in the vanilla. One at a time, beat in 3 of the eggs, beating until smooth after each addition.
  4. Reduce the mixer speed to low and beat in one-third of the flour mixture, then another egg, beating until smooth after each addition. Stop the mixer occasionally and scrape down the sides of the bowl with a spatula. Beat in another third of the flour, then, after flour has been absorbed, the last egg. Scrape again and beat in the remaining third of the flour mixture until just combined.
  5. Pour the batter into the prepared loaf pan. Bake for 1 1/4 to 1 1/2 hours or until the cake is well risen, cracked on top and golden and a toothpick inserted into the center emerges clean or with a few moist crumbs.
  6. Cool the cake for a few minutes then unmold it onto a rack and turn right side up to finish cooling.

Wednesday, October 9, 2019

Lemon Bars with Lemon Curd

Lemon Bars - made September 13, 2019 from Pastry and Beyond
I have a tried and true lemon bar recipe that everyone loves but every once in awhile I like to try a new recipe for lemon bars. Just in case. I found a really good one that way so it never hurts to keep an open mind to new recipes. Says Recipe ADD Queen.
I haven’t made lemon bars in a long time though and I think I might’ve lost my touch. The lemon curd part turned out fine but the crust? Not so much. Most, though not all, crusts for lemon bars are made by cutting cold butter into a flour-sugar mixture. The key is to cut the butter in fine enough and thoroughly enough so that it’s evenly dispersed and when baked, makes a crust, not a floury layer not held together with enough dispersed butter. 

Guess which one I did? Yep. Too floury. I don’t know if I just didn’t cut the butter in properly or enough or if the recipe held too much flour. I assume the former as the original blog looks like the crust was fine. Which is not how my crust turned out. Sigh. On the plus side, the lemon curd layer was good. The only issue I had with it is it absorbed the powdered sugar dusting really quickly. Which isn’t necessarily a bad thing as that shows the top layer is moist. But, for looks, you want to only dust with powdered sugar literally right before serving or it’ll look like you don’t have any powdered sugar on top at all.

dry crust, too floury

Crust
1 1/4 cups (175 grams) all-purpose flour
1/2 cup minus 2 teaspoons (95 grams) granulated sugar
1/2 stick or 4 tablespoons (115 grams) unsalted butter, cut into cubes

Lemon Filling
3 large eggs
1/2 cup and 1 tablespoon (120 grams) granulated sugar
1/3 cup lemon juice
2 teaspoons lemon zest
2 teaspoons (30 grams) unsalted butter, melted and cooled
1 tablespoon (10 grams) all-purpose flour
powdered sugar for dusting the tops of the bars

  1. Preheat oven to 350 degrees F. Line an 8" baking pan with foil and lightly spray with nonstick cooking spray.
  2. Crust: mix the flour and sugar in a medium bowl. Add in the cubed butter and cut butter into flour mixture with a fork or two knives until the butter is the size of small peas and the mixture looks like breadcrumbs.
  3. Spread the mixture evenly in the prepared pan and bake for 20-25 minutes until golden brown.
  4. Filling: mix the lemon zest and sugar in a bowl with a fork or rub with your fingertips to increase the lemon flavor. Add the eggs and whisk until well combined. Add the cooled melted butter and lemon juice; mix well. Add flour and mix until incorporated.
  5. Pour filling over hot baked crust. Bake for 12-15 minutes until the filling is set but still soft. Cool to room temperature. Just before serving, generously dust with powdered sugar and cut into squares.

Sunday, October 6, 2019

Soft Sugar Cookies

Soft Sugar Cookies - made dough September 17, 2019 from Easy Family Recipes
I already have a new favorite sugar cookie recipe from Butternut Bakery that I discovered a couple of months ago so I wasn't really looking for a new one. But the pictures of Soft Sugar Cookies from Easy Family Recipes looked so good that I decided I had to make it for myself.
Turns out I have another new favorite sugar cookie recipe now. This isn't as sweet but tasted amazingly good and I loved, loved the soft texture. You get that from underbaking so please bake only until the edges are set and look golden brown. The middles might look a little raw and that's okay. Take out of the oven and let sit on the cookie sheets to bake a little longer but don't bake in the oven until it's puffy or cracks appear in the middle. They may be cooked all the way through by then and you'll miss out on the soft, dense texture.

This is my favorite kind of cookie. Make sure you use fresh butter and real vanilla. With this kind of classic simplicity, the taste is due entirely to the quality of the ingredients you use.

Really nice dough, easy to work with, not dry or crumbly, not too soft or sticky

1 cup unsalted butter
1 1/4 cups granulated sugar
1 egg
1 1/2 teaspoons vanilla extract (I used 1 teaspoon vanilla extract and 1/2 teaspoon vanilla bean paste)
2 3/4 cups all-purpose flour
1 1/2 teaspoons baking powder
1/2 teaspoon salt
  1. In the bowl of a stand mixer, cream the butter and sugar together until light and fluffy. Add in the egg and vanilla; mix until just combined.
  2. In a separate bowl, whisk together the flour, baking powder and salt.
  3. Add the flour mixture to the butter mixture in three additions, beating until just combined after each addition. Do not overmix.
  4. Portion the dough into tablespoon size dough balls. Flatten slightly into thick discs. Cover and chill or freeze for several hours or overnight.
  5. When ready to bake, preheat oven to 350 degrees. Line baking sheets with parchment paper. Evenly space dough discs on prepared baking sheets. Bake for 9-11 minutes or until center is just set. Remove from oven and let cool on baking sheets for several minutes. Transfer to wire cooling racks to cool completely.