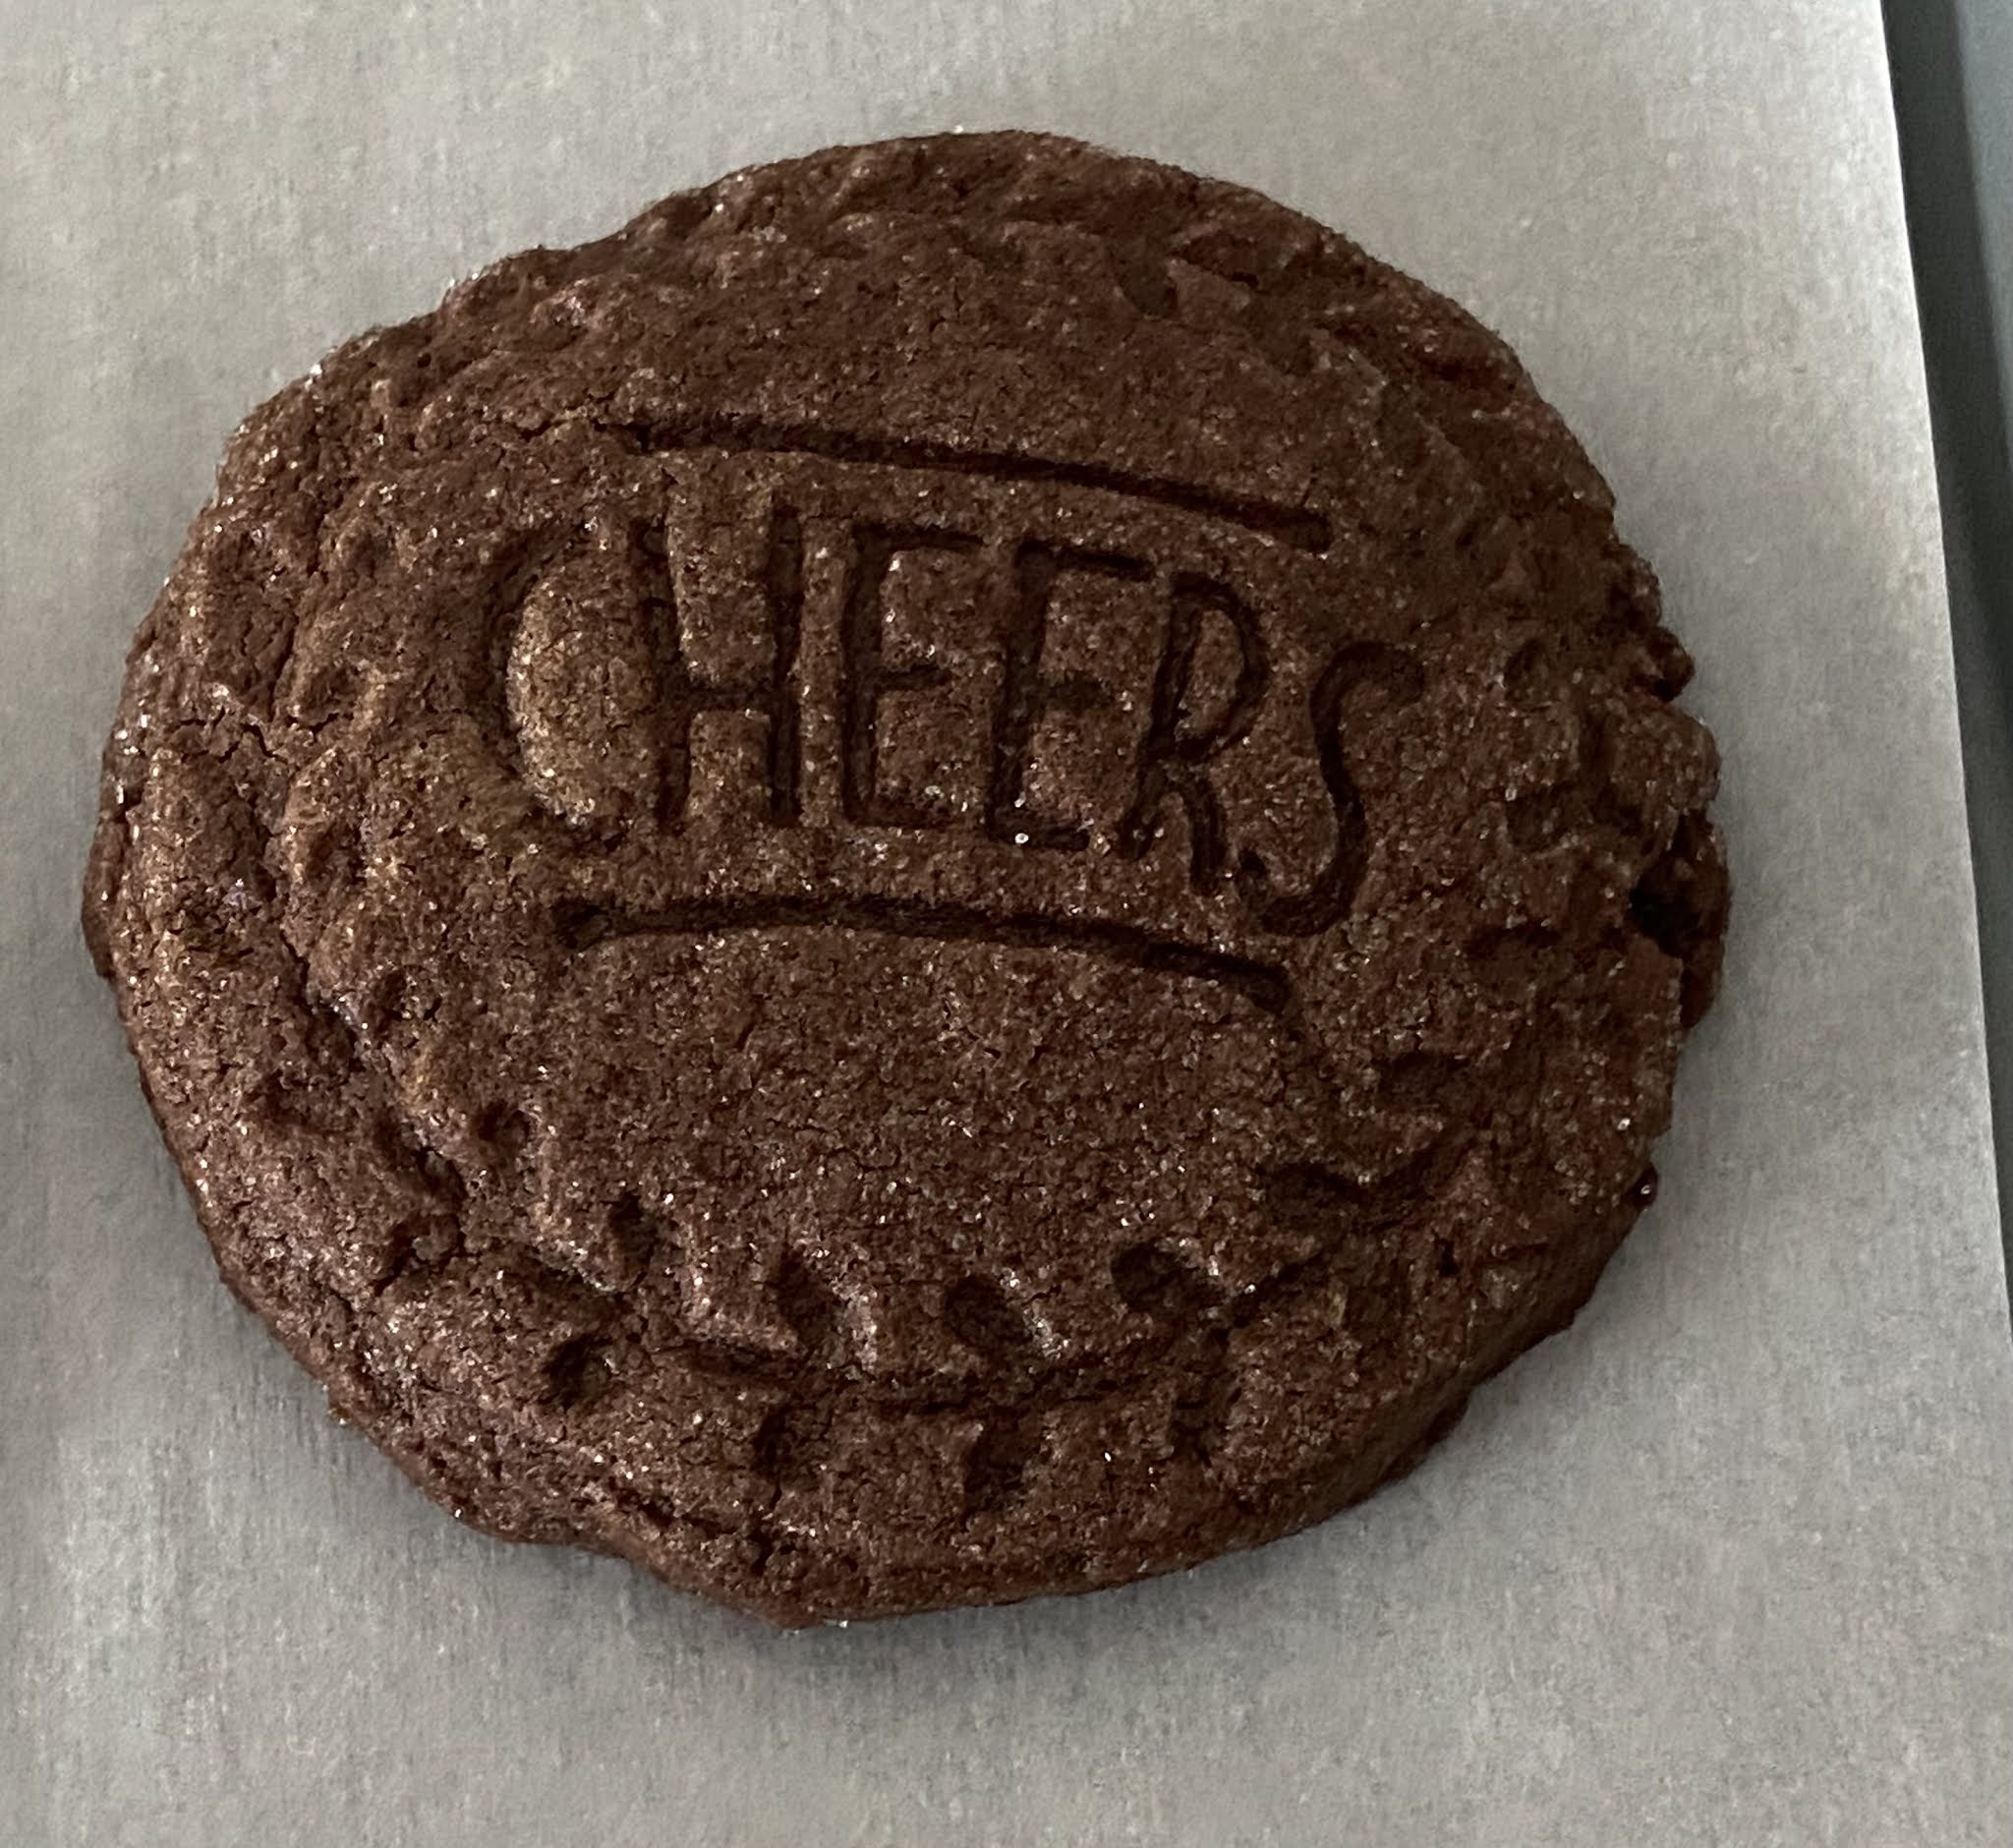
Saturday, July 31, 2021

Triple Chocolate Cookies

Have you ever admired those cookies with pristine-looking white chocolate chunks studded all over the top and wonder how the heck they remained so pristine and white with no browning or burn spots?

The answer is obvious but I'm going to say it explicitly anyway. Those pristine white chocolate chunks are pressed into the tops of the cookies after baking, not before. You can tell the difference by comparing the browned ones in these pictures with the white ones. The browned ones baked with the cookies, the white ones are the ones I poked into the tops of the cookies right after I took them out of the oven.

From an aesthetic standpoint, this is the way to go for serving and presentation. From a care package mailing standpoint, it isn't so practical as the chocolate on top can melt en route to high temp locations and end up being a mess by the time your recipient gets it. Obviously it won't affect the flavor and this is another solid, fudgy, chewy, excellent chocolate cookie.

But I do like things to be a little pretty, regardless of who receives the cookies, so I tend to tuck the white chocolate inside the cookie dough before baking for the ones I'm mailing out and to decorate with pristine white chocolate chunks for the ones I'm giving out in person. Either way, you can't lose with the flavor and texture of these cookies.
Oh, and a word on white chocolate: I rarely bake with the white chocolate chips you find at Target or the grocery store. I've tried them and they taste terrible, even the supposedly higher end ones. Lately, I've been sourcing my white chocolate from Cacaoholic. No, I'm not affiliated with them and I don't make a penny even if you click on the link in the last sentence. But they make high quality products (I also buy my unsweetened chocolate in bulk from them), ship promptly and have fantastic customer service.

6 ounces white chocolate, chopped
2 1/3 cups bittersweet chocolate chips
2 2/3 cups all-purpose flour
1/2 cup cocoa powder
1 1/2 teaspoons baking powder
1 teaspoon baking soda
1 1/2 teaspoons salt
1 cup butter
3/4 cup granulated sugar
3/4 cup brown sugar, packed
2 large eggs
2 teaspoons vanilla extract
  1. Melt 4 ounces white chocolate and 1 1/3 cups chocolate chips over the top of a double boiler over hot water or in the microwave. Stir until melted and smooth.
  2. In a medium bowl, whisk together flour, cocoa powder, baking powder, baking soda and salt; set aside.
  3. Combine the butter, granulated sugar and brown sugar in the bowl of a stand mixer fitted with the paddle attachment. Cream together on medium speed until light and fluffy, 2-3 minutes.
  4. Add eggs and vanilla, mixing until combined, 1-2 minutes.
  5. Pour in melted chocolate and mix on low speed until combined.
  6. Add the flour mixture in two additions and mix on low until just combined. Fold in white chocolate and chocolate chips. Portion dough into golf-ball-size dough balls, flatten slightly to thick discs, cover and chill or freeze for several hours or overnight.
  7. When ready to bake, preheat oven to 350 degrees F. Line baking sheets with parchment paper. Evenly space dough balls and bake 12-15 minutes or until edges are set and middles no longer look raw. Remove from oven and let rest on baking sheets for several minutes before transferring to wire rack to cool completely.

Friday, July 30, 2021

Air Fryer Chicken Legs

Air Fryer Chicken Thighs (or Legs) - made July 20, 2021, modified from Courtney's Sweets
Every once in awhile, I'll throw in a real food recipe. This is one I've had on my pinterest board for donkey's years and never actually tried. It was time to change that.
I modified it very slightly, mostly a tiny increase in the amount of brown sugar as well as using drumsticks instead of chicken thighs, mostly because that's what I had in my freezer.
This is an easy and tasty quick meal, perfect for a weeknight when you've had a full and busy day at work and don't want to put a lot of thought into "what's for dinner?" Long live my air fryer for these kinds of meals.
6-8 boneless skinless chicken thighs (or drumsticks)
1 teaspoon salt
1 teaspoon paprika
1 teaspoon oregano
1 teaspoon cumin
1/2 teaspoon pepper
1 tablespoon brown sugar
  1. Mix together the seasonings then sprinkle over chicken. 
  2. Place chicken in air fryer for 10 minutes at 350 degrees F. Flip and cook for another 10 minutes or until the thickest part of the chicken reaches 165 degrees. Serve immediately.

Thursday, July 29, 2021

Chocolate Chip Cookies That Stay Soft

If you look closely at the pictures, you'll see some look like they have semisweet chocolate chips in them and one particular cookie has milk chocolate chips.
The milk chocolate chip one would be my taste test cookie. I make the dough, take enough for one dough ball and mix in milk chocolate chips then I stir in semisweet chocolate chips into the rest of the cookie dough.
That's because I prefer milk chocolate chips and I assume the rest of the world, or at least the deployed service members I'm sending the cookies to in overseas care packages would prefer semisweet. An easy compromise to do to tailor one cookie to the baker's needs wants and make the rest for the actual recipients of the cookies.

This was a good cookie. As advertised, they do stay soft because of the pudding mix addition. I'm not sure they're a standout out from the hundreds of chocolate chip cookie recipes I've tried in my baking lifetime but let's be honest, that's a pretty high bar.
1 cup (2 sticks) unsalted butter
3/4 cup brown sugar
1/4 cup granulated sugar
1 3.4-ounce package instant vanilla pudding mix
2 eggs
1 teaspoon vanilla extract
2 1/4 cups all-purpose flour
1 teaspoon baking soda
12 ounces chocolate chips
  1. In the bowl of a stand mixer fitted with the paddle attachment, cream together butter, brown sugar and granulated sugar until light and fluffy, 2-3 minutes. Beat in vanilla pudding mix until combined. Beat in eggs, one at a time, until combined. Mix in vanilla extract.
  2. In a separate bowl, whisk together flour and baking soda. Add to butter mixture in 2 additions, mixing after each addition until just combined. Do not overmix. Fold in chocolate chips.
  3. Portion dough into golf-ball-size dough balls, cover and chill or freeze for several hours or overnight.
  4. When ready to bake, preheat oven to 350 degrees F. Line baking sheets with parchment paper. Evenly space dough balls on prepared sheets. Bake 10-12 minutes or until edges are set and middles no longer look raw. Do not overbake. Let rest on baking sheets for several minutes then remove cookies to wire rack to cool completely.

Tuesday, July 27, 2021

An apology to (genuine) commenters

 You know when you do something stupid and it took you so long to realize it that you have to do something right away to apologize for it? So even though it's 5:30 am when I started writing this, it was 4:45 am when I discovered I had done (or not done) something stupid and I have to apologize for it.

I'm talking about the ability to post comments on my blog. Awhile back - I can't remember when but it must've been at least a few years ago - I engaged the blogger feature to moderate the comments posted on my blog. I wasn't trying to censor genuine comments about my blog posts (whether you like or didn't like what I wrote, I respect people's right to comment about it) but I was trying to control the annoying amount of spam that seemed to overwhelm the comments. Nothing worse than posting about a recipe or a small business bakery one day then going back the next to find nothing but spam in the comments. So I turned on comment moderation.

When I first did it, blogger flagged comments that had been posted but awaited my moderation. As a rule, I don't get a lot of comments anyway as I don't do much to promote my blog or monetize it. I just write up the recipes I try and post foodie pictures because I like doing it. Plus I want a place to access the recipes I want to keep or an easy way to send the link to someone who asks for a recipe when I bake them something.

Then, don't ask me why because blogger keeps making changes I can't keep up with, they stopped flagging comments awaiting moderation and I stopped remembering I had engaged that feature. You can guess what happened, or didn't happen, next. Yup, turns out people have been commenting for the last couple of years and I never thought to check the comments tab to see if I needed to approve any. So I've spent the past 45 minutes "moderating" the comments from the last 2-3 years. I feel terrible about never responding to the genuine comments when people had a question or posted a compliment. Eek. So sorry!

On the one hand, engaging the moderation filter did save y'all from spam comments about online call girls, panini presses, classes in Dubai and links to diets (*eyeroll* on the last one because who are we kidding). On the other hand, for people who posted non-spam, real comments, my sincerest apologies. I wasn't ignoring you, I just didn't know you had commented. I've moderated them all now and will stay on top of the comments going forward, I promise. 

I will try to respond to the comments I just approved, even if some of them are pretty old (sorry again) but give me a few days as I'm back to work this week and need to catch up. Oops.

Monday, July 26, 2021

Melt in the Mouth Stamped Shortbread Cookies (recipe 7)

Yes, I got new cookie stamps....again. Like the others I've recently blogged about, this set also comes from Nordic Ware. I swear I'm not affiliated with the company nor am I trying to pimp their products for any reasons than lookie, how pretty....
But they are pretty, right? If I was an actual cookie decorator, I could even get fancy with piping some icing along the patterns to really make them pop. Like following the swirls in the pattern above and putting a silver-colored dragee in the center. I saw that on another website and thought that would be pretty. You could even vary the color of the icing piping to suit the season or holiday: red and green for Christmas, blue and white for Hanukkah, orange, red and yellow for autumn, pastels for Easter and so on.

Alas, I'm not a fancy cookie decorator so I'm going to just rely on the stamped pattern. Which is the point of cookie stamps - you can make pretty cookies with relatively little effort. What I'm learned from stamping so far is to chill the dough slightly just until it's cool but not cold. You want it still pliable and not too cold or it'll be harder to make clean impressions when stamping. Portion the dough into balls, roll the balls in granulated sugar (not flour), center the ball as much as possible with the stamp and press evenly. Tada - pretty cookies.


sandwiched with cookie butter

2 2/3 cups all-purpose flour
2 tablespoons cornstarch
1/2 teaspoon salt
8 ounces (2 sticks) unsalted butter
1/2 cup granulated sugar
1/2 cup confectioners' sugar
1 egg
1 teaspoon vanilla extract
granulated sugar for rolling
  1. In a medium bowl, whisk together flour, cornstarch and salt; set aside.
  2. In the bowl of a stand mixer fitted with the paddle attachment, cream together the butter, granulated sugar and confectioners' sugar until well combined and fluffy, 2-3 minutes. Add egg and vanilla; beat until combined.
  3. Add dry ingredients in 2 additions, beating after each addition until just combined. Do not overmix.
  4. Cover and chill dough for 1-2 hours. When dough is chilled, portion into golf-ball-size dough balls. Place granulated sugar in shallow bowl and roll dough balls, coating completely before stamping with cookie stamps. 
  5. Cover stamped cookies and chill or freeze for several hours or overnight.
  6. When ready to bake, preheat oven to 350 degrees F. Line baking sheets with parchment paper. Evenly space frozen stamped cookies on baking sheets. Bake for 8-10 minutes or until edges are light brown brown. Let rest on baking sheets for 3-4 minutes then remove to wire rack to cool completely.

Sunday, July 25, 2021

Chocolate Stamped Sugar Cookies (recipe 6)

Chocolate Stamped Sugar Cookies - made dough July 9, 2021 from Nordic Ware 
Another winning recipe from Nordic Ware. I normally prefer any chocolate cookie to be the thick, chewy, moist, fudgy kind of cookie that you can really sink your teeth into. Or a thin crispy cookie like  a florentine with chocolate filling.


This is neither. It doesn't have the snappy crispness of a typical butter shortbread or the chewy fudginess of my favorite chocolate chocolate cookie but surprisingly, I still liked it.

The flavor was good (very important to use high quality cocoa powder) and I even liked the texture. And of course I'm going to like that it feeds into my cookie stamp obsession.


1 cup unsalted butter
1 cup packed brown sugar
1 large egg
1 teaspoon vanilla
2 1/3 cups all-purpose flour
1/2 cup unsweetened cocoa powder
1 teaspoon baking powder
1/2 teaspoon salt
sugar for rolling
  1. Cream together butter and brown sugar until well combined and no lumps remain, 2-3 minutes. Add egg and vanilla, mixing until just combined.
  2. In a separate bowl, whisk together flour, cocoa powder, baking powder and salt. Add in two additions to the butter mixture, mixing until just combined after each addition.
  3. Cover and refrigerate for 30-45 minutes. Portion into dough balls, roll each ball in granulated sugar and press with cookie stamp(s). Cover and chill or freeze for several hours or overnight.
  4. When ready to bake, preheat oven to 350 degrees F. Line baking sheets with parchment paper and evenly space stamped cookies.
  5. Bake 10-12 minutes or until edges are set. Let rest on baking sheets for several minutes then transfer cookies to wire cooling rack to cool completely.


Thursday, July 22, 2021

Vanilla Sugar Cookies (stamped recipe 5)

Vanilla Sugar Cookies - made June 26, 2021 from Nordic Ware
I'm going to start off by reminding everyone, including myself, that I am still obsessed with cookie stamps. If you recall, I've been trying out different recipes that will hold the stamped or embossed impressions. Starting with recipe 1 with an embossed rolling pin, a less successful recipe 2 with both embossed rolling pins and cookie stamps, recipe 3 with mooncake molds (my favorite to date), and recipe 4 with fewer ingredients but still not quite holding the impressions as well. 
Let me introduce you to recipe 5. This recipe is from Nordic Ware, the family-owned, made-in-the-USA clever company who also publishes recipes to use their wares on. And I'm going to rightly say "cheers!" to whoever developed this recipe for them. It was delicious as only a good butter cookie made with quality butter can be. In fact, this might have just unseated recipe 3 as my favorite.
As you can see from the "before" baking and "after" baking pictures, it kept the impressions from the cookie stamps pretty well. It helps that the cookie stamps are a good size without a lot of intricate, small details but even so, this is a good recipe for stamping and keeping the impressions.


The cookie stamps are a bit pricey but they're made in the USA and I believe in putting my money (and their cookies) where my mouth is so I'll spend a bit more for a quality product that's made "locally".
1 cup unsalted butter
1 cup packed brown sugar
1 large egg
1 teaspoon vanilla
2 2/3 cups flour
1 teaspoon baking powder
1/2 teaspoon salt
  1. Cream butter and brown sugar together until fluffy and well combined, 2-3 minutes. Beat in egg and vanilla until just combined.
  2. In a separate bowl, combine flour, baking powder and salt. Add dry ingredients to butter mixture in two additions, mixing until just combined after each addition. Cover and refrigerate for 30-45 minutes.
  3. Portion chilled dough into dough balls, roll each in granulated sugar and press with cookie stamp(s). Cover and chill or freeze for several hours or overnight.
  4. When ready to bake, preheat oven to 350 degrees F. Line baking sheets with parchment paper and evenly space stamped cookies. Bake 10-12 minutes or until edges are set and light golden brown. Let rest on baking sheets for several minutes then transfer to wire cooling rack to cool completely.

Wednesday, July 21, 2021

Chocolate Hazelnut Espresso Brownies

I've adapted my current favorite brownie recipe to use more of a combination of unsweetened chocolate and bittersweet chocolate and I've been making that more often than not whenever I need brownies for a care package.
I've made it so often though that I thought I'd try out a new recipe just to mix things up a bit. This one has similar elements except it uses only bittersweet chocolate and adds a little espresso to punch up the chocolate flavor. You can't really taste the espresso in this one; it's only meant to bring out the chocolate flavor.

This was nicely fudgy as you can tell from the pictures and you can't go wrong with swirling Nutella in anything. It was a bit sweeter than my adapted brownie recipe and I still prefer my adapted recipe which I will have to remember to post here sometime, to document it if nothing else.

1/2 cup (1 stick) unsalted butter
6 ounces bittersweet chocolate
2/3 cup granulated sugar
1/2 cup dark brown sugar
2 eggs
1 egg yolk
1/2 teaspoon vanilla extract
1 tablespoon espresso
1/2 cup all-purpose flour
1/2 teaspoon salt
1/4 teaspoon baking powder
1/4 - 1/2 cup Nutella
  1. Preheat oven to 350 degrees F. Line an 8 x 8 pan with foil and lightly spray with nonstick cooking spray.
  2. In the top half of a double boiler set over hot water, melt the butter and chocolate; whisk until completely melted and smooth.
  3. Add granulated sugar and brown sugar, whisk until combined.
  4. Whisk in eggs and egg yolk until combined. Add vanilla and stir to combine.
  5. In a small bowl, whisk together the flour, salt and baking powder. Add to chocolate mixture and stir until combined and mixture is glossy.
  6. Pour evenly into prepared pan. Dollop Nutella in spoonfuls over the batter and swirl together with a knife. Bake 25-30 minutes until a toothpick inserted in a non-Nutella part of the brownie comes out with a few moist crumbs. Remove from oven and cool completely before cutting.