Just Add Salt - team event, June 21, 2016
 |
| The produce table |
In June, we had a team event with
Just Add Salt. They’re
a company that hosts small groups for cooking “cook-offs”. I’m not sure how
else to put it but however I describe it isn’t likely going to do it justice. There
were 13 of us that were hosted at the owner’s lovely home (lovely is a meek,
insipid word to describe their stunning home. I didn’t take pictures of the
house from the inside to post publicly since it seems like a violation of
privacy so you’ll have to take my word for it that the house was amazing).
 |
| The ingredients for our appetizer round |
For the first round which was appetizers, we got divided
into teams of two and 1 team of three. Each team got a mystery ingredient we
had to use to make into appetizers for the group. We could also use any
ingredients from the fresh produce table which Just Add Salt had sourced from
local farmers’ markets. It was really high quality stuff and I (almost) wish I
was a real chef on the savory side so I could’ve fully appreciated the care and
thought that went into purchasing all the ingredients.
 |
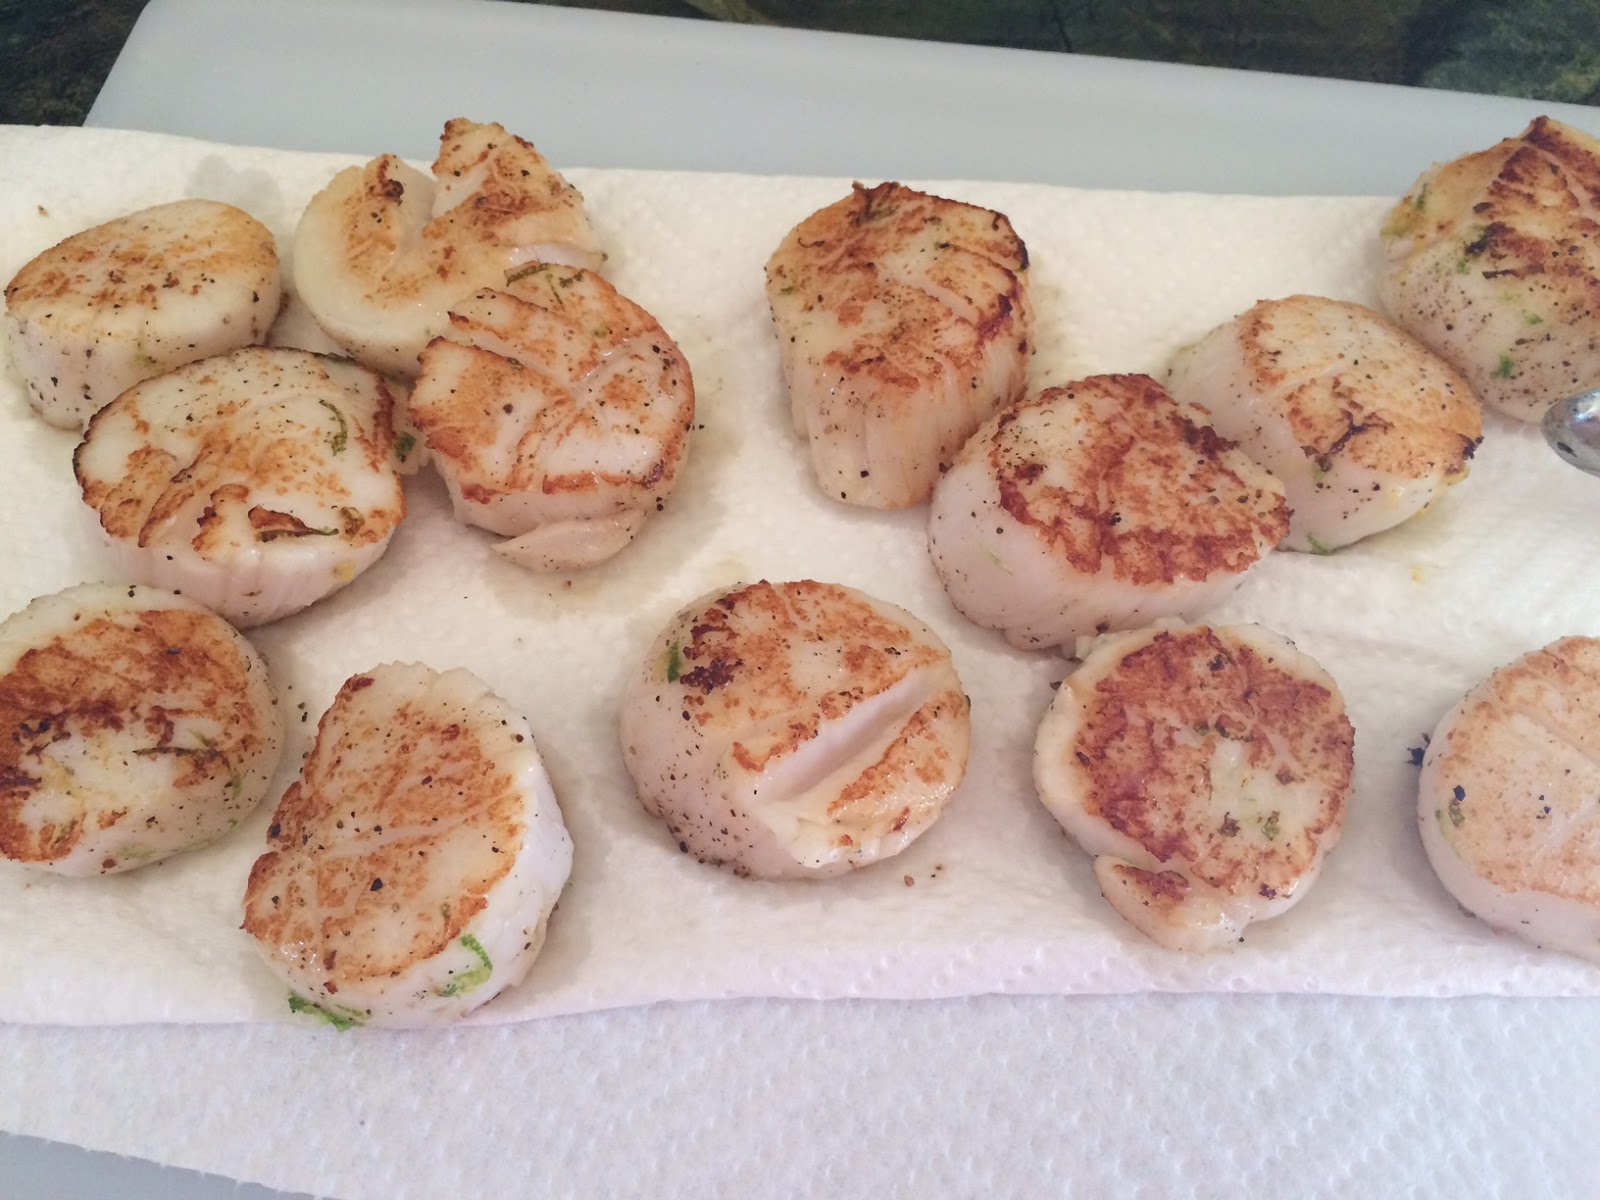
| Caramelized scallops |
 |
| Our scallops appetizer |
My teammate and I ended up with scallops as our mystery
ingredient for the appetizer round. Someone would probably have laughed had
they captured the baffled looks on our faces as neither one of us cooks.
Scallops? Okay then. The only way I thought to cook scallops was to pan fry
them because I like that caramelized look. However, my limited experience with
scallops also says I end up making them rubbery because I don’t know how to
cook scallops. My teammate had similar bewilderment on her face of “what do we
do with scallops?”
Fortunately, Just Add Salt anticipates there are people
like us out there in the world and had several chefs on hand to assist the
various team. Thanks to our helpful chef, I learned how to caramelize scallops
so how they looked in my head is actually how they ended up looking in reality.
First, you start with a stainless steel pan. I think that’s what they’re called
– whatever isn’t nonstick and is light silver. Those are the kinds of pans I tend
to avoid since they stick. Second, you use grapeseed oil to cover the bottom of
the pan. Grapeseed because it has a higher smoking temperature and you want to
heat the oil in the skillet until it’s just barely smoking. Third, pat your
scallops dry with a paper towel. Fourth, place scallops in barely smoking,
grapeseed oil-lined hot skillet in one layer, no scallops touching each other.
 |
| Getting ready to make our main course |
Then, the part I found most fascinating that our chef
schooled me on – you let the first side cook until the scallops are nicely
caramelized with some browning then turn over ONCE. None of that flipping over
business which I, as an anxious hoverer with the tongs, tend to do. Instead,
she taught me to poke at the scallops with a finger. If the scallop is firm,
it’s done. If it’s still squishy, it’s not cooked yet. Pretty cool, right?
Thanks to her guidance, I had perfectly cooked scallops that were tender and
not rubbery, yay.
 |
| Our prize-winning scallops with jalapeno-mango salsa |
In the meantime, my teammate was working on the
jalapeno-mango salsa we had decided to serve to go with the scallops. Our chef
helped her as well and together we plated what I thought were some pretty
nice-looking scallops. The other appetizer teams also had their offerings but –
ahem – I’m happy to say we won the prize for “First to be done” and “Best-Looking”.
I’d offer a recipe but we just made stuff up so, sorry, all I have is food
porn.
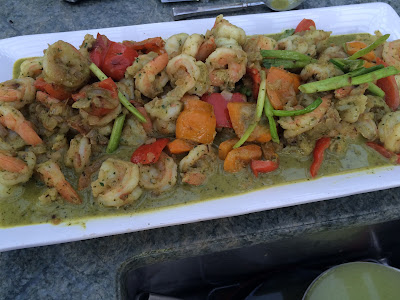 |
| Green Curry Shrimp |
 |
| Rack of Lamb served on wild rice pilaf |
After the appetizer round, we got divided into 2 teams to
work on the main courses. I can’t speak much to it since all I did was chop
herbs while the more culinary-capable amongst my team, as well as our chef, did
most of the heavy lifting. But here’s what the two teams collectively came up
with. We got prizes for our collective efforts but the best part was we got to
eat our efforts as well.
Major props to Just Add Salt for providing such an
amazing experience. There was just the right balance between having ownership
of what we cooked but also have expert guidance so we could come up with not
only edible dishes (my personal standards when I cook for myself) but that they
were seriously delicious. Our hosts were also incredibly gracious and engaging
and did everything possible to make us feel welcome and relaxed in their home.
Check out their Facebook page if you’re local and want to try them out.
 |
| Really excellent filet mignon |
 |
| Fingerling Potatoes |
 |
| Plum Tart with ice cream |