Saturday, July 4, 2015

Big Soft M&M Cookies

Big Soft M&M Cookies - made dough June 27, 2015 from Pinch of Yum
I had to use up the rest of the bag of red, white and blue M&Ms, right? No better time than now to try out this recipe for M&M cookies. I almost didn’t choose this recipe to test out because they had no butter in them, just shortening. I am not a fan of shortening. Butter girl here.

I recognize the value of shortening in a cookie recipe, don’t get me wrong. It helps the cookies keep their shape better and don’t add the same melting properties of butter. But when it comes to flavoring a cookie, it ain’t butter. And I’m snobby enough not to go with butter-flavored shortening because – shudder – the only thing worse than not having a butter flavor is having a fake butter flavor. Fake butter. Let’s not go there.

Those prejudices aside, this turned out better than I expected. Loved the thickness and texture. Wasn’t as enamored of the flavor of course but still, it was fairly decent. The M&Ms add the chocolate component and the candy shell gives it a bit of crunch without having to add nuts (nuts in most cookies = all kinds of wrong). Plus they’re seasonally correct and they look cute.
Happy Birthday, America.
1 cup packed brown sugar
½ cup granulated sugar
1 cup shortening
2 eggs
2 teaspoons vanilla
2½ cups flour (+ 2-3 tablespoons)
1 teaspoon baking soda
1 teaspoon salt
1½ cups M&M's
  1. In a large bowl, mix the brown sugar, white sugar, shortening, eggs, and vanilla with electric mixers on low speed until well mixed. 
  2. Add the 2½ cups flour, baking soda, and salt. Mix until just combined.
  3. Add the extra tablespoons of flour until the dough feels thick and almost dry to the touch. Stir the M&M's into the dough. 
  4.  Roll into large balls and press extra M&M's into the tops. Chill or freeze until thoroughly chilled.
  5. Preheat oven to 350 degrees. Line baking sheets with parchment paper and space frozen dough balls evenly. 
  6. Bake for 8-10 minutes (they will be slightly underbaked). Remove from cookie sheet after a few minutes and place on cooling rack. Cool completely.

Friday, July 3, 2015

Pop Up Shop: Chantal Guillon (macarons)

Chantal Guillon - June 4, 2015
Next to Cream in Palo Alto is a French macaron shop. I normally wouldn’t pay it any attention since I’m not a fan of macarons but my friend Lisa raved about them and said they were really good. I always intended to go by there “someday” and check it out but parking is a pain in that part of Palo Alto and I never really made the effort to go.

But the pop up shop at work is fantastic because the shops come to us. All I have to do is step outside my office building, walk some yards and there I am. Since such little effort is required on my part, I had to at least try a couple even though I still have such a prejudice against macarons. Just about all of the ones I tried have been too sweet for me and that includes the height of macaron uppity-ness, meaning Laduree of Paris.

When it comes to my prejudice of the hapless (and to me, over-hyped) macaron, I am clearly in the minority. The Chantal Guillon pop up shop turned out to be quite popular and one of the most well-patronized pop up shops I’ve seen. Even though I went fairly early, there was already a line, one which had grown longer by the time I made my purchases and left. Good for them.

I decided on two macarons – the red velvet and the salted caramel. They had a bunch of other flavors but those were the only two I wanted to try. I liked the macaron cookie part of the red velvet macaron; the outer layer was crisp with just the right amount of chewiness. The flavor was good too. But alas, the filling was too sweet for me. 


With the salted caramel, I had the opposite evaluation. I loved the salted caramel filling but the cookie part was too sweet and didn’t have the crispiness of the red velvet cookies. In essence, my perfect macaron would have been the red velvet macaron with salted caramel filling. 

I’m glad I tried them and I’m glad the pop up shop did so well but I have to admit, I still don’t get the hype around macarons. However, if you’re going to have one, it’s ideal to have them from someplace good and apparently Chantal Guillon is one of those good places. 


Wednesday, July 1, 2015

Red Velvet Sugar Cookies

Red Velvet Sugar Cookies - made dough June 27, 2015, recipe modified from Creme de la Crumb
Know the great thing about red velvet baked goods? They’re good across multiple holidays. The first obvious one might be Valentine’s Day – all that red frou frou schmaltzy hearts stuff going on. Then you can also make red velvet desserts for Christmas. Pair with green decorations and you have a seasonal winner. But wait, there’s more – patriotic holidays! The red is a natural foil to go with blue and white. Well, as natural as anything with red food coloring in it is going to be; but you get my meaning.
I’ve been wanting to try this recipe for red velvet sugar cookies for awhile. I have a plethora of red velvet recipes but have not made a sugar cookie version until now. At first I was going to just halve the recipe as the full recipe seemed like it made a lot and I’m (usually) all about the portion control. But I decided in for a penny, in for another 5 pounds.

The dough was really easy to mix together but I ended up using a little more red food coloring than the recipe called for before the dough was a red color that lived up to my finicky standards. Because you can’t have a wimpy red or anything verging on pink. Or red swirls in a chocolate dough. It has to be red. At first I worried it might be a tad too dry. Be sure to add the flour slowly, especially the last cup. Add in ¼ cup increments and make sure to incorporate it completely. If your dough is getting too dry, ease up on the last ¼ cup. You also don’t want to beat this too much after the flour is added while you’re trying to get the red food color evenly dispersed. In fact, if I were to make this again, I would add the red food coloring right before the dry ingredients. If, by the time you incorporate all of the dry ingredients, you’ve lost some redness, just add a few more drops of the food coloring and beat just until the additional color has been incorporated. At least this minimizes the (over) beating of the cookie dough trying to get the flour added and the right shade of red accomplished.
Anyway, the dough was great to work with, not too sticky and not quite too dry so I could shape it easily into large dough balls then press down with the bottom of a glass dipped in sugar. Don’t press down too hard as you don’t want thin cookies. These spread very slightly but not much so make them the thickness you want your cookies to be. I shaped the balls and pressed into thick discs before freezing them, stacked with wax paper between the layers, in a freezer bag.
No need to thaw them before baking. Simply remove from the freezer and arrange them on cookie sheets lined with parchment paper while your oven preheats. Allow at least an inch or inch and a half between cookies. And make sure you watch the baking time since, if you’ve achieved the right shade of red, you can’t tell if these are done just going by the color. Because, you know, red. And because the dough is thick and not really “wet”, you can’t quite go by how the middles look and whether they’re no longer raw shiny cookie dough because they don’t even get quite like raw shiny cookie dough when baking. I baked these for no more than 10-11 minutes, max, in my oven then took them out and let them cool on the cookie sheet for 10 minutes before moving them to wire racks.
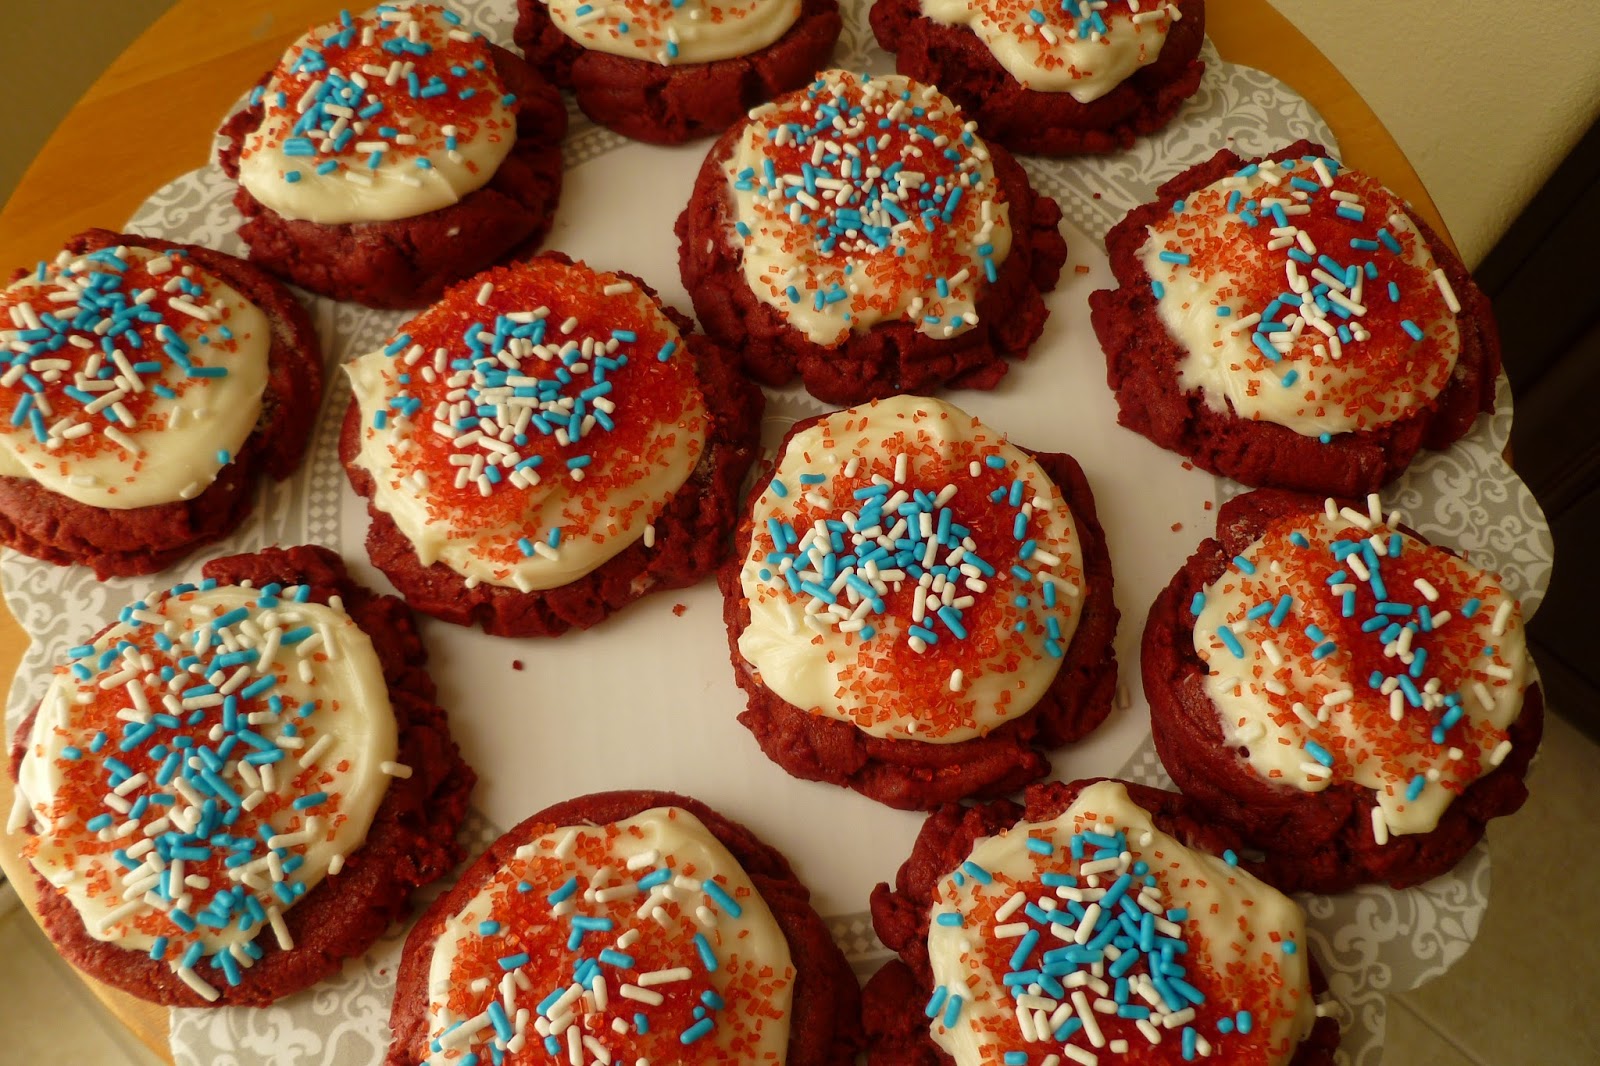
Let them cool completely before frosting. I didn’t use the frosting recipe in the original blog but made up my own to go with a more traditional cream cheese frosting: just butter, cream cheese, powdered sugar 
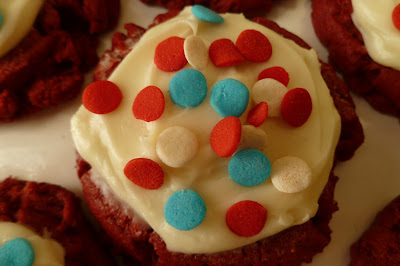
and vanilla. And the sprinkles; don’t forget the sprinkles which will turn these from Valentine’s Day and Christmas into 4th of July cookies. I 
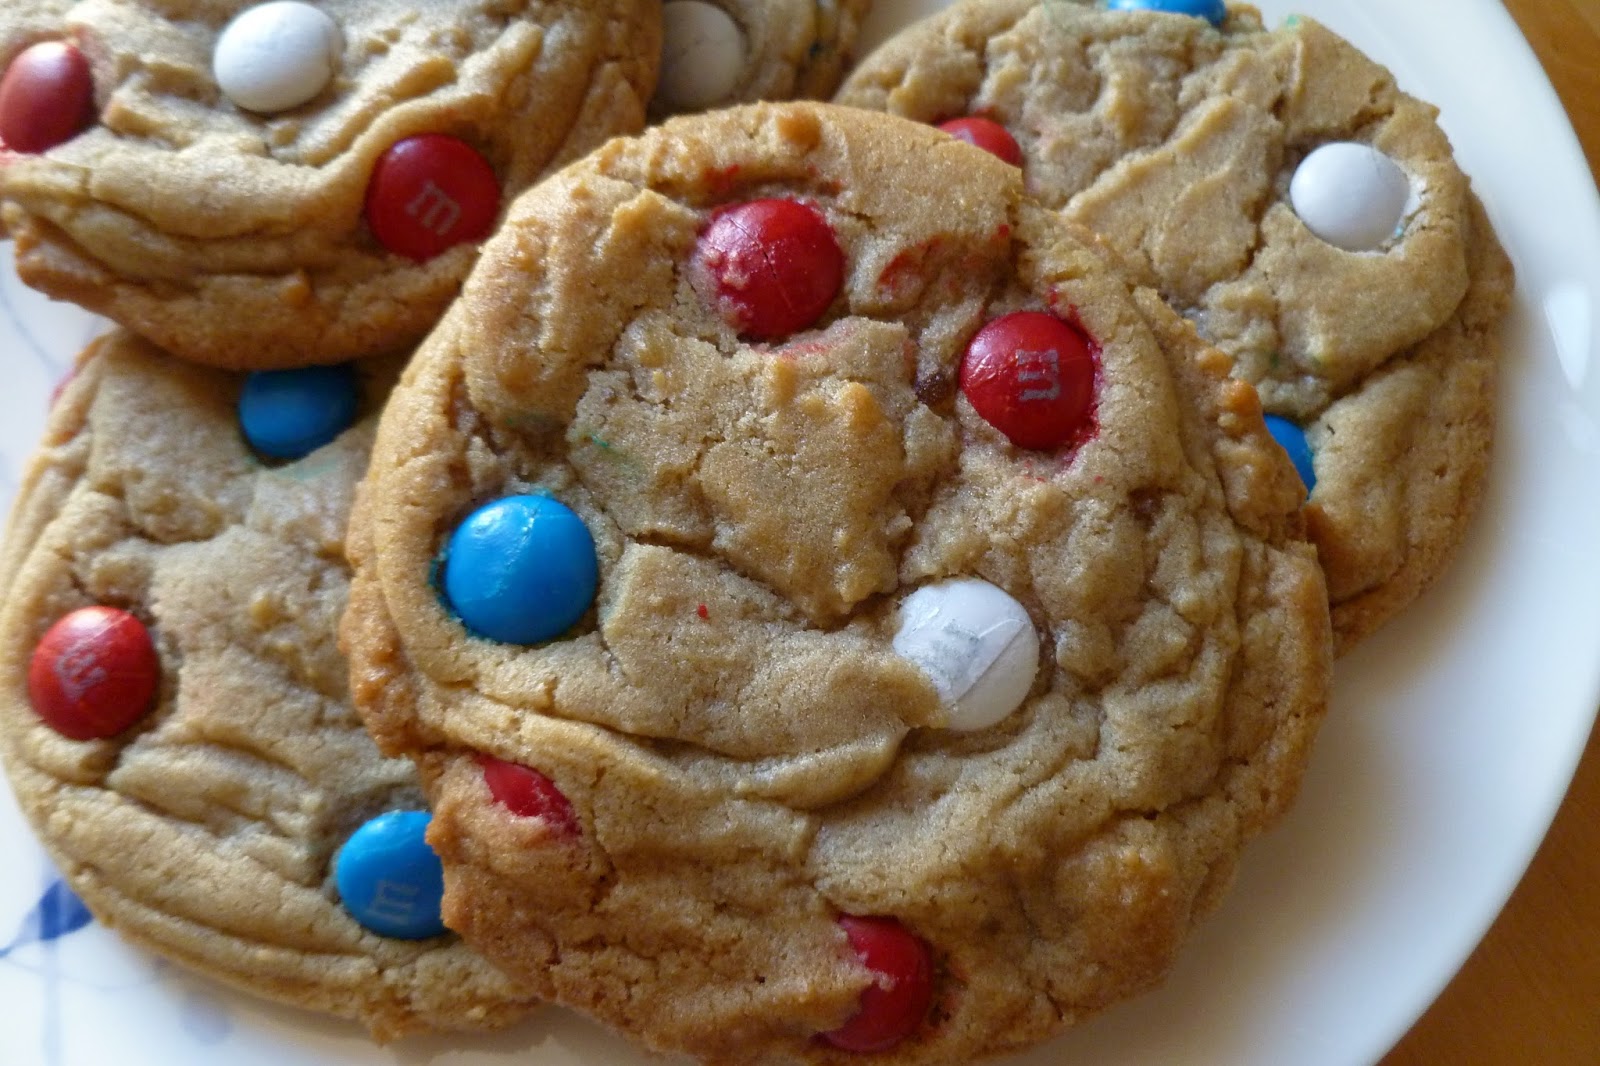
had the blue and white sprinkles plus the red colored sugar from the FireworksPudding Cookies so these were easy to decorate by literally sprinkling the colors on top of each frosted cookie.
Because of the frosting, these aren’t ideal cookies to bring to hot summer barbecues and picnics in the blazing sun but if you do, make the frosting at the last minute or refrigerate the frosting before using on the cookies then serve shortly after frosting. I would not advise frosting the cookies then refrigerating them as, while refrigeration might preserve the frosting, it’ll also dry out your cookies. And you don’t want that. If you have an evening barbecue in anticipation of watching fireworks, then these would work just fine. All you need to do is keep them out of direct sunlight and store at cool or room temperature.
I love the texture and thickness of these. Can’t say they were really very chocolaty because they weren’t nor were they all that sweet but the sweetness of the cream cheese frosting goes well with the moist, chewy texture of the cookie and provides the sweetness you need. This is one of those cookies that I got a lot of compliments on at work so I wasn’t the only one who liked them. Or, maybe because one full recipe made almost 3 dozen large, thick cookies and I only ate a taste test cookie, more people got to try them. Either way, it’s a keeper.
1 cup butter, softened
3/4 cup vegetable oil
1 3/4 cups sugar, divided
3/4 cup powdered sugar
1 tablespoon water
2 eggs
5 1/2 cups flour
1/3 cup unsweetened cocoa powder
1/2 teaspoon baking soda
3/4 teaspoon cream of tartar
1 teaspoon salt
1 tablespoon red food coloring

Frosting
1/2 cup butter, softened
8 tablespoons cream cheese, softened
1 teaspoon salt
1 teaspoon vanilla
4-5 cups powdered sugar
1/4 cup whole milk or enough to achieve desired consistency
Sprinkles, optional, for garnish
  1. In a large bowl cream together butter, vegetable oil, 1½ cups sugar, powdered sugar, water, and eggs.
  2. In a medium bowl whisk together flour, cocoa powder, baking soda, cream of tartar, and salt. 
  3. Add dry ingredients to wet ingredients and mix until combined. Add red food coloring 1 teaspoon at a time, mixing after each, until desired color is achieved. Cover and chill for 1 hour. 
  4. Remove dough from fridge and uncover. Roll dough into balls (slightly larger than a golf ball) and place on a lightly greased baking sheet about 3-4 inches apart. 
  5. Place remaining ¼ cup sugar on a plate. Use the bottom end of a tall glass cup (or the bottom of a small jar) for pressing the cookies. Spritz the bottom of the glass/jar with cooking spray then dip the bottom into the sugar. Use the bottom sugar-coated end of the glass to press cookies to about ½ inch thickness. Let the edges of the cookie dough squish out past the edges of the glass. 
  6. Bake at 350 for 8-10 minutes. Allow to cool for a few minutes on the baking sheet, then transfer to a clean flat surface or a cooking rack. 
  7. When completely cool, place in airtight containers (if stacking, separate layers with parchment or wax paper) and keep chilled in the fridge. 
  8. For the frosting, cream together butter and cream cheese until smooth. Add salt, vanilla, powdered sugar and milk; mix until smooth, alternating between powdered sugar and milk until you achieve the desired consistency. Frost cookies and garnish with sprinkles, if desired.

Sunday, June 28, 2015

Fireworks Pudding Cookies

Fireworks Pudding Cookies - made dough June 27, 2015 from Crazy for Crust
Got any summer barbecue plans for 4th of July next weekend? Picnics, fireworks, cold drinks, burgers, hot dogs, s'mores? Sadly, I don't. My grand plans for Independence Day weekend include working, working and....working. It's our busy time, wrapping up the finances for the quarter so no picnics and fireworks for me (cue violins....).
Make the dough balls then press the M&Ms on the outside of each ball
But that's not enough to stop me from making these 4th of July-themed cookies, appropriately called Fireworks Pudding Cookies, from Crazy for Crust, a blog that's always a great source for delicious recipes. These cookies help celebrate America's birthday with red, white and blue sprinkles as well as red, white and blue M&Ms so they're perfectly patriotic. Even more upside, they're also delicious. Crisp edges and chewy middles as well as a nice brown sugar undertone like any good chocolate chip cookie. Only in this case, instead of chocolate chips, you add M&Ms. The dough is easy to work with and the M&Ms adhere well on the outside. Whenever I bake cookies with M&Ms or chocolate chips, I like to reserve a few to press on the outside of the cookie dough balls so they're prominently featured and not lost inside the cookie. It's all about the pretty.

These can be adapted to other holidays depending on the color of your sprinkles and M&Ms that you use. But in this case, red, white and blue rule for July. These cookies are easy to make as well and, because they're made with M&Ms instead of chocolate chips, you don't have to worry about the chocolate melting in hot summer weather.

Finding red, white and blue sprinkles was the most difficult as Target didn't have them and Michaels appears to have run out already. I finally had to settle for buying blue and white sprinkles plus red sugar crystals. The red, white and blue M&Ms were easier to find in the regular candy aisle at Target. They were on sale and I didn't use them all for these cookies so look for more patriotic-themed treats going up on the blog in a few days.
1/2 cup unsalted butter, softened
3/4 cup brown sugar, packed
1 teaspoon vanilla extract
1 egg
1 box (3.4 ounces) instant vanilla pudding mix
1/2 teaspoon baking soda
1/4 teaspoon salt
1 1/4 cups all purpose flour
1/4 cup red and blue sprinkles
3/4 cup 4th of July M&Ms, reserve a handful for garnish
  1. Cream butter and brown sugar in the bowl of a stand mixer fitted with the paddle attachment. 
  2. Mix in egg and vanilla until smooth. Add pudding mix, baking soda, and salt. Mix until combined.
  3. Mix in flour, then stir in sprinkles and M&Ms. 
  4. Scoop cookie dough into golf-size balls. Press M&Ms randomly on outside dome of dough balls. Cover and chill or freeze for at least an hour or overnight. 
  5. Preheat oven to 350°F. Line cookie sheets with parchment paper or silpat baking mats. Place chilled cookie dough balls 2” apart on cookie sheet. Bake 9-11 minutes or until the edges just start to turn brown. Cool 5 minutes on cookie sheet before transferring to a rack to cool completely. 

Thursday, June 25, 2015

Restaurant Review: Left Bank

Left Bank - dinner on June 4, 2015
My almost-monthly dinner club had this month’s dinner at Left Bank. I don’t go to Left Bank very often as my tastes are probably a bit too simple to fully appreciate what they have for the prices they charge. My non-dessert palate is just not that refined. Case in point, last time I went, I had steak frites. Which is basically steak and French fries. Yup, that’s me. The fancier dishes are lost on me.

Nowadays though, since I end up getting tri tip steak on my salads at work more often than not, when I go out to eat, I’m trying to stay away from more meat. So I went with lobster pasta. I had all the best intentions of only eating a half portion since I’m pseudo-dieting. I was good and didn’t have a single piece of bread from the ubiquitous bread basket (do you know how hard it was to resist? Cue world’s tiniest violin.) But the pasta was so delicious that when I was at the halfway mark and my diet consciousness was telling me to call for a doggie bag and take the rest home to eat another day, I laughed in scorn at it and kept eating. Ha.
Lobster Pasta
Mussels
I wasn’t supposed to get dessert either but let’s not kid ourselves. I did. Actually, the five of us split 2 orders of profiteroles. Each order came with 3 profiteroles so we each had one and the 6th was for splitting amongst ourselves. I did not partake of the 6th one as you might expect. Not out of any self control or mindful dietary constraint, mind you. More like it was because the profiterole wasn’t very good. The ice cream was delicious but the choux pastry of the profiterole shell was dry and not flaky or light at all. It also didn’t taste as fresh as it could have been. I’m not a big fan of profiteroles in the first place but I’ve had some good ones and unfortunately, this wasn’t it. Saving grace: the ice cream. Side benefit: I wasn’t tempted to break my diet further by having a second profiterole.
Boeuf Bourguignon
Sole
Shout out for the great service we received at Left Bank as well. Our wait person was very nice and our food came out fairly quickly. Or else we were talking so much that we didn’t notice the wait. Either way, good times.
Unadorned profiteroles
Profiteroles with chocolate sauce

Tuesday, June 23, 2015

Classic Chocolate Chip Cookies

Classic Chocolate Chip Cookies - made dough June 6, 2015 from Big, Soft, Chewy Cookies by Jill Van Cleave
I don’t often borrow cookbooks from the library since, let’s face it, I have enough of my own baking books to stock my own library but every once in awhile, when I’m itching to try out a new cookbook, the library is a no-risk option. I even more rarely check out electronic cookbooks since I like the paper format with pictures and everything. But this book was available and since I was being good about not buying anything that wasn’t nailed down when it comes to books and cookies, it seemed like a good idea to check it out. Literally.
Now y’all know I need another chocolate chip cookie recipe like a 3rd, 4th and 5th eye but of course, that’s the recipe I naturally gravitated towards. For one thing, I was having lunch with my friend Chocolate Chip Cookie Todd so he’s like my natural taste tester for chocolate chip cookies. For another, they’re just so easy to make!
Normally I like to use milk chocolate chips for all my chocolate chip cookies but I had a Costco-sized (72 ounces) package of semisweet chocolate chips so I went with that with the tacit understanding that since it’s not milk chocolate chips, I won’t really be tempted to eat more than the taste test cookie. See, that’s how I discuss portion control with myself.
This was a pretty standard cookie. Good when 10 minutes out of the oven and still warm but I don’t know that it was a standout for me. It isn’t as “pretty” as some of my more favored recipes for chocolate chip cookies are or as tasty. It was just….typical. And we know my baking snobbery doesn’t allow for typical very often. I’m glad I tried it but since it was just okay, I’m going to my other go-to recipes.
Of course, take my assessment with a grain of salt, knowing how picky I am. I brought a few of these to our church potluck this past weekend and the people who tried it raved about it. I even got a “this is the best cookie I’ve ever had” compliment. Huh.
1/2 cup (1 stick) unsalted butter
½ cup dark brown sugar
½ cup granulated sugar
1 large egg
2 tablespoons milk
1 teaspoon vanilla extract
1 cup all-purpose flour
½ cup cake flour
½ teaspoon baking powder
¼ teaspoon salt
1 cup chocolate chips
  1. In a mixing bowl, cream butter and both sugars until smooth. 
  2. Add egg, milk and vanilla extract until just combined. 
  3. In a separate bowl, combine both flours with the baking powder and salt. Add to the creamed mixture. Stir in chocolate chips. 
  4. Portion into golf-ball-size dough balls, cover and chill or freeze until firm. 
  5. Preheat oven to 375 degrees F. Line baking sheets with parchment paper. Place cookie dough balls evenly on baking sheet. 
  6. Bake until cookies are lightly browned and middles no longer look raw, about 12-15 minutes. Do not overbake. Let cool for 2-3 minutes then transfer to wire rack to cool completely.