Sunday, December 30, 2012

Banana Cake with Cream Cheese Frosting

Banana Cake with Cream Cheese Frosting - made December 15, 2012 from Bake or Break
This is the last new dessert recipe I tried before Christmas and I'm sneaking it in before 2012 ends.  The picture of this cake from Bake or Break looked really good but it was the write up that led me to try this recipe because the author mentioned Billy's Bakery in Manhattan and their banana cake.  The last time I was in Manhattan, I actually had the banana cake from Billy's Bakery and it was fantastic.  Light, fluffy and moist.  Almost as good as my favorite banana cake from Icing on the Cake in Los Gatos, CA.  So of course I had to try this recipe.

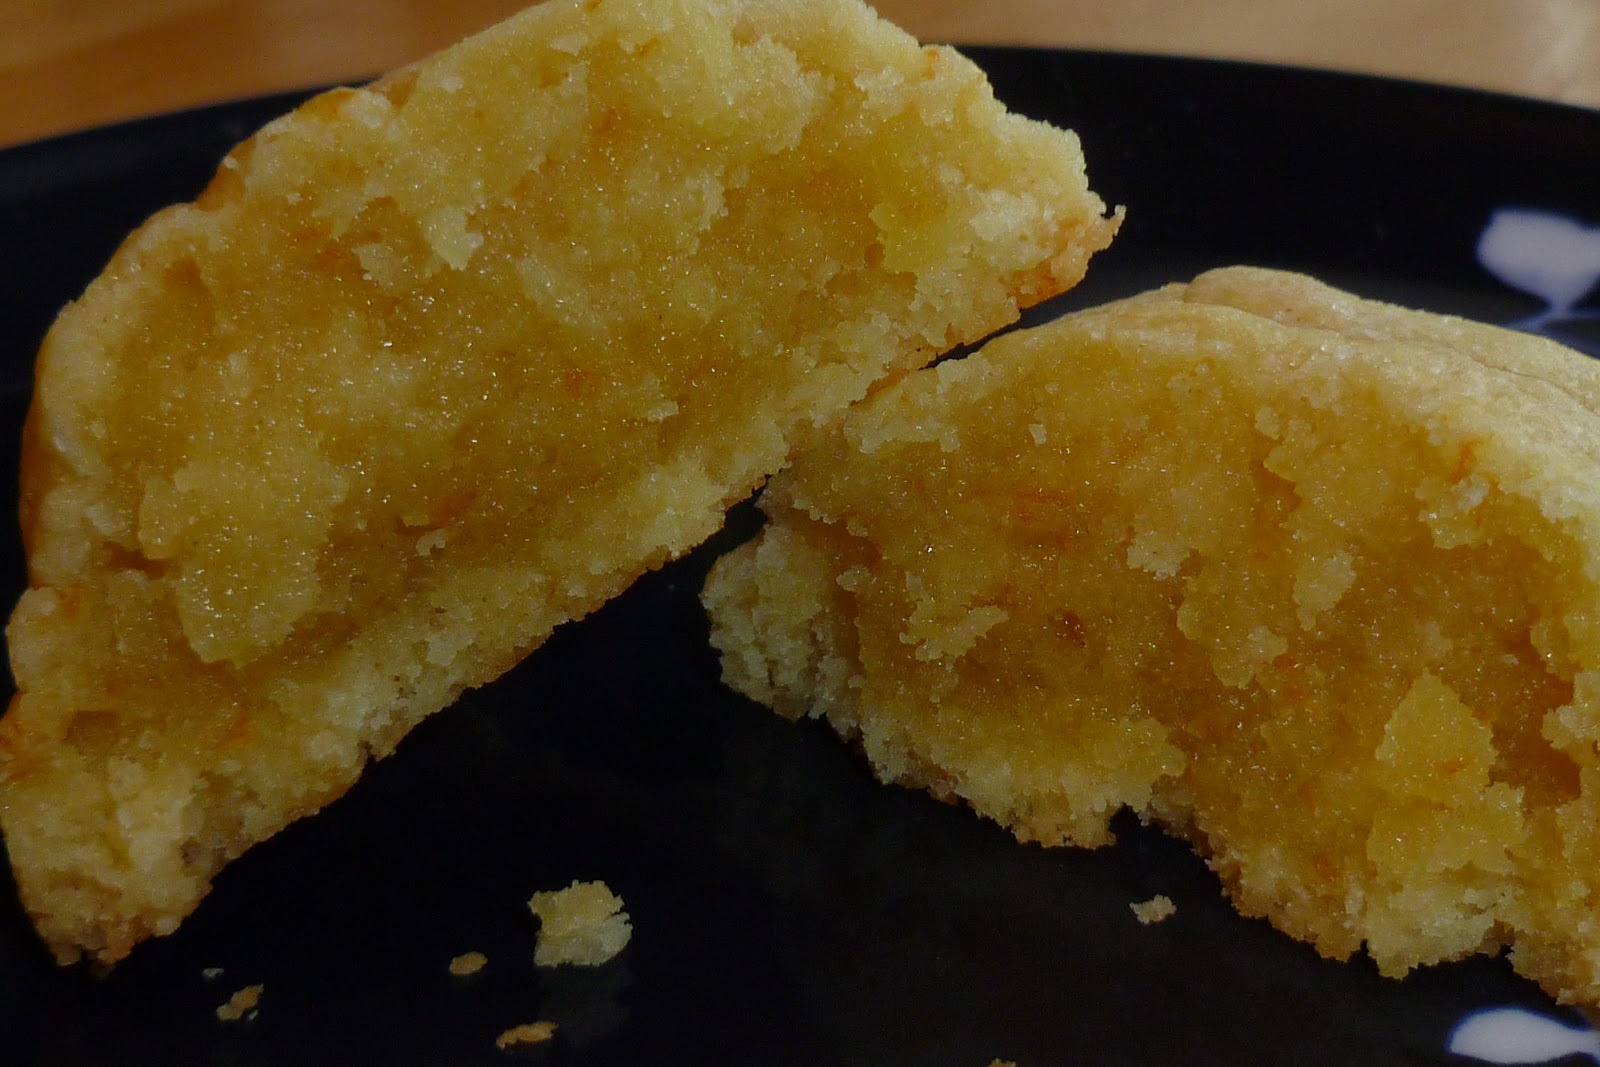
Sadly, though, my efforts missed the mark.  I don't know whether I didn't mix the batter enough or beat enough air into it or whether I didn't bake it long enough but mine didn't have the fluffy texture I was hoping for.  The taste was good but this was too dense which points to one of the errors I probably made above.  Back to my quest to find a banana cake similar to Icing on the Cake.

2 cups all-purpose flour
2 teaspoons baking powder
1/2 teaspoon salt
4 tablespoons unsalted butter, at room temperature
2 tablespoons canola oil
3/4 cup granulated sugar
2 large eggs, at room temperature
1 large egg white, at room temperature
1 teaspoon vanilla extract
4 large ripe bananas
1/4 cup milk

Frosting
4 ounces cream cheese, at room temperature
1/2 teaspoon vanilla extract
1 & 1/2 cups confectioners’ sugar
2 tablespoons chopped toasted nuts (optional)

  1. Preheat oven to 375°. Line an 8-inch square pan with foil and lightly spray with cooking spray.
  2. Whisk together flour, baking powder, and salt. Set aside.
  3. Using an electric mixer, beat butter, oil, and sugar. Beat in eggs and egg white, 1 at a time, mixing well after each addition. Mix in vanilla. In a separate bowl, mash bananas with milk. Set aside.
  4.  Gradually mix half of dry ingredients into butter mixture. Mix in bananas. Mix in remaining dry ingredients. Pour cake batter into prepared baking pan.
  5. Bake 40-45 minutes, or until a toothpick inserted into center of cake comes out clean. Cool cake in pan on wire rack. 
  6. To make the frosting: Using an electric mixer on medium speed, beat cream cheese and vanilla.  Reduce speed and gradually add confectioners’ sugar. Spread frosting on cake. Sprinkle with nuts if desired.

Friday, December 28, 2012

Jacques Torres' Chocolate Chip Cookies

Jacques Torres' Chocolate Chip Cookies - made December 17, 2012 from A Tender Crumb

I've been out of town for the holidays and put up a few pre-written posts while I was gone but now I'm back and just in time.  It's National Chocolate Day!  I'm woefully inadequately informed on important foodie days like that (Chocolate Day!!) so I'm caught a little unprepared with some kind of decadent chocolate dessert.  So this chocolate chip cookie recipe will have to be the stand-in. 

I made the dough before Christmas in preparation for a couple of get togethers and a few holiday gifts.  As I've mentioned earlier, every time I have plans to see my friend Todd whose favorite dessert is chocolate chip cookies, I have an excuse to try a new chocolate chip cookie recipe.  I've had this pinned for awhile waiting for one of those Todd occasions.  I made the dough and had it chilling overnight but then got the email that one of our mutual friends had to cancel the dinner so we postponed it until next month.  Same thing happened last time I was supposed to meet with Todd.   Fortunately, chocolate chip cookies are universally welcomed by most of my friends so I had no problem finding other recipients for them for my baking gifts (sorry, Todd).

This was a pretty good recipe, although, to my jaded taste buds, it's always best 10 minutes out of the oven when it's still warm, the edges are crisp and the chips are melt-y.  Once it cooled to room temperature, it was somewhat like your average chocolate chip cookie.  Still good but I have to give the nod to Averie's chocolate chips and chunks cookies as being better at room temp. I did not have pastry flour so I used half all-purpose and half cake flour as a substitute.  Someday I do want to try it with pastry flour though and see how it turns out.

1 pound unsalted butter
1 3/4 cups granulated sugar
2 1/4 cups packed light-brown sugar
4 large eggs
3 cups plus 2 tablespoons pastry flour (I used half all-purpose/half cake flour)
3 cups bread flour
1 tablespoon salt
2 teaspoons baking powder
2 teaspoons baking soda
1 tablespoon pure vanilla extract
2 pounds bittersweet chocolate, coarsely chopped (I used Guittard milk chocolate chips)

  1. Preheat oven to 350 degrees (unless you're freezing the cookies first). Line baking sheets with parchment paper; set aside.
  2. In the bowl of an electric mixer fitted with the paddle attachment, cream together butter and sugars.
  3. Add eggs, one at a time, mixing well after each addition.
  4. Reduce speed to low and add flours, baking powder, baking soda, vanilla, and chocolate; mix until well combined.
  5. Using a 4-ounce scoop for larger cookies or a 1-ounce scoop for smaller cookies, scoop cookie dough onto prepared baking sheets, about 2 inches apart (or scoop into dough balls and freeze for several hours or overnight).
  6. Bake until lightly browned, but still soft, about 20 minutes for larger cookies and about 15 minutes for smaller cookies.
  7. Cool slightly on baking sheets before transferring to a wire rack to cool completely.

Monday, December 24, 2012

Truffle Brownies

Truffle Brownies - made December 15, 2012 from The Fearless Baker by Emily Luchetti

Merry Christmas Eve!

I borrowed this book from the library during my virtuous phase of borrowing baking books instead of buying them.  So far the phase is holding.  It helps that I copied the recipes I was most interested in before I returned the book.  This is one of them.  And it lives up to its name because it's definitely a truffle in brownie form.  If you like fudgy brownies, this is one slight step beyond that. If you like the dense creamy filling of dark chocolate truffles, try this recipe.  Use the highest quality unsweetened chocolate you can afford (Scharffenberger comes to mind) because that makes or breaks this brownie.  It's pure chocolate.  The recipe says to cut into 16 squares but I recommend treating it like fudge and cutting the pieces smaller.  To offset the richness, you can also sprinkle toffee bits on top or swirl it with caramel but I went for the pure unadulterated chocolate version.  Suffice it to say, with my sweet tooth gone AWOL, one small piece was sufficient for me.  Don't overbake or you won't get the creamy, fudgy texture.

8 ounces unsweetened chocolate, coarsely chopped
8 tablespoons (1 stick) unsalted butter
4 large eggs
1 cup granulated sugar
¾ cup firmly packed light brown sugar
¾ cup all-purpose unbleached flour
1 teaspoon pure vanilla extract
Large pinch kosher salt

1.     Preheat the oven to 350F.  Grease the bottom and sides of a 9 x 9-inch baking pan with nonstick cooking spray.
2.     Melt the chocolate and butter in the top half of a double boiler over simmering water.  Stir and scrape the sides occasionally with the rubber spatula until the chocolate is smooth and evenly melted.  Let cool to room temperature.
3.     In a medium bowl, whisk the eggs, granulated sugar, and brown sugar until combined, then whisk in the melted chocolate.  Add the flour, vanilla, and salt, and continue to whisk until the mixture is smooth and evenly combined.  Pour into the prepared pan and smooth the surface with the baking spatula, preferably an offset spatula.
4.     Bake the brownies for 20 minutes and check for doneness by inserting a toothpick in the middle.  When it comes out a little fudgy, not quite clean, the brownies are done.  If they’re a little too wet, bake 5 minutes longer and check again.
5.     Let the brownies cool in the pan, then cut into 16 squares.

Saturday, December 22, 2012

Fudgy Nutella Cookies with Sea Salt

Fudgy Nutella Cookies with Sea Salt - made December 15, 2012 from Ambitious Kitchen

I kept seeing this cookie recipe in the blogosphere and like any good baking sheeple, I wanted to try it.  Funny thing is, I'm indifferent to Nutella.  I like baking with it (as evidenced by the hefty two-pack I keep buying at Costco) but I don't go into raptures over it.  I've never eaten it right out of the jar and I don't spread it on bread or eat it "straight".  I just bake with it.  I'm the same way with peanut butter.  However, if you are a nutella fan, you might like to try these cookies since nutella is the star ingredient.  It's pretty much nutella fudge in cookie form.  I like the salty sprinkles since it offset the sweetness of the cookie.

I've been baking so much lately that I think I'm starting to lose my sweet tooth.  As in, sweets do not send me into raptures right now.  Which is a little worrisome if you're a baker.  I'm hoping this will pass.  Because by definition, temporary insanity is supposed to be temporary, right?

1 cup nutella
2 tablespoons brown sugar
1 egg
1/2 cup flour + 1 tablespoon
coarse sea salt for sprinkling (I used fleur de sel)
  1. Preheat oven to 350 degrees F.
  2. Combine all ingredients besides salt in a large bowl with electric mixer until well combined. Place dough in freezer for 10 minutes.
  3. After 10 minutes roll dough into approximately 1-inch balls, place on ungreased baking sheet at least two inches apart and bake for 8-10 minutes. Remove from oven and let cool for a few minutes until cookies are set, then very carefully transfer to a wire rack. Generously sprinkle with sea salt.

Friday, December 21, 2012

Snickerdoodle Biscoff Cookie Cups

Snickerdoodle Biscoff Cookie Cups - made December 15, 2012 from Sweet as Sugar Cookies

Last Saturday was my first full day back from my business trip last week and after I had heard about the shooting at Sandy Hook.  One of my coping mechanisms in life is to bake so, not surprisingly, I pretty much spent all that day baking.  I needed gifts for church friends the next day and for care packages I was mailing out so it was a good way to channel my efforts into something positive.  Like many other bloggers, today, I'm dedicating this post to the 20 children and 6 adults who died in that tragedy - they will always be remembered and loved.

I've been meaning to try this recipe from Sweet as Sugar Cookies for awhile.  I like snickerdoodles and I like biscoff flavor so it seemed like a good combination.  Plus, like thumbprint cookies, cookie cups are little and cute and perfect in care packages when you're giving away several different kinds of cookies but don't want to overwhelm your recipients with too much.  I made these as part of the goodie bags for church friends and was very pleased with how they turned out.  The snickerdoodle cookie itself is good enough to be a standalone cookie in case you don't want to make it as a cookie cup.  I skipped the step to drizzle white chocolate over it as it was a cold day when I made these and it's tricky to work with white chocolate which freezes up and sets quickly in cold temps.  Plus, okay, I didn't have good white chocolate to use for melting when I made these. 


1 cup unsalted butter, softened
1 1/2 cup sugar
2 eggs
2 teaspoons vanilla
2 3/4 cup all-purpose flour
2 teaspoons cream of tartar
1 teaspoon baking soda
1/4 teaspoon salt

2 tablespoons sugar
2 teaspoons cinnamon

Biscoff Cream Cheese Frosting
4 ounces cream cheese, softened
4 tablespoons creamy Biscoff spread
1/2 cup powdered sugar

melted white chocolate (for drizzling - I skipped this step)

For the cookie cups: Cream the butter with the sugar. Add the eggs and vanilla and beat well. Blend in the flour, cream of tartar, baking soda, and salt. Form the dough into 1 Tbsp. balls and roll in the cinnamon-sugar. Place balls of dough in greased mini muffin tins and bake at 350F for about 13-15 min. until a toothpick comes out clean. While still warm, make a little dent in the center of each cup with a small spoon or your finger (you may have to scoop out a little of each cookie - eat the scraps and enjoy). Chill the tins in the fridge for at least 30 min. before removing the cookies.

For the frosting: Beat the cream cheese with the Biscoff spread until combined. Beat in the powdered sugar until fluffy.

Pipe the frosting into the cookie cups. Drizzle with the melted white chocolate. Keep in the fridge until ready to serve.

Thursday, December 20, 2012

Corn Pudding

Corn Pudding - made December 15, 2012 from allrecipes.com

First day of holiday vacation!  Or at least it will be as soon as I take one more meeting this morning (that's how we take "vacation" in high tech).  Then I need to catch up on a slew of backlogged blog posts this coming week. 

I first heard of corn pudding from my online fitness board and I found a similar recipe on allrecipes.com, except I substituted butter for margarine.  (I'm not sure I'm physically capable of buying margarine since it goes against every baking fiber of my being.)  I like corn though so I thought I'd try this recipe. It's really easy to mix together and I had some sour cream on the cusp of expiring that I needed to use in a hurry.

I'm not quite sure what I expected and I have to admit, I couldn't tell if I liked this or not on my first try.  It's not quite creamy like a regular pudding and not quite gritty like cornbread but some cross in between.  I thought it might improve with age versus trying when first out of the oven so I let it sit a day and went back for another taste test the next day.  Truthfully?  I still don't know what to think about it.  It's "okay" but just not to my taste.  I think I'd rather have corn on the cob, grilled and slathered with butter.  Oh (TMI alert) and you probably should never use sour cream on the "cusp" of expiration.  Because there's a chance the one I used might've jumped the shark already and hence why I've been down with a stomach virus this past week.  Ugh.  I always used to joke I'm a good stomach flu (or self-inflicted food poisoning) away from a size 2.  It's only funny until it happens.  Erk.  Total upside though is I can get into my skinny jeans in time for Christmas.  Always a silver lining.

1 15.25-ounce can whole kernel corn, drained
1 15-ounce can cream-style corn
1/2 cup butter, softened
1 cup sour cream
1 8.5-ounce package dry cornbread mix
  1. Preheat oven to 350 degrees F (175 degrees C). Lightly grease a 2 quart casserole dish.
  2. In a medium bowl, mix together the whole kernel corn, cream style corn, butter, sour cream, and corn bread mix. Pour into the prepared casserole dish.
  3. Bake for 45 minutes in the preheated oven, or until a knife inserted in the center comes out clean.

Wednesday, December 19, 2012

Orange Butter Cookies

Orange Butter Cookies - made December 8, 2012 from The Fearless Baker by Emily Luchetti

As I bake my holiday gifts this year, I like to provide a variety of different cookies with different flavors.  Sometimes I like to do something fancy and sometimes just something simple but good.  This cookie falls into the latter category.  I'd never made it before so I did a test run and tried it out on my parents.  One recipe only made 9 cookies so if you have more than 2-3 orange lovers, you might want to double or triple the recipe.  Because this is a really good cookie.  It's dense, orange-y and chewy.  It doesn't spread very much (I also froze the dough and baked it on a convection setting) and I loved both the taste and the texture. It's like a chewy butter cookie flavored with oranges. The picture below doesn't do it justice as it looks raw but it really isn't, just dense, moist and chewy. (Hey, even my skinny mom ate two).

1 medium navel orange
8 tablespoons (1 stick) unsalted butter, softened
1/3 cup granulated sugar
1 large egg yolk
½ teaspoon pure vanilla extract
¼ teaspoon kosher salt
1 cup plus 2 tablespoons all-purpose unbleached flour

1.     Zest the rind of the orange, then cut the orange in half and squeeze the juice into a bowl – you’ll need 1 ½ teaspoons of the juice).
2.     In a stand mixer, beat the butter and sugar on medium speed until smooth.  Add the orange zest, 1 ½ teaspoons of the juice, the yolk, vanilla and salt and stir until combined.
3.     Reduce the speed to low, add the flour and mix until everything is combined and comes together into a dough.
4.     Turn the dough out onto a well-floured work surface, gather together with your hands, and divide into 2 pieces.  Sprinkle one of the pieces with flour and roll it with your hands into a 6-inch evenly thick log.  Repeat with the second piece of dough.  Wrap the logs in plastic wrap and refrigerate for at least 1 hour or until firm.  (The dough can be kept in the fridge for 2 days or frozen for 2 months.)
5.     Preheat the oven to 350F.  Line the baking sheets with parchment paper.
6.     Slice the logs into ½”-thick large coins and arrange on the parchment-lined baking sheets about 2 inches apart.
7.     Put 2 racks in the upper and lower thirds of the preheated oven.  Bake until the cookies are golden brown, about 13 minutes.  Rotate pans if necessary to brown evenly.  Let cool completely.
HungryLittleGirl What's cooking, love?