Apple Pie - made September 23, 2021, adapted from The Sensible Mom

2 1/2 cups flour
2 1/2 tablespoons sugar
1 teaspoon fine sea salt
8 tablespoons vegetable shortening, well chilled (place in freezer 15-20 minutes before using)
12 tablespoons unsalted butter, well chilled and cut into 1-inch pieces (place in freezer 15-20 minutes before using)
5 to 6 tablespoons ice water
- In a large bowl, whisk together the flour, sugar and salt
- Scatter the vegetable shortening over the flour mixture and using either two butter knives, a pastry cutter or your hands, cut the shortening into the flour mixture until the mixture resembles coarse sand.
- Scatt the butter over the coarse flour mixture and repeat the same process.
- Sprinkle ice water over the flour mixture, one tablespoon at a time. Press the dough together with a spatula after each tablespoon. Stop adding ice water once the dough has come together.
- Divide the dough evenly in half. Flatten each half and shape into disks. Wrap the disks tightly with plastic wrap and refrigerate for 1 hour.
- When ready to use the dough, remove from refrigerator and let sit for 10 minutes. Place on a large piece of parchment paper and roll out in a round shape to 1/4" thickness. Handle the dough as little as possible. Cover and refrigerate while you prepare the filling.
Filling
3 large Granny Smith apples, peeled, cored and sliced
3 large Cortland, McIntosh or Braeburn apples, peeled, cored and sliced
3/4 cup plus 1 tablespoon granulated sugar
1 tablespoon light brown sugar
2 tablespoons flour
1 tablespoon lemon juice
1/4 teaspoon fine sea salt
1/4 teaspoon nutmeg
1/2 teaspoon cinnamon
1 egg white, lightly beaten
- Place a rimmed baking sheet on oven rack in the lowest position in oven. Preheat oven to 500 degrees.
- In a large bowl, toss the apples with 3/4 cup granulated sugar, brown sugar, flour, lemon juice, salt, nutmeg and cinnamon. Set mixture aside.
- Place one rolled out dough in bottom of pie pan. Pour the apples onto the unbaked bottom crust, mounding in the middle. Lay the top crust over the apples, trim excess pie dough around the edges and seal and crimp the edges.
- Cut 4-5 vent holes in the top of the pie crust. Brush the top crust with beaten egg white then sprinkle the remaining tablespoon of sugar over the crust.
- Place the pie on the hot baking sheet then reduce the oven temperature to 425 degrees F. Bake at this temperature for 20-25 minutes or until the top crust is golden brown. Then rotate the baking sheet and reduce temperature to 375 degrees F. Bake another 30-35 minutes, until the top crust is a deep golden brown and the apple juices are bubbling. Remove pie from oven and let cool before serving.


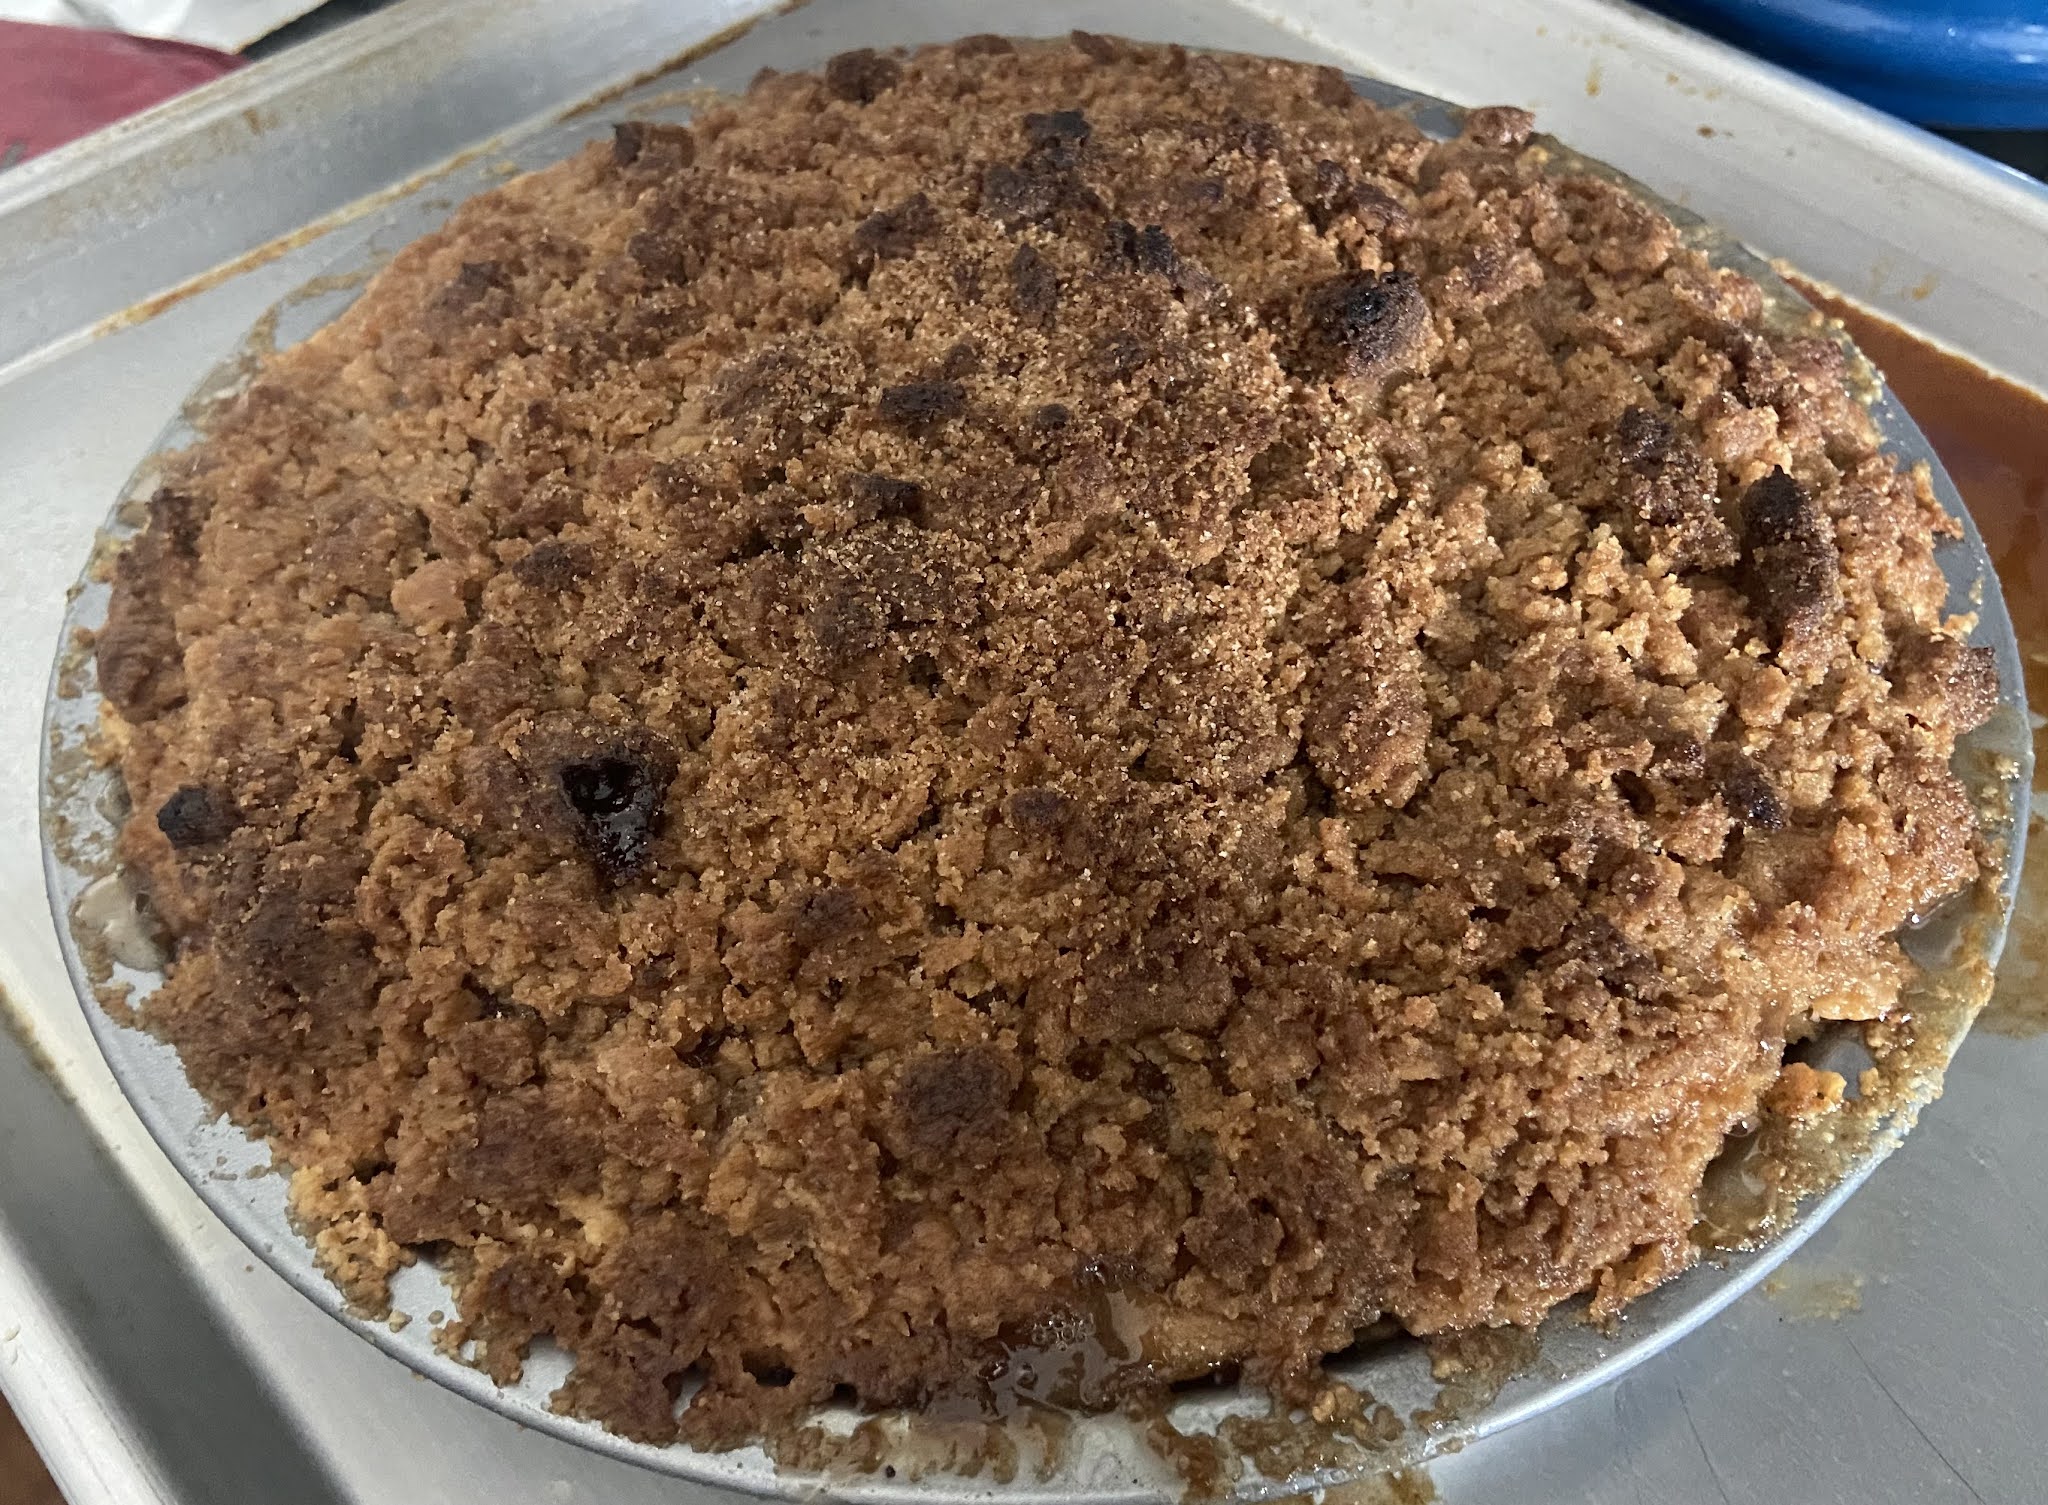
The Dutch Apple Crumb topping is from 5 Boys Baker

 It was a good way to save the pie and it turned out to be amazing with the filling. The filling was also quite good. The bottom pie crust? Yeah, not so much. It's not that it was too tough, although I can't claim it was that flaky either. But because I was so afraid of over-handling the pie dough that I didn't roll out the crust enough and it was a bit thick.

 So I would say this pie only half turned out. I used a combination of Granny Smith apples and Envy apples and the filling was amazing, not too tart and not too sweet, with the streusel topping adding some crunchy texture.
 I still haven't conquered pie dough but I'm feeling confident about my pie filling skills. Back to the pie dough drawing board because, as you can imagine, a crustless pie is mostly just a cobbler and I already know how to make cobbler, lol.

The Dutch Apple Crumb topping is from 5 Boys Baker
1 cup flour
1/2 cup granulated sugar
1/2 cup light brown sugar
1 teaspoon cinnamon
1/2 cup cold butter, cubed
Cut all ingredients together to form a streusel with coarse crumbs. Squeeze handfuls of the streusel together and scatter evenly over the top of the pie.


