Friday, March 6, 2015

Recchiuti Confections

Recchiuti Confections - Pop Up Shop February 11, 2015
I mentioned awhile back that at work we have this marvelous institution called “pop-up shop” at work where (usually) local, small businesses display their wares for purchase. It’s a tremendously convenient way to be exposed to various products and local businesses and it’s from the pop-up shops that I’ve discovered Three Babes Bakeshop, Bootleg Creamery and now Recchiuti Chocolates, an artisan chocolatier from San Francisco.

I knew of Recchiuti Chocolates from years ago because its proprietor, Michael Recchiuti was the graduation speaker at the Culinary Institute of America in St Helena when I graduated with my certification in Baking and Pastry Arts. They were well known locally for their homemade marshmallows but I’ve never tried them since I don’t like marshmallows. Since then, however, they appear to have expanded their product line tremendously and they’re just as well known for high end chocolates. I’ve visited their store at the Ferry Building in San Francisco although I don’t remember buying anything then. Strange as this might sound, considering I probably have chocolate running through my veins, I don’t often indulge in high end chocolate.  One little piece typically packs more calorie punch than, say, a comparable-size brownie. Given the choice, I probably consume the same amount of calories but in a large portion in the form of a brownie. Yeah, I’m greedy like that. 

For this pop-up shop visit though, when I wandered in, one of the women manning the shop patiently answered all of my questions as I snapped pictures of their displays, mostly boxes of chocolates since it was so close to Valentine’s Day. They had the smaller boxes of 9 chocolates each ($26 a box) and larger boxes (forgot their price but much more expensive). She gave me a burnt caramel enrobed in dark chocolate to try and confided the women go for the smaller boxes while the guys buy the larger boxes. I surmised the women were buying for themselves (enforced portion control) and the guys were buying for the women (you can make a much grander gesture with a big box of chocolates over a small one). Smart guys. 
The burnt caramel sample she gave me was pretty good but I confess my palate isn’t so refined that I went into chocolate stratosphere. I can tell the difference between bad chocolate, good chocolate and even better chocolate. But whether I can taste the difference between great chocolate and spectacular chocolate is hit or miss, especially when it comes to dark 
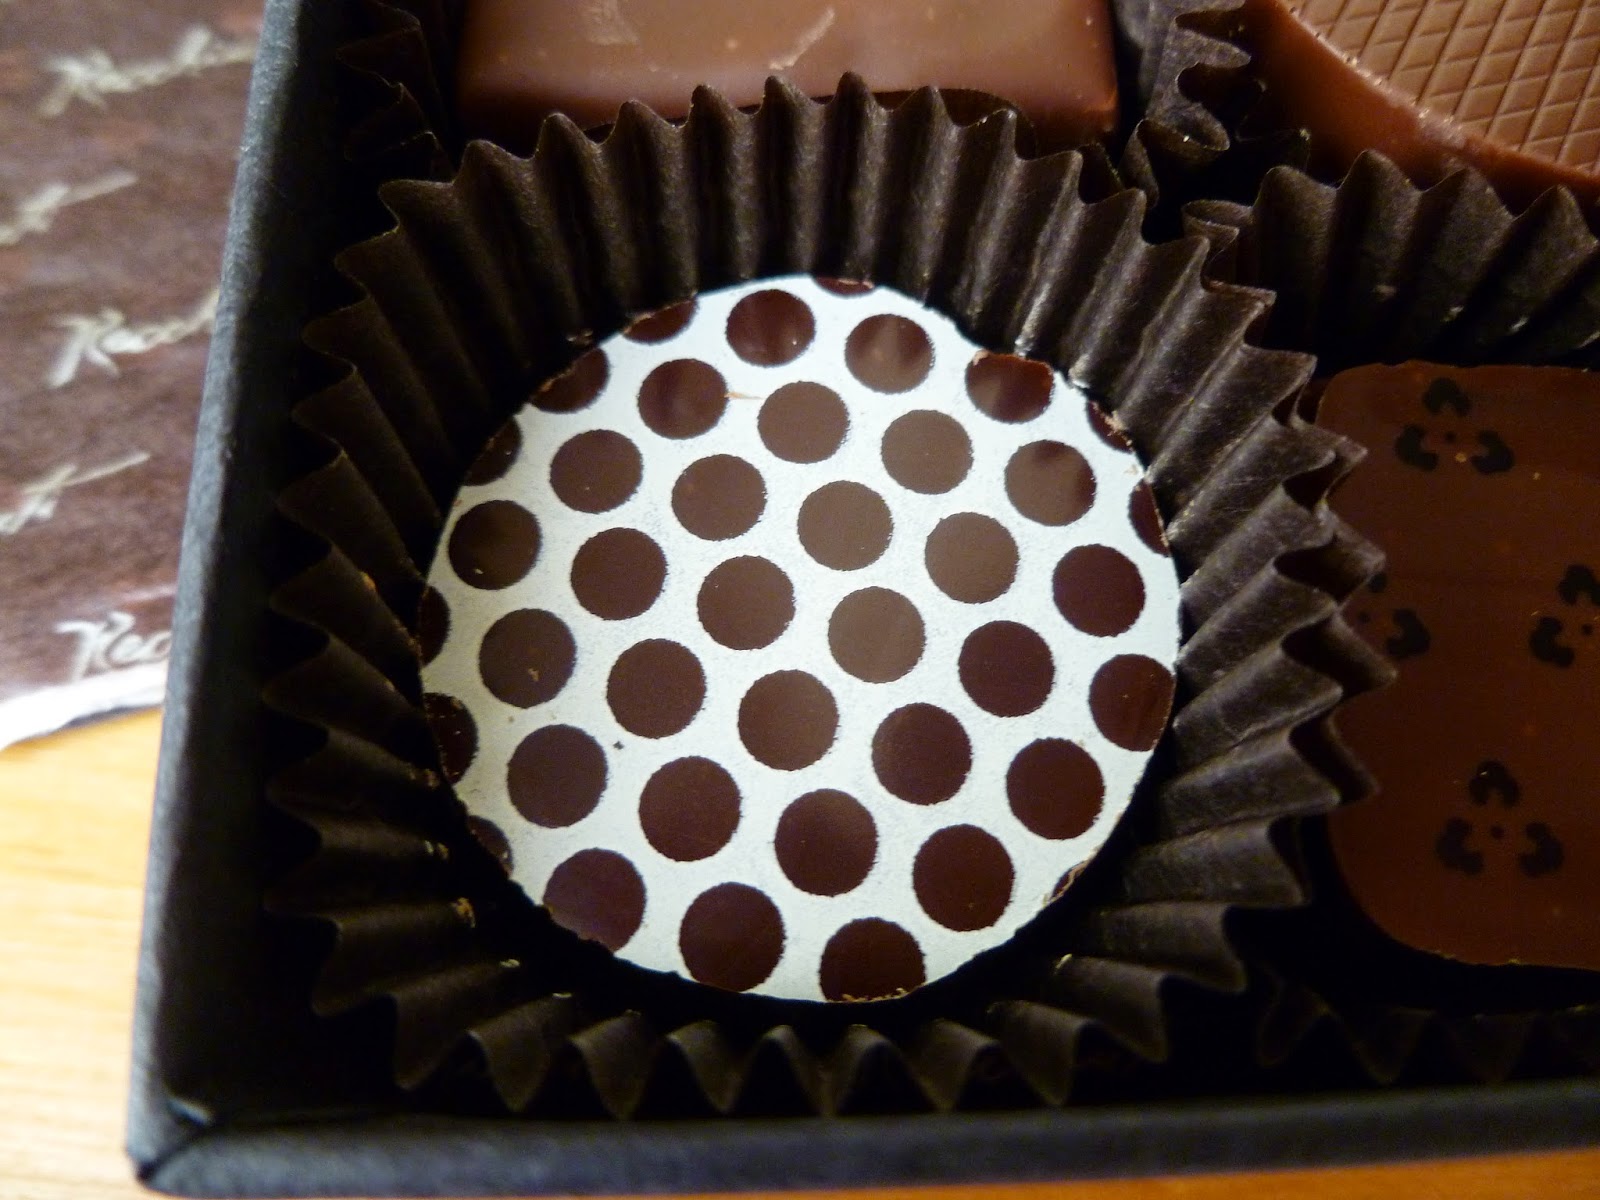
chocolate since I’m more of a milk chocolate aficionado. Regardless, I bought their milk chocolate assortment in the 9-piece box (Sepia); no grand gestures needed for myself when I just wanted to try it.

Whenever I have a box of chocolate, whether I receive it as a gift or buy one for myself, I typically just go for the flavors I like and disregard/give away the rest. Based on the descriptions the lady gave me, I figured I would only like about 4-5 chocolates in the 9-piece box since the others were tea-flavored and I don’t like tea.  But I was committed to all 9 pieces so I could properly evaluate the Sepia box. Which is another reason there’s some time between when I first bought the box and when I finished it. I had a dietary budget of no more than 1 chocolate per day so it took 9 days to evaluate all of the Sepia. I was originally committed to writing detailed notes about what I thought about each flavor. Now that I've finished them all (it took more than 9 days since I forgot to eat one every day), I'm backing off from that because, in all honesty, my taste buds are not that refined when it comes to high end chocolate. I know, I'm disappointed in me too. But my tastes are very simple and some of the different infusions did nothing for me and even the ones I liked I don't know that I thought were uber-special, more from the lack of refinement in my chocolate palate than anything to do with the high end chocolates themselves. I liked the caramel and the hazelnut the best. I liked the tea-infused ones the least. And that's about all I can say.
Sesame Nougat
Sesame Nougat: milk chocolate caramel ganache atop a crunch sesame nougat disk
Honeycomb Malt
Honeycomb Malt: toasted barley malt infusion blended in a white chocolate ganache highlighted with house-made honeycomb
Peanut Butter Puck
Peanut Butter Puck: creamy peanut butter blended with milk chocolate and flecked with fleur de sel
Lavender Vanilla
Lavender Vanilla: 70% dark chocolate ganache infused with locally grown lavender buds and whole vanilla beans
Spring Jasmine Tea
Spring Jasmine Tea: delicate jasmine blossoms and green tea infusion blended with pure dark chocolate
Bergamot Tea
Bergamot Tea: 70% dark chocolate blended with a Ceylon tea and bergamot oil infusion

Butterscotch Caramel
Butterscotch Caramel: dark brown sugar enhances the deeply cooked caramel, giving way to "scotch-ness" baptized with a salty shower of fleur de sel

Star Anise and Pink Peppercorn
Star Anise & Pink Peppercorn: star anise and pink peppercorn infusion blended with milk and dark chocolate
Piedmont Hazelnut
Piedmont Hazelnut: A whole toasted hazelnut cast in a milk chocolate gianduja (chocolate and hazelnut paste)

Wednesday, March 4, 2015

Speculoos Cookie Sandwiches

Speculoos Cookie Sandwiches - made dough February 21, 2015 from Love and Olive Oil
I love Biscoff cookies. Which is funny because I only discovered them when I was traveling for work and they’re what was served to us on the airplane. How many airplane snacks can you say you got hooked on? Me? One. I don’t see them in grocery stores that much but discovered the Speculoos version of them at Trader Joe’s last year. I buy a box once in a blue moon but, because I have a tendency to want to eat them all, once in a blue moon means every 6 months or so.
I was intrigued by this recipe that promised to be the homemade version of Biscoff or Speculoos cookies. I’m not gonna lie – I was skeptical. Really? But the picture on the original blog was pretty so I fell for it. It doesn’t hurt to try it, right? If it fails, my 6 months were coming up and I was due to buy another box of Speculoos anyway.
One thing that made me leery was the number of spices in this cookie dough. Which is counterintuitive because Biscoff cookies are basically a spice cookie so yes, they have to have spices in them. But you’re talking to someone who thinks a recipe using cinnamon and nutmeg is already spiced enough. This one also had ginger and cloves and pepper and lions and tigers and bears, oh my. But I dutifully went with it because that’s what good recipe lemmings do. I will admit I did skip the black pepper though, not because I was being rebellious (sort of) but because the only black pepper I had was the kind you coarse grind with a pepper mill and I didn’t want chunky pepper in my cookies.
The lure of the original Biscoff cookie for me isn’t just the taste, however. It’s also the crisp, crunchy texture. Those as well as Oreos are two of the rare cookies that I like crisp rather than chewy (shortbread being a close third). I knew I had to make these fairly thin and bake fully to achieve a crisp texture. You don’t know how twitchy I got in not underbaking these but I held back and baked them for as long as I dared without burning them. I did time these (also a rarity) because you can’t go by the color since the cookie dough itself is dark colored.

These came out larger than I expected because they spread a bit and, disappointingly, they also lost some of their shape. When they went into the oven, they had distinct flower-scallop shapes that would have made cute little flower sandwich cookies. When they came out, the “flower” part was lost and they were vaguely round shapes with blunted scallop ends. Martha Stewart fail. Oh well, it’s not the first time something I’ve made doesn’t look the way I wanted it to. We just dust off our First World problems and soldier on.
The original recipe called for a chocolate cream filling (click on the post title to go to the original recipe if you want that filling) but I’ve mentioned before that I don’t like to combine cookie butter with chocolate as they’re two dominant flavors that compete more than they complement each other, at least to my picky taste buds. Just like when you have some friends you enjoy spending time with separately but together they make for a headache-inducing gathering, chocolate and cookie butter need to stay apart. Instead, I sandwiched the cookies with – tada – cookie butter! What better way to emphasize the Biscoff cookie flavor than with the cookie butter they’ve spawned?
This is another one of those times where I set all baking modesty aside and say, holy smokies, that was a brilliant move. I love these cookies. I love the filling in these cookies. I love the cookies sandwiched with the filling. They really do taste like honest-to-goodness Biscoff cookies, crispy-crunchy and all. The flavor was there, the texture was there – what more could I ask for? Plus it smelled delicious. I had a taste test cookie but, in a fit of virtue, took the rest into work without snagging a second cookie. My resolve weakened as the morning progressed but I waited too long to return to the cookie plate and by the time I gave into my inner cookie monster, the cookies were gone. Sigh. Time to make another batch.
1/2 cup butter, cold, cut into 1/2-inch cubes
1/3 cup granulated sugar
3/4 cup light brown sugar
1 teaspoon molasses
1/2 teaspoon fine sea salt
1/4 teaspoon baking soda
2 1/2 teaspoons ground cinnamon
1/4 teaspoon ground nutmeg
1/2 teaspoon ground ginger
1/4 teaspoon ground cloves
1/4 teaspoon finely ground black pepper, optional
1 teaspoon vanilla extract
1 large egg
1 3/4 cups all-purpose flour


Cookie butter for filling
  1. Place butter cubes in a large mixing bowl or the bowl of a standing mixer fitted with a paddle attachment. Add the sugar, brown sugar, baking soda, salt, and spices and beat on medium speed for 30 seconds or until evenly incorporated. Add vanilla and egg and beat on medium speed until combined, scraping down the sides of the bowl as needed. Add flour and beat on medium speed until all the dry flour has been incorporated.
  2. Press the dough together into a ball and flatten slightly into a disk shape. Wrap tightly with plastic wrap and refrigerate for at least 30 minutes or overnight.
  3. Preheat oven to 375 degrees F.
  4. On a lightly floured surface, roll the dough out to 1/4-inch thick. Cut out cookies with desired shape cutter and arrange on parchment or silicone mat-lined baking sheets, leaving about an inch of space between cookies. 
  5. Bake for 8 to 10 minutes or until the cookies just start to darken around the edges. Let cool on the baking sheet for 10 minutes, then transfer to a wire rack to cool completely.
  6. Frost the bottom halves of half the cookies with cookie butter and place the other halves on top (bottom side of the cookies facing the frosting) to sandwich the cookies together. Store airtight.

Tuesday, March 3, 2015

Restaurant Review: Sam's Chowder House

Sam's Chowder House - dinner on February 19, 2015
I’d never been to Sam’s Chowder House before and apparently it’s a fairly recent addition to the restaurants on University Avenue in Palo Alto. Although I don’t know how recently because I tend to avoid going to that area for dinner because finding parking is always a hassle. In fact, I’d avoided the area for so long that I forgot how much of a pain parking was. I got there 15 minutes early but it took me over 20 minutes to find a parking spot so I ended up being late. Oh yeah, that’s why I don’t like to go to dinner in that area.
The interior is bifurcated – there’s one eating area to the left and another to the right but you can’t look from one into the other so the restaurant appears smaller than it is. On the right was a live “band”, i.e. a couple of musicians playing instruments. We had a table on the left side which I preferred. I don’t mind music playing but meeting friends for dinner is a very social thing for me and I like chatting and catching up, hard to do if you have to compete with music.
Clam Chowder
The menu has a good variety of entrees, mostly seafood as you would expect from the name but there’s also a burger if you’re inclined to turf more than surf. Prices are all over the place. The low end is under $20 but you can also get lobster pasta, complete with a crab cracker for the lobster shell and a bib to preserve your clothes, for $40. I hovered over a few different choices but finally settled on the lobster roll. I’ve always liked the concept of a lobster roll (lobster + bread) but rarely have it as most places clutter the lobster with – ugh – mayonnaise or some equally unappetizing sauce. I’m a plain girl all the way.
Lobster Roll and fries
But I wanted to try the lobster roll at Sam’s so I quizzed the waiter on what “exactly” comes in the lobster roll. He said lobster, butter and celery. Awesome. Hold the celery and you’ve got a deal. Which he did. The roll came out toasted and supporting some lobster meat dipped in butter. I’m not big on butter on my lobster although I can accept it just fine. It was good although, given how plain it was (but no, I had no regrets about skipping the celery), it was really just like eating lobster dipped in butter with some bread. No complaints but I wasn’t so over the moon that I’d have to have it again.
Lobster Pasta


Had better luck with the dessert we ordered. My friends and I had narrowed it down between the apple crisp served warm with vanilla ice cream or the molten chocolate cake, also served warm with vanilla ice cream. The molten chocolate cake ended up winning because it turned out the apple crisp had raisins in it. We know I believe raisins are grapes being punished by the culinary gods so the crisp was a non-starter. The molten chocolate cake came with huckleberry sauce but I don’t like my chocolate with any kind of fruit sauce so I asked them to put it on the side which they obligingly did. And sing hallelujah, the molten chocolate cake really did come with a molten center. Chocolatey goodness all around.
Molten Chocolate Cake
Sam’s Chowder House was a good place to try and had fairly decent food although I don’t know if the pricier entrees are really worth the cost. 20 minutes to find parking definitely doesn’t make me a repeat customer but that’s not their fault.

Sunday, March 1, 2015

Alton Brown Pancakes

Alton Brown Pancakes - made February 21, 2015 from Baked by Me
I’ve gotten so used to eating at work that weekends keep catching me off guard. Meaning I wake up on Saturdays and realize I don’t have much in the way of “real food” in my larder.  Usually I get my workout in first then fit food-gathering into my usual list of weekend errands to do. Fortunately I rarely wake up hungry so I can hold off that first meal long enough for me to exercise, shower and get to a food source before noon. I know, that sounds a little pathetic but I’ve gotten used to it.
Last Saturday, I had no compelling errands I had to run and I’d deliberately kept the day open so I could work on – ugh – my taxes. When I buckle down to all that paperwork, it’s best to have a long stretch of time to get it all done at once so I don’t confuse myself on what I’ve already captured and what I haven’t. That meant I really didn’t want to go out just to forage for food. I had enough leftovers for 1 dinner-type meal but I’ve never been a 1-meal-a-day sort of person and didn’t want to subsist on sugar the rest of the day (Really. Mostly.). So I decided this would be a good time to make honest to goodness breakfast food and have it for – you know – breakfast.
I went with this modified version of Alton Brown’s pancakes because I had all the ingredients on hand thanks to keeping my baking larder stocked. I love pancakes because they’re so easy to make and well, I just love pancakes. The trick to a good, fluffy pancake is to minimize the mixing. It’s okay to leave some lumps in the batter. They generally cook right out although you do have to break up any egregiously large flour lumps. Mix sparingly, spoon into the center of a hot frying pan or on a griddle and cook slowly. These rose high enough to guarantee fluffiness but you also want to be careful not to cook them over high heat. The outside will burn before the inside is cooked all the way through. I always see golden-colored pancakes when other people make them and blog about them but mine are more of a medium to dark brown on a good day. “Golden” ends up being raw in the middle when I take them off the heat too soon. Fortunately, it’s not hard to make good pancakes and that’s what these were – good pancakes. 
1/2 teaspoon baking soda
1 teaspoon baking powder
1 teaspoon kosher salt
3 teaspoons sugar
2 cups all-purpose flour
4 tablespoons melted butter + 2 egg yolks, whisked together
2 cups buttermilk + 2 egg whites, whisked together

  1. Combine dry ingredients. Add wet ingredients and stir lightly with a fork or just a few strokes with a whisk. Do not overmix.
  2. Lightly spray a frying pan or griddle with nonstick cooking spray over medium-high heat. Ladle the amount of batter for the size of pancake you want and cook slowly, flipping over when edges look cooked and bubbles have formed in the middle of the pancake. Cook other side until golden to dark brown and pancake is cooked through. Serve warm with butter or syrup.

Saturday, February 28, 2015

Restaurant Review: Bobbi's Cafe

Bobbi's Cafe - breakfast on February 16, 2015
I love breakfast food. Sometimes I even have it for breakfast. As was the case here when I met my cousin, her husband and their son for breakfast at Bobbie’s Café. I’d been to Bobbie’s before but not in awhile so it seemed like a good time to revisit. We showed up at 9 am and had to wait a few minutes for a table to free up. Bobbie’s isn’t very big and is old-school diner all the way, down to the menu, which is why I suggested we go there.

Besides an assortment of scrambles and omelets to choose from, they also offer the standard breakfast fare of pancakes, French toast, waffles, eggs, bacon, sausage and so on. You can order almost any combo of the above or put together your own a la carte. What I like about Bobbie’s is they’re one of the few places that offer waffles along with eggs and another protein as a standard menu option. Most places only offer waffles by themselves and you have to get the proteins as an extra side order. Bobbie’s knows where it’s at by treating the waffle as equally as pancakes and French toast where it’s a standard offering to get it with eggs and sausage. Score.
I waffled – haha – a bit, almost succumbing to the lure of country fried steak and eggs to go all the way old-school diner. But I ended up getting a waffle with scrambled eggs and sausage, simply because I could. It turned out to be a good choice as the waffle was as a waffle should be – crisp on the outside, tender on the inside and just the right amount of flavor and sweetness to complement the maple syrup. I opted away from the butter ball that came with it. I’ve never seen the point of mixing syrup and butter together. Extra calories for muddying up two flavors together when I prefer each of them separately doesn’t make sense.
Price points at Bobbie’s are fairly reasonable, in the $10 range. It isn’t fancy but it’s good, straightforward, no-frills food.

Thursday, February 26, 2015

Oreo Cream Cheese Brownies

Oreo Cream Cheese Brownies - made February 18, 2015 from Averie Cooks
The only thing that could get my one-track mind off my new brownie book, Extreme Brownies by Connie Weiss, is to try a brownie recipe from Averie Cooks, my go-to blog for fantastic recipes. In this case, I almost forgot I was meeting friends for dinner one night and didn’t have my usual stash of frozen cookie dough and individually wrapped brownies sitting in my freezer. I had pieces of the coconut sheet cake in the freezer but one of the friends I was meeting doesn’t like coconut so that was out as a give-away option.

But she does like chocolate and I had cream cheese and Oreos on hand so I pulled this recipe from my pinterest board. I normally don’t bake on a weeknight since I don’t get home until almost too late but I’ve been baking brownies for so long that it’s pretty quick for me to pull a batch together. I mixed this up, including chopping the Oreos, in the time it took for the oven to preheat. Throw it in, let it bake, and there was just enough time for it to cool enough to be covered before I headed to bed. 

The next morning, I cut it up, packaged it and was ready for our dinner that night. I was in a hurry so I only taste tested a sliver and whatever I wasn’t giving away I put in my freezer for my next emergency. I thought it tasted pretty good. The cream cheese layer was a mite difficult to spread, probably because I was working with cold cream cheese directly from the fridge and didn’t beat it into submission enough so I had to dollop in really small dollops to try and get decent coverage over the bottom brownie layer. I might’ve also underbaked this just a trifle, considering the cream cheese part was also gooey but if you like cheesecake-y, fudgy brownies, this is another great recipe from Averie’s blog. The Oreos were a nice touch to add some crunch but really, Oreos are typically a winner in any brownie. 
1/2 cup unsalted butter (1 stick)
ounces dark or bittersweet chocolate, chopped (I used Trader Joe's 72% Pound Plus Bar)
2 large eggs
3/4 cup granulated sugar
tablespoon vanilla extract
1 tablespoon brewed coffee, optional but recommended
1 teaspoon instant espresso granules, optional but recommended
pinch salt, optional and to taste
3/4 cup all-purpose flour
15 Oreo Cookies, diced into 1/2-inch pieces, divided (I dice each Oreo into 4 to 6 pieces)


Cream Cheese Filling
8 ounces brick-style cream cheese, softened
1/2 cup confectioners' sugar
1/2 teaspoon vanilla extract
  1. Preheat oven to 350 degreesF. Line an 8-inch square pan with aluminum foil and spray with cooking spray; set aside.
  2. Brownies - In the top half of a double boiler set over hot water, melt the butter and chocolate, whisking until smooth and completely melted. Allow mixture to cool slightly.
  3. Add the eggs, sugar, vanilla, optional coffee, optional espresso granules, optional salt, and whisk vigorously to combine.
  4. Add the flour, most of the diced Oreos, reserving a small handful to be sprinkled on top, and stir until smooth and combined. Do not overmix,
  5. Turn half the batter out into prepared pan, smoothing the top lightly with a spatula as necessary; set aside while you make the Cream Cheese Filling.
  6. Cream Cheese Filling - In a medium bowl, add the cream cheese, confectioners' sugar, vanilla, and beat with an electric hand mixer until smooth and combined.
  7. Drop filling in small dollops over brownie base and smooth to create an even layer. 
  8. Turn out remaining brownie batter to cover cream cheese layer as much as possible. 
  9. Evenly sprinkle the reserved handful of Oreos over the top.
  10. Bake for about 30 minutes, or until center has just set and is no longer glossy. 
  11. Allow brownies to cool in pan on top of a wire rack for at least 2 hours.