Company Summer Party - August 7, 2014
My company held their annual summer party last week. I normally don't go to these types of events as they're usually not my thing but since it was my first one, I decided to go experience it for myself.
 |
| 1/4 of a Funnel Cake sprinkled with cinnamon sugar |
It was at a fairgrounds that we took over and was set up with various activities for both adults and kids, from amusement park rides to Disney-like environments to water slides. And of course, carnival/fair-type food. I'm all about the food so okay, yeah, that was a big reason I went, at least for a little while.
 |
| 1/4 of a Funnel Cake dusted with confectioners' sugar |
The food was all set up in one section of the fairgrounds, various booths and tents with a wide selection of offerings, mostly deep fried. Again, the carnival ambiance which pretty much says deep-fried is mandatory.
My coworker and I did a first pass to peruse all the offerings and to make sure we were knowledgeable about everything at our disposal before we committed ourselves to actually consuming the calories. I didn't want to get overly enthusiastic about one food in particular then regret not having room later for something I might want even more. It's all about controlled, conscious gluttony.
I won't bore you with the (long) list of what I consumed but suffice it to say it was likely deep fried. Some I hadn't had in years (a corn dog), others I only enjoy at farmers' market type events (kettle corn) and a couple of things I'd never had before and was happy to try: funnel cake and yes, a deep-fried Oreo.
 |
| Caramel Corn |
 |
| Seafood barbecue skewers |
Deep-fried oreos have never crossed my food sphere before. I know it's possible to deep fry just about anything but I'd never consumed an oreo in this rendition. At the first warm bite, I was a bit skeptical over it. After all, one of the reasons I like oreos is for their crunchy texture. Deep frying them covered in batter makes the oreo inside soft.
 |
| Deep-fried Oreo |
But halfway through the second bite, I decided it was good. The crunchy outside had the siren call of the deep fried and the inside of gooey Oreo flavor was nothing to be sneezed at. Sorry for the fuzzy picture below. I was taking the shot in bright daylight and it was hard to see whether it was focused or not when I hit the picture button. Apparently it wasn't.
 |
| A fuzzy pic of the inside of a deep-fried Oreo |
 |
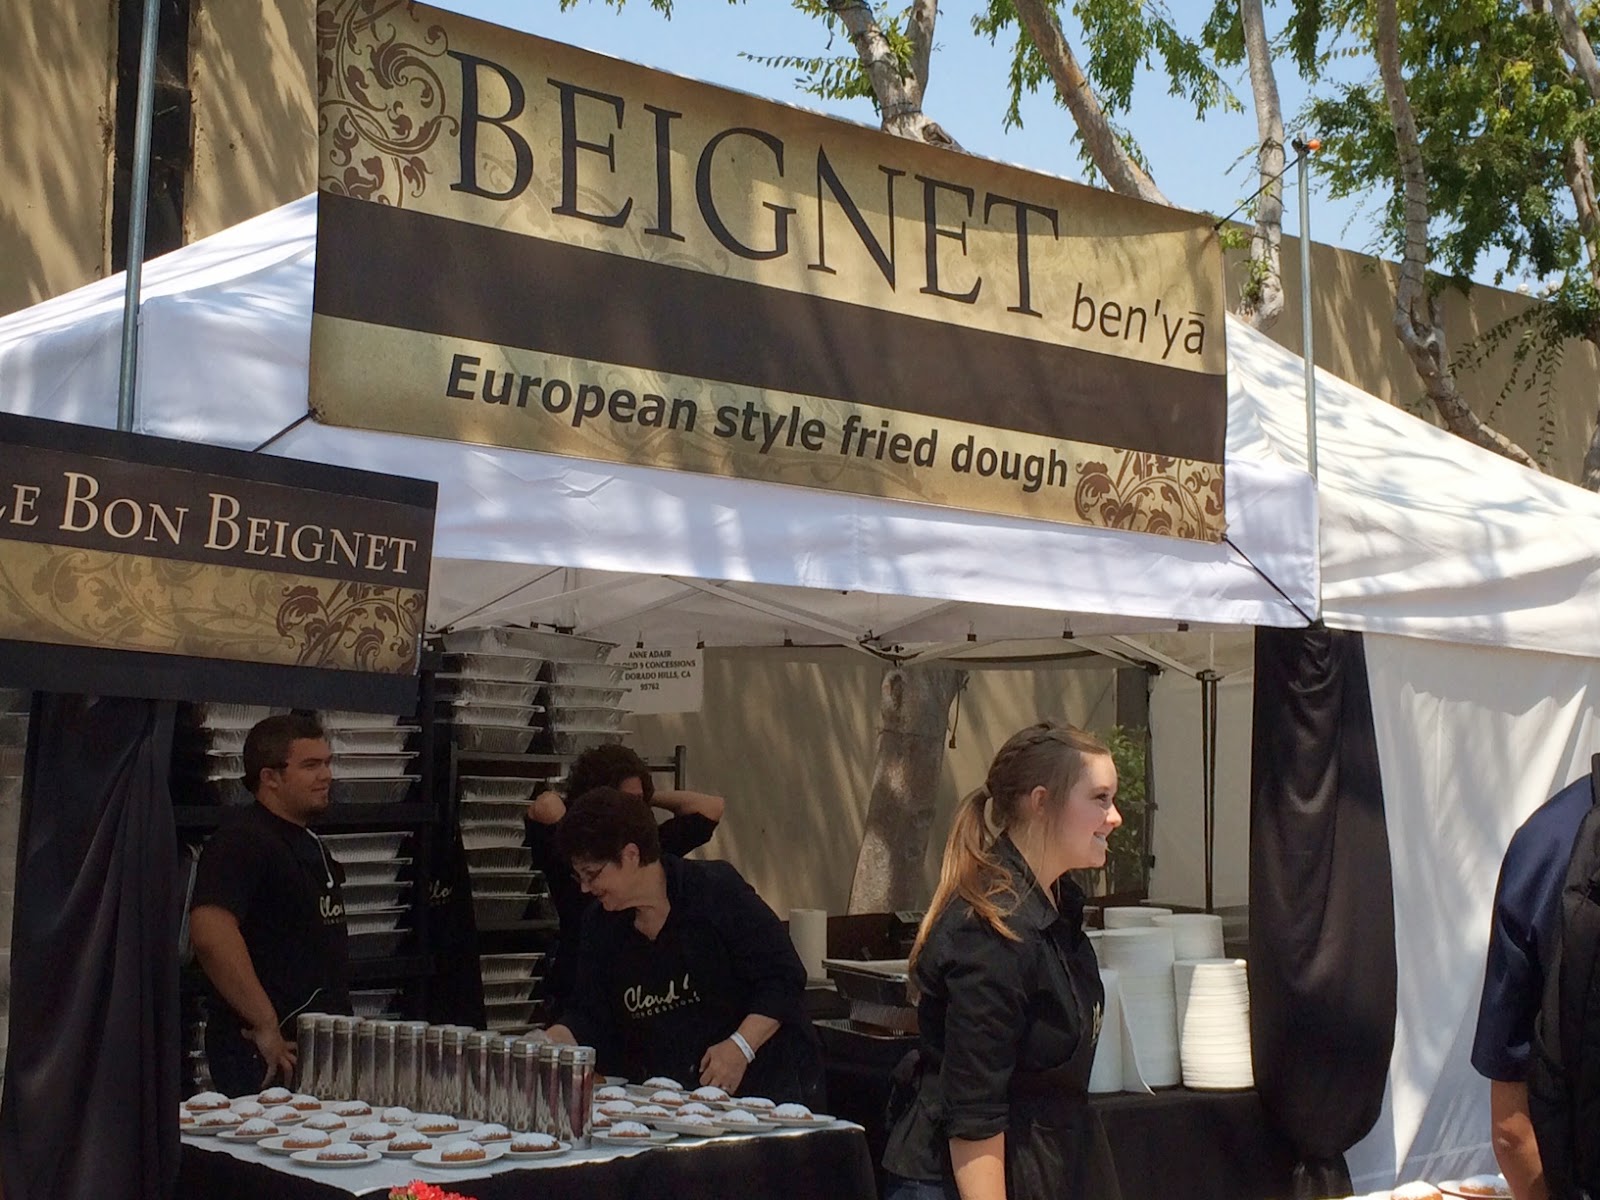
| Beignets |
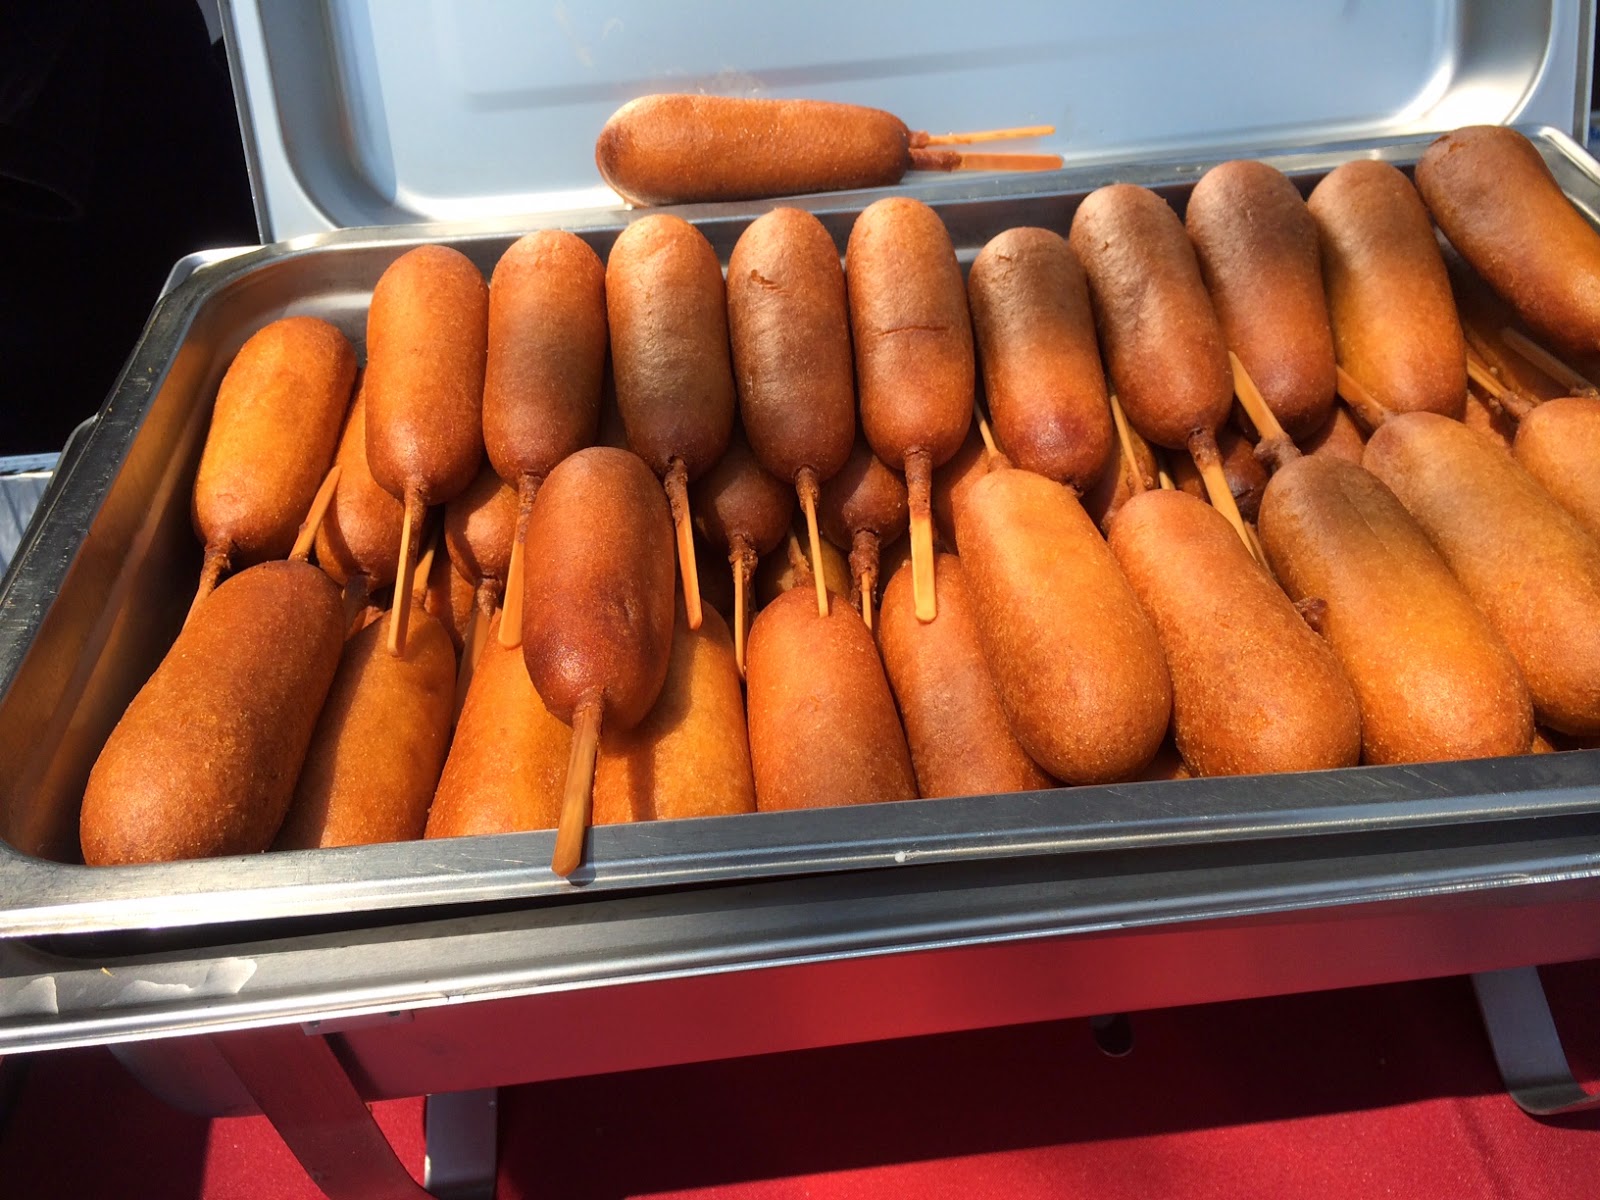 |
| Corn Dogs |
 |
| Shaved Ice |
The other thing I tried for the first time was from Frozen Kuhsterd - a mini doughnut ice cream sandwich. I had high hopes for it as I thought it was a cute concept. Unfortunately the concept was better than the reality. The coldness of the frozen custard (it had the texture of soft serve ice cream) altered the texture of the doughnut. I like my doughnuts light and fluffy - this one was more dense, almost like a bagel. Whether that's how the doughnut was originally made or if the frozen custard hardened it, I'll never know but it didn't suck me in as my newest foodie addiction. Thank goodness.
 |
| Mini doughnut sandwiched with vanilla ice cream |
All in all, it was a fun hour or so and I enjoyed exploring the carnival food concept. One thing I really liked, regardless of how something tasted, was that the vendors plying their foodie wares all seemed like local small businesses. I love that we have events that patronize them and give them exposure for their business as well as giving them actual business. Warm fuzzies.