Saturday, December 18, 2010

Espresso Cheesecake Brownies

Espresso Cheesecake Brownies - made December 12, 2010 from Sweet Times by Dorie Greenspan (book #25)


Usually I avoid anything with "cheesecake" in the title since I'm not fond of the taste of cheesecake.  But when the cheesecake layer is paired with a brownie layer, it's usually acceptable to my finicky taste buds, primarily because I count on the brownie layer dominating the cheesecake layer.  This particular recipe also has the added advantage of having an espresso-flavored cheesecake layer so I figured that would help drown out the cream cheese taste.  It did which means I like this recipe.  The  brownie has a fudgy texture which contrasts nicely with the creamy cheesecake layer.  I don't drink coffee or espresso but I'm fond of coffee-flavored things (everything except coffee itself, go figure) and this one has a great flavor to complement the chocolate brownie.

The recipe is from a Dorie Greenspan book and, like Lisa Yockelson, Dorie Greenspan has some great baking books out there, meaning almost every recipe I've made from one of her books has turned out pretty well.  Dorie also tends to write for more novice bakers so her directions can sometimes be long, detailed and especially helpful if you don't bake much.  I've abbreviated some of it as well as wrote in what I normally do as a baking step.

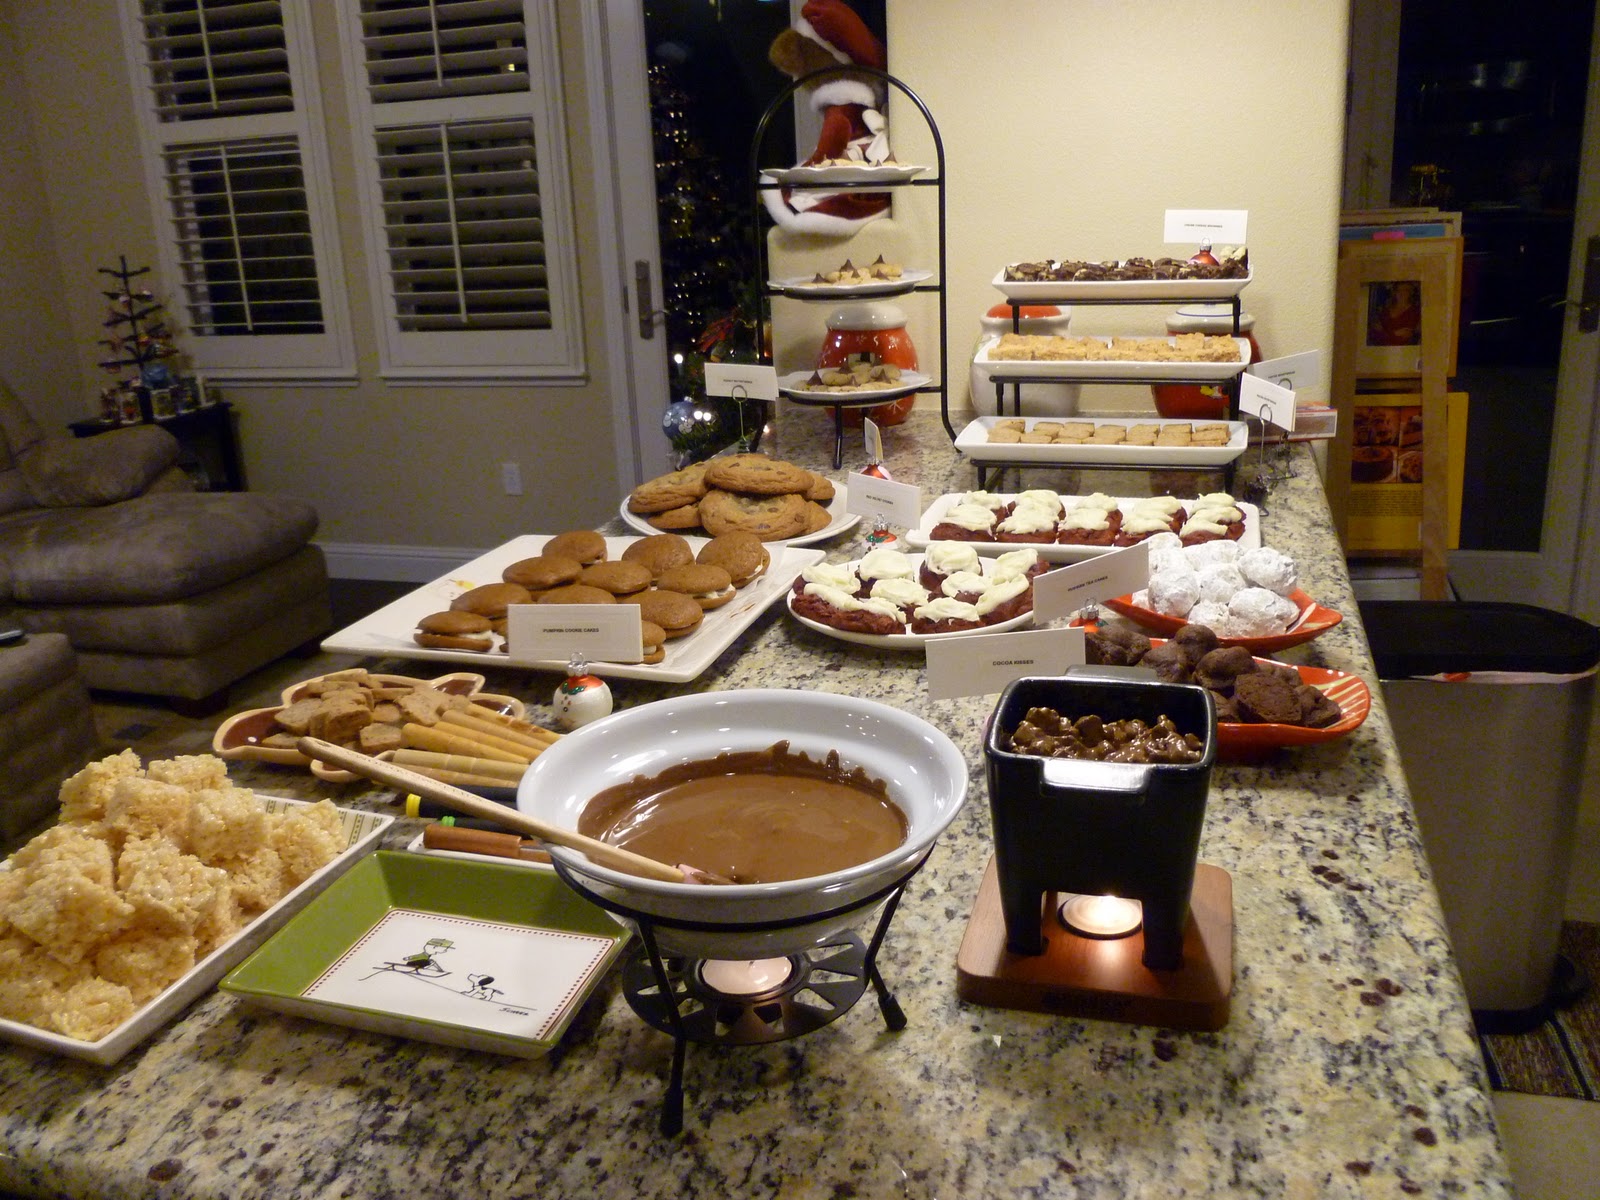
This makes a great care package brownie and is pretty to look at as well.  The only thing I would recommend is if you do send in a care package, mail during the winter months or to cool climates.  I wouldn't risk the cream cheese/cheesecake part in warmer climates or hot weather.

Brownie
½ cup all-purporse flour
½ teaspoon baking powder
1/8 teaspoon salt
¼ teaspoon ground cinnamon, optional
6 ounces high-quality bittersweet chocolate such as Lindt or Tobler, broken into small pieces
½ cup (1 stick) unsalted butter, cut into 8 pieces
2/3 cup sugar
¾ teaspoon vanilla extract
2 large eggs, at room temperature

Cheesecake
1 ½ teaspoon espresso powder
1 tablespoon boiling water
8 ounces cream cheese, at room temperature
2/3 cup sugar
½ teaspoon vanilla extract
2 large eggs, at room temperature
1 tablespoon all-purpose flour

1.    Brownie: Preheat the oven to 350⁰F.  Line a 9 x 9” baking pan with foil and spray lightly with nonstick cooking spray.  Whisk together the flour, baking powder, salt and cinnamon, if using, in a bowl.  Set aside.
2.    Melt the chocolate and butter together in the top of a double boiling over hot water.  As it’s melting, stir together to blend.  Add sugar and mix well, using a small whisk.  Add the vanilla and eggs, one at a time, stirring after each addition until mixture is smooth. Pour ¾ of the chocolate batter into the prepared pan and reserve the remaining ¼ batter.  Set aside.
3.    Cheesecake: Dissolve the espresso powder in the boiling water; set aside to cool.  Beat the cream cheese in a mixer with the paddle attachment until very creamy.  Add the sugar and vanilla and beat until the sugar dissolves, about 3 minutes.  Blend in the espresso.  Beat in the eggs one at a time.  Beat at medium speed for 1 minute.  On low speed, add the flour and beat just until blended.
4.    Pour cheesecake batter over the brownie batter in the pan and let it spread over the brownie layer.  Scatter teaspoonfuls of the remaining ¼ brownie batter over the cheesecake layer.  You can choose to marble it or let it drop as is to make a random pattern.  Don’t disturb the bottom layer and don’t go across the pan more than once.
5.    Bake for 30 to 35 minutes, until the top is lightly browned and the cake starts to pull away from the sides of the pan.  Remove from the oven and cool on a rack for 10 minutes.  Let cool to room temperature, cover and place in the refrigerator to chill.


Friday, December 17, 2010

Care packages

My friend Kendra wrote a hilarious blog post on her attempts to make cute little snowman cupcakes.  My horror aside at her using a box mix (Kendra!), I can utterly sympathize with the attempt to dress up food for a party.  There was a time when I wished to be one of those clever and creative bakers who can make eye catching desserts and have that "ooh" and "ahh" factor.  How many of us haven't been in awe at beautiful wedding cakes, cakes in the clever shapes of purses or poodles that "look real"?  In culinary school, I had two classmates that seemed to execute this flawlessly - their stuff not only tasted good but they looked awesome, almost too good to eat.

I, on the other hand, have long ago accepted that I'm not like them.  Yes, I like to make things nicely presentable but my focus is in how stuff tastes, more than how it looks.  Maybe I've eaten too many beautiful-but-sawdust-like wedding cakes to truly accept that something can look and taste good.  By looks, I don't mean something is on a pretty platter or looks temptingly edible.  I mean it looks clever, be it a beautifully decorated sugar cookie with royal icing, a sugar-frosted cake with gum paste flowers that look like they grew in my mom's garden, a chocolate souffle in a caramel cage or what have you.  I did a lot of those decorating touches at the CIA and they're not only time consuming but you have to have the creative touch to really enjoy doing them.  I'm lacking that touch. But I'm okay with that because I know I can bake things people like to eat.  They may not look clever but they can still look good.

This is a long lead in to say, from my comments on her blog post that I can't make pretty food, Kendra suggested a post on making up pretty care packages.  Now that I can do.  I love sending care packages filled with baked goods.  If only postage wasn't so criminally expensive, I'd send them more often.  In some of my posts, I add commentary on what might or might not be good to send in a care package.  Based on my experience, here's what works well and doesn't work well when you send a care package:
  1. Things like brownies, bar cookies and loaves of quick bread are good to send since they're less fragile and you don't have to worry about them breaking en route.
  2. Individual-sized packaging is important.  When I send brownies or bar cookies, I cut them into individual-size pieces, wrap them two pieces at a time in plastic wrap and group like-flavored brownies together in a cellophane bag.  This makes it easier for your recipient when they get your package.  I also typically send brownies that can easily go into the freezer directly from the package if they can't eat them right away.
  3. For mini loaves, I leave the whole loaf intact, wrap it in foil and ship as is or put the foil-wrapped loaf in a cellophane bag with a twist tie.  Looks prettier. Don't cut it as the cut edges will just dry out faster.
  4. Grouping like-flavored items is important.  Remember that whatever you send is likely going to be in the same box with everything else for at least a couple of days, if not more.  Strong flavors like banana and peanut butter can permeate everything else in the box so keep that in mind when sending a package.  If you do have to send strong-flavored items, wrap them individually as much as possible and put the like-flavored items in a ziploc.  They sell decorated ziploc bags for the holidays if you want it to look prettier. Otherwise, only send like-flavored items.
What doesn't work well to send:
  1. Most cookies don't ship well.  Even if you can find sturdy enough cookies that aren't likely to crumble in shipping (typically oatmeal cookies work well), cookies dry out faster than brownies or even cakes so the few days they spend in transit are days they're losing their freshness.  I'm one of those fanatics who think cookies I bake the night before aren't as good the next day so I can't fathom eating cookies several days old.
  2. If you do have your heart set on shipping cookies, package them well - this means wrapping them in plastic wrap or putting them in ziploc bags with as little air as possible in them.  Cushion them with wax paper or other soft materials and wedge them in tins or sturdy small boxes that allow for as little movement as possible.  When trying to prevent breakage in shipping, movement is the enemy since it's the space to move around that causes most things to break.
  3. Thick cookies will likely survive better than thin cookies and will also likely dry out less during shipping time.
  4. Layer cookies with wax paper in between the layers.  Stacking them as is on top of each other can lead them to stick and not be appetizing by the time they arrive at their destination.
  5. Frosted cookies?  Forget about it.  Unless you're talking royal icing type of frosting that hardens and doesn't stick or rub off on anything.  But honest-to-goodness frosting that sticks to paper and plastic when wrapped?  Not so much.
  6. Cupcakes also don't fare well, both because cakes can also dry out quickly and because the frosting will stick to everything.  Not to mention they're harder to pack without having them move if they have too much space or they'll end up squished if you pack them so they won't move.  
I'm still working on my last care packages to send out.  Brownies I can bake ahead of time, wrap in individual packages and put directly into the freezer until I'm ready to mail them out.  I like to put a variety of treats into a care package so I also plan for my mass baking day - last one coming up this weekend as I'm running out of time to mail them to arrive before Christmas.

Adding a few more notes on sending care packages:
Make sure you use a sturdy box to ship your goodies in or else they may not make it in the shape you intend them to.  If you've ever seen the volume of packages the postal workers throw around, you wouldn't choose flimsy packaging.  A boon for sending packages is the flat rate boxes, especially when you're sending boxes across the country.  You can get them from the post office for free and you can load them up as heavy as you'd like as long as it fits into that size box.  The medium flat rate box works best when sending a good-sized care package:


Currently, the cost to send this size box anywhere in the country is $10.70.  Which may sound like a lot but if you're sending a heavy package in the farthest postal zone from you, you'll be spending a lot more than that.  This size box can actually hold quite a lot of brownies so when I use it, I try to send it to someone who I know will be able  to share it with others.  No point in making your friends sick of sugar (or your baking!).  For individuals, there's the small flat rate box, about the size of sending a VHS tape or slightly larger but it can still hold a fair amount of brownies for one person.

Here's what can fit into the medium flat rate box before I add the additional padding/packing materials to keep the contents well-cushioned for their journey from CA to MA:


Without overly crowding the box, this holds 5 goodie bags.  For the holidays, I like using decorated cellophane bags and ziploc bags.  Just makes things a little more festive looking.  I also have labels that I'll write what the treat is - I don't always do it (depends if I can find my labels or not, lol) but I figure it's nice for your recipients to know what they're eating.  Everything is individually wrapped and packaged so your recipients can also put everything directly into the freezer upon the box's arrival if they don't plan to eat it right away.  That way, everything will stay relatively fresh until it's time to consume them.

    Wednesday, December 15, 2010

    Black Bottom Brownies

    Black Bottom Brownies - made December 10, 2010 from Brownies & Blondies by Lisa Yockelson (book #24)


    This is the last of the 3 recipes I tried out for the first time for my Dessert Extravaganza party.  While I'm usually hesitant to try out recipes for the first time when I need them for something like a party or a gift since you never know how they'll turn out, I'd made enough of Lisa Yockelson's recipes (and found them fabulous) to consider this a low-risk effort.  This is from a little recipe book that I can't even remember where I got it or how long ago but since it's by one of my favorite cookbook authors, it was a no-brainer to get.

    Cream cheese swirl brownies are pretty to serve at a gathering and one of the few ways I'll eat cream cheese in any form so this seemed like a safe bet to try.  I'd like to be able to say this tasted great and it might have.  But I don't know since I forgot to try a taste test piece before or during the party and I sent leftovers home with my guests.  Before the party, I had set aside some pieces for care packages I gave to friends the next day but I didn't dip into their stash either.  But while I don't know how they taste, I will say they looked great and appeared to have the fudgy texture I like in brownies.  I need to make these again so I can verify their taste.


    Brownies
    ¾ cup unsifted all-purpose flour
    ¼ teaspoon baking powder
    ¼ teaspoon salt
    8 tablespoons (1 stick) unsalted butter, melted and cooled
    3 squares (3 ounces) unsweetened chocolate melted and cooled
    1 cup superfine sugar
    2 extra-large eggs
    1 extra-large egg yolk
    2 teaspoons vanilla extract

    Cream Cheese Topping
    2 3-ounce packages cream cheese, softened
    ¼ cup granulated sugar
    Pinch of salt
    1 extra-large egg
    ¼ teaspoon vanilla extract
    ½ cup miniature semisweet chocolate chips

    1.     Preheat the oven to 350F.  Butter and flour a 9 x 9 x 2” baking pan.
    2.     For the brownies: thoroughly mix the all-purpose flour, baking powder, and salt.  Set aside 2 teaspoons of the flour mixture for the cream cheese topping.
    3.     Whisk the butter and chocolate in a bowl; beat in the sugar, eggs, egg yolk and vanilla extract.  Add the dry ingredients and stir to form a batter.
    4.     Pour and scrape the batter into the prepared pan; spread the batter evenly.
    5.     For the cream cheese topping, beat the cream cheese, sugar and salt in a bowl on moderate speed for 2 minutes.  Add the egg and vanilla extract and beat for 1 minute.  Toss the chocolate chips with the reserved 2 teaspoons of dry ingredients and stir into the cream cheese mixture.  Pour the topping over the brownie batter; gently swirl the cream cheese mixture into the chocolate batter using a table knife or small spatula.  Bake the brownies for 30 to 32 minutes, or until just set.
    6.     Cool the brownies completely in the pan on a rack.  Cut into squares.   Refrigerate in an airtight tin.

    Russian Tea Cakes

    Russian Tea Cakes - made December 10, 2010 from Cookies by Natalie Hartanov Haughton (book #23)

     Russian Tea Cakes, Mexican Wedding Cakes, Buttery Tea Balls, and Snowballs are all different names for almost the same exact cookie: a pecan butter cookie shaped into a ball, baked and rolled in powdered sugar.  The ingredients are generally the same with only slight variations in proportions.  The keys to a great Russian Tea Cake is toasting the pecans before adding to the dough, not overbaking and rolling the cookies in powdered sugar while they're still warm so that first layer of sugar almost melts into the cookie then re-rolling them once they're fully cool.  I'm convinced the last 2 steps are what contributes most of the melt-in-your-mouth texture of these cookies.  This is one of the few cookies I'm okay adding nuts to since the flavor of the pecans is part of the flavor and texture of the cookie.

    I've had this recipe book by Natalie Hartanov Haughton since I was a teenager.  The original copyright date is 1983 which gives you an idea of how old it is.  The recipes are pretty straightforward and simple with no-fuss directions so it's a good book for beginners if you can still find it.  Since this recipe was so similar to the one I normally use, Buttery Tea Balls, I was also okay trying it for the first time for my dessert party as it seemed low-risk. It turned out all right.  I might prefer my Buttery Tea Ball recipe just a trifle more though, maybe as a sentimental as well as a flavor/texture favorite.  I will always likely make some form of Mexican Wedding Cakes for every holiday party by virtue of wanting to use my mitten-shaped serving dishes.  Mittens, "snowballs" - get it?


    1 cup butter, room temperature
    ½ cup powdered sugar
    2 teaspoons vanilla extract
    Pinch of salt
    2 cups all-purpose flour
    ½ teaspoon baking soda
    1 cup chopped pecans
    Powdered sugar

    1.     Preheat the oven to 350˚F. 
    2.     In a large bowl, beat together the butter, ½ cup powdered sugar, vanilla and salt until light and fluffy.
    3.     Gradually beat in flour and baking soda until well blended.  Stir in pecans.  Drop dough by teaspoonfuls, 1 ½ inches apart, on ungreased baking sheets.  Or, roll dough by teaspoofuls into balls or crescent shapes and place on ungreased baking sheets. 
    4.     Bake 13 to 15 minutes or until edges begin to brown lightly.  Remove cookies from baking sheets; cool on racks.  While warm, sift powdered sugar generously over tops.

    Makes 55 to 60 ( 1 ½ inch) cookies

    Tuesday, December 14, 2010

    Marcy's Legendary Chocolate Chip Cookies

    Marcy's Legendary Chocolate Chip Cookies - made December 10, 2010 from A Passion for Baking by Marcy Goldman (book #22)


    One of the things I enjoy about baking is sharing what I make.  I like learning what people's favorites are and making it for them when the right time comes.  For my Dessert Extravaganza party last week, I mentioned that while I like to make bite-size desserts to enable people to sample a variety without getting overly full or sugar-sick, I made an exception for these extra-large chocolate chip cookies.  Chocolate chip cookies are my friend Todd's favorite dessert as well as my friend Krista's.  Both came last week so I couldn't not make them for my party.  I also couldn't resist trying out this recipe from Marcy Goldman of "Marcy's Legendary...." recipe.  Although I try not to take too many risks in trying new recipes for a party, this one seemed like a safe bet.  Chocolate chip cookie recipes usually don't go wrong.  Plus I wanted to try this one as they're supposed to be big honkin' cookies and I can't resist making jumbo versions of the classic chocolate chip cookie.

    I didn't try these at the party (imbibed a trifle too much on the chocolate fondue instead) but I had some extra cookie dough so I baked a giant dough ball off a few days later and did the taste test.  It's pretty standard for a chocolate chip cookie so it's fairly good.  The tricky thing with a cookie this large is the edges tend to bake to brown while the middles are still doughy/raw.  You don't want to bake it until the middles are actually done since then the outer ring of the cookie will be overbaked.  Aim for getting half the outer ring of the cookie to be golden brown while the middle is still soft but not raw.  If you do underbake them, once they cool, they should still be okay, if a little doughy.  Better that than overbaked and dry.  Also, if you can find them, use big chips like Guittard's Milk Chocolate Chips or chocolate chunks.  Big cookies deserve big chips.


    1 cup unsalted butter, softened
    1 ½ cups firmly packed brown sugar
    ¼ cup white sugar
    1 tablespoon pure vanilla extract
    2 large eggs
    1 egg yolk
    2 ½ cups all-purpose flour
    ¾ teaspoon baking soda
    ½ teaspoon salt
    2 cups semisweet chocolate chips
    1 ½ cups chopped semisweet chocolate (preferably Lindt)

    1.     Preheat oven to 350˚F.  Stack two baking sheets together and line top sheet with parchment paper.  Arrange oven rack to upper third position.
    2.     In a mixer bowl, cream butter with both sugars until well blended.  Add vanilla, eggs and egg yolk.  Fold in flour, baking soda, salt, chocolate chips and chopped chocolate and blend well to make a thick batter.  If batter seems soft and greasy, add 2 to 4 tablespoons more flour.  Dough should be soft but not too greasy or slack.  You can also chill it 10 minutes if you think it has enough flour or let it stand 20 minutes.  Either approach will help cookie dough “set up”.
    3.     Scoop or form ball of 7 to 8 ounces of dough (yes, weigh it!) and place on prepared baking sheets about 2 to 3 inches apart.  If you don’t have a scale, use 1 cup of dough per cookie; each will measure 3 inches in diameter once placed on baking sheet.  (Obviously you can only bake a few of these at a time.)
    4.     Bake 20 to 24 minutes or until cookies are nicely browned on top and just set-up looking.  Remove from oven and let cool on baking sheets 15 to 20 minutes before removing.
     

    Sunday, December 12, 2010

    Dessert Extravanga 2010

    December 10, 2010

    What I enjoy most about hosting a dessert party is I am free to bake a variety of desserts.  I don't experiment with a lot of new recipes since I need stuff that actually turns out well and, depending on who's coming, I also like to make things I know my guests will like and maybe even asked for specifically.  New recipes are higher risk in case something goes awry and they're not fit to be served.

    During my dessert party, one of my friends, Cheryl, asked if I made my favorite desserts for the party.  Yes and no.  Yes because I am naturally going to make the stuff I like.  But also no because I don't really have a particular favorite.  I like sugar in all forms almost equally.  But there are a couple of guiding principles I use when it comes to baking for a crowd.

    First is to offer a variety of flavors that your guests will like, likely have had before and would want again.  When you have a bunch of different people with different tastes, there almost always isn't one universal crowd pleaser and that's okay.  I like it better when some people favor one thing and others favor different things.  Then every dessert gets a chance.  When I baked for my party, I had chocolate (of course), pumpkin, cream cheese, pecans, dulce de leche, and red velvet flavors.  A little something for everyone.  The most notable thing I skipped this year though were lemon bars.  I had planned on them but just ran out of steam.

    Second guiding principle is whenever you offer a variety of desserts, make them bite-sized  It's nice for people to be able to sample as many different things as they want and they can do this more comfortably if not every choice was super-sized.  When I was in culinary school and we were always able to sample everything we made, Chris, one of my classmates, would refrain from items that came in larger portions because "it was too much of a commitment".  So true.  If you commit to a full-size cupcake, for instance, there's less room for the truffles, brownies, cookie, petit four, etc.  I tend to follow the moderation rule in portion sizes when I do a dessert bar - my only exception this year was jumbo chocolate chip cookies (more on that later).

    Third guiding principle that helps shape my menu is the right combination of what I can make up ahead of time and what needs to be done at the last minute.  Some last-minute things are unavoidable but you don't want too many of those or you'll be exhausted and frazzled before the first guest arrives.  My do aheads are mostly making up cookie doughs that just need to be baked the day of the party.  This year, that list included:

    Russian Tea Cakes (new recipe)
    Chocolate Chip Cookies (new recipe)
    Cocoa Kiss Cookies
    Pecan Shortbread

    The make-the-day-of list was:
    Black Bottom Brownies (new recipe)
    Red Velvet Cookies with Cream Cheese Frosting
    Pumpkin Cookie Cakes
    Peanut Butter & Chocolate Kiss Cookies
    Butter Toffee Crunch Shortbread

    I also did a chocolate fondue so I made rice krispie treats and sliced bananas for dipping.  The dessert bar "after" picture


    And to keep my guests from becoming completely sick on sugar, I did a few savories as well.  Lumpia that my mom made for me ahead of time that I fried that night:


    I also bought a few packs of savory appetizers from Trader Joe's and Target: mini quiches, puff pastry cheese puff thingies (forgot what they were called but they tasted good) and little pigs in a blanket (not pictured)
     

    My weakest point was probably drinks.  I don't drink alcohol and wouldn't know what to serve if anyone did drink.  I had water, sodas and hot tea (sorry, coffee drinkers, no coffee either).  But fortunately, my friends are pretty forgiving on that score and everyone seemed to have a good time.  As I advertised beforehand, whatever they didn't eat during the party, they took home with them.  I'm a believer in the doggie bag.  In this case, I had Christmas-themed ziploc bags and paper plates ready to bag up the take-home treats.  Have to end the evening on a high note.

    Saturday, December 11, 2010

    Hosting a dessert party

    Every other year, I host a holiday dessert party at my house.  Okay, this is only the 2nd time I've done it and the first time was 2 years ago but it's my intent to keep having these every two years.  Why every two and not annually?  Mostly because I only go all out with Christmas decorating every other year so that's when it makes the most sense to have people over.  If you saw the plethora of decorations I put up (and take down), you'd know why it's not an annual effort.

    In any case, I thought I'd write about what it takes to host a dessert party and some tips and tricks that might be useful for anyone else.  I'm also looking for helpful hints if anyone's got any.  Entertaining doesn't come easily to me.  I like having people over but I don't like hordes of people over.  To me, a successful party isn't standing room only but having just enough people that you can actually talk to everyone and have real conversations.  Meaningless small talk is torture.  I like real interactions.  I also don't cook, don't drink and am not equipped for having more than 8 people over if I want to serve a real sit-down dinner. So I don't do it.  Instead, I play to my strengths and host a dessert party.  That I can do.

    First rule of thumb when having people over to eat: don't give your guests food poisoning.  That sounds funny but I bring it up only to emphasize the importance of having a clean kitchen and following proper food safety guidelines.  The last thing you want someone to do is walk away from your party feeling sick from more than just overindulging.  If you invited them, one would hope you'd like them well enough to keep them healthy.  In practical terms this means using fresh ingredients and nothing beyond the expiration date.  I've mentioned before about having to bake something because I wanted to use up an ingredient (milk, buttermilk, etc) before it expires.  Never use old ingredients!  Fortunately I bake so often and so much that ingredients don't last long in my fridge or pantry, as evidenced by my frequent trips to Costco to load up on butter, sugar, eggs and so on.  

    Second rule, which also plays into the first one, is clean as you go.  Not only does it lessen the work later on but you also decrease the risk of any cross contamination and a bigger mess as you bake.  Wipe the counters often - the last thing you want when you're busy baking is inadvertently setting a baking pan on a messy sticky counter, having that stick to the underside of your pan which you then put in the oven and next thing you know you're having to scrub both the pan and the oven because of the transference.  Save yourself the headache and clean up as soon as something spills.

    Third, plan ahead - figure out what you want to make ahead of time, get your ingredient shopping done and make up what you can ahead of time.  I have to admit, this time around, I was a little less prepared.  I was still busy with work, other holiday parties as an attendee, and with holiday stuff in general.  Not to mention I kept changing my mind as to what to make for the party.  But I've been baking long enough that I knew generally what ingredients I needed to stock up on and what types of things to make.  I don't believe in baking anything before the day of the party because I believe in maximum freshness. I'm not serving my friends day old desserts!  But I did make up cookie doughs and put them in the freezer a few days prior so they only have to be baked ahead of time.

    One tip that really helps me prepare for the dessert party: on the morning of the party, I set up all my serving dishes where I wanted to have them on my breakfast bar and how I wanted to arrange them.  Then I put slips of paper with whatever I was going to make that was going on that particular serving dish.  That not only helped me decide exactly what I was going to make but also kept me on track throughout the day on what I had already done and still needed to do.  As each thing got made and put in its serving dish, I threw the slip of paper away and kept checking to see what was left to do.  It worked beautifully to keep me on track.


    This is the "before" picture.  The "after" picture - to be continued....