Tuesday, March 15, 2016

The Classic Brownie - swirled with Nutella and topped with Ferrero Rocher

The Classic Brownie - made February 20, 2016, recipe adapted from Brownie Points by Lisa Slater
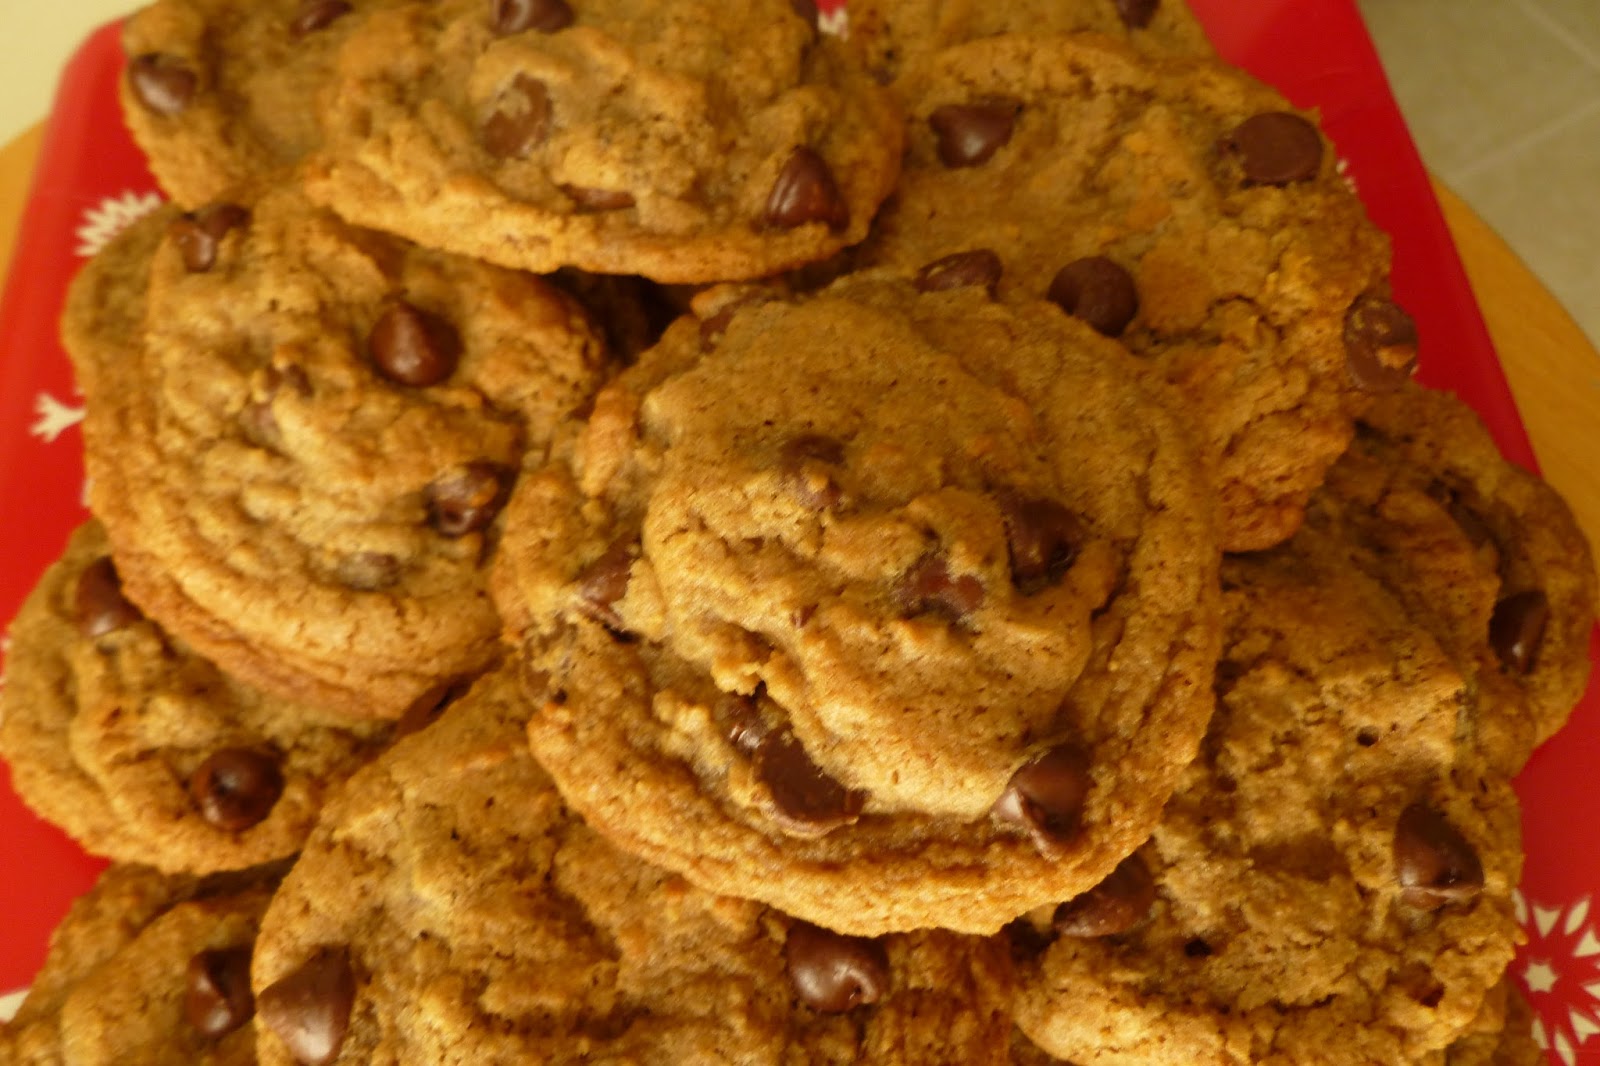
A brief break from cookie recipes (although I have more coming) to put up my latest hack on a typical (plain) brownie recipe. It’s hard for me to make a plain brownie. I value the simplicity and goodness of a perfectly fudgy brownie as much as the next person but when you’ve made as many brownies as I have, you (or I) can’t resist tinkering.
This is one of my many baking books with brownie recipes in them. I’ve gone through a fair number of them as anyone reading my blog for awhile can attest to and every now and then, I try another one so I can increase the return on my investment of having so many baking books. I’ve thinned out a fair number already but let’s face it, when you have more than a hundred – and I do – that’s still a lot.
The beauty with brownies is they’re pretty forgiving no matter what you add to them. I was doing a clean out of my pantry and needed to use up some Nutella before it expired (because, c’mon, who lets Nutella expire??) and some Ferrero Rochers that I really didn’t want calling out to me anymore. I’ve ignored their siren song for this long and it was best that they be on their way.

To “stuff” the brownie with Nutella, simply layer half the brownie batter in an even layer on the bottom of the pan and dollop Nutella generously over it. And I mean generous. Don’t be dainty; now isn’t the time. No need to try to connect the dollops but don’t let them be too far apart either. Then cover all the dollop-y Nutella goodness with the rest of the brownie batter and bake. The tricky thing will be the toothpick test may not be that useful if you hit a pocket of Nutella when you insert the toothpick. If you did it right, there’s a high probability you’ll hit the Nutella too. What I try to do is insert the toothpick at an angle so I should get some of the toothpick through the brownie itself and not just the Nutella. Timing it doesn’t hurt either but you know I never remember to do that. A few minutes before the end of the baking time, drop the chopped Ferrero Rochers on top so they can melt slightly into the brownie. You don’t want them to melt completely but they should 
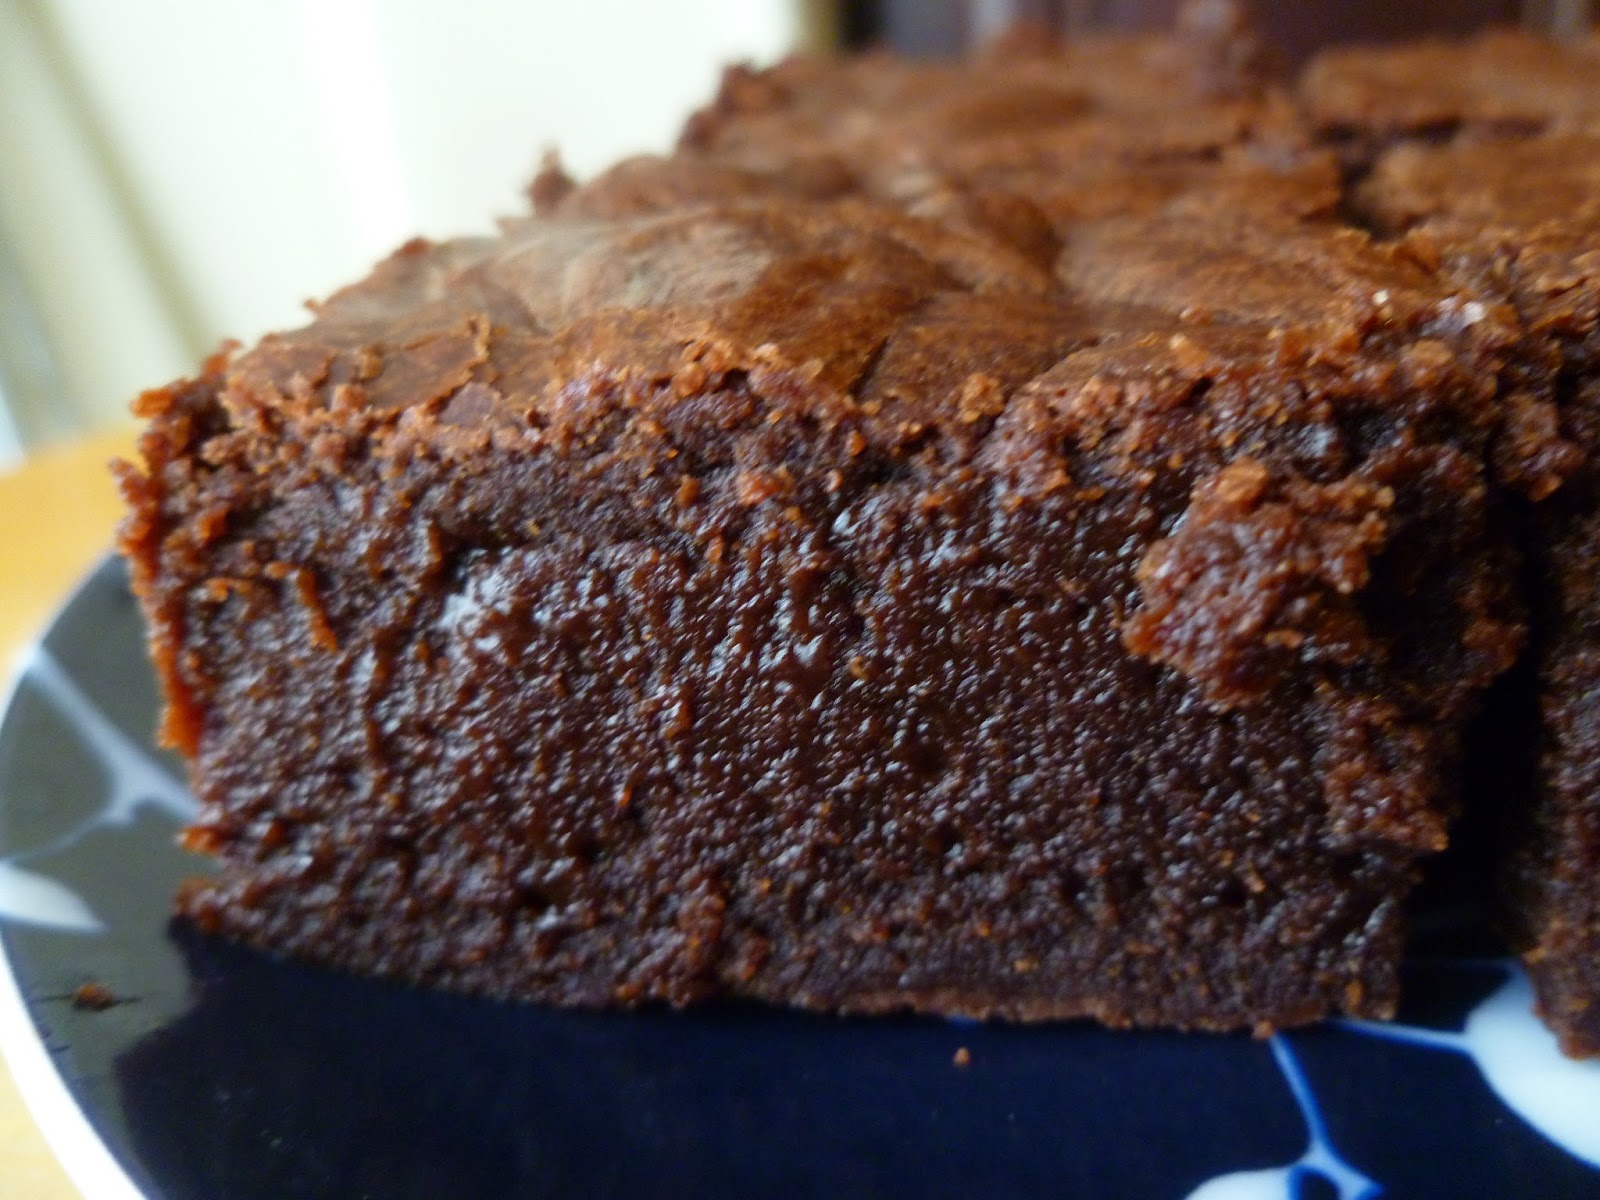
melt just enough to adhere a bit to the top of the brownie. Cool completely, cut into small pieces, go workout then come back and have a piece of rich chocolaty, fudgy goodness.
1 cup butter
1 cup brown sugar
1 1/2 cups granulated sugar
12 ounces bittersweet chocolate, chopped
2 ounces unsweetened chocolate, chopped
6 large eggs
1 teaspoon salt
1 tablespoon vanilla
1 cup all-purpose flour
1 cup Nutella
12 Ferrero Rochers, chopped into quarters
  1. Preheat oven to 350 degrees F.
  2. Line a 9 x 13" baking pan with foil and lightly spray with nonstick cooking spray.
  3. Melt butter and sugars in medium saucepan over medium-low heat, whisking until melted and smooth. Add chopped chocolates and whisk until melted and combined.
  4. Add eggs, one at a time, whisking in each one until incorporated.
  5. Add salt and vanilla, stir to combine. Add flour and stir until just incorporated. Beat with wooden spoon until mixture is glossy. Do not overmix.
  6. Pour half of the batter into prepared pan. Dollop Nutella over batter. Cover with remaining batter.
  7. Bake 30-35 minutes until toothpick inserted near center comes out with moist crumbs, not raw batter. Sprinkle top with chopped Ferrero Rocher, return to oven for 2 minutes (turn oven off) then remove to cool on wire rack.
  8. Let cool completely then cut into squares.

Saturday, March 12, 2016

Dark Chocolate Cookies

Dark Chocolate Cookies - made dough February 6, 2016 from Milk & Cookies by Tina Casaceli
I've been back to baking once a week for work, bringing in treats every Monday morning. It's always Monday since I only have time to bake on the weekends. It's much easier then, especially with cookies since I can make the cookie dough at my leisure (typically Saturdays after my workout), freeze it and bake off the dough on Sunday night.

This was a nicely chocolaty cookie, especially when you use the good cocoa like Pernigotti. The dough is easy to work with and portion off into dough balls. I like to press chocolate chips on the outside of each dough ball to make sure you get some extra chocolate goodness in each cookie.

As always, don't overbake the cookies. Time them since it's hard to tell by appearance alone with chocolate cookies whether they're done or not. I can usually get a good sense of done-ness by evaluating the middle of the cookies. As long as the middles are still raw-looking and shiny, the cookies aren't done. But you don't want them completely puffed up and cracked either or that means they're overbaked. Let cool completely for the complete fudgy goodness (as opposed to warm chocolate mushiness).

2 1/4 cups all-purpose flour
1/4 cup (3/4 ounce) Dutch process cocoa powder
1 teaspoon baking soda
1/2 teaspoon salt
1 cup (8 ounces) unsalted butter
3/4 cup (5 ounces) granulated sugar
3/4 cup (5 ounces) light brown sugar
2 large eggs
1 tablespoon pure vanilla extract
1 1/2 cups (9 ounces) semisweet chocolate chips
  1. Combine flour, cocoa powder, baking soda, and salt in a mixing bowl; set aside.
  2. Cream the butter in the bowl of a standing mixer fitted with the paddle attachment, beating for about 3 minutes or until light and creamy. Gradually add the granulated sugar then the brown sugar, baking until very light and creamy.
  3. Combine the eggs with the vanilla. Add the egg mixture in two parts and beat to incorporate, scraping down the sides of the bowl with a rubber spatula after each addition. 
  4. Gradually add the reserved dry ingredients, beating just until streaky. Remove the bowl from the mixer and scrape the paddle clean. Add the chocolate chips and incorporate with a wooden spoon; do not overmix.
  5. Portion into golf-ball-size dough balls and chill or freeze, covered, for several hours or overnight. 
  6. When ready to bake, preheat oven to 350 degrees F. Line baking sheets with parchment paper and evenly space dough balls 2 inches apart.
  7. Bake for 12-15 minutes or until middles no longer look raw or shiny. Remove from oven, let cool for 2 minutes then, using a metal spatula, transfer to a wire rack to cool completely.

Saturday, March 5, 2016

Chewy Oatmeal Raisin(et) Chocolate Chip Cookies

Chewy Oatmeal Raisin(et) Chocolate Chip Cookies - made dough February 13, 2016, adapted from Being Spiffy
My nieces hosted us at their new apartment for a Valentine's Day lunch last month and, of course, I had to ask, "what do you want me to bring for dessert?" I thought they might ask for some decadent brownie or lava cake or apple cobbler with vanilla ice cream.
To my surprise, they both wanted oatmeal chocolate chip cookies. And to my dismay, they asked for the cookies to be made with raisins. Raisins. OMG, who are these people and did they learn nothing from me? I despise raisins. The only thing I dislike more than raisins are raisins in cookies. They're mushy and too sweet. They're grapes gone wrinkly. I mean, they're raisins.
But try as I might, it's hard to get rid of 22 years of unconditional love. The raisins tested those boundaries, let me tell you. But in the end, I conceded. Sort of.
I honestly had every intention of adding raisins (shudder) to the batter. Really. Except when I went to Target to pick up the aforementioned wrinkled grapes, I couldn't find any. They weren't in the baking aisle and I had no concept of where else they could possibly be. And, conveniently, there was no Target employee milling around who I could ask. Really. But in the candy aisle, I did find a package of Raisinets. Needless to say, I've never bought Raisinets (why would I?). But they were chocolate-covered raisins and that seemed close enough.
So I tried out this recipe, added chopped up Hershey kisses (you can use any chocolate chips or chocolate chunks), divided the dough in half and added the Raisinets to one half. I kept the other half pure and raisin(et)-free. It was genius. I loved these cookies with just the chocolate chunks. They were crisp at the edges and satisfyingly moist and chewy in the middle. I can't tell you what the Raisinet half tasted like but my nieces and one of their boyfriends affirmed my "genius" assessment and said they were delicious. Whew. My love for them remains intact. But let's not get that close to testing those boundaries again.

1 cup butter
3/4 cup light brown sugar
1/4 cup granulated sugar
1 3.4-ounce package vanilla instant pudding mix
2 eggs
1 teaspoon baking soda
1 1/4 cups flour
3 cups oatmeal
1 cup chocolate chips (mini, regular or chunks)
1 cup Raisinets
  1. On the bowl of a stand mixer, cream together butter and sugars. Add vanilla pudding mix and beat until combined.
  2. Add eggs, one at a time, beating until just incorporated.
  3. Add in dry ingredients, mixing until just combined. Add oatmeal, chocolate chips and Raisinets, mixing with a wooden spoon.
  4. Portion into golf-ball-size dough balls, cover and chill or freeze for several hours or overnight.
  5. When ready to bake, preheat oven to 350 degrees F. Line baking sheets with parchment paper.
  6. Evenly space frozen dough balls on baking sheets and bake 10-12 minutes or until edges are golden and middles are no longer shiny or raw-looking. Transfer cookies to wire racks to cool completely.

Sunday, February 21, 2016

Another Great Brownie

Another Great Brownie - made February 6, 2016, recipe modified from Milk & Cookies by Tina Casaceli
This was actually the name of the recipe and isn't a judgment or endorsement on my part. I could've sworn I'd already made this but I tend to feel that way about most brownie recipes in baking books I own because chances are, I've looked at them and planned to make them for so long, I could half (or wholly) convince myself I had when I hadn't.
So just to remove all doubt, I went ahead and made them. I tend to prefer my brownies on the chewy-fudgy side. These were certainly fudgy but the addition of baking powder made them a little lighter than the dense chewy brownie texture that I prefer. They weren't exactly cakey but had more of a soft texture, bordering on mousse without being a mousse. Hard to explain but you'll get what I mean if you make these.

A couple of things to note, depending on how picky you are about brownies. I'm pretty much as picky as you can get. So I feel compelled to point out that this had more of an espresso flavor than I had counted on. Normally the addition of a bit of coffee or espresso to chocolate helps amp up the chocolate flavor. This did that but was slightly also bold on the espresso. Not a bad thing if you like coffee but if you don't, I'd suggest cutting back on the amount of espresso powder.

Lastly, and this is purely a personal preference thing, I'm not sure I like the chocolate chips in the brownie itself. If the texture had been more dense-chewy, I think I wouldn't have minded the chips but since it was a softer texture, the chocolate chips provided more of a contrast than I liked. Not a bad thing for some but for me, sometimes I just want the pure unadulterated chewiness of a plain fudgy brownie. With all that, you might think I didn't like this brownie. I did. I'm just picky.
2 1/3 cups semisweet chocolate chips
3.5-ounce bar of bittersweet chocolate, chopped
2 sticks (1 cup) unsalted butter
1/2 + 1/8 cup all-purpose flour, divided
1 1/2 teaspoons baking powder
1/2 teaspoon salt
3 large eggs
1/2 cup + 1/8 cup granulated sugar
1 1/2 tablespoons instant espresso powder
1 tablespoon pure vanilla extract
1 1/2 cups semisweet chocolate chips for mixing in
  1. Preheat oven to 350 degrees F. Line a 9-inch square baking pan with foil and lightly spray with nonstick cooking spray.
  2. In the top half of a double boiler set over hot, barely simmering water, combine 2 1/3 cups chocolate chips, bittersweet chocolate and butter. Whisk until melted and smooth; set aside to cool slightly.
  3. In a separate bowl, combine 1/2 cup flour, baking powder and salt; whisk together.
  4. In a medium mixing bowl, combine eggs, sugar, espresso powder and vanilla. Stir until barely combined. Add melted chocolate mixture then flour mixture. Stir until smooth and glossy. 
  5. Toss remaining 1/8 cup flour with 1 1/2 cups chocolate chips until chips are coated. Add to brownie batter and stir to combine.
  6. Pour batter into prepared pan. Bake 15 minutes then turn pan and lower heat to 325 degrees. Bake another 15 minutes or until toothpick inserted near the center comes out with moist crumbs.
  7. Cool completely before cutting into squares.

Sunday, February 14, 2016

Chocolate Chip Graham Cracker Cookies

Chocolate Chip Graham Cracker Cookies - made dough February 6, 2016 from My Baking Addiction
Now that the never-ending month of No-Sugar January is over, I did feel "safe" in venturing back to baking once a week for work. I actually had made Averie's Chocolate Chip Cookies (milk chocolate) and Bakery-Style Chocolate Chip Cookies (semisweet chocolate) for my nieces and for work on the last day of January but since I already knew what those recipes tasted like and because I had baked them on January 31 to take into work February 1, I didn't eat any. (Hold, please, while I straighten my halo.). Resisting was initially harder than I thought because what was better than a warm chocolate chip cookie 10 minutes out of the oven? That's right, nothing. Except I couldn't eat any when I baked them because January had hours left to go at that time and I hadn't gone into sugar-deprivation mode for eternity only to blow it on the last day. So I didn't. The next day when I brought the cookies into work, it was February and technically I could have had one then but since they weren't 10 minutes out of the oven, I resisted. I wanted to make the next time I had sugar worth my while.

Which I did with these cookies. Since I had skipped having anything from two of my favorite chocolate chip cookie recipes, I decided to try a new one. This recipe intrigued me as a new twist to a classic cookie. This one was bolstered by graham cracker crumbs which I found to be an intriguing concept. Instead of the 2 1/4 cups flour like a standard Tollhouse recipe, this substituted 1 1/2 cups of the flour with graham cracker crumbs.
I thought the cookies would be more graham cracker flavored and be akin to a s'more base without the marshmallow. Surprisingly, it wasn't. Instead it was like a regular chocolate chip cookie, a bit more "mealy" or robust in texture (thought not quite as chewy as an oatmeal cookie) but only very slightly and I could hardly taste the graham cracker flavor at all. It was still a good cookie though and one I wouldn't mind making again. It makes for a moist cookie but of course, only if you don't overbake it.

1/2 cup (1 stick) butter
1 cup brown sugar
2 teaspoons vanilla
1 egg
1 1/2 cups graham cracker crumbs
3/4 cup all-purpose flour
1/2 teaspoon baking soda
1/4 teaspoon salt
1 cup chocolate chips
  1. In the bowl of a stand mixer, cream together butter and sugar until creamy and no butter lumps remain.
  2. Blend in the vanilla and egg until well combined.
  3. In a separate bowl, combine the graham cracker crumbs, flour, baking soda and salt. Gradually add to the butter mixture until just combined.
  4. Stir in the chocolate chips with a wooden spoon. Portion out dough into golf-ball-size dough balls, cover and chill or freeze for several hours or overnight.
  5. When ready to bake, preheat oven to 350 degrees F and line baking sheets with parchment paper.
  6. Evenly space frozen dough balls on baking sheet and bake for 7-10 minutes or until edges are golden brown and middles no longer look raw or shiny. Do not overbake.
  7. Transfer cookies to wire rack and let cool completely.

Thursday, January 28, 2016

Ultimate Brownies and What to do, What to do

Ultimate Brownies - made December 18, 2015 from Handle the Heat
You might have noticed that I haven’t blogged in awhile. I was going at a fast clip over the holidays and was even almost caught up on posting the recipes I’d tried out leading up to Christmas. I even had about 7 restaurant reviews to write up and post before the new year. But I…..didn’t.


Part of that was because I ran out of time and once the new year hit, so did one of our busiest times at work. As in, I was heads down working, day after day, even through the weekends, with deadline upon deadline crashing down. Until about a week ago when all the deadlines and deliverables had been met. Then it was time to go back to my “normal job” which had piled up during this time of darkness. (Insert drama queen here.) I’m finally pulling myself out of the abyss to emerge into some normalcy.
But the other part of why I’ve been so blog-quiet is I was struggling with whether to keep on with the blog at all. It’s something I’ve been doing for almost 6 ½ years and although the last year and a half has been somewhat of a struggle to keep up with it as well as actually bake, I’ve managed. This time was different because it wasn’t just about the time but a confluence of other events: cutting back on sugar, trying to eat healthier, trying to lose weight, running out of new types of things to bake so I kept falling back on similar gamuts of cookies, cakes and brownies. And it was starting to get not-fun. I had always promised myself that if it wasn’t fun anymore, I wasn’t going to keep doing it. Life is short and all.
A big part of that is I really was cutting back on sugar. In fact, for the month of January, I gave up added sugar entirely (fruit is still okay). It was part of the annual “hey, let’s tackle those last 10 15 pounds again” goal. So if I was giving up sugar, I would feel like a complete hypocrite if I kept posting dessert recipes where sugar abounds.  Might as well ‘fess up what it really means is “here, YOU eat it but I’m not going to.” And that’s not who I am. Hence, the blog silence.


The other main reason I haven’t posted is I was really, really, really reluctant to cut the cord on my blog. Yeah, I know I don’t have the same verve for it that I did 6 ½ years ago or in the time since but did that mean I was ready to give it up completely? Maybe. Sort of. Not really. Okay, I just don’t know. And until I decided, I didn’t know what to post. Frankly I still don’t know. On the one hand, I haven’t baked for the entire month of January. I haven’t eaten sugar in January. I also lost 5 pounds in January. On the other hand, I feel like a piece of me is missing and not just the 5 lbs I lost. I haven’t done what I love and that’s to bake. Honestly, at this point, I don’t even miss the sugar or eating baked goods. But I do miss baking. I know. I’m weird that way.
So I still don’t know what I’ll be doing about my blog. I may post once in a blue moon or I may go through fits of baking and blog every day. Who knows? Until I decide, here’s the last thing I meant to put up in 2015. A month late but still worth making….if you’re eating sugar. And chocolate. It’s perhaps fitting that if this is my last blog post (I just don’t know!), that I “go out” on a brownie note. Because I love thick, fudgy-moist, chocolaty brownies. And that’s what this is. Enjoy.
1 cup semisweet chocolate chips
1 1/2 sticks (6 ounces) unsalted butter, cut into pieces
4 ounces unsweetened chocolate, chopped
1 1/2 cups granulated sugar
3 large eggs plus 1 egg yolk
1 teaspoon vanilla extract
3/4 cup (94 grams) all-purpose flour
1/4 teaspoon fine sea salt
  1. Preheat the oven to 350°F. Line an 8×8-inch baking pan with foil and spray with nonstick cooking spray.
  2. In the top half of a double boiler set over hot, barely simmering water, melted chocolate chips, butter and unsweetened chocolate together, whisking until completely melted and smooth. Let cool slightly.
  3. In a large bowl, use an electric mixer to beat the eggs and sugar on medium-high speed until light and thick, about 3 minutes. Beat in the vanilla extract. Stir in the cooled chocolate mixture with a rubber spatula. Add the flour and salt, folding gently until combined.
  4. Pour the batter into the prepared baking pan. Bake until a tester comes out with moist crumbs still attached, 35 to 40 minutes. Do not overbake. Let cool to room temperature. Serve at room temperature or chilled.

Thursday, December 31, 2015

Lemon Sheet Cake

Lemon Sheet Cake - made December 6, 2015 from Back for Seconds
I’m blogging out of order because I had made this earlier but didn’t want to put it up ahead of the other recipes since this one didn’t turn out as well as it should have. That was entirely my fault. I didn’t bake it long enough because the toothpick came out clean when I poked it in the center of the cake yet I knew it wasn’t done. The cake looked too heavy and didn’t have a spring to it when I touched it lightly on top. But I have such a habit of relying on the toothpick test because I didn’t time it when I put it in the oven so I didn’t know how long it had been baking for and I have an abhorrence of dry, overbaked cakes that I decided to err on the side of caution and pulled it out.
Since the recipe calls for glazing the cake while it’s still warm, I couldn’t even rectify my mistake once I’d discovered it with the taste test. Because you can’t re-bake a frosted cake. In my defense, those first few bites were amazing. I shared forkfuls with my nieces after the warm cake had been newly frosted and we all had big eyes and our forks ready for the next bite. We started at the corner and edges which were the most baked so my underbaking failure wasn’t immediately apparent.
But once the cake had cooled, it was apparent I should’ve left this in the oven awhile longer. The texture once you go towards the middle of the cake becomes more dense. It wasn’t raw but it didn’t have a cakey texture either, more like a fudge texture. Which would’ve been okay if I had been baking fudge brownies but not so good with a cake.

Which is a shame because flavor-wise, this was a very good cake. Very good. So good that I need to make it again and bake it properly this time because, seriously, did I mention it was really good?

1 cup unsalted butter
1/2 cup water
1/2 cup lemon juice
2 cups granulated sugar
2 cups all-purpose flour
1/2 cup sour cream
2 eggs
2 teaspoons vanilla
1/2 teaspoon salt
1 teaspoon baking powder
1 tablespoon cornstarch

Icing
6 tablespoons unsalted butter
6 ounces softened cream cheese
4 cups powdered sugar
3 tablespoons lemon juice
  1. Preheat oven to 350 degrees F. Line a 9 x 13 pan with aluminum foil and lightly spray with nonstick cooking spray.
  2. In a large saucepan, melt butter with water. Turn off heat and whisk in lemon juice, sugar, flour, sour cream, eggs, vanilla, salt, baking powder and cornstarch.
  3. Pour into prepared pan. Bake 25-30 minutes or until toothpick inserted near the center comes out clean and cake springs back when lightly pressed.
  4. While the cake is baking, make icing. In a medium saucepan, melt butter and cream cheese. Remove from heat and whisk in lemon juice and powdered sugar until smooth. Pour over warm cake.

Wednesday, December 30, 2015

Almond Joy Magic Cookie Bars

Almond Joy Magic Cookie Bars - made December 19, 2015 from Eat Cake for Dinner
This is one of those recipes where you should click on the title of the blog post to go to the original blog I got the recipe from and you can see what they’re supposed to look like. If you go by my pictures, you may not be tempted to make these. Mine are a far cry from the original. It’s my own fault since I took certain liberties with the recipe.
First, I didn’t have chocolate graham crackers and I didn’t want to bother getting any since I already had a box and a half of regular graham cracker crumbs I wanted to use up. Second, I didn’t want to buy sliced almonds either because I wanted to use up the pecans in my freezer. The results of my baking willfulness is up for everyone to see.
Fortunately I care more about taste than appearance and these were rather tasty. Then again, I love all things coconut so that didn’t hurt. They did make a thicker bar than I expected, especially the bottom layer so next time I might try them in a 9 x 9-inch baking pan instead. One trick I did learn from the recipe because my magic cookie bars always end up way more brown than what the original blog showed is to tent a piece of foil loosely over the pan halfway through baking pan. That’ll prevent further browning while continuing the bake the cookie bars. I’ve always known the foil trick but I had never thought to apply it to magic cookie bars. I tried it and it worked but I was a little concerned that the bars then looked anemic and a bit raw when technically they weren’t. But because I thought they did, I baked them a little longer than I might normally have. The bottom layer wasn’t dry but it wasn’t as moist as I would’ve preferred.
Ah, a reminder of why I try not to test out new recipes for the holidays. Still, it was more of a glitch than an outright failure and it was good enough that I felt safe in including it in care packages I was mailing out. Even if they weren’t very pretty.
Cookie Crust
1/2 cup unsalted butter, room temperature
3/4 cup light brown sugar, packed
1 teaspoon vanilla
1 egg
1 cup all-purpose flour
1 cup chocolate graham cracker crumbd
1/2 teaspoon baking powder
1/4 teaspoon salt
1/2 cup semisweet chocolate chips

Topping
3/4 cup mini semisweet chocolate chips
1 3/4 cup shredded sweetened coconut
1/2 cup sliced almonds
1 12-ounce can sweetened condensed milk
  1. Preheat oven to 350 degrees F. Line an 8 x 8" baking pan with foil and lightly spray with nonstick cooking spray.
  2. Crust: In a large bowl, cream together the butter and brown sugar until smooth and creamy. Add the vanilla and egg and mix until combined.
  3. Add flour, graham cracker crumbs, baking powder and salt; ,mix until fully combined. Stir in the chocolate chips. Press graham cracker dough evenly into the bottom of the prepared baking pan. Bake for 5 minutes.
  4. Remove from oven and sprinkle with the mini chocolate chips (reserving a small amount), coconut and sliced almonds. Drizzle the sweetened condensed milk over the top and sprinkle with reserved mini chocolate chips.
  5. Return to oven and bake for 25-30 minutes until set. Loosely tent the pan with foil halfway through baking time to prevent the coconut and almonds from browning and rotate the pan in the oven.
  6. Cool for 30 minutes at room temperature then place in refrigerator to cool completely. Cut into 16 squares when completely cool.