Tuesday, April 16, 2013

Crock Pot French Toast

Crock Pot French Toast - made April 12, 2013 from 366 Days of Pinterest
I normally use my crock pot for savory dishes and have yet to try a dessert recipe in it.  I've been leery about it given how watery anything I've made has come out in the slow cooker and I'm not in favor of watery desserts.  But I had discovered a family-owned grocery store several miles from me and in my quest to buy local, I also found that they sold challah made by a bakery just a few towns south of me.  I tried it and unfortunately it wasn't as good as the challah I buy from Trader Joe's. On the bright side though, I was able to let this loaf sit on my counter untouched for a few days with the intent of using it for bread pudding.

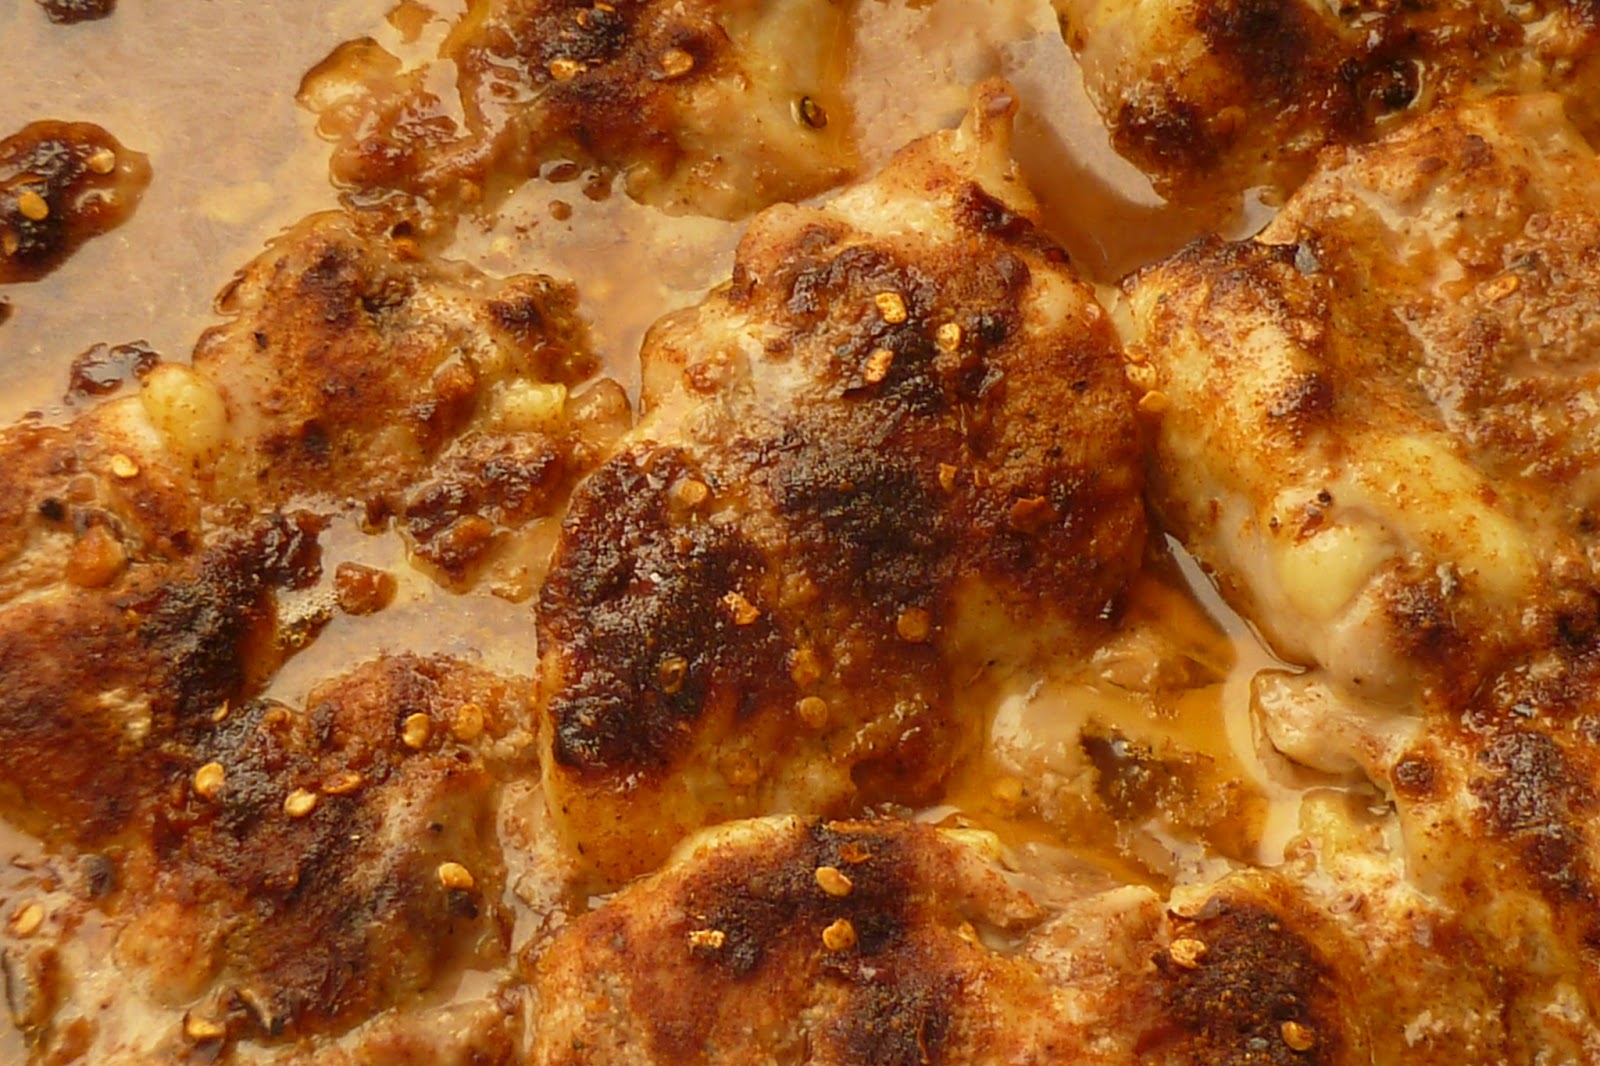
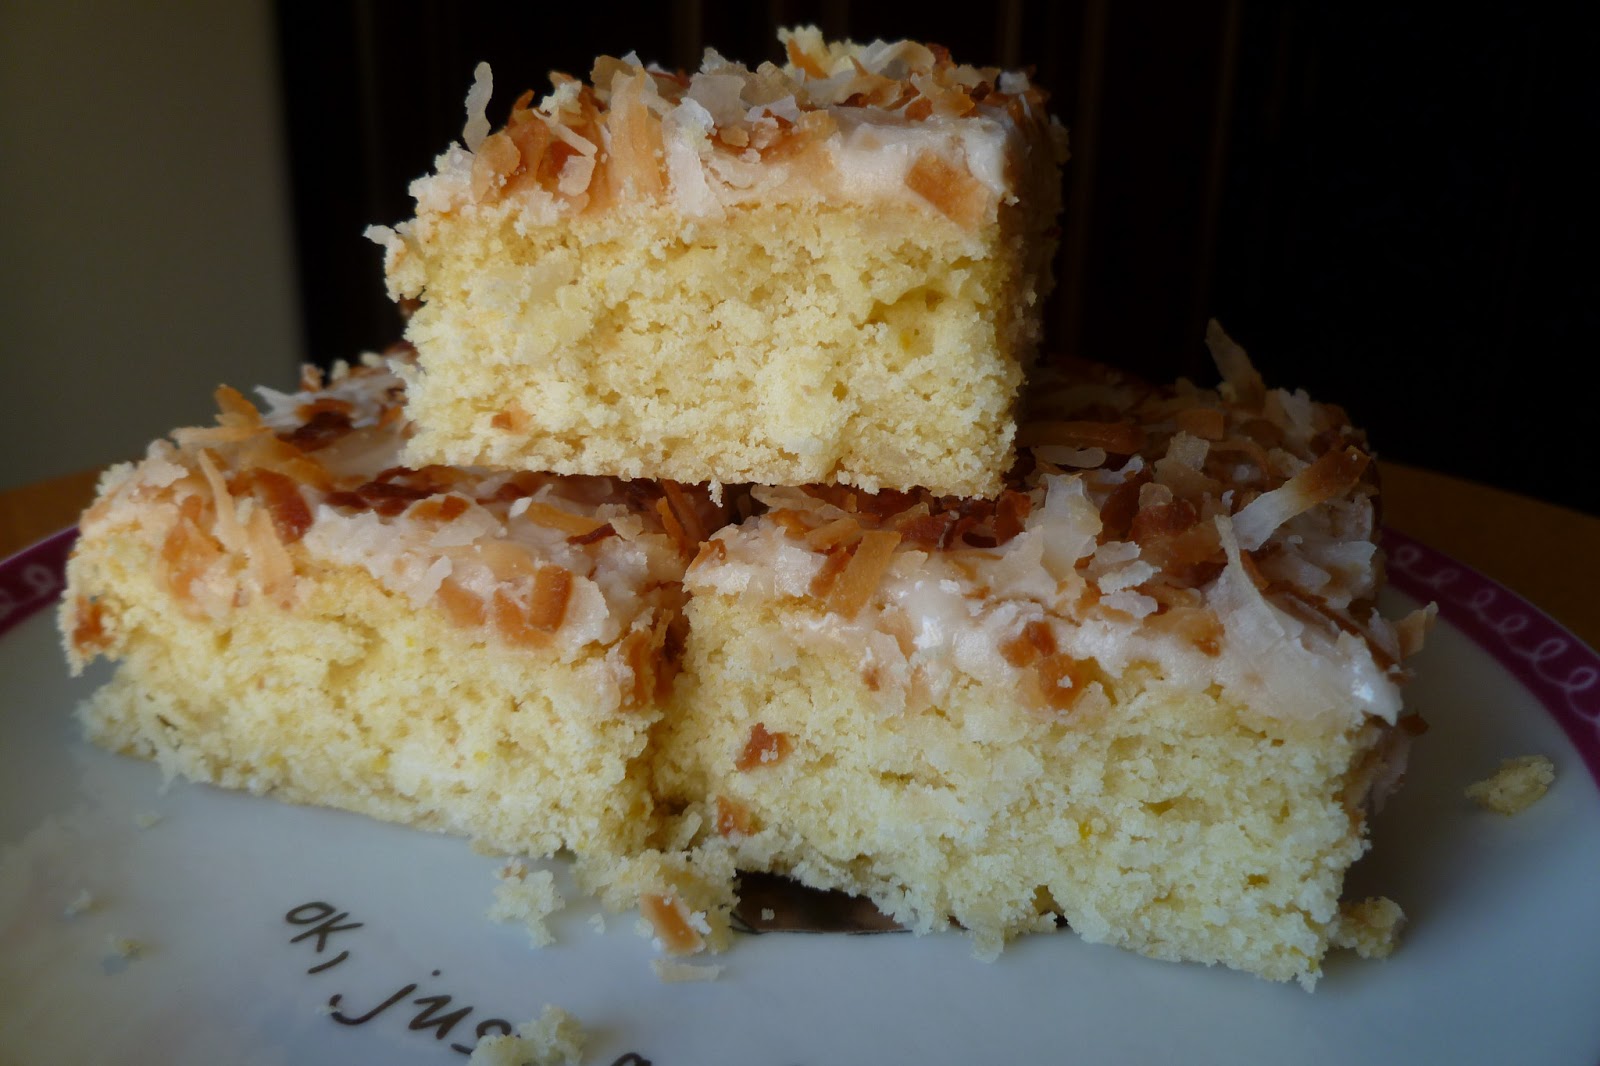
I found this recipe on pinterest (of course) and decided to give it a whirl.  It's just as easy as any other crock pot recipe I've tried, maybe even easier.  You cut the bread, mix the custard and let the bread soak in the custard mixture overnight.  It took even less time to mix the pecan topping the next morning to pour over the bread mixture in the crock pot.  This only took a couple of hours on the high setting.  The edges were a little firm but not dry and it was really good bread pudding (or call it French toast if you prefer).  It's always hard for me to get a good picture of bread pudding.  But this tastes better than it looks.

If you want to plan ahead, I would recommend this for a Mother's Day brunch - just set it to cooking in the crock pot a couple of hours before you need it then serve with no muss, no fuss.  Whether you're the mom who doesn't want to spend a lot of time in the kitchen on your day or the kids/hubby who want to make something special for your mom on her day, this is a good option.  The original blog I got it from mentioned bringing it to a potluck brunch and it easily works for that as well since you can serve it warm out of the crock pot.

1 loaf of bread sliced or diced (I used a 1-lb loaf of challah)
6 eggs
2 cups milk
1/2 teaspoon cinnamon

Topping
1/4 cup butter softened or melted
1/2 cup firmly packed brown sugar
1 teaspoon cinnamon
1/2 cup chopped pecans, toasted
Dash of nutmeg
  1. Whisk together eggs, milk and cinnamon and pour over diced bread in a large bowl. Cover an let it soak overnight in the fridge or at least 4 hours. I soaked mine overnight.
  2. When ready to bake, spray the inside of the Crock Pot (4-6 quart sized works best) to avoid sticking. Pour in bread mix.
  3. In a small bowl mix together butter, brown sugar cinnamon, pecans and nutmeg. Crumble of the top of the bread mixture. Cover and cook on low for 4 hours or on high for 2 hours. Let sit for 15-20 minutes and serve.

Monday, April 15, 2013

Chocolate Peanut Butter Swirl Brownies

Chocolate Butterscotch Swirl Brownies - made April 10, 2013, recipe adapted from The Brownie Experience by Lisa Tanner

I had this written up yesterday but didn't get a chance to post it.  Then I heard about the bomb explosions at the Boston Marathon today and it seems really unimportant right now to talk about brownies and baking.  I'm thankful all my Boston friends are safe, that my runner friends weren't running the Boston Marathon this year and I grieve and pray for those who were impacted by the senseless tragedy.  And many thanks to all the first responders and everyone who rushes to help those impacted. 

This recipe was originally Chocolate Butterscotch Swirl Brownies but I substituted peanut butter for the butterscotch chips to make it a peanut butter chocolate brownie instead.  I like butterscotch but wanted to do the peanut butter rice krispie topping so I went with peanut butter for the base brownie as well.
Swirl the two batters together before baking
I ended up modifying the recipe more than I expected, mostly because I didn't have a few of the ingredients and partly because a couple of brownie recipes I've tried from this book haven't been spectacular.  I was hoping to up the yummy quotient with a few changes but was only marginally successful.  The texture was a bit weird. It wasn't dry but neither did it have that fudgy gooey-ness I was going for.  It was almost a halfway point between cakey and fudgy while being neither.  Taste-wise, it's hard to go wrong with a peanut butter and chocolate combination and as always, I like the crunch of the rice krispie topping.


6 ounces semisweet chocolate
3/4 cup creamy peanut butter
2 cups flour
1 ½ teaspoons baking powder
½ teaspoon salt
1 cup butter, softened
1 cup brown sugar, packed
2 teaspoons vanilla
3 eggs

Peanut Butter Rice Krispie topping
1 cup chopped peanut butter cups, Snickers or some combination of both, optional (I left them out)
1 cup chocolate chips
1/2 cup creamy peanut butter
1 tablespoon butter
1 1/2 - 2 cups Rice Krispies (or more if you wish)
  1. Preheat oven to 350˚F.  Line a 13 x 9 x 2” pan with foil and lightly spray with nonstick cooking spray.
  2. Melt chocolate chips over very low heat; set mixture aside.  In a small bowl, stir together flour, baking powder and salt.  In a large bowl, combine butter, brown sugar and vanilla; beat until creamy.  Add eggs one at a time, beating well after each.  Gradually stir in flour mixture.  Divide batter in half.  Blend peanut butter into one half of batter.  To remaining batter, thoroughly stir in melted chocolate.  In pan, alternate “globs” of peanut butter and chocolate batters checkerboard fashion until both mixtures are used.  Swirl together with a knife to marbleize.  Gently smooth top of batter with a small metal spatula to make an even layer.
  3. Bake about 35 minutes, or until a toothpick inserted near the center comes out with moist crumbs.  Do not overbake.  5 minutes before removing from oven, sprinkle with chopped peanut butter cups and/or Snickers.  Remove from oven when candies have melted slightly.  They will not/should not melt completely.
  4. Melt 1 cup chocolate chips, 1/2 cup creamy peanut butter and 1 tablespoon butter in the top half of a double boiler set over hot, not simmering, water.  Stir until smooth.  Add Rice Krispies and stir until coated.  Pour over baked brownie and smooth into an even layer.  Cool completely in pan before cutting into bars.

Sunday, April 14, 2013

Honey Spiced Glazed Chicken

Honey Spiced Glazed Chicken - made April 5, 2013 from Nutmeg Nanny

I've slacked off on the cooking lately and needed an easy recipe to make before I defaulted to my takeout habits again.  This recipe was very easy and for once I left my slow cooker in the cupboard.  This only needed a baking pan and an oven.  It's got some spice so if you have blander taste buds (ahem), cut back on the pepper flakes and chili powder. As someone with bland taste buds, I say that with all firsthand experience and authority of what not to do. Otherwise the honey and cider vinegar add a nice flavor contrast to the spice.

8 boneless skinless chicken thighs
1 teaspoon kosher salt
1 teaspoon fresh cracked pepper
1 teaspoon red pepper flakes
1 teaspoon chili powder
2 teaspoons paprika
2 teaspoons garlic powder
1/2 cup honey
2 tablespoons apple cider vinegar
  1. Preheat oven to 350 degrees F.
  2. Mix spices together and set aside.
  3. Mix honey and cider vinegar and set aside. Un-tuck chicken thighs so they are flat. Cover both sides in seasoning, set flat onto foil-lined, lightly greased shallow pan.  Bake 10 minutes and pour honey mixture evenly over chicken.  Continue baking, turning over once until chicken is cooked, another 15-20 minutes.  Cover lightly with aluminum foil to prevent the honey glaze from burning.  In the last few minutes, broil to golden if desired.
  4. Take chicken out of oven and let rest for a few minutes before serving.

Friday, April 12, 2013

Salted Caramel Lava Cake

Salted Caramel Lava Cake - made April 7, 2013 from Vegetarian Nirvana

I haven't had much time to bake lately and/or blog so my blog write ups have been brief of late and I'm still working through a small backlog of recipes to put up.  I actually went a few days without baking anything.  I know, I know, that's like saying I took a deep breath and didn't let it out for a few days.

But last weekend, I was in a chocolate mood and my handy pin board offered up several interesting possibilities.  I chose this one because it promised decadence all the way.  And wow, did it deliver.  You can follow the recipe as is with the caramel squares in the middle or you can do what I did: I put a caramel-filled milk chocolate Dove candy in the middle of the ramekin over a layer of batter then a dollop of salted caramel on top of that then covered the whole thing with a little more batter.  Eek.  So good.  Because the caramel center is obligingly molten, you don't have to be as concerned about the chocolate cake being molten.  You definitely don't want to overbake it but don't underbake it too much either.  The recipe technically makes 4 servings but given its richness, I advise making 6-8 servings out of this recipe.  6 will be small, 8 will be mini size.  But trust me, a few spoonfuls of this is enough for you to give proper homage to decadence and the calorie gods.
Topped with The Milkiest Chocolate (Jeni's Ice Cream)

4 ounces semi-sweet baking chocolate squares
4 ounces butter (1 stick or 8 tablespoons)
1/3 cup of sugar 
2  large eggs
1/3 cup all-purpose flour
Some butter for greasing 4 3-inch diameter, ramekins
6-8 caramel squares
a little rock salt/sea salt
100% cocoa powder for dusting ramekins, optional
  1. Preheat oven to 425 degrees
  2. Butter the ramekins. Dust with cocoa powder (optional)
  3. Cut each caramel square into a few smaller pieces and press some salt onto them and set aside. If you leave them whole they might not melt all the way through.
  4. Melt the chocolate and butter in the top half of a double boiler set over hot, not simmering water.  Whisk until combined.  Add the sugar.  Whisk in the eggs and incorporate.
  5. Stir in the flour. Work the flour in gently to combine. 
  6. Divide batter among the 4 ramekins.
  7. Gently push the salted caramel bits into the batter covering them.
  8. Place ramekins on a cookie sheet and bake between 10-14 minutes. The cake is ready when it has a domed appearance, the center is a little moist and the edges of the cake, dry and firm. Remove from the oven, insert a knife and go around the cake, invert onto serving plates, garnish wth salt and serve.

Wednesday, April 10, 2013

Oreo Cupcakes

Oreo Cupcakes - made April 2, 2013 from Stockpiling Moms

Do you know that once you open a package of Oreos, you should eat them shortly thereafter if you want them fresh and still crunchy?  Honestly.  Usually when I buy a package of Oreos, I already have a recipe in mind to use them in so an open package doesn't stick around long in my pantry.  I try not to actually eat them straight out of the package but prefer to incorporate them into baked goods.  Say cupcakes, for instance.

This turned out to be a good vanilla cupcake recipe.  It was moist and tasted good.  The addition of the Oreos added good flavor and a little crunch but I think if you wanted a plain vanilla cupcake recipe, you could also omit the Oreos and serve these unadorned.  If you want to keep the crunch of the Oreos as garnish, don't sprinkle them over the frosting until right before you serve it.  Otherwise the exposure to air plus sitting on top of frosting will soften the Oreos.  I prefer the crunch so I sprinkle the chopped up Oreos on top of the frosting at the last minute.
 
24 Oreo halves, with cream filling attached
2¼ cups all-purpose flour
1 teaspoon baking powder
½ teaspoon salt
8 tablespoons unsalted butter, at room temperature
1⅔ cups sugar
2 large eggs
2 teaspoons vanilla extract
1 cup milk
20 Oreo cookies, coarsely chopped

Frosting
8 ounces cream cheese, at room temperature
6 tablespoons unsalted butter, at room temperature
1 tablespoon vanilla extract
4 cups confectioners’ sugar, sifted
2 tablespoons heavy cream
Oreo cookie crumbs
24 Oreo cookie halves
  1. Preheat the oven to 350? F. Line the wells of two cupcake pans with 24 paper liners. Place an Oreo halve in the bottom of each liner, cream side up. In a medium bowl, combine the flour, baking powder and salt; stir together with a fork to blend and set aside. In the bowl of an electric mixer, combine the butter and sugar and beat together on medium-high speed until light and fluffy, about 2 minutes. Blend in the egg whites one at a time, beating well after each addition. Blend in the vanilla extract. With the mixer on low speed, beat in half of the dry ingredients just until incorporated. Add the milk and beat just until combined, then mix in the remaining dry ingredients. Gently fold in the chopped Oreos with a rubber spatula until evenly incorporated, being careful not to over-mix.
  2. Evenly divide the batter between the prepared cupcake liners. Bake for 18-20 minutes, rotating the pans halfway through baking, until a toothpick inserted in the center comes out clean. Allow to cool in the pans 5-10 minutes, then transfer to a wire rack to cool completely.
  3. Make your own frosting or buy store brand.
  4. To make the frosting, combine the cream cheese and butter in the bowl of an electric mixer and beat on medium-high speed until smooth, about 1 minute. Blend in the vanilla extract. Beat in the confectioners’ sugar until incorporated and smooth, 1-2 minutes. Add the heavy cream to the bowl and beat on medium-low speed just until incorporated, then increase the speed to medium-high and whip for 4 minutes until light and fluffy, scraping down the sides of the bowl as needed.
  5. Frost the cooled cupcakes as desired. Sprinkle with Oreo crumbs and garnish with Oreo halves.

Tuesday, April 9, 2013

Lemon Coconut Blondies

Lemon Coconut Blondies - made March 30, 2013 from Crazy for Crust
This was such a promising recipe and I'm sure it would've been great....had I not committed the cardinal baking sin of overbaking it.  Me, the Queen of Underbaking.  But I was busy doing something else and forgot about it.  It wasn't a total loss as the taste was pretty good but it would've been better if I had taken it out a few minutes earlier so the texture would've been more moist.  It's very easy to overbake blondies.  I don't advise it.  The texture was a bit dry and rather cakey.  Had I baked/underbaked it properly, it would've been moist and chewy.  But I love the lemon-coconut combination so I will have to put this on my "try again" list so I can taste what it really should've been like.

1 cup sugar
1/2 cup (1 stick) butter
2 eggs
1 teaspoon vanilla extract
3 tablespoons lemon juice and 1 teaspoon lemon zest from about 1 lemon
1 teaspoon baking powder
1/4 teaspoon salt
2 cups flour
1 cup coconut

Frosting
1/2 cup white chocolate chips
2 tablespoons butter
1/3 cup powdered sugar
1/2 teaspoon vanilla
1 teaspoon heavy cream
Extra coconut, for garnish
  1. Preheat oven to 350 degrees. Line a 9x9 pan with foil and spray with cooking spray.
  2. Cream sugar and butter in the bowl of an electric mixer fitted with a paddle attachment. Add eggs and vanilla and beat until combined. Mix in lemon juice and zest. Add baking powder, salt, and flour and mix. Stir in coconut. Spread into prepared pan.
  3. Bake at 350 for 23-25 minutes (check at 15-20 minutes!!). Remove from oven and cool completely before frosting.
  4. To make the frosting: Melt butter and white chocolate together in microwave. Stir in powdered sugar and vanilla. Stir in cream to get desired consistency (I used 1 teaspoon). Spread a light coating evenly over the top of your bars and sprinkle with extra coconut.

Sunday, April 7, 2013

Knock Off Cheesecake Factory Bread

Knock Off Cheesecake Factory Bread - made March 30, 2013 from Rae Gun Ramblings
I was high on the success of the Lemon Monkey Bread and thinking "hey, yeasted doughs aren't so hard or so time consuming" so I decided to try my hand at another bread recipe I'd pinned on pinterest.  My friend Jeannie and I like to go to Cheesecake Factory and, like many of its patrons, we like the dark bread that's usually served warm in the bread basket and is the first to go.  Outback Steakhouse also serves a dark bread that's equally yum.  I've always wanted to try making something similar.

This recipe was easy to make but hard to handle.  The dough was too soft and sticky, even after mixing and kneading it (via dough hook) to develop the gluten.  So, instead of rolls, I opted to drop the soft, sticky dough into mini loaf pans for its second rise.  Much easier to deal with.  Overall, this was similar to the Cheesecake Factory bread but I wouldn't call it exactly like it.  It looks the same and if I'd had a baking stone to bake it as rolls (if the dough hadn't been so soft), it would've been a bit more crusty.  Flavor-wise though, I think the molasses gave it more of an aftertaste and "bite" that wasn't in the original CF version or the Outback version.  It was still good but I think next time I would cut back on the molasses and increase the cocoa powder slightly.

3/4 cup warm water
1/4 cup molasses (try 1/8 cup)
1 1/8 cup all purpose flour (increase for 1 1/4 cups if dough is too soft)
3/8 cup wheat flour (increase to 1/2 cup if dough is too soft)
1/2 tablespoon cocoa (try 1 tablespoon)
1/2 tablespoon sugar
1 tsp instant coffee
1/2 tsp salt
1 1/8 tsp yeast (1/2 packet)
1/2 tablespoon oil
egg white for brushing loaves
oats for sprinkling
  1. Dissolve the coffee in the water. Add yeast and let bubble. Add sugar, cocoa, salt, and oil. 
  2. Add half the flour and the molasses and knead or beat with dough hook in a stand mixer. Continue adding flour and beating until dough pulls away from the bowl. You want it sticky but manageable. 
  3. Place in oiled bowl and allow dough to rise in a warm place until it doubles in size. Shape into rolls or loaf. Brush with egg wash and sprinkle with oats. Allow to rise. 
  4. Bake at 350 F 20-35 minutes (time varies depending on the size of the roll/loaf). To tell if it's done pick it up and thump the underside it will sound hollow when it's finished.