Crumbl Cookies review #73: Chocolate Toffee Cake and Cookies & Cream Cheesecake (tester) - visited June 10, 2024
 |
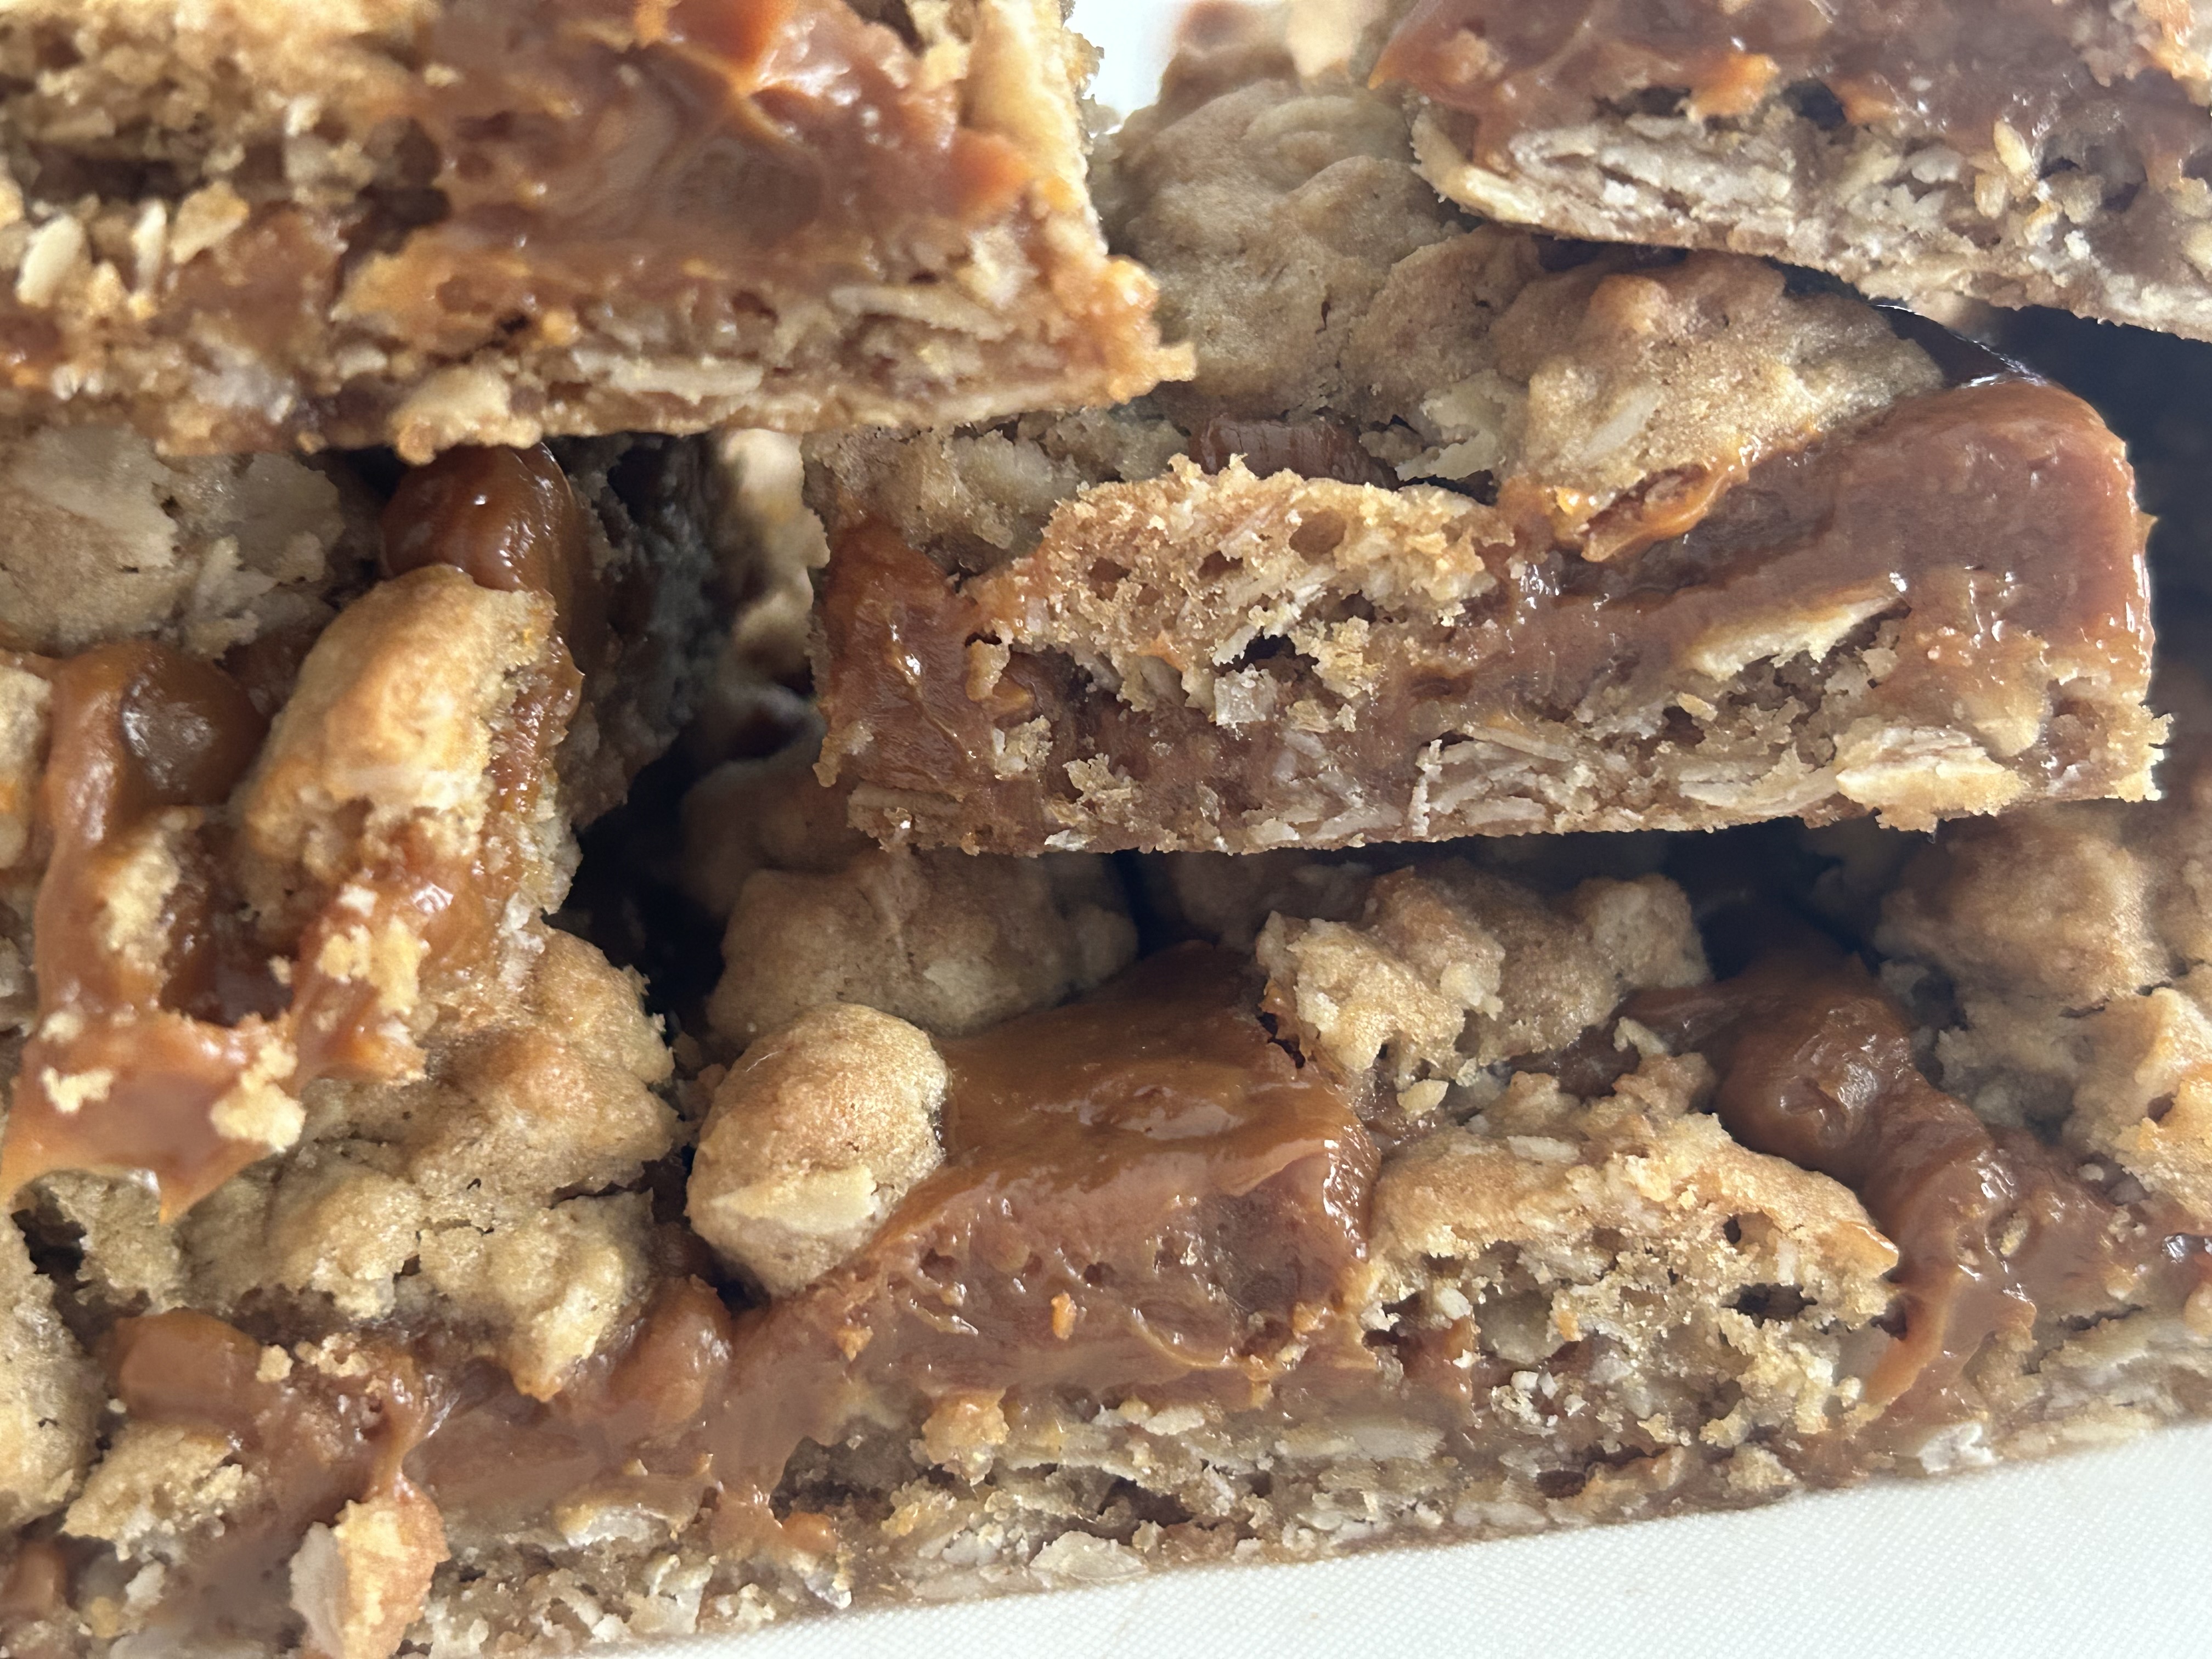
| Chocolate Toffee Cake |
I got two things from Crumbl this week and neither one was a cookie. I had already tried the
Chocolate Milkshake (although back then they called it Chocolate Milk and that was a leftover flavor from last week) and I didn't want any of the other cookie flavors in this week's lineup.
I've been trying to keep an open mind about the non-cookie cake offerings since I enjoyed the
Tres Leches one so much. Hope springs eternal that Crumbl will release something equally as good. But, alas, the Chocolate Toffee Cake is not it.
Much as I (surprisingly) liked the whipped cream topping on the Tres Leches Cake, I didn't like it on the Chocolate Toffee Cake. I dislike whipped cream on cakes because you technically should be refrigerating anything with whipped cream. But when you refrigerate a cake, it'll have a dry mouthfeel. The Tres Leches avoids this by being soaked in three milks. The chocolate toffee cake does not.
I found the cake dry when it was chilled and when I let it come to room temperature, it was better but then I didn't like the texture of the room temperature whipped cream. The cake itself also wasn't that special. At the risk of sounding snobby (and let's face it, I'm a baking snob), this is something I - and probably most people - can make on their own. No need to pay $5.98 ($4.49 for the single cookie price + $1.49 upcharge for the cake) for a simple chocolate cake that was neither spectacularly rich or fudgy.

What also killed this cake for me was something I thought I would like the most and that was the caramel. It was too pale and a bit grainy, signs that it hadn't been cooked long enough to get the real caramelization and flavor. I don't know if my store didn't cook it long enough or if this is just how Crumbl corporate directs them to make it. My store rarely makes mistakes though so it literally could be either. But the caramel didn't save the cake and actually detracted from it by being undercooked.
 |
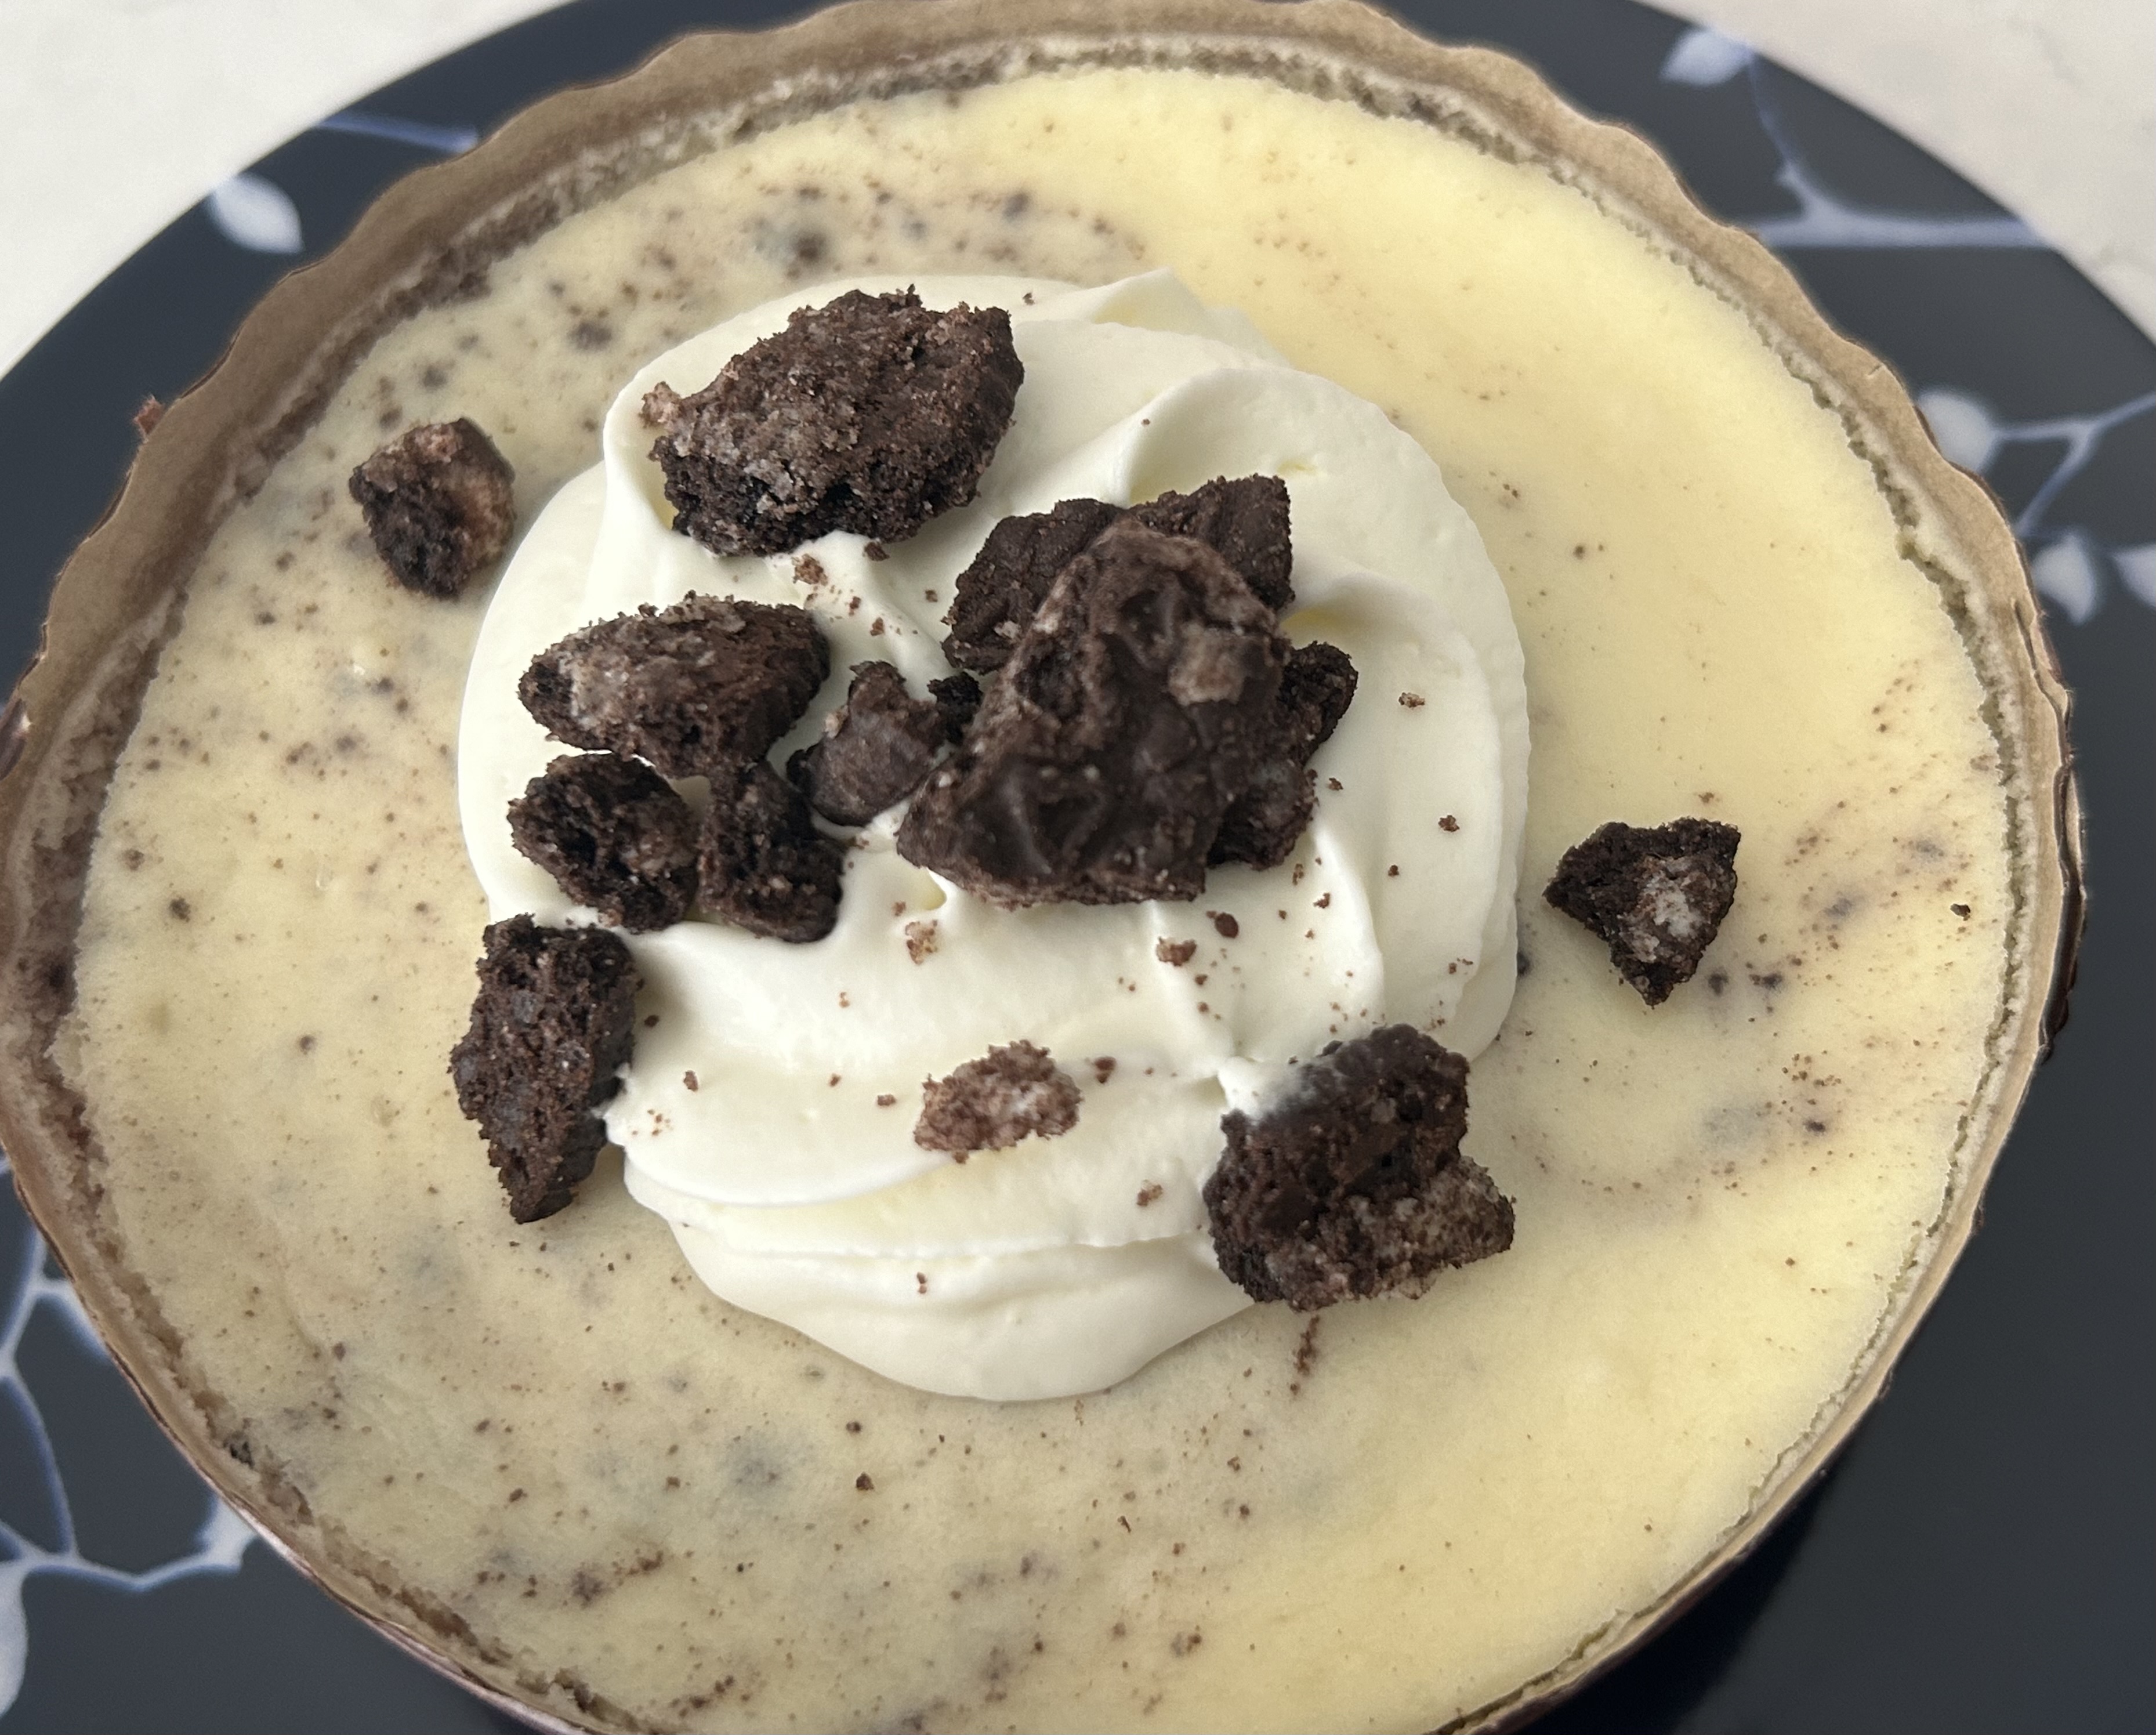
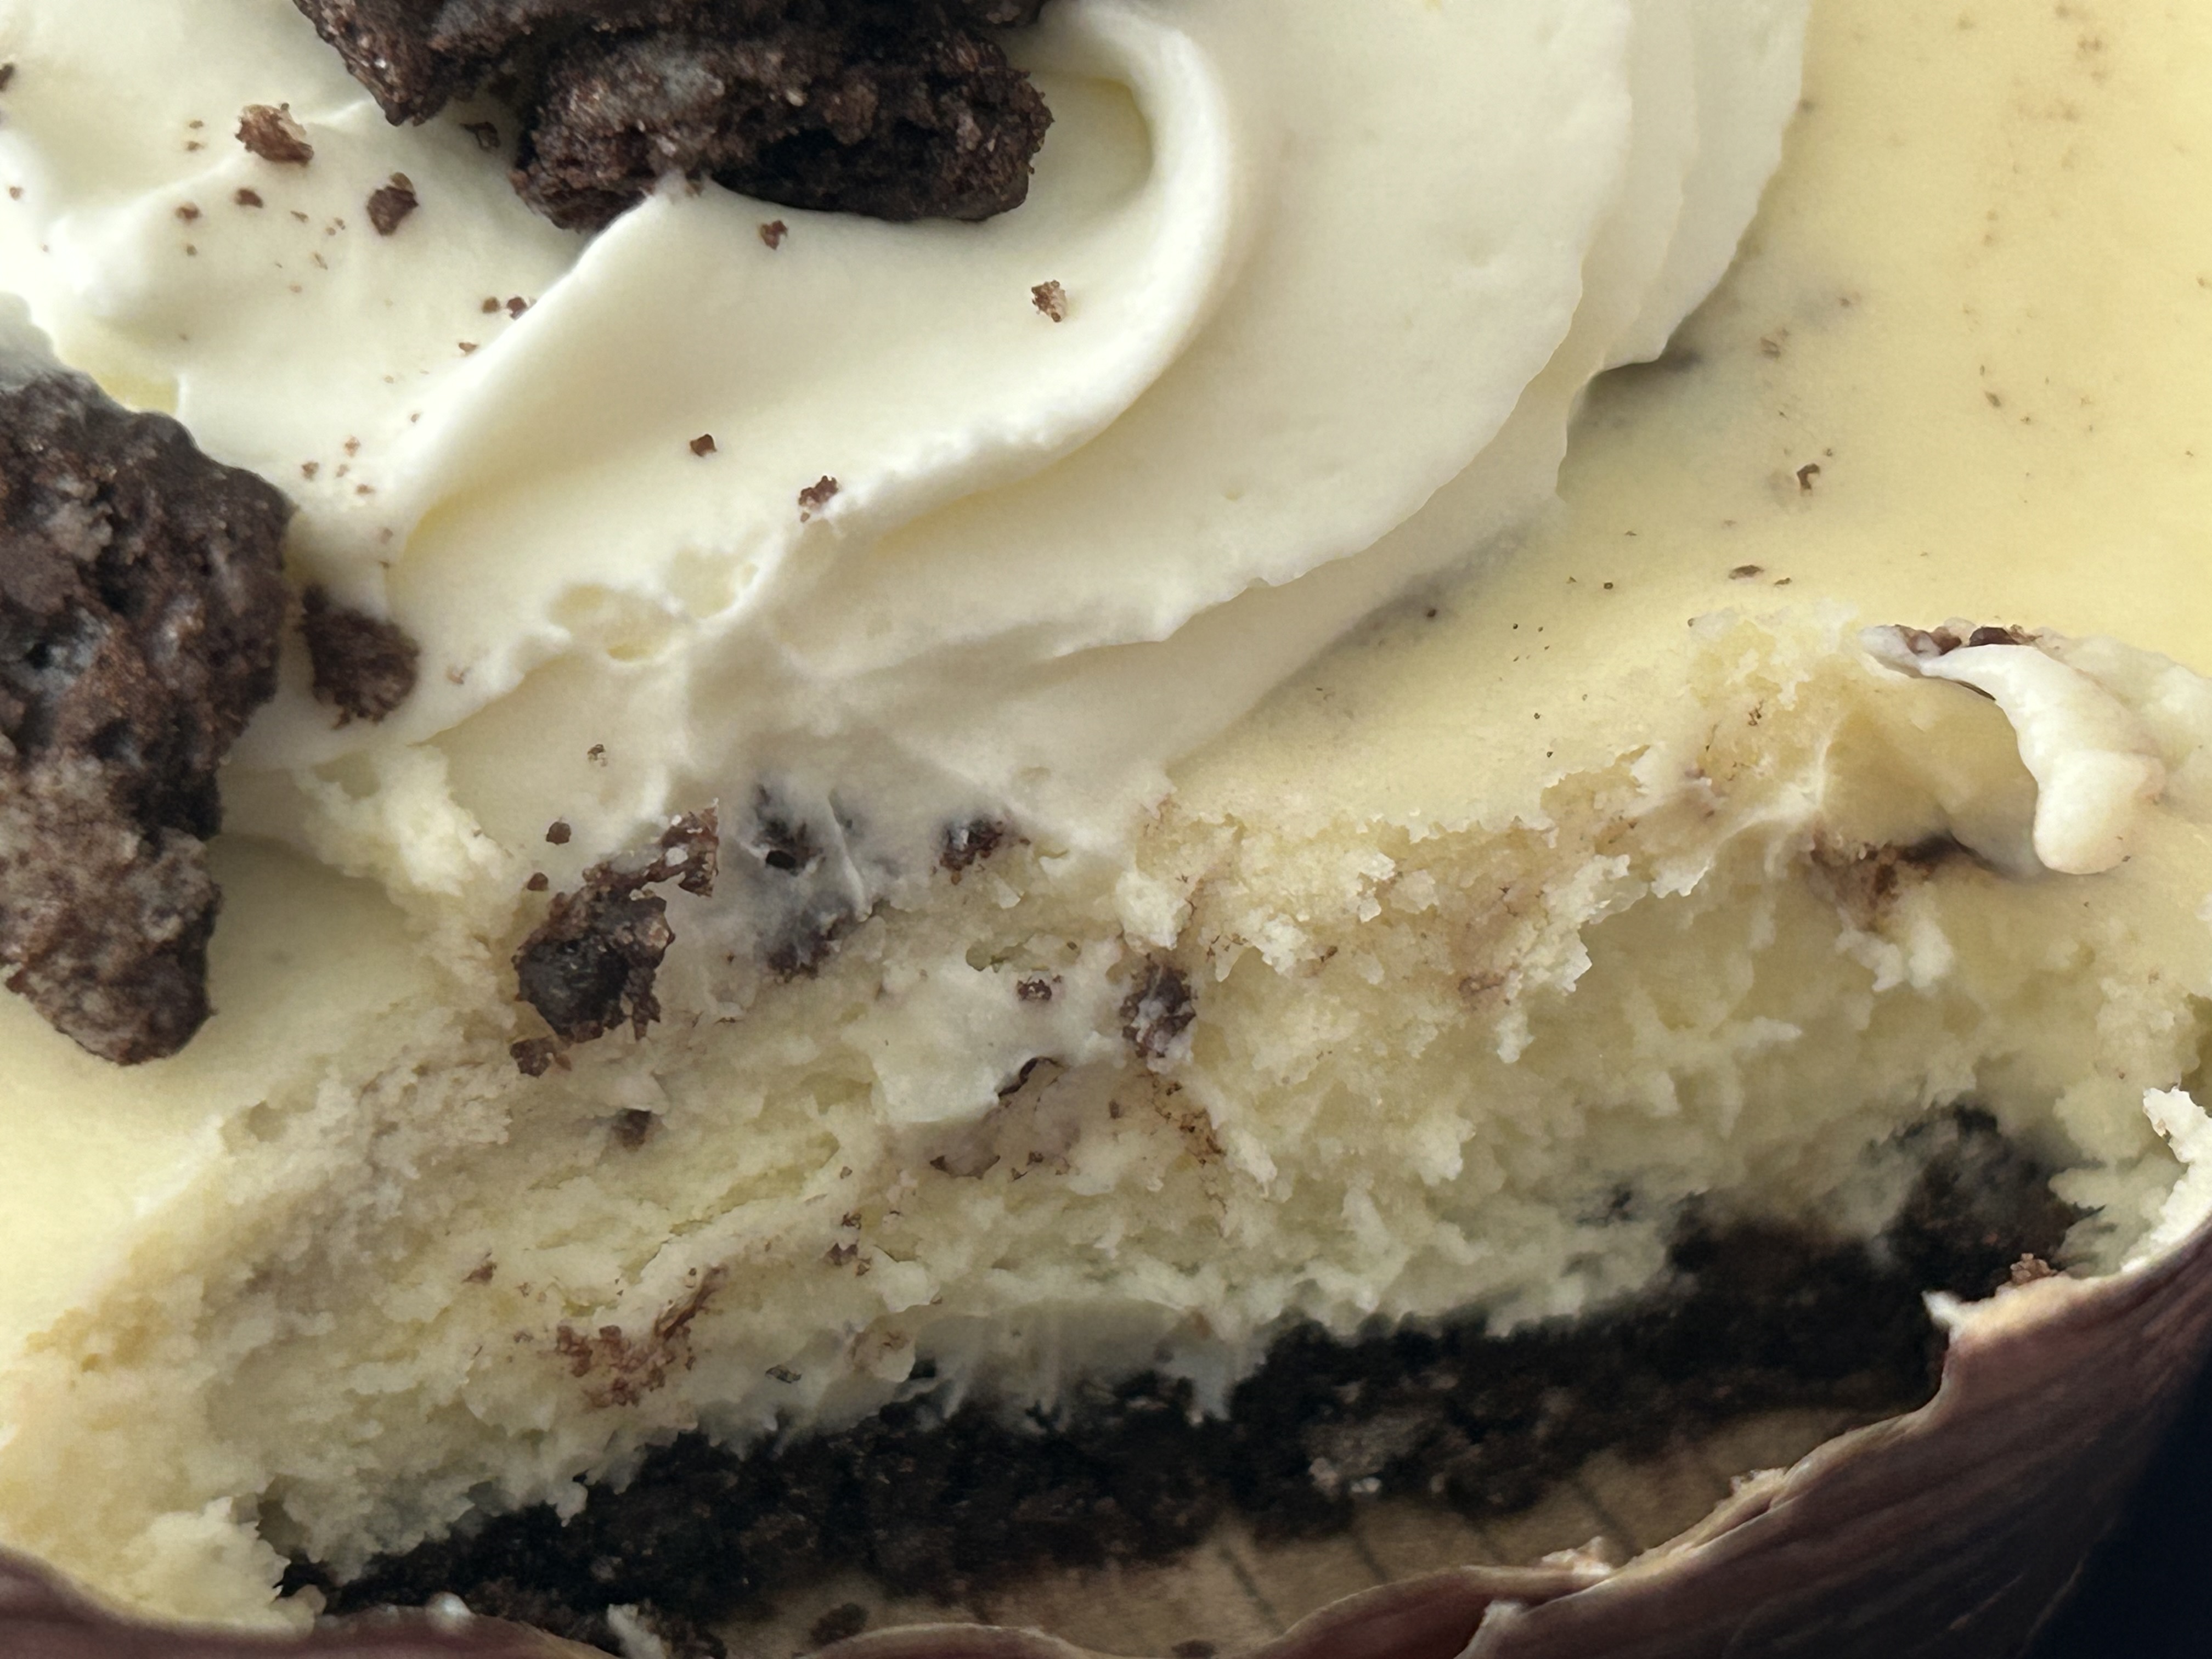
| Cookies and Cream Cheesecake |
Last week, I don't think there was a tester, at least none that I saw when I checked last Wednesday. Surprisingly, when I randomly checked this past Monday, my store did have a test offering on both Monday and Tuesday. So I don't know if this is a one-off or if Crumbl is no longer doing testing on Wednesdays but letting the store decide.
Either way, against my better judgment (let's hear it for sweet-tooth greed), I got this Cookies and Cream Cheesecake tester. It's against my better judgment simply because I don't like cheesecake. Cream cheese is too tangy for me and cheesecakes aren't worth the calories to me. So this probably isn't fair for me to review because of my anti-cheesecake bias. As objectively as possible, I'll say if you like cheesecake, this might be worth it to you. You can't go wrong with an Oreo cookie crust. The cheesecake itself was a little firm; I think I would've preferred it to be a little softer and smoother but that's a personal preference.

Because I'm not a cheesecake person, I haven't eaten enough cheesecakes to be that discerning about it. Was it the best cheesecake I've ever had? No. It wasn't the worst either but I don't think I've had more than a dozen cheesecakes in my life. For me, this is tangy and I just don't enjoy the tang of cream cheese. I can take it in cream cheese frosting if you put enough sugar in it to counter the tang but not in an actual cheesecake. For Crumbl and cheesecake fans, the $5.98 (again, single cookie price + $1.49 upcharge) might be worth it. For me, it was not. I'm glad I tried it so I can make an informed opinion about it but this isn't something I'd get again.