La Honda Winery - "Iron Chef" competition/team offsite on November 7, 2014
We had a team offsite earlier this month where several of our internal groups banded together to go to La Honda Winery. When I hear "winery", I think of lush vineyards bursting with ripening grapes in Napa Valley and dark, cavernous rooms filled with gigantic barrels and lined with pristine wine bottles. I didn't expect a "winery" to be a freeway exit away tucked in what looked like a warehouse district bordering residential housing nearby. But that's what La Honda Winery was and where it was.
They don't grow anything there, of course, since they're surrounded by asphalt but they cultivate small vineyard estates down the peninsula to the Santa Cruz mountains. As near as I can tell, they do small batch wine-making at La Honda and, more importantly for us, they provide a venue for corporate offsites like ours.

For our offsite, we contracted with a culinary company that provided 5 chefs to help each of the 5 teams that we were divided into for an "Iron Chef" competition. We each had a station, there were about 8-9 people on each team and our challenge ingredient was Rice Krispies. Yup, we had to use rice krispies in everything we made, whether they be main dishes, side dishes or desserts. There was a "pantry" of ingredients we could use and the proteins available were salmon, steak and tofu. What we made was up to each team and we had an hour to produce our culinary creations. There was a judge who would rate us on our food (creativity and taste), presentation, and willingness to help other teams.

There were 9 people on my team and, more importantly, several of them knew how to cook. As in real cooking of savory dishes, not just the desserts that I do. People always assume that just because I can bake, I must also know how to cook. Hahahaha! No, and if you've ever tried my cooking, you'd laugh too. But thankfully, it turns out my coworkers have some hidden talents. Given them a cooking station, a knife, some rice krispies and an hour, and look at what they came up with.
Below is my team's masterpiece creation: "panko" (meaning rice krispies) crusted soy-glazed salmon (super delicious), roasted brussel sprouts sprinkled with rice krispies and rosemary garlic (and rice krispies) mashed potatoes. Amazing, right?
Also submitted as part of our entry were "twin fries". Twin fries because both of their makers had twins themselves plus it was food their sets of twins would eat.
 |
| "Twin" fries |
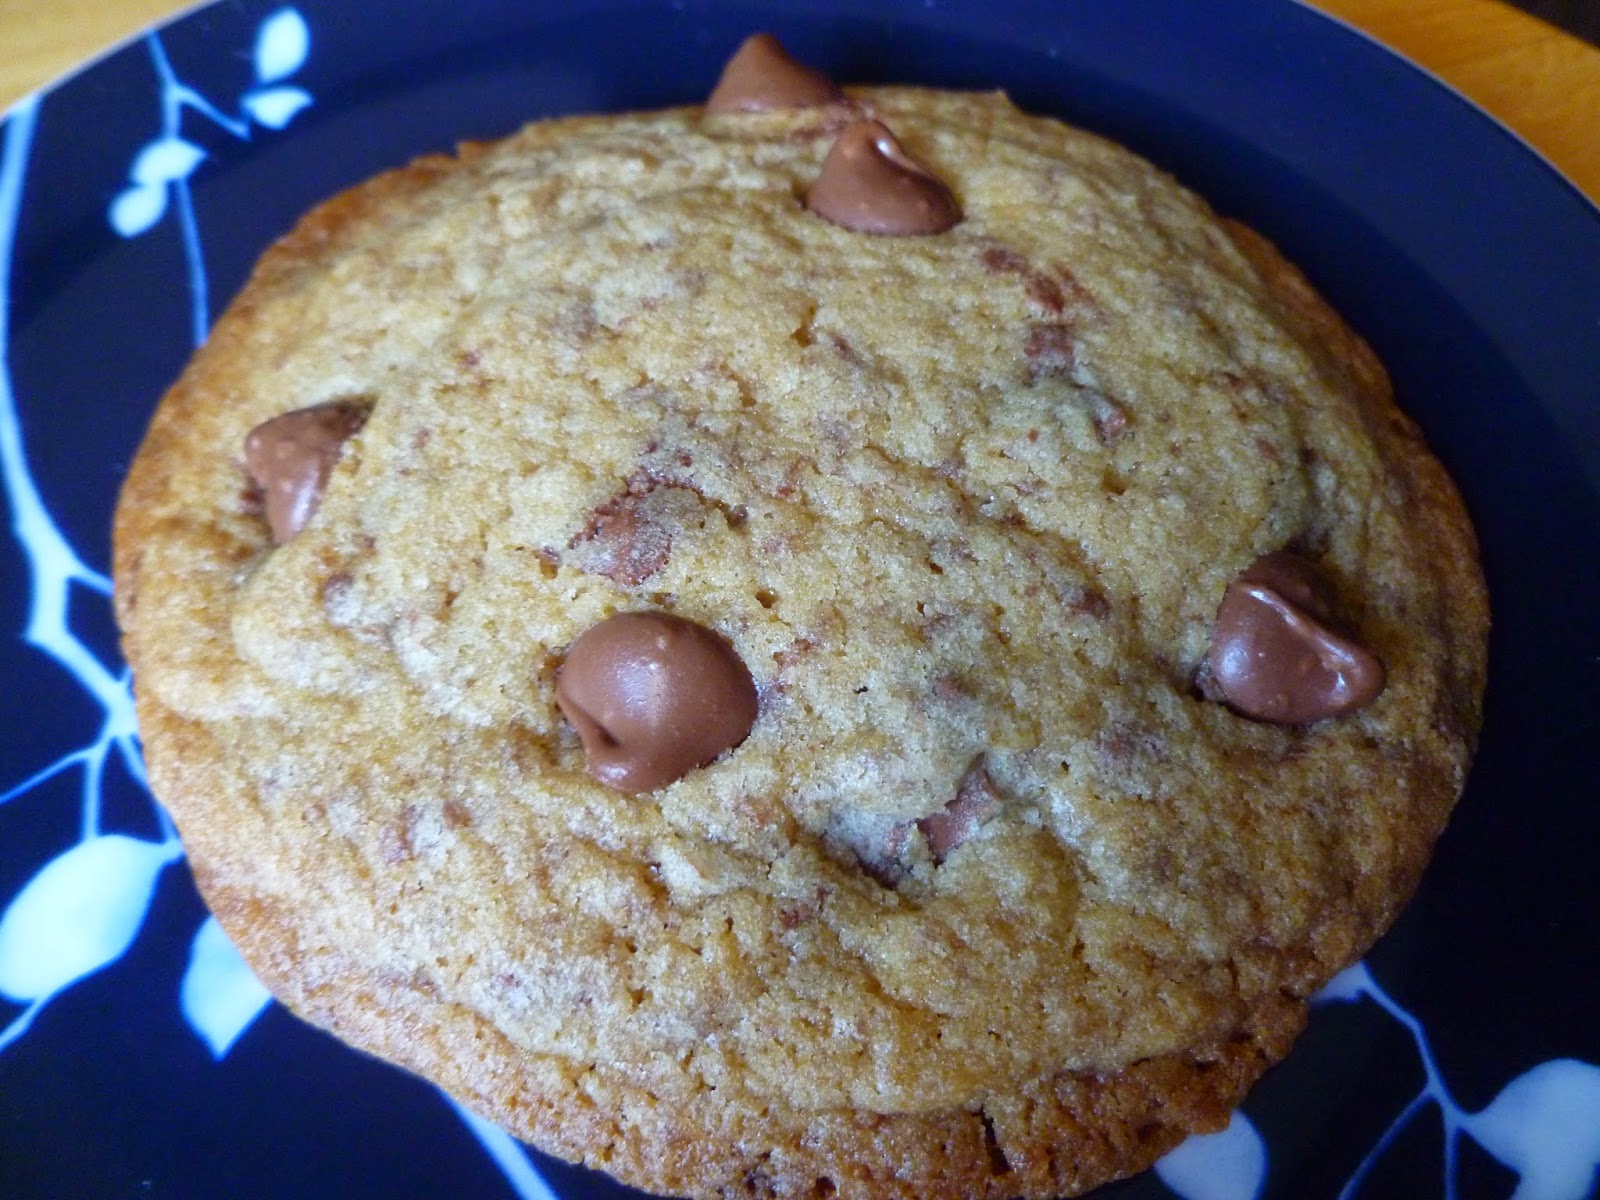
I had to pull my weight so I and a fellow teammate who served as my sous chef covered dessert. The dessert I thought I could easily make with the challenge ingredient were my
Nutella Crunch Brownies. Totally obvi, right? Except, to my dismay, it turns out the pantry did not extend to having nutella. Or unsweetened chocolate. Or even peanut butter. Eek. I had a hard time getting over that (how could you not stock nutella???) But the minutes were ticking away so I decided to just roll with the nutella-lacking punches and make the crunch topping with just chocolate chips, butter and rice krispies. For the brownie base, because only chocolate chips were available, I went with
this brownie recipe and skipped the Snickers add-ins since they didn't have the candy either.
 |
| Krispie Crunch Brownies |
It was a half success - the crunch topping turned out to be more dollops of topping rather than a layer since the lack of nutella meant there was less topping and it was nowhere near as creamy or spreadable. But the crunch part held and the brownie base turned out decently. My coworkers liked it although I knew it could be better (remember I'm far harder on myself and what I make than other people are) and our chef guide asked me for the recipe afterwards :).
I have to say I was extremely impressed by the dishes from all the teams, not just my own. Although I'm not going to lie, I was partial to my team's submissions - ahem, all 5 entries submitted in the competition, thank you.
 |
| Mashed Potatoes |
I wasn't taking notes when each team was presenting their dishes and giving them deliciously grandiose names and descriptions so I will just have to let the pictures speak for themselves. There was so much food I couldn't try all of the dishes and had to content myself with taking a small portion from at least half of them. And yes, there were rice krispies in one form or another in every single offering.
 |
| Stuffed Mushrooms |
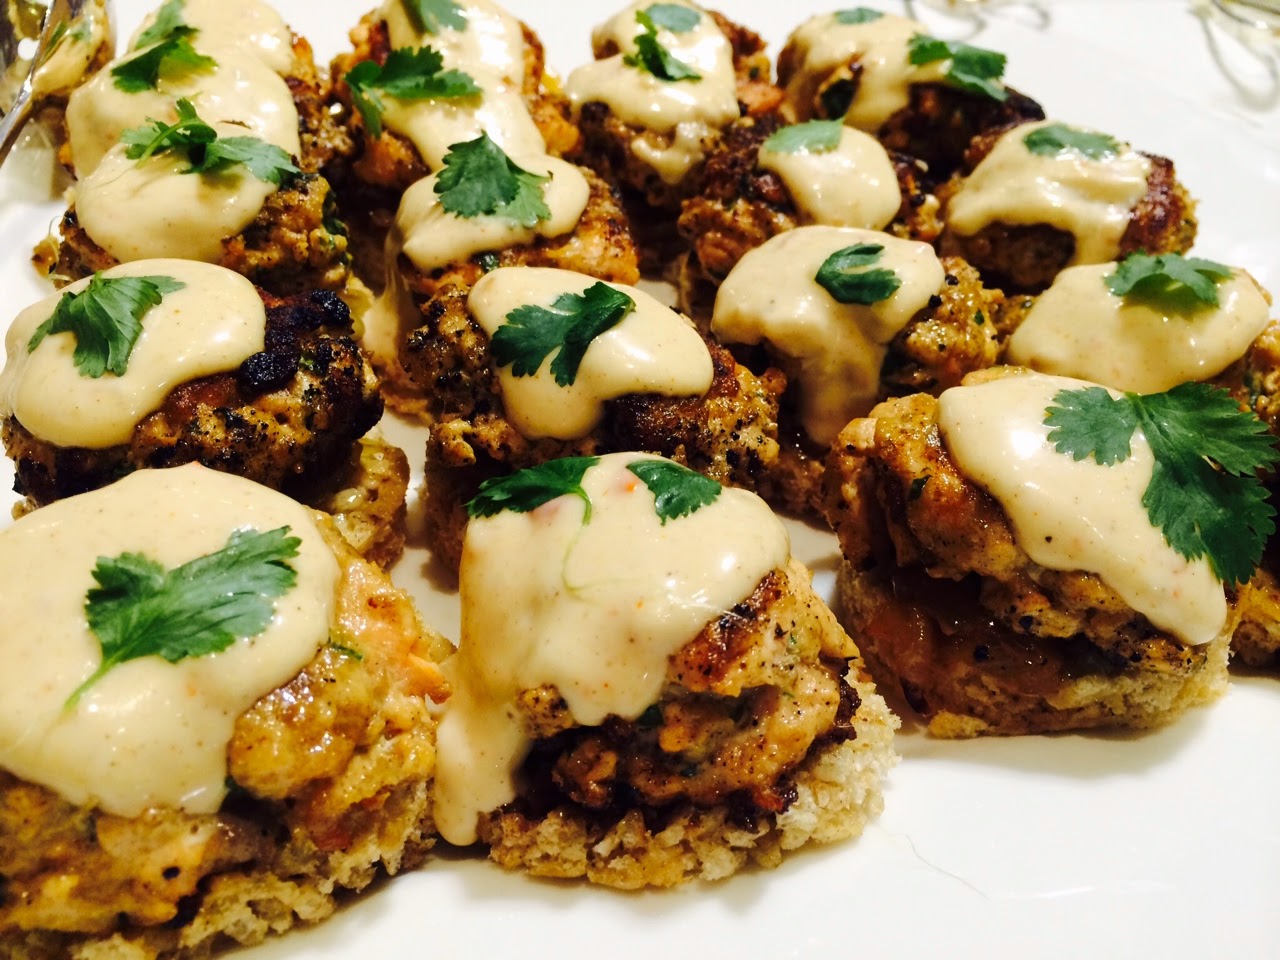
 |
| Salmon Cakes |
 |
| Tofu |
 |
| Potatoes au Gratin |
Seriously, I didn't know I was working with such a talented group of people. And especially my team because when the judging was completed, we won! The judge had nice things to say about the entries from all of the teams and rightly so. Her comments about our entries included praise about its "restaurant quality presentation"; we made one team member responsible for presentation and he held up his end with aplomb. It was a really fun few hours away from work and probably one of the best offsites I've gone to. Not sure how they'll top this one at the next offsite but I'm looking forward to it already.