Monday, March 4, 2019

Browned Butter Fudge Brownies

Browned Butter Fudge Brownies - made February 13, 2019 from The Food Charlatan
I credit The Food Charlatan with the recipe that was one of the most popular I'd ever made and served for one of my holiday dessert parties: the Brownie-Stuffed Chocolate Chip Cookies.
So this brownie looked promising, especially as it was billed as the "best" brownies ever. You know I'm always a little wary about "best" hyperlatives. Not because I question whether it'd be good or not but we all have our own preferences and one person's "best" of something might be someone else's "okay". Nothing wrong with that; we all have different taste buds and that's a good thing.

Case in point, I'm sure most people would like these brownies. Fudgy, dense, chewy - all hallmarks of a good brownie. But in my case, I found these a little too sweet for me. I don't know if my sweet tooth was off when I made this as I rarely find things "too sweet". But although these had unsweetened chocolate, I think there was a little too much sugar for me to offset it.

For those who prefer more chocolate than sweet in a brownie, I'd recommend cutting back on the sugar by maybe 1/4 to 1/2 and mixing in a couple tablespoons of unsweetened cocoa powder in place of a couple tablespoons of flour.

1 1/4 cups salted butter (2 1/2 sticks), melted and browned (go to original blog for instructions on how to brown the butter)
4 ounces unsweetened baking chocolate, coarsely chopped
2 1/2 cups granulated sugar
1/2 teaspoon salt
1 tablespoon water
2 teaspoons vanilla extract
1 cup all-purpose flour
4 large eggs
1 1/4 cups semisweet chocolate chips, optional
  1. Preheat oven to 350 degrees. Line a 9 x 13 inch baking pan with foil and lightly spray with nonstick cooking spray.
  2. To the just melted and browned butter, add the unsweetened chocolate and whisk until melted and combined.
  3. Add sugar and whisk together. Add salt, water and vanilla; whisk to combine. Stir in eggs, one at a time, whisking until each egg is incorporated. Stir in flour until just combined. Whisk until batter is smooth and all ingredients are incorporated. Do not overmix.
  4. Pour into prepared pan and smooth top. Sprinkle chocolate chips, if using, over top. Bake for 20-25 minutes or until a toothpick inserted near the center comes out clean or with a few moist crumbs, not raw batter. Remove from oven and let cool completely before cutting and serving.

Friday, March 1, 2019

Instant Pot Korean Beef

Instant Pot Korean Beef - made February 17, 2019 from I Heart Eating
Another easy beef dinner recipe where you throw ingredients into an Instant Pot, turn it on and come back in 40 minutes. I've done a few of these in the last few weeks and I have to admit, while they all "turned out" (in my parlance, that means I didn't give myself food poisoning with my own cooking), I'm not sure they stand out or would be something I'd serve to someone other than myself.

But I think that could also be due to my not eating any of it with rice, pasta, bread or any other carb that makes life worth living. Which means the sauce from each dish goes to waste since it's not flavoring rice or pasta or being soaked up with crusty bread.
It's got brown sugar so I can't say it's strictly low carb but compared to my previous carb consumption, it's all relative. Good ,easy option for a weeknight dinner. Would be good with rice. I assume.
1/2 cup soy sauce
1/3 cup brown sugar, packed
1/4 cup beef broth
5 cloves garlic, minced
2 tablespoons sesame oil
2 tablespoons rice vinegar
2 tablespoons freshly grated ginger
2-4 tablespoons Gochujang sauce, depending on desired heat (I didn't have any so I omitted it and added sliced onions instead)
1/2 teaspoon onion powder
1/2 teaspoon pepper
3-4 pounds boneless beef chuck roast, cut into 1-inch cubes
  1. In a medium bowl, whisk together all ingredients except the roast. 
  2. Place cubed roast into Instant Pot. Pour sauce over cubed meat.
  3. Close the lid and make sure the pressure release valve is turned to "sealing".
  4. Press the Meat program button and adjust the time to 40 minutes.
  5. Once it has finished cooking, allow beef to remain in pot for 25 minutes of natural pressure release.
  6. Carefully release any pressure left at the time by turning the pressure release valve to "venting". Serve warm.


Tuesday, February 26, 2019

Chocolate Chocolate Chip Cookies at high altitude

Chocolate Chocolate Chip Cookies (revisited) - made dough February 10, 2019, from Knewton

I'm going through some re-testing of a few of my favorite recipes at a higher altitude to make sure they'll still turn out when I (potentially) make them for my niece's wedding in Denver. Having discovered my chocolate chip cookie recipe didn't really need to be adjusted for high altitude baking, I decided to try my luck with my favorite recipe for chocolate chocolate chip cookies.

If you recall, I was on a quest to find a good copycat recipe of Levain Bakery's chocolate chocolate chip cookie which I loved when I tried it on my trip to Manhattan. This one from Knewton was the best one I'd found so I wanted to make sure it would work at any altitude.
This time, I only made the recipe as is and didn't make any of the adjustments for the higher altitude. I made the cookies rather small since, if memory serves, it was also rather rich. I'd run out of Pernigotti cocoa and my Valrhona cocoa was still packed in a box somewhere in my garage but I did have some Guittard unsweetened cocoa powder that survived the move and actually got unpacked so I went with that.

The dough was a bit on the dry side when I had mixed everythnig. I don't know if that's because I didn't beat the butter enough and it's rather cold here (hello, actual real winter) but I packed the dough balls rather densely and, when it came time to bake them, was careful to underbake. As in, I only baked these for maybe 7-8 minutes. Then I let them cool completely before taking that first taste test bite. Hallelujah, they still turned out delicious with the perfect fudgy texture that's a must in all chocolate chocolate cookies. They might've become dry if I baked them for the time declared in the recipe, especially since I made them much smaller than before, so I've adjusted the time below to accommodate baking at a higher altitude. I also baked them at a lower temperature and they didn't spread. Actually, they hardly spread at all.

1 1/2 cups all-purpose flour
1 cup bread flour
5/8 cup cocoa powder
5/8 teaspoon baking soda
5/8 teaspoon salt
1 3/4 sticks (14 tablespoons) unsalted butter, cold, cut into tablespoons
1 cup packed brown sugar
1/4 cup granulated sugar
1 1/4 teaspoons vanilla extract
1 large egg + 1 large egg yolk
2 cups chocolate chunks

  1. Sift flours, cocoa powder, baking soda and salt together.
  2. Beat cold butter until creamy, 1-2 minutes. Add sugars and beat until combined. Add vanilla, egg and egg yolk until just combined. Add dry ingredients and beat until just combined. Do not overmix. Fold in chocolate chunks.
  3. Portion the dough into 4-ounce dough balls. Separate each ball into halves and combine the smooth halves together, leaving the "ripped" edges on the outside. Cover and chill or freeze for several hours or overnight. If making them as small dough balls, pat into thick discs.
  4. When ready to bake, preheat oven to 350 degrees F. Line baking sheets with parchment paper and evenly space dough balls. Bake for 17-18 minutes for larger cookies or 7-8 minutes for smaller cookies at higher altitudes or until middles are set.  Cool completely on wire racks.

Saturday, February 23, 2019

Turkey Taco-Stuffed Sweet Potatoes

Turkey Taco-Stuffed Sweet Potatoes - made February 10, 2019 from Cookin Canuck
This is another easy recipe to make and has the added advantage of being healthy-ish. You can omit the cheese at the end if you want dairy-free. I like recipes like this because they're easy for a non-cook like me to make and I like the base ingredients of sweet potato and ground turkey. I'm less of a fan of tomatoes but can eat them mixed into something, as in this case. Plus, bonus, it uses up some of my Penzey's spices.

My only trouble spot (you know there had to be one), is I didn't cook the sweet potatoes long enough. The original directions said to microwave them for 4-5 minutes. I tried that but they were still hard as rocks. So I ended up boiling them until they were mostly tender. I say mostly because I was afraid of boiling them too much and having them end up mushy, in which case, they would've fallen apart when I tried to scoop out the sweet potato and still leave the skins.

You can't actually scoop out all of the sweet potatoes and just leave skin as the skins would fall apart without any sweet potato to hold them together. So I carefully cut the insides out but left some sweet potato around the rim. That mostly worked. But the inner sweet potato was still a bit too firm so I ended up mashing them, pan frying them then baking them a little longer. But hey, other than that (ha), these turned out pretty well. Like I said, pretty healthy, at least compared to some of the other stuff I eat.

2 medium-sized sweet potatoes, cooked whole (can be boiled, microwaved or baked)
1 teaspoon olive oil
1 1/4 teaspoon ground cumin, divided
1/4 + 1/8 teaspoon salt
1/4 + 1/8 teaspoon ground pepper
3/4 pound lean ground turkey
4 garlic cloves, minced
1 teaspoon chili powder
1/2 teaspoon dried oregano
1/2 teaspoon paprika
1 1/4 cup canned crushed tomatoes
1/4 cup grated cheese (I used cheddar)
2 tablespoons minced flat-leaf parsley
  1. Cut cooked sweet potatoes in half, length-wise. Carefully scoop the flesh out of the potatoes, leaving a thin layer around the edges. With the back of a fork, mash the potato flesh until most lumps are gone. Stir in the olive oil, 1/2 teaspoon cumin, 1/4 teaspoon salt and 1/4 teaspoon pepper. Divide the mashed sweet potatoes evenly between the potato skins. Place on a baking sheet.
  2. Heat a large nonstick skillet over medium-high heat. Lightly coat with nonstick cooking spray. Add ground turkey and cook, breaking up with a wooden spoon until cooked through. Stir in the garlic, chili powder, remaining 3/4 teaspoon cumin, oregano, paprika and remaining 1/4 teaspoons of salt and pepper. Cook for 1 minute. Stir in the crushed tomatoes.
  3. Preheat the broiler. Spoon the turkey mixture into each sweet potato skin. Top each with 1 tablespoon grated cheese. Broil until the cheese is melted, about 30 seconds. Garnish with parsley.

Wednesday, February 20, 2019

Instant Pot Beef

Original title: Crockpot Beef and Broccoli - made February 9, 2019, modified from BS Recipes
This was originally a recipe for Crockpot Beef and Broccoli but I rarely use my crock pot anymore since I now have an Instant Pot. And let's not kid ourselves that I would eat broccoli. So I modified this to make in my Instant Pot and omitted the broccoli. Hence, the more plain but accurate recipe title of "Instant Pot Beef".

I also used stew meat rather than chuck roast since I knew making it in the Instant Pot would render even stew meat tender. And....I couldn't tell you the difference between chuck roast and stew meat other than stew meat is cheaper and tends to be tougher if not properly tenderized.
The original blog recipe said this made a lot of sauce and recommended making only a half recipe so that's what I (mostly) did. The recipe below is a half recipe with the exception of I increased the brown sugar slightly to 1/4 cup just to make measuring easier as the original recipe called for 1/3 cup but I can't imagine most people would have a 1/6 measuring cup.
This is the kind of recipe I favor: easy to make if you consider cooking being to throw ingredients into a pot and turn it on, short list of ingredients I had on hand, and pretty tasty. It probably would've tasted better with some rice to mop up the sauce but I'm cutting back on carbs so I ate it "straight".
1 pound boneless beef chuck roast, sliced into thin strips (I used stew meat)
1/2 cup beef broth
1/4 cup soy sauce
1/4 cup brown sugar
1/2 tablespoon sesame oil
3 garlic cloves, minced
1 tablespoon cornstarch
2 tablespoons sauce after being cooked
  1. Place beef in Instant Pot. Combine beef broth, soy sauce, brown sugar, oil and garlic. Pour over beef. Press Stew setting on Instant Pot. 
  2. When finished cooking, let steam release naturally for 10 minutes then complete release manually.
  3. Ladle out a spoonful of cooked sauce in a small bowl and stir in cornstarch to dissolve. Pour back into Instant Pot and press Saute setting. Stir until sauce has thickened and mixture has come to a boil, stirring for 5 minutes. Serve.


Sunday, February 17, 2019

Review: Donut Bistro

Donut Bistro - visited January 20, 2019
I know, I know, I always say I'm not really a donut person yet why do I try out donut places? Technically, I did try out Donut Bistro but I didn't actually get a doughnut. See what I did there? Any excuse to try out a new place, even if I don't get whatever they're named for.

The shop wasn't crowded when I arrived early on a Sunday morning but truthfully, I haven't found Reno places very crowded, for the most part. Which is one of the reasons I'm enjoying this new transition. After becoming used to traffic, long lines, long waits, large crowds in the Bay Area, it's kind of refreshing not to have to wait for anything anymore.

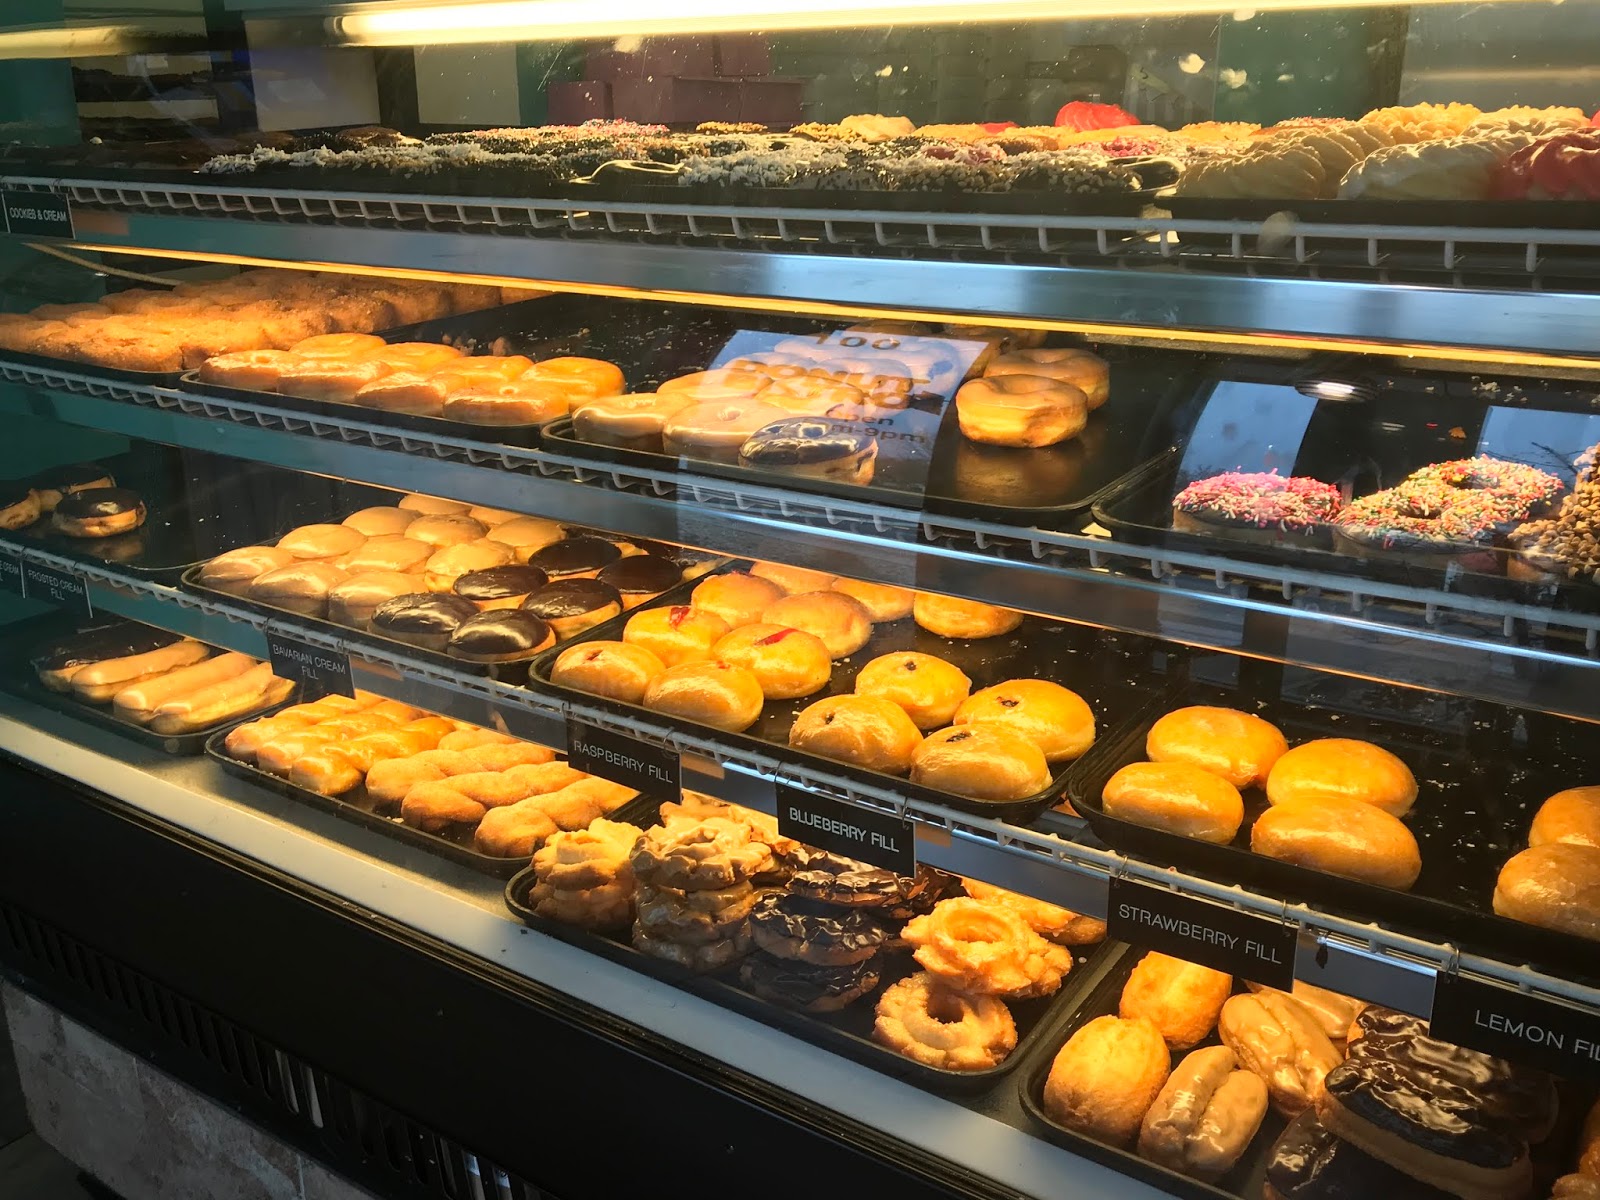
There was a wide assortment of doughnuts of all kinds of flavors and fillings. I passed them all up. Because you know, not a doughnut person.

So in this case, I tried out their cinnamon roll. I figured it's close enough since the base dough is likely very similar but just in a different shape. And that is what it tasted like. This isn't a Cinnabon cinnamon roll in that the dough was more yeasted doughnut than more dough-like cinnamon roll.

For what it was and not being a doughnut person, I thought it was pretty good. The glaze wasn't too thick, which I appreciated. It could've used a little more cinnamon to my snobby palate so it wasn't just sweetness but still, it was pretty good. I have to give the nod to Stan's Donut Shop in Santa Clara but you knew that was coming.


The other non-donut item I tried from the Donut Bistro was their meatball kolache. I'd read good reviews about their kolaches on yelp and it wasn't a doughnut so it seemed like a logical choice. Cinnamon roll for breakfast, kolache for dinner. Worked for me.

The kolache seemed like the European version of a pork bun from an Asian bakery but with a different filling. The baked dough surrounding the filling was quite good, similar to the bread products from an Asian bakery which I like. It also reminded me of the meat pies I had in Australia and New Zealand: simple, filling and tasty. So while I might not be a doughnut person, I'd go back to Donut Bistro for their kolaches.