Monday, April 28, 2014

30-Minute Fudge Cake

30-Minute Fudge Cake - made April 20, 2014 from The Playing House
Although this has a different title, it's pretty much a Texas Fudge Cake. It has all the same elements: boil the liquid ingredients together, whisk in the eggs and buttermilk, stir in the dry ingredients, bake and pour the frosting over it while cake is warm. Even the frosting is made the same way: boil the liquids together and whisk in the vanilla and powdered sugar. The only thing with the frosting is mine came up thicker and set up a lot faster than I was expecting so it set more like a thin layer of fudge than staying the creaminess of a typical frosting. And that isn't a complaint.
Just like with most Texas Fudge Cakes I've made, I loved the taste and texture of this cake as well as the ease of putting it together. The only drawback was the frosting was just a little too sweet for me but you can cut back on the powdered sugar to remedy that.
My coworkers seemed to have liked it too. As I alluded to in the post for the Banana Crumb Cake, this is the recipe that, to date, has the distinction of disappearing the fastest out of our communal kitchen. I set it out when I arrived at the office (I'm usually one of the first people to arrive in the morning), took a couple of conference calls in my office then when I ventured out to the kitchen just over an hour later, even the plate I brought the cake in was gone. Normally someone takes the last piece and leaves the empty plate there (drives me crazy when they do that) but this time around, even the plate was disposed of and there was no evidence I had brought anything in that day. Literally not even a stray crumb adorning the table. If I gauged the success of a recipe by how quickly it's been consumed, this one tops the list. For anyone who didn't make it into the kitchen before 9:30 that morning, sorry, you missed out.

Cake
2 cups all-purpose flour
2 cups granulated sugar
2 sticks (1 cup) butter
1 cup water
5 tablespoons cocoa powder
2 eggs
1/2 cup buttermilk
1 teaspoon baking soda
1 teaspoon vanilla

Fudge Frosting
1 stick butter
4 tablespoons milk
4 tablespoons cocoa powder
1 16-ounce box powdered sugar, sifted if lumpy
1 teaspoon vanilla
  1. Preheat oven to 350 degrees F. Line a 9 x 13 pan with aluminum foil and lightly spray with nonstick cooking spray.
  2. Mix flour and sugar in a large bowl; set aside.
  3. In a medium saucepan, combine butter, water, and cocoa over medium heat. Bring mixture to a boil and pour over the flour-sugar mixture. Mix well.
  4. Whisk in the eggs, buttermilk, baking soda and vanilla. Pour batter into prepared pan and bake for 25-30 minutes or until a toothpick inserted near the center comes out clean or with a few moist crumbs.
  5. Frosting: In a medium saucepan, combine butter, milk and cocoa; bring mixture to a boil. Remove from heat and add powdered sugar, stirring well with a whisk or wooden spoon until the sugar melts and the mixture is smooth. Stir in vanilla then pour over hot cake. Let cool until set before slicing and serving.


Saturday, April 26, 2014

Paradise Chocolate Chip Cookies

Paradise Chocolate Chip Cookies - made dough April 14, 2014 from Mountain Mama Cooks
This was the 4th cookie I made for the Easter goodie bags for the kids at my church. Kids + chocolate = good. Right? Plus, can you go wrong with a chocolate cookie with semisweet, milk and white chocolate chips? This is a recipe that's supposed to be a knockoff of the cookies from Paradise Bakery. I've never been to Paradise Bakery or tried any of their cookies since there aren't any in my state but the pictures from Mountain Mama Cooks' blog was enough to convince me to try out her recipe. She has compact, chubby cookies pictured on her site and at first that was what I was going to make too. Usually with chocolate, especially rich chocolate, a little goes a long way. Plus, c'mon compact, chubby little cookies? You had me at chubby.
But the dough came out a little soft and I was afraid they would spread thin if I made the dough balls small. The smaller the dough ball, the more it'll spread as it bakes because there isn't enough of it to stay mounded in the center. So I went big. Like golf-ball size big. Then I froze the dough. "Worst case" scenario is I'd end up with big cookies that spread but if they start off as big enough dough balls, they won't have time to spread thin before they're baked. Which is what worked. Yes, the cookies ended up a little big but they also stayed thick enough to be worth it.
These had a great fudgy texture. They're optimal when they've cooled enough to firm up and be fudgy as opposed to mushy or gooey but still lukewarm-ish enough for the chips to be soft. I gave them away so I didn't try them when they had fully cooled but I think they'd still be good. When it comes to chocolate cookies, texture is everything. Don't overbake or they'll be dry. Underbaking is okay as the chocolate will set as it cools.
Below is the array of cookies I made for the Sunday School, although I ended up packaging them into individual cellophane bag to give to each child. Clockwise from the top is the Paradise Chocolate Chip Cookies, Cookie Butter Brown Sugar Cookies, Glazed Lemon Cookies and Triple Chocolate Chip Cookies in the middle.
1 3/4 cups all-purpose flour
1 1/4 cups cocoa powder
1 1/2 teaspoons baking soda
1 cup butter
1 cup granulated sugar
3/4 cup brown sugar
2 eggs
2 teaspoons pure vanilla extract
1/4 teaspoon salt
1 cup white chocolate chips
1 cup semisweet chocolate chips
  1. In a medium bowl, combine the flour, cocoa and baking soda; set aside.
  2. In a large bowl, cream together the butter, brown sugar and granulated sugar until light and fluffy. Add eggs one at a time, beating well after each addition.
  3. Add salt and vanilla; mix well.
  4. Gradually add the dry ingredients, mixing until just combined. Fold in chocolate chips.
  5. Form dough into golf-ball-sized dough balls and chill for several hours or overnight. When ready to bake, preheat oven to 350 degrees F.
  6. Space dough balls evenly on baking sheets lined with parchment paper. Bake for 8-10 minutes or until centers no longer look raw and shiny. Remove cookies from oven and place on wire racks to cool completely.

Thursday, April 24, 2014

Glazed Lemon Cookies

Glazed Lemon Cookies - made April 19, 2014 from Barefeet in the Kitchen
I've been so busy at work that most of my baking has been confined to weekends. I do some stuff on weeknights but only if I have the energy or inclination. Easter decided to sneak up on me this year and although I'd done the Easter Jewel Cookies just to have an excuse to buy my annual bag of Cadbury mini eggs, it still really didn't hit me that Easter had arrived until it was Good Friday. But I was working that day so it wasn't until Saturday that I finally paid some attention to the fact that the next day was Easter Sunday.
Now that my nieces are no longer little girls running around in Easter dresses searching for Easter eggs and the Easter bunny, we don't really do a big Easter celebration anymore. At least not the non-religious kind. We go to church like we always do and go to lunch afterwards like we do every week. This year, at church, we've had new attendees, including a family with four little girls. It's been so long since we've had kids in Sunday School, that it's refreshing to see little faces at church again. And they're remarkably well behaved little girls when they join the main church for the beginning and ending hymns, always nice to see.
Since I can use any excuse to bake, I decided to make up cookie bags for the kids (with leftovers for the adults, ha). I already had cookie dough from the Cookie Butter Brown Sugar Cookies and the Triple Chocolate Chip Cookies. To provide a variety, I also made Paradise Chocolate Cookies (post coming later) and these Lemon Glazed Cookies. My lemon tree is still running amok with lemons and I also still had lemons I'd picked earlier from both my tree and my mom's tree. They would soon be in danger of drying out in my fridge so I ended up zesting and juicing all of them, saving the juice for future use and using up a good portion of zest in the cookie dough.
Mine didn't come out as nicely uniform as the ones from Barefeet in the Kitchen and they were more domed in the center. If you want them to be of more uniform shape and thickness, I suggest making even-sized dough balls (a cookie scoop helps) and flattening them into thick discs before freezing them. I kept them as dough balls so when I baked them from frozen dough, they spread at the edges but stayed round in the middle. They were still pretty tasty regardless of what they looked like. But you can go the disc route if looks matter as much as taste. The cookie itself wasn't too lemony; the tart lemon-ness comes from the glaze. I liked the pairing because the glaze kept the cookie from being too sweet and the cookie kept the glaze from being too tart. If you want a thicker glaze, more like a frosting, you have to cut back on the lemon juice. But if you don't want to sacrifice lemon flavor in the glaze, add lemon zest. Since I wanted to put the cookies in cellophane bags, I had to have a glaze that set so I used a little more powdered sugar so the glaze wouldn't be too runny. It worked pretty well and I was able to put all 4 kinds of cookies in each goodie bag without making a mess.
2 1/4 cups all-purpose flour
1/2 teaspoon baking powder
1/2 teaspoon salt
3/4 cup granulated sugar
3 tablespoons lemon zest
1 cup unsalted butter, room temperature
1 egg
1 teaspoon vanilla extract

Glaze
1 cup powdered sugar
4-5 teaspoons fresh lemon juice
  1. Whisk together flour, baking powder and salt; set aside.
  2. In a small bowl, combine granulated sugar and lemon zest. Rub the sugar and lemon zest together with your fingers until fragrant.
  3. Cream the butter and lemon-sugar mixture together until light and fluffy. Add egg and vanilla extract. Mix until smooth. Slow add in flour mixture on low speed until combined.
  4. Form into golf-ball size dough balls and chill until firm, several hours or overnight.
  5. When ready to bake, preheat the oven to 350 degrees F. Line two baking sheets with parchment paper. 
  6. Space cookie dough balls evenly on baking sheets. Bake for 10-12 minutes or until cookies are just set and barely golden brown around the edges. Cool on baking sheet for 1 minute then transfer to cooling racks to cool completely.
  7. Glaze: In a small bowl, whisk together powdered sugar and lemon juice. Dip each cookie top into the lemon glaze. Let icing set.

Tuesday, April 22, 2014

Banana Crumb Cake

Banana Crumb Cake - made April 13, 2014 from Cookies and Cups
Got overripe bananas and want to do something with them other than banana bread? Or, in my case, yet another attempt at a fluffy banana cake with cream cheese frosting? Here's a different way to use up black-skinned, mushy bananas and you'll be thanking yourself for their transformation into this yummy crumb cake.
I am inordinately fond of crumb cakes. Who doesn't love all that crusty brown sugar caramelizing on top of baked cake? I don't make it often because, well, you know, I'd eat it. Which sounds funny because I do eat everything I make. But it's just a matter of how much. I'm typically pretty good about eating a small portion of something as a taste test but then I can walk away and be fine not eating anymore. Yes, I've been told I'm weird that way. But there are certain things I'm less good about walking away from after a tiny piece and this just got added to that list.
This was delicious. Granted, I taste-tested it when it was still lukewarm and the icing had barely set so it was at its peak scrumptiousness. Normally I like to let banana cakes mellow and develop more flavor by eating them the next day but this didn't suffer from being consumed right away. The banana flavor wasn't as pronounced as it was slightly overshadowed by the brown sugar streusel crumb topping but I think that's why I liked it so much. You don't need to include the glaze over it but it doesn't hurt either. At first, when I was sprinkling the crumb topping over the top layer of batter, I was afraid it was too much topping. But I didn't want it to go to waste so I used up all of it. Which was good because it added to the deliciousness of the cake. You can't have a decent crumb cake without a decadent crumb layer so don't skimp!
Once the cake cools and settles, the texture gets a bit heavier. It was probably at its optimum texture when it was still a bit warm. But either at room temperature or warm this was pretty good. I took most of it into the office the next day and I can always gauge how good a recipe is by how long it lasts or doesn't last in the kitchen. A nearly full 9 x 13 cake cut into squares lasted a couple of hours - success. I think the record for fastest baked good to disappear was just over an hour. That recipe will be up on my blog in the next week or so.
2 cups flour
3 teaspoons baking powder
1 teaspoon salt
3 ripe bananas
1/2 cup butter, room temperature
2 cups granulated sugar
2 eggs
1 teaspoon vanilla
1 cup milk

Crumb Filling and Topping
1 cup cold butter, cubed
2 cups light brown sugar
2 cups flour

Optional Glaze
1 cup powdered sugar
1-2 tablespoons of milk, depending on desired consistency

  1. Preheat oven to 350 degrees F. Line a 9 x 13 baking pan with aluminum foil and lightly spray with nonstick cooking spray. Set aside.
  2. In a medium bowl, whisk together flour, baking powder and salt; set aside.
  3. In a large bowl, mash bananas until they become liquified.
  4. Mix in softened butter until combined then stir in sugar, eggs and vanilla; mix well.
  5. Stir in milk and flour until combined.
  6. Crumb Filling and Topping: Combine cold butter, brown sugar and flour together with a fork or pastry cutter or two knives until coarse crumbs form.
  7. Pour half of the batter into the prepared pan and top with 1/3 of the crumb mixture. Cover the filling with the remaining batter and top with remaining crumb mixture.
  8. Bake for 50-55 minutes until the center is set and a toothpick comes out clean. Cool for 10 minutes.
  9. For optional glaze: whisk powdered sugar and milk together until smooth. Drizzle on top of crumb cake.


Sunday, April 20, 2014

Sweet Anna's Fudgy Brownies

Fudgy Brownies - made April 11, 2014 from Sweet Anna's
I was doing a care package for one of my nieces and I keep various brownie recipes pinned on my pinboard for just such an occasion. I also wanted a brownie recipe that used cocoa since I was going to test out my new can of Tcho cocoa powder.
So far I'd been enjoying the Tcho chocolate products I'd bought for baking; they seemed to be good quality and I like that they're focused on sustainable chocolate sourcing. I've tried their baking chocolate, both milk and semisweet and, for this recipe, I broke open their cocoa powder. I judge cocoa powder by the darkness of the powder. The darker the powder, the more chocolate flavor I associate with it. The lighter, the more processing and less flavor. Sadly, I was disappointed that Tcho's cocoa powder was as light as Hershey's and Trader Joe's. I've been spoiled by Pernigotti cocoa which is a luscious dark cocoa powder packed with tremendous chocolate flavor. It's hard for me to bake without it.
Pernigotti and Tcho cocoa powders
You can see what I mean by the picture above. The darker cocoa is the Pernigotti and the lighter is the Tcho. There's a similar contrast between Pernigotti and almost all of the other cocoas I've tried: Hershey's, Trader Joe's, Ghirardelli, even Scharffenberger. For this brownie, I decided to "cut" the Tcho and Pernigotti cocoa powders together: 1/4 cup Tcho and 1/2 cup Pernigotti to try and make the best of both worlds. Not to mention stretch out my Williams-Sonoma-expensive Pernigotti a little further. I do find when a recipe calls for 3/4 cup of cocoa powder, using all Pernigotti makes it a little too dark chocolate for me so tempering it with a lighter cocoa helps balance it out.
This was a good brownie, nicely chocolaty. It was definitely fudgy although it has a softer texture than a more dense brownie has. I think that's due to the relatively higher proportion of liquid to dry ingredients, considering the butter is melted rather than creamed into the batter and water is also added. It was also a little more fragile than some of my sturdier brownie recipes. Not a deal breaker but you should handle with care, especially if you're sending through the mail like I was.
3/4 cup dutch-processed cocoa powder
1/2 teaspoon baking soda
2/3 cup butter, melted and divided (cut the butter first into 1/3 cup + 1/3 cup then melt separately)
1/2 cup boiling water
2 cups sugar
2 large eggs
1 teaspoon pure vanilla extract
1/2 teaspoon salt
1 1/3 cups flour
2 cups chocolate chips
  1. Preheat oven to 350 degrees F. Line a 9 x 13 baking pan with foil, spray lightly with nonstick cooking spray and set aside.
  2. In a large mixing bowl, stir together the cocoa and baking soda. Stir in 1/3 cup melted butter until smooth. Stir in the boiling water until the mixture is smooth and thick.
  3. Stir in the sugar and eggs with the remaining 1/3 cup melted butter. Stir in the vanilla and salt until just smooth.
  4. Add flour and chocolate chips and stir until just combined.
  5. Spread the batter into prepared baking pan and bake for 35-40 minutes, or until a toothpick inserted near the center comes out with moist crumbs. Do not overbake. Cool completely.

Saturday, April 19, 2014

Triple Chocolate Chip Cookies

Triple Chocolate Chip Cookies - made April 12, 2014 from Sally's Baking Addiction
This was another of those recipes that I selected because I was organizing my pantry and for some reason (ha, like I don't already know why), I had half-opened bags of every type of chocolate chip made. Half a bag of white chocolate chips, a handful of milk chocolate chips, a Costco-size bag of semisweet chocolate chip and a third of a bag of mini M&Ms.
Trying to clean out those add-ins means throwing them all in a brown sugar cookie dough, aka chocolate chip cookies. This is a standard chocolate chip cookie. Meaning it was good although mine looked like they spread a trifle more than the ones from Sally's Baking Addiction. I baked them from frozen dough in the convection setting of my oven. They weren't thin but they weren't as thick as I would've liked either. They're a good cookie but I don't know if I would remember them for very long after I ate one. Then again, I make so many cookies that only the truly stupendous would stick out. Still, if you want an easy cookie recipe to use up random add-ins, this is a very forgiving cookie.

3/4 cup unsalted butter, room temperature
3/4 cup dark brown sugar
1/4 cup granulated sugar
1 large egg
2 teaspoons vanilla extract
2 cups (250 grams) all-purpose flour
2 teaspoons cornstarch
1 teaspoon baking soda
1/2 teaspoon salt
1/2 cup semisweet chocolate chips
1/2 cup white chocolate chips
1/2 cup mini M&Ms (or other add-in of your choice)
  1. In a large bowl using a hand-held mixer or stand mixer with paddle attachment, beat the butter for 1 minute on medium speed until completely smooth and creamy. Add the brown sugar and granulated sugar and mix on medium speed until fluffy and light in color. Mix in egg and vanilla. Scrape down the sides and bottom of the bowl as needed. 
  2. In a separate bowl, combine flour, cornstarch, baking soda and salt. On low speed, slowly mix into the wet ingredients until combined. The cookie dough will be quite thick. Add the chocolate chips, white chocolate chips, and M&Ms or other add-ins and mix for about 5 seconds until evenly disbursed. Scoop dough into golf-ball-size balls. Chill or freeze for at least an hour or up to 2 days.
  3. Preheat oven to 350 degrees F. Line a large baking sheet with parchment paper or a silicone baking mat.
  4. Place dough balls evenly spaced apart on baking sheet and bake for 8-9 minutes, until barely golden brown around the edges. They will look extremely soft when you remove them from the oven. Allow to cool for 5 minutes on the cookie sheet. Transfer to cooling rack to cool completely.

Friday, April 18, 2014

Restaurant Review: Woodside Bakery

Woodside Bakery - dinner on April 5, 2014
After my 10K race last weekend, I arranged to have dinner with Lisa, one of my oldest friends from childhood. Lisa and I have known each other for decades. I once made the mistake of thinking we met in high school but she reminded me we'd actually gone to junior high together and were friends way back then. To this day I don't think I've lived down that I *cough* don't remember her from junior high and I could've sworn we only met during our freshman year in high school. Oops, my bad.
Anyway, the most important thing is we're still friends today after all these years. Our daily lives don't intersect that often but we try to get together regularly, often over food or shopping or both. This time around it was centered around food. My coworker, Queen of Cheap Eats, told me about Woodside Bakery; I'd never been there but it was somewhat halfway between me and Lisa so that's where I suggested we meet. Lisa took an evening off from her husband and kids :) and I felt like a good splurge after running my 10K earlier that morning so it met both of our needs to enjoy good food and good conversation.
The inside of Woodside Bakery is divided into a bakery area and an indoor dining area. The indoor seating was a trifle small but fortunately, they had a much larger outdoor seating area. Even more fortunately, it was a nice night when we dined so we were able to enjoy alfresco dining in comfort. They had heat lamps in case anyone got too cold but I thought the temperature was perfect. The only drawback to eating outside was the presence of a few birds who felt quite at home hopping around the tables. Easy enough to shoo them away but not normally something I'm used to doing when eating out. They did gradually disappear as more diners were seated at the outdoor tables and the birds decided being shooed away by pesky humans wasn't worth trying to pick a few crumbs off the floor.
Dinner started off with a small loaf of still-warm bread. All calorie conscious wisdom warns people away from the bread basket. I pay no mind to that foolishness. Hey, I'd just run 6.1 miles and did I mention the bread was served warm?? I liked their bread because it wasn't too crusty and the inside had a perfect dense chewiness that all good bread should have.
Linguine Frutti de Mare
Lisa got the Linguine Frutti di Mare which, according to the menu, came with prawns, calamari, PEI mussels, Little Neck clams, fish, in a light fresh tomato-wine broth for $20. It looked good and was a decent-sized portion.
I was in the mood for a burger and Woodside Bakery sources their meat locally so I went with their Grilled Niman Ranch Burger with cambozola (cheese), smoked bacon, pepper onion aïoli (I had them leave that out since I like my burgers plain) and choice of fries or organic greens for $12.75. It goes without saying I went with the fries instead of the organic greens. I was going to capitalize on my 10K run as much as I could. The burger was pretty good although hefty enough that I was more full than I needed to be since I ate almost all of it and made a respectable dent in the fries.
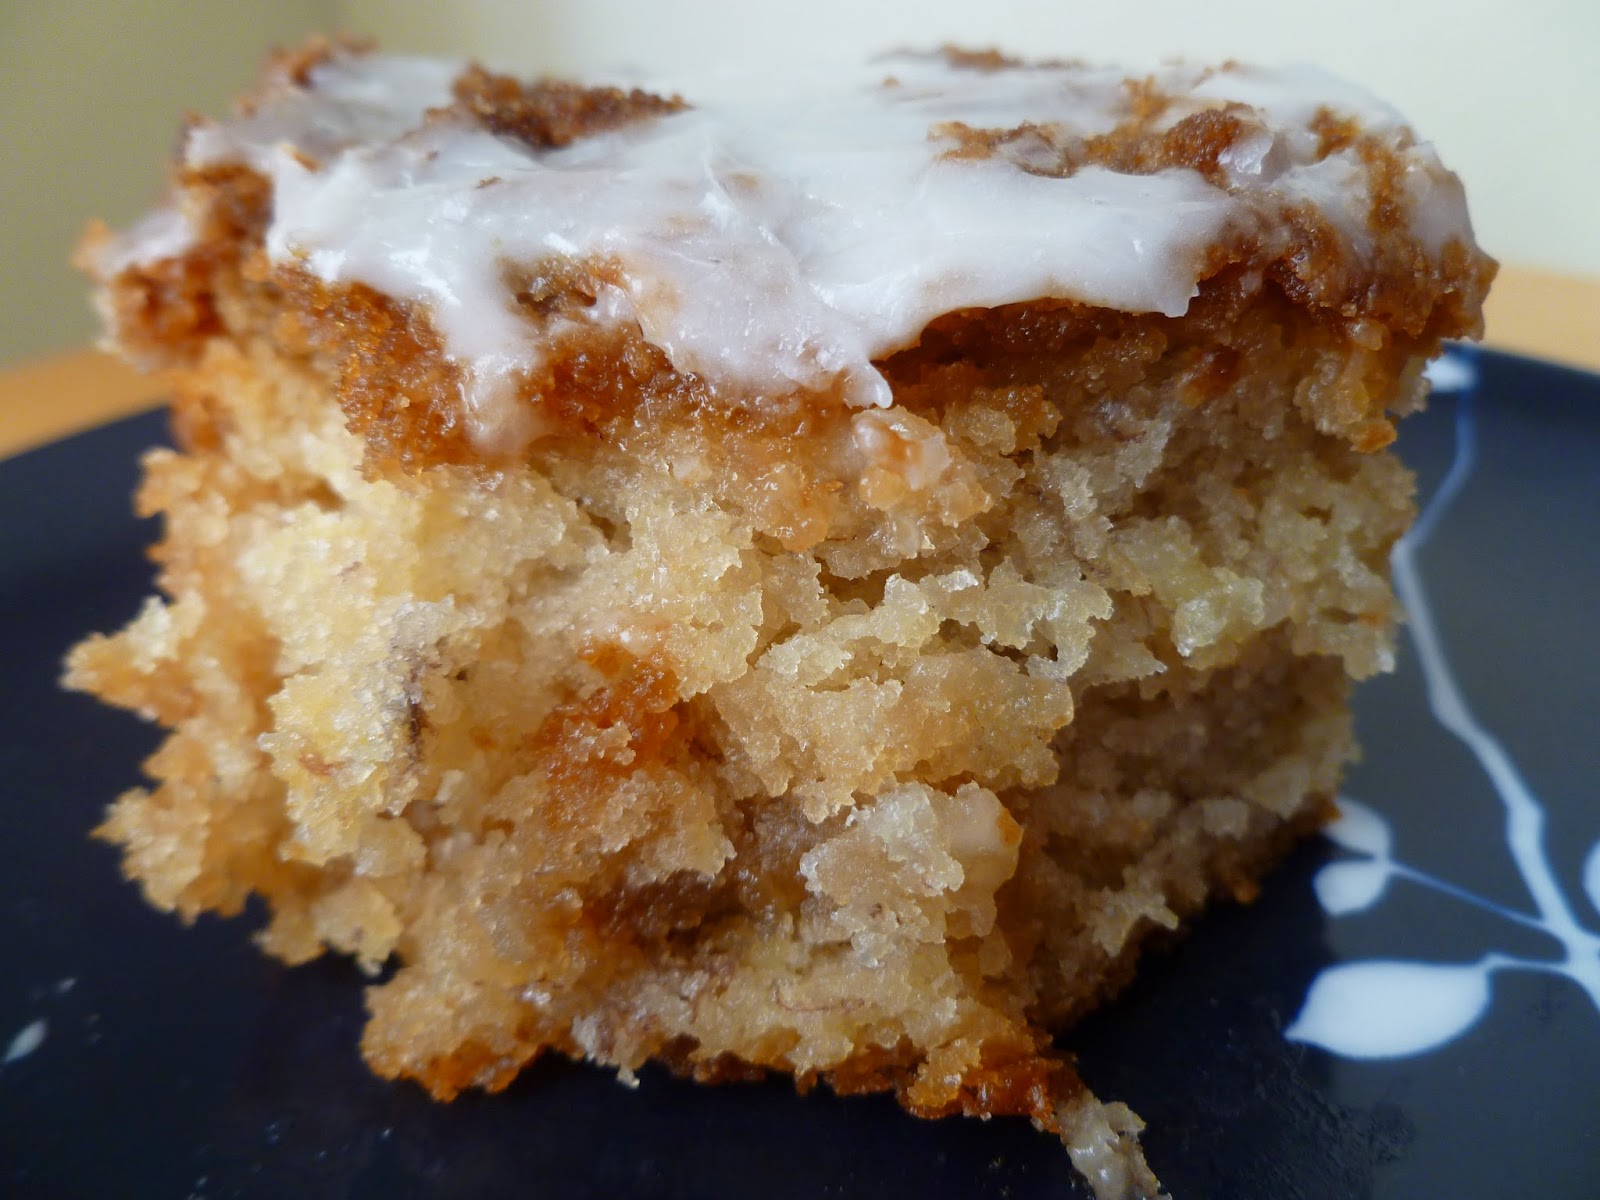
Of course that didn't stop me from getting dessert: apple pie a la mode. The apple pie lived up to its name in that it was mostly apples. The apples slices were a tad too firm and not that sweet. I forgot my friend Annie the Baker's recommendation to only get apple desserts in the fall when apples are in season. Still, the pie was good overall and the crust was flaky, always the hallmark of a good pie crust. Lisa got the creme brulee and for once I didn't sneak a bite since I was hitting the "stop!" mark with eating after the bread, the burger, the fries and the apple pie.
We stopped off at the bakery on our way out to peruse the selections but at that point, I was so full even looking at the displays made my stomach ache. Normally I would've gotten a slice of something to go and just eaten it later but even that seemed too much, considering I felt I probably shouldn't eat for at least a day or three.
Still, overall, it was a good experience and I definitely want to come back again and try breakfast or lunch. And leave room for one of the cake....slices.