Flourless Chocolate Cake - made August 7, 2022 from Everything Chocolate by America's Test Kitchen
12 ounces bittersweet chocolate. broken into 1-inch pieces
16 tablespoons unsalted butter
6 large eggs
1 cup (7 ounces) granulated sugar
1/2 cup water
1 tablespoon cornstarch
1 tablespoon vanilla extract
1 teaspoon instant espresso powder
1/2 teaspoon salt
- Preheat oven to 275 degrees F. Spray 9-inch springform pan with nonstick cooking spray.
- In the top half of a double boiler set over hot water, whisk together bittersweet chocolate and butter until completely melted and smooth. Remove from heat and let cool for 5 minutes.
- Whisk eggs, granulated sugar, water, cornstarch, vanilla extract, espresso powder and salt in large bowl until thoroughly combined, about 30 seconds. Whisk in chocolate mixture until smooth and slightly thickened, about 45 seconds. Strain batter through fine-mesh strainer into prepared pan, pressing against strainer with rubber spatula or back of ladle to help batter pass through. Gently tap on counter to release air bubbles; let sit on counter for 10 minutes to allow air bubbles to rise to top. Use toothpick to gently pop any air bubbles that have risen to the surface.
- Bake until edges are set and center jiggles slightly when shaken gently, 45 to 50 minutess.
- Let cake cool in pan on wire rack for 5 minutes; run thin knife around edges of pan to loosen cake. Let cake cool on rack until barely warm, about 30 minutes. Cover cake tightly with plastic wrap, poke a small hole in top and refrigerate until cold and firmly set, at least 6 hours or up to 2 days. Remove sides of pan and slide thin metal spatula between cake bottom and pan bottom to loosen, then slide cake onto platter. Let cake stand at room temperature for 30 minutes before serving.
 |
| just out of the oven |
 |
| after chilling overnight |
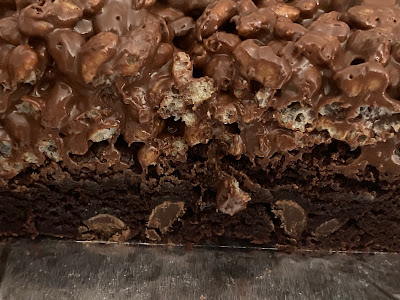
The earmarks of a good flourless chocolate cake are the flavor (hence the good chocolate needed) and the texture. Because it doesn't have flour, it isn't going to be cakey like the name "cake" would imply. Instead, it should be dense, rich and smooth. Not light and airy like a mousse, not as slickly creamy like a ganache but firm and creamy but solid.
I tried to do a few closeups so you can see what I mean. I did follow the directions to let the cake batter sit for 10 minutes and then poke out the holes with a toothpick. I also tapped it on the counter a few times to also break up air bubbles and let them come to the surface to be toothpick-pricked out.
As you can see, I was unsuccessful as the air bubbles seemed to come out of nowhere as soon as I put this in the oven. That doesn't affect the taste or texture, just the appearance on top with those baked in air bubbles. Bah. If you want this more aesthetically pleasing, you can always drizzle caramel or white chocolate in thin stripes across the top or dust it with powdered sugar. I left it naked because I'm not that fussy.
You will want to cut these slices thin and small. Because they are rich. I liked this cake but a little goes a long way. It makes a 9-inch pan and could easily serve 9 chocoholics comfortably or 18 normal people. I'm not kidding.
The great thing about this cake is this richness implies great baking skill and that you can churn out very good desserts. Maybe you can anyway but this cake is really easy for even novice bakers. The only thing to watch out for is you're going to be tempted to overbake this because after 50 minutes at 300 degrees, which is how long I baked mine for, this won't look done. But it is. Take it out, let it cool to room temperature, cover and wrap it in plastic wrap and put it in the refrigerator overnight. That's how you'll get that dense, fudgy, smooth texture.


