Tuesday, October 10, 2023

Sour Cream Coffee Cake from Perfect Cakes by Nick Malgieri

Sour Cream Coffee Cake - made September 28, 2023 from Perfect Cakes by Nick Malgieri
Cake
2 cups all-purpose flour
1 teaspoon baking powder
1/2 teaspoon baking soda
1/2 pound (2 sticks or 16 tablespoons) unsalted butter, softened
1 1/2 cups granulated sugar
2 large eggs
One 8-ounce container sour cream

Topping
1 cup (about 4 ounces) walnuts or pecans, lightly toasted, coarsely chopped
1/4 cup granulated sugar
2 teaspoons ground cinnamon

Glaze (optional)
1 cup powdered sugar
2-3 tablespoons milk or enough to desired consistency
  1. Preheat oven to 350 degrees. Line a 9 x 9-inch baking pan with foil and lightly spray with nonstick cooking spray.
  2. Stir together the flour, baking powder and baking soda in a bowl; set aside.
  3. In the bowl of a stand mixer fitted with the paddle attachment, beat the butter and sugar on medium speed until soft and light, about 5 minutes. Beat in the eggs, one at a time, beating until smooth after each addition.
  4. On low speed, beat in one-third of the flour mixture, followed by half the sour cream. Stop the mixer and scrape down the sides of the bowl. Beat in another third of the flour mixture then the remaining sour cream. Stop and scrape down the sides of the bowl again. Beat in the remaining flour mixture until just combined. Do not overmix.
  5. Make the topping: in a separate bowl, stir together the ingredients until evenly mixed.
  6. Scrape half the batter into the prepared pan and sprinkle with half the topping. Cover with the remaining batter and smooth the top. Sprinkle with the remaining topping.
  7. Bake for 50-55 minutes or until the cake is risen and deep gold and a toothpick inserted near the center comes out clean or a few moist crumbs.
  8. Cool in the pan on a rack for 30 minutes then invert onto a plate and lift off the pan. Invert the cake onto a rack to cool completely.
  9. Optional glaze: in a small bowl, whisk together powdered sugar and enough milk to achieve desired consistency (add 1 tablespoon at a time). Drizzle over cooled cake.
I have been meaning to try this recipe forever. And by forever I mean, back in my 20s when I worked for a public utility company, the only perk I clearly remember is when we had staff meetings, we'd get this coffee cake ordered in. It was amazing. I always wanted to find a copycat recipe for it so off and on (mostly off) through the years, I'd try out various coffee cake recipes in the hopes of trying to replicate it. 
I don't particularly love nuts in my baked goods but on top as part of the topping is okay. This one incorporated half the topping into the cake itself so that may be why I didn't prioritize trying it sooner until I had the baking meetup at my house last month and could share it with the others plus donate it to Reno Initiative.
The original recipe didn't call for glaze but I glazed it anyway just for a nicer look. During the meetup itself, I was trying out other desserts so I didn't get to this one. Instead, I reserved a piece for me to try the next day and gave the rest away.
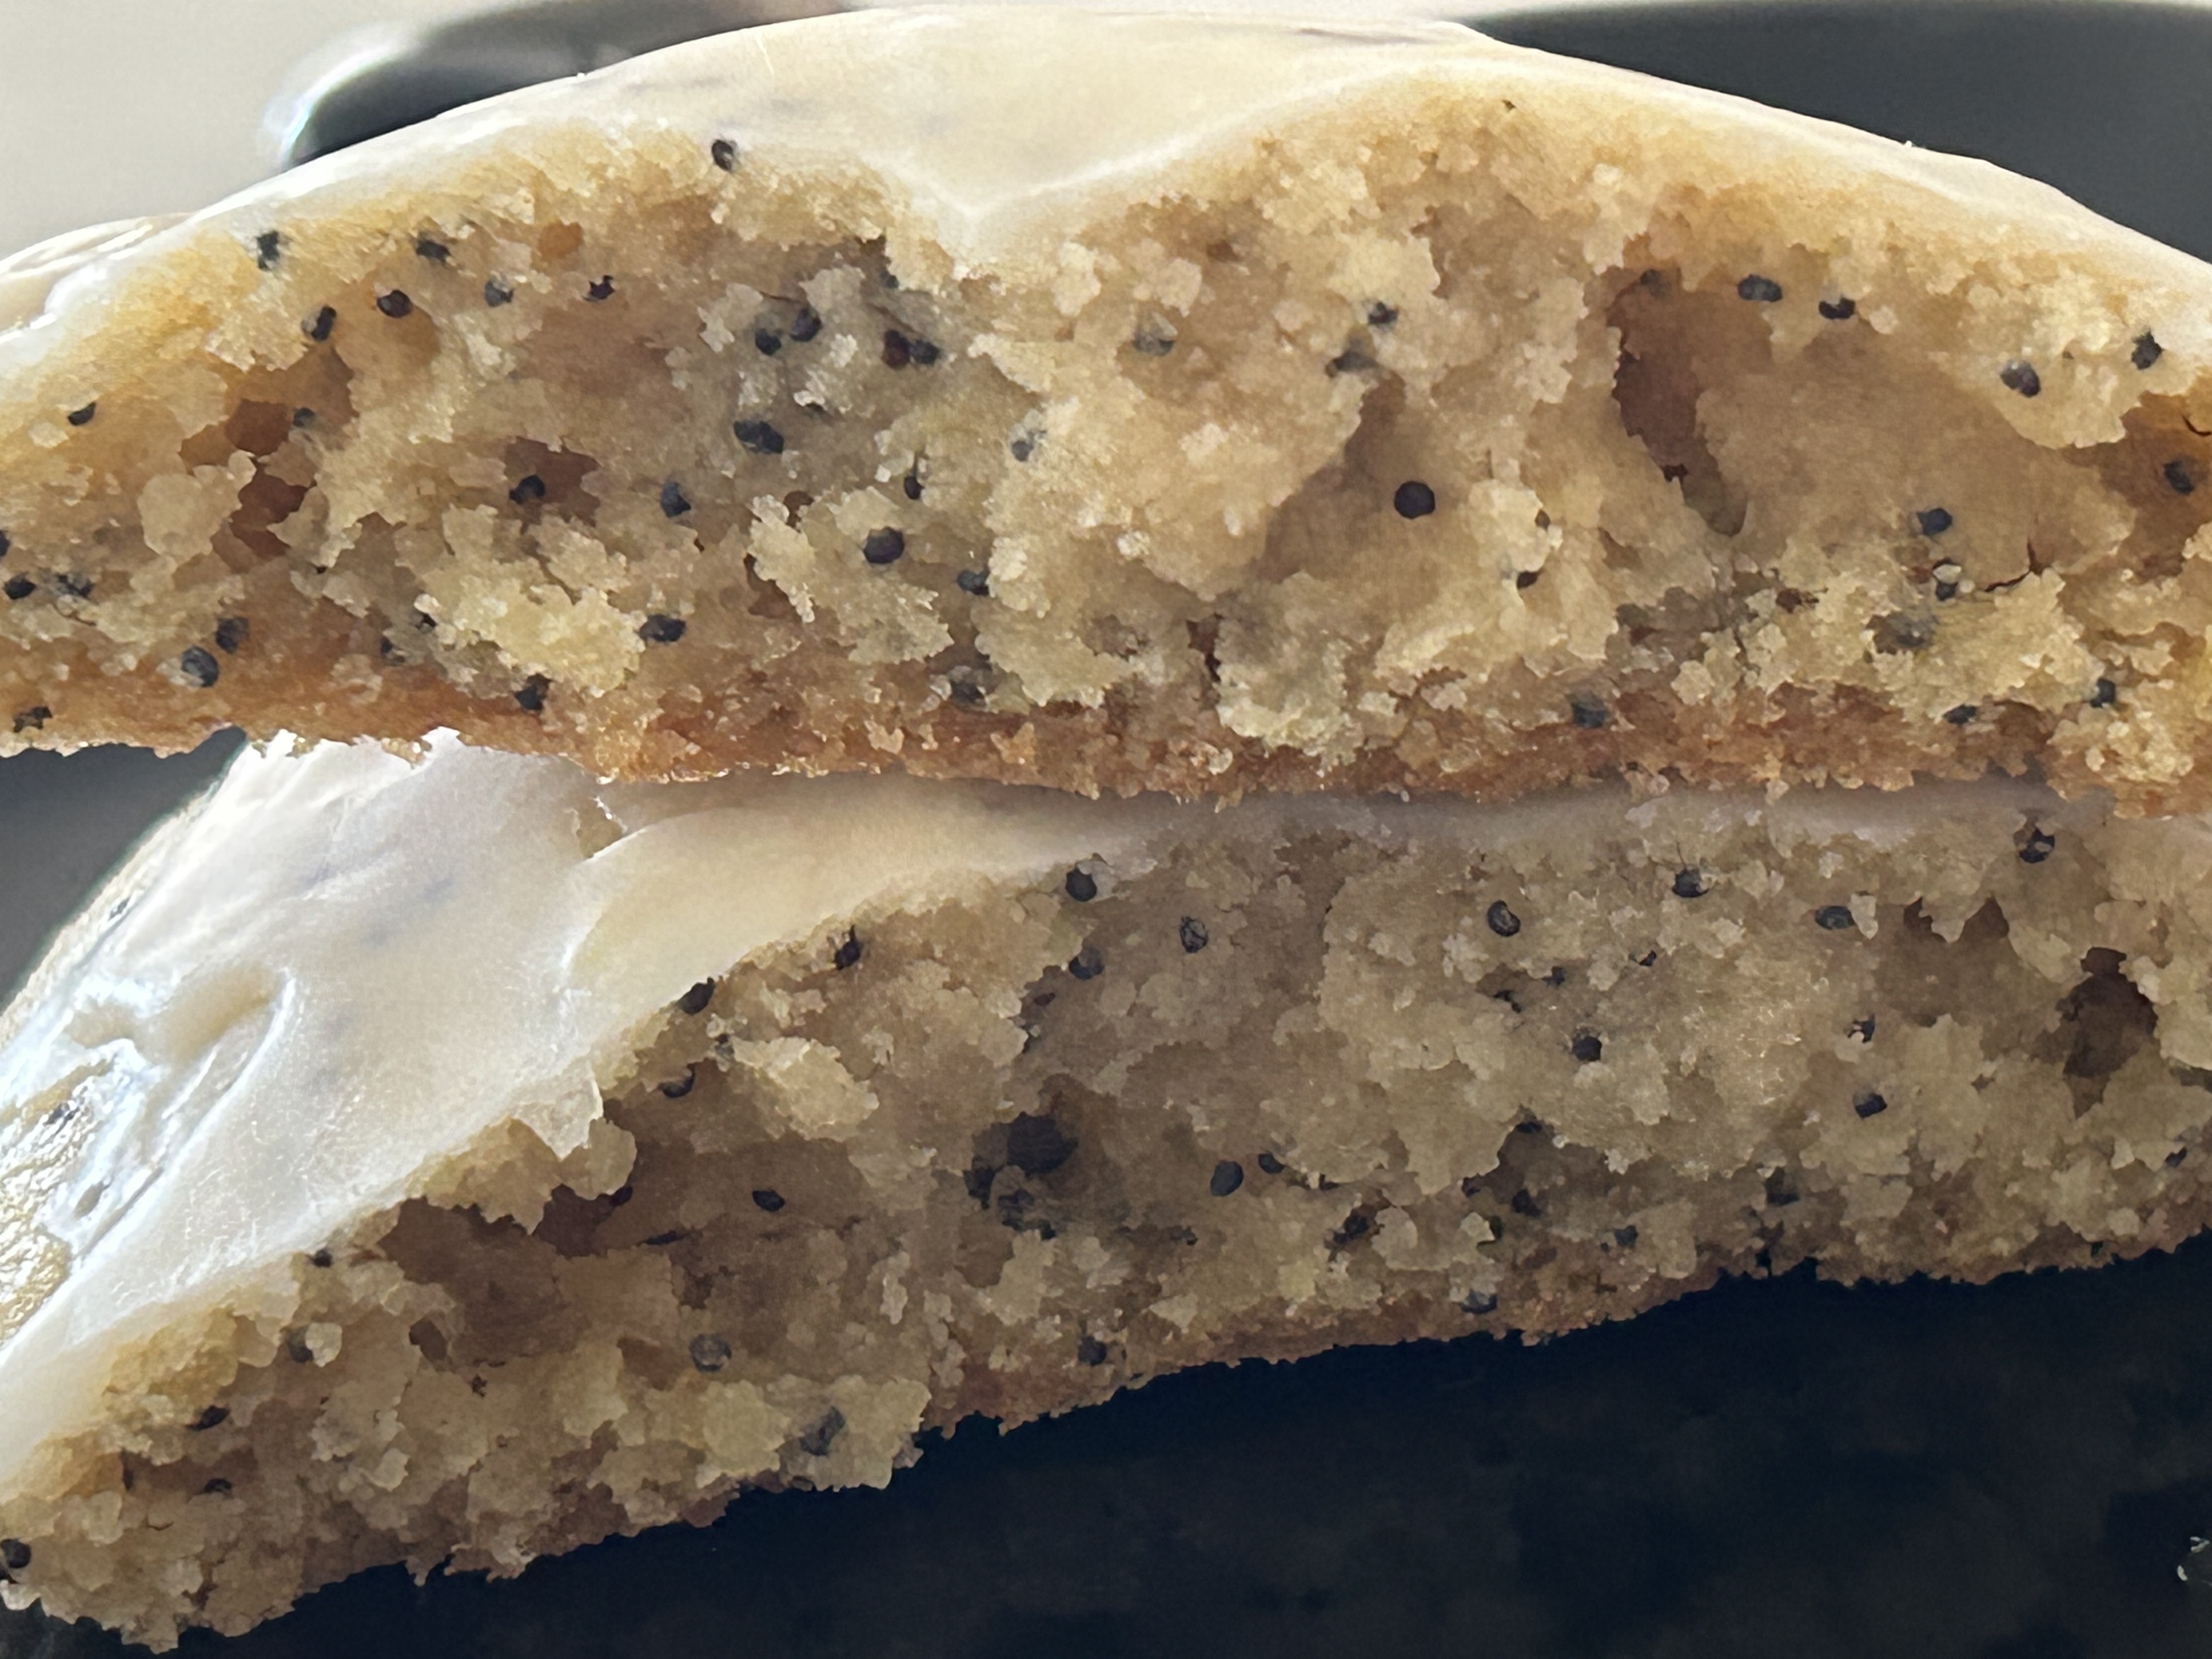
After trying the taste test piece the next morning, I'm only sorry I hadn't tried this recipe sooner. It was excellent, both in flavor and texture. It actually does come close to the coffee cake of days gone by from my first job out of college. I didn't even mind the nut filling in the middle. Although I will probably skip that next time, make half the topping mixture and only use it for the topping.
Still, this was pretty good, especially the cake part. This is perfect to serve at a brunch or afternoon tea party. It may look a little humble but don't let that fool you; this is a great cake.

Sunday, October 8, 2023

Soft-Glazed Gingerbread Cookies from The View from Great Island

Soft-Glazed Gingerbread Cookies - made dough September 26, 2023 from The View from Great Island 
6 tablespoons unsalted butter, room temperature
1/3 cup plus 2 tablespoons dark brown sugar, packed
1/3 cup molasses (not blackstrap)
1 large egg yolk
1 3/4 cups plus 2 tablespoons all-purpose flour
1 tablespoon Dutch process cocoa powder
1/2 teaspoon baking soda
1 teaspoon ground ginger
1/2 teaspoon ground cinnamon
1/8 teaspoon ground cloves
1/4 teaspoon salt
1/4 teaspoon freshly ground black pepper

Glaze
1 cup sifted confectioners' sugar
1 tablespoon unsalted butter, meted
1/2 teaspoon vanilla extract
1 tablespoon plus 1 teaspoon warm water
  1. Place your cookie stamps in the freezer to chill while you mix the dough.
  2. In the bowl of a stand mixer fitted with the paddle attachment, cream together the butter, brown sugar and molasses until combined. Beat in egg yolk until just combined.
  3. In a separate bowl, sift together the flour, cocoa powder, baking soda, ground ginger, ground cinnamon, ground cloves, salt and pepper. Add to the butter mixture in two additions, mixing on low speed after each addition just until dough comes together. 
  4. Scrape onto a large piece of parchment paper and squeeze together if necessary. IF dough is too warm or soft, briefly place in the refrigerator to chill until easier to handle.
  5. Portion dough into balls and roll each ball in granulated sugar before pressing with cookie stamp. Cut out stamped cookies with a round cookie cutter to trim the edges. Cover and chill or freeze for 20 minutes or several hours. 
  6. When ready to bake, preheat oven to 375 degrees F and line baking sheets with parchment paper. Evenly space stamped cookies and bake for 8-10 minutes. Do not overbake. Let cookies rest on pan for 5 minutes then transfer to wire rack to cool completely.
  7. In a small mixing bowl, whisk together the glaze ingredients until smooth and thin. Add more water if glaze is too thick. Brush the cooled cookies with the glaze. Let set before serving.
I'm back to my cookie stamping craze and trying out new recipes that can hold the impressions well. And given the Christmas baking season is coming up, I'm trying out some seasonal flavors now rather than later.
I'm not the world's biggest gingerbread fan. Nothing wrong with gingerbread; it just isn't my thing. Often I find it overly spiced or too hard/crisp to eat or both. 
But 'tis the season and all so I tried this recipe. As you can see from the ingredient list, yes, it has a bunch of spices. I'm used to baking with cinnamon and ginger, even nutmeg and ground cloves. Pepper is not something I typically put in my baked goods but that's what the recipe called for so I did it.

Ultimately I'm glad I did. I actually liked these cookies. They weren't too hard (don't overbake) and they tasted like how gingerbread is supposed to taste, with an added bite, presumably from the pepper. Plus, they held the impressions quite nicely. 

I ended up only glazing one cookie for the taste test and shipped off the rest. The glaze worked well with this cookie, adding a light sweetness to the cookie to cut some of the spice. I think I've found a good recipe for this season's Christmas baking.


Friday, October 6, 2023

Crumbl Cookies review #55 - Pumpkin Cheesecake and Purple Velvet (test cookie)

Crumbl Cookies review #55 - Pumpkin Cheesecake and Purple Velvet (test cookie), visited September 27, 2023
Yes, it was a 6-pack week when these came out. But only because Crumbl ran a promotion for their 6th birthday and you could get a 6-pack for the price of a 4-pack. You think I'm passing that up? Nope.
Okay, it also helped that this particular week, two of my favorite flavors were on the menu: banana cream pie and pink velvet. Yum. I had to get two each of those to fill out my 6-pack (the box, definitely not my abs).

Banana Cream Pie

Pink Velvet

Pumpkin Cheesecake
The new flavor for the week was Pumpkin Cheesecake so I got one to try. I don't mind pumpkin in most things (don't like pumpkin pie though) since it's a mild flavor. I'm not big on cheesecakes but Crumbl usually sugars their "cheesecake" cookies enough to take the tang out so I normally don't mind it in their cookies.

This one was okay. I think if you're a pumpkin or a cheesecake lover, you'd like this cookie. I liked the base cookie well enough as I generally do but if I had to have a cheesecake cookie, I prefer the salted caramel cheesecake one.
This goes into the category of "it was good, glad I tried it, don't need to get again".

The test cookie for this particular week was purple velvet. It got a lot of negative reactions online, seemingly mostly from people who reacted to the appearance rather than the taste as many hadn't tried it but saw pictures online or in the Crumbl app.

I absolutely get the reaction to the appearance. Usually when I see something edible that's purple, I think of ube. This is not ube flavored. To be honest, this is like the pink velvet cookie but dyed purple. I actually liked it because I like the pink velvet but I wasn't crazy about the purple color.

But the texture was good - I'm a big fan of the texture on most Crumbl cookies. Not a fan of the fat swirl of frosting but I expected not to be. Ultimately though, in a blind taste test, I'm not sure I could tell the difference between the pink velvet and the purple velvet. If I were Crumbl, I wouldn't make this a regular cookie. There's no need to; it isn't different enough from their pink velvet cookie other than the dyed color.

Wednesday, October 4, 2023

Mini Egg NYC Cookies from Jane's Patisserie

Mini Egg NYC Cookies - made dough September 25, 2023 from Jane's Patisserie
125 grams unsalted butter
100 grams light brown sugar
75 grams granulated sugar
1 large egg
1 teaspoon vanilla extract
300 grams all-purpose flour
1 1/2 teaspoons baking powder
1/2 teaspoon bicarbonate of soda
1/2 teaspoon salt
100 grams milk chocolate chips
200 grams Cadbury mini eggs, roughly chopped
50 grams Cadbury mini eggs, whole
  1. In the bowl of a stand mixer fitted with the paddle attachment, cream together butter, brown sugar and granulated sugar until light and fluffy, 2-3 minutes.
  2. Add egg and vanilla extract, beating until just combined.
  3. Add flour, baking powder, bicarbonate of soda and salt, mixing on low speed until just combined. Do not overmix.
  4. Fold in milk chocolate chips and chopped mini eggs. 
  5. Evenly portion dough into 8 dough balls, about 115 grams each. Press the whole mini eggs on top of each dough ball, distributing evenly. Cover and chill for at least 1 hour or freeze for at least 30 minutes.
  6. When ready to bake, preheat oven to 350 degrees F. Line baking sheets with parchment paper and evenly space dough balls. Bake for 12 to 14 minutes or until edges are set and middles are no longer raw. Let rest on baking sheets for 15 minutes then transfer to wire rack to cool completely.
These are a little "off season" since the Cadbury mini eggs were from spring but I bought them at the time because I wanted to try this recipe. I finally got to it last month when I needed a "basic" chocolate chip cookie recipe with the add on of the mini eggs. These looked so good on the original blog from Jane's Patisserie plus I'd bought bicarbonate of soda for another recipe and wanted to use it. I don't have many recipes that call for it so might as well use it when I can.

These turned out fine although I can't say mine looks like Jane's Patisseries's. Maybe I didn't underbake them enough? The dough felt a little dry but I weighed everything since the recipe came with weight measurements so I don't think I got the ingredients wrong.
Next time I might cut back a little on the flour. Still, these were good if you're a milk chocolate fan (I am). I'm a fan of the Cadbury mini eggs although they do tend to add to the sweetness of the cookie, especially with the candy coating.

Monday, October 2, 2023

Lemon Poppyseed Cookies from Browned Butter Blondie

Lemon Poppyseed Cookies - made dough September 4, 2023 from Browned Butter Blondie 
3/4 cup (150 grams) granulated sugar
1 tablespoon lemon zest (about 1 large lemon)
1/4 cup (50 grams) light brown sugar, packed
1/2 cup (113 grams) unsalted butter, softened
1 large egg
1 teaspoon vanilla
2 cups (250 grams) all-purpose flour, spooned and leveled.
1/2 teaspoon baking soda
1/2 teaspoon baking powder
1/2 teaspoon salt
1 tablespoon poppy seeds

Glaze
1 cup powdered sugar, sifted
4 tablespoons fresh lemon juice or milk
  1. Preheat oven to 350 degrees F. Line baking sheets with parchment paper.
  2. In the bowl of a stand mixer fitted with the paddle attachment, combine granulated sugar and lemon zest, mixing until zest is evenly disbursed. Add brown sugar and butter, mixing on medium high speed for 2-3 minutes, scraping down the sides and bottom of bowl to keep mixture even textured.
  3. Add egg and vanilla, mixing until just combined.
  4. In a separate bowl, whisk together flour, baking soda, baking powder and salt. Add dry ingredients to mixing bowl on low speed in two additions, mixing after each addition until just combined. Add poppy seeds and mix to combine; do not overmix.
  5. Divide dough into 12 equal portions. Roll into balls then flatten slightly. Evenly space 6 balls on each baking sheet. Bake cookies, one sheet at a time, for 9-10 minutes, until edges are set and middles no longer look raw. Do not overbake. 
  6. Remove cookies from oven and let rest on baking sheet for 15 minutes before transferring to wire rack to cool completely.
  7. Make the glaze: whisk together the powdered sugar and lemon juice or milk until smooth. Add more sugar or milk until desired consistency is reached. Drizzle glaze over the cooled cookies. Sprinkle with more poppy seeds if desired.
Besides the cakes I made for my baking meetup to donate to Reno Initiative, I also indulged in cookies with icing since I can't/don't send those in military care packages either and this seemed like a good time to try those recipes too.
Technically these are the kinds of cookies I could send un-iced but I wanted to try them with the icing as, with these types of cookies, the icing does add something to the cookie.

I liked these cookies (iced). Lemon poppyseed is a common combination for a reason. They're just good. They remind me of those Costco lemon poppyseed muffins which I haven't had in years but still remember fondly.
I didn't measure the icing ingredients exactly as I just whisked and added powdered sugar and lemon juice at will, whisking until I liked the texture. If you want the icing to harden for easier handling, go heavier on the powdered sugar so it'll set. If you use too much liquid, the glaze will remain soft and melty and sticky.
I prefer a happy middle where the glaze softly sets so it doesn't stick to your fingers when you pick up the cookie but still has a soft bite and doesn't break into glaze pieces when you bite into it. If you want more lemon flavor, make the icing with lemon juice, not milk. The cookies themselves are only lemon flavored from the lemon zest and are not super tart.