Sunday, January 22, 2023

Weeknight Orzo Paella from The Kitchn

Weeknight Orzo Paella - made January 3, 2023, modified from The Kitchn
1 tablespoon olive oil
8 ounces cooked hot or sweet Italian chicken sausage, cut into 1/4"-thick rounds
4 cloves garlic, minced
1 1/2 cups (10 ounces) dried orzo pasta
2 cups low-sodium chicken broth
1 14.5-ounce can diced tomatoes
1 teaspoon smoked paprika
3/4 teaspoon kosher salt, divided
1/2 teaspoon freshly ground black pepper, divided
8 ounces uncooked peeled and deveined shrimp, thawed if frozen (I used chicken)
1/2 cup frozen peas (I left them out)
2 tablespoons chopped fresh parsley leaves (I used dried oregano)
  1. Heat oil in a 9 or 10-inch straight-sided skilled over medium heat until shimmering. Add the sausage and cook, stirring occasionally, until evenly browned on both sides, 3 to 4 minutes total. Stir in garlic and cook until fragrant, about 30 seconds more.
  2. Add the orzo and cook, stirring occasionally, until lightly toasted, 2 to 3 minutes. Add the broth, tomatoes and their juices, paprika, 1/2 teaspoon of the salt and 1/4 teaspoon of the pepper. Stir to combine and bring to a boil.
  3. Cover, reduce heat to maintain a simmer and cook, undisturbed, until the orzo is almost al dente, the liquid has reduced by about half and there is tight, rapid bubbling, 7 to 9 minutes.
  4. Meanwhile, pat the shrimp dry with paper towels and season with remaining 1/4 teaspoon salt and 1/4 teaspoon pepper.
  5. Scatter the shrimp and peas (if using) over the orzo, cover and cook until the shrimp are pink and opaque, about 5 minutes. Remove from heat and let rest, covered, for 5 minutes. Top with parsley and serve warm.
Orzo is fast becoming my go-to carb for quick and easy meals. They're much easier to cook than rice, they look like rice and they taste like a great combination of rice and pasta. I gave away my rice cooker when I moved so when I have rice or something rice-like, it's either instant rice (my Filipino ancestors are rolling in their graves and doing backflips while scolding me with their eyes and pursed lips - I'm not kidding) or orzo.
This is a super easy recipe to make, albeit you can tell I took liberties as I omitted the peas (I despise peas) and didn't have parsley so I used dried thyme instead. I had also run out of shrimp because I used them for another dish so I subbed chunks of chicken breast instead.

I enjoy making these easy (and tasty) recipes, partly because they're so easy but also because it helps me use the spices in my spice drawer. And it makes me feel like I can cook, ha.

Saturday, January 21, 2023

Creamy Pesto Gnocchi (with Shrimp) from Salt & Lavender

Creamy Pesto Gnocchi - made January 5, 2023 from Salt & Lavender
1/4 cup pesto
1 cup heavy whipping cream
1/4 cup dry white wine or chicken broth
2 cloves garlic, minced
1 pound uncooked potato gnocchi
1/2 cup freshly grated parmesan cheese
salt and pepper to taste
  1. In a deep skillet over medium heat, combine pesto, whipping cream, wine and garlic, stirring to a boil.
  2. Once the sauce starts to gently bubble, stir in the gnocchi. Cover pan and cook for 5 minutes.
  3. Uncover the pan and stir. Continue to cook for 2 more minutes, constantly stirring, until sauce has thickened to preference. Stir in parmesan cheese. Serve immediately.
I love pesto. It's the only reason I used to grow my own basil. I'm not currently growing basil (too cold) but thanks to Trader Joe's, I can snag fresh basil in quantities that allow me to make pesto. I like to make my own because the storebought stuff comes as more of a sauce whereas I like to food-processor-process the basil while it's still small bits and not a paste. I don't use a recipe anymore but just throw the basil (sans stems), olive oil, garlic, pine nuts, pepper and parmesan cheese into the food processor and pulse until it's the texture I like.
For this recipe, I used a generous amount of pesto (more than 1/4 cup) but followed the rest of the recipe exactly. This is rich and makes a lot of sauce, even after it thickened. It's not for the faint of heart (all that cream) or a dieter (cream and gnocchi) but it's good in moderate portions. You can add any protein of your choice. I went with shrimp and it added a nice touch.

Thursday, January 19, 2023

Tomato Basil Chicken (and Shrimp) Orzo from The Flavors of Kitchen

1 1/2 cups orzo
500 grams boneless, skinless chicken breast, cubed
2 tablespoons oil 
1/2 cup onion, chopped
1 tablespoon garlic, minced
4 tablespoons tomato paste
salt and pepper to taste
1/4 teaspoon red chili flakes
4 cups chicken stock, warm
1 cup fresh basil
1/2 cup Parmesan cheese, shredded
  1. Heat oil in skillet. Add chopped onion and minced garlic. Saute until onion is soft and transparent. Add cubed chicken breast and saute for 2 minutes on medium high heat.
  2. Add tomato paste, chili flakes, salt and pepper; stirring to mix well. 
  3. Add orzo and warm 3 1/2 cups chicken stock. Hold back 1/2 cup of chicken stock to mix in later if needed. Stir well. 
  4. Once mixture begins to boil, lower heat and let cook slowly, stirring occasionally to prevent sticking.
  5. Cook until orzo is done, adding reserved chicken stock if mixture dries or as needed. Once orzo is cooked, remove from heat and stir in fresh basil. Serve warm.
It's not exactly a tradition or even a New Year's resolution or intention but around every new year's, before I prepare for the new year of work, I try to do some cooking for the days ahead. As in do some batch cooking, portion into individual-size meals for the freezer and buy myself a few weeks' grace of prepared meals and no takeout. 
While home-cooked meals are instinctively more healthy than restaurant or takeout meals (at least where I go and based on what I order to go), I don't do it as often as I should. Except for the new year.
Since orzo has become my new favorite go-to pasta, this is also when I clear out my pinterest board of "real food" recipes to try. This has all the earmarks of what I look for in a recipe: easy to make, not to many ingredients, nothing too spicy and very do-able for me.
It also helps that I shopped at Costco for the big pack of shrimp and a multi-pack of chicken tenderloins. Then Trader Joe's for the win with fresh basil, orzo and the tomato paste in the tube. This only calls for 2 tablespoons of tomato paste and I didn't want a half-full can of tomato paste I had to worry about using fairly soon. Tube tomato paste to the rescue - who knew that was a thing? I do now.

I liked this recipe as it turned out pretty well. It does dry up a bit once it's cooled so don't let it boil for too long and it's better to err with a bit more sauce left before the orzo absorbs it all. Next time I would probably use more basil than I did, simply because I like basil. I'm glad I added extra protein so it felt more like eating a casserole than simply a plain pasta dish.


Wednesday, January 18, 2023

Instant Pot Chicken Adobo from Savory Tooth

Instant Pot Chicken Adobo - made December 31, 2022 from Savory Tooth 
2 - 2.5 pound boneless, skinless chicken thighs, patted dry and trimmed
1/2 cup low-sodium soy sauce
1/3 cup white vinegar
1 onion, sliced
5 gloves garlic, minced
3 bay leaves
2 tablespoons olive oil
1/4 teaspoon ground cayenne pepper
salt and black pepper
2 green onions, tops sliced into small pieces, for garnish (I didn't have any so I left out)
  1. Sear chicken: heat instant pot on saute mode. Sprinkle chicken pieces with salt and pepper. Add olive oil to instant pot when hot. Sear chicken pieces in hot oil, cooking for several minutes on each side. Remove from instant pot and transfer to plate. 
  2. Turn off saute mode. Add soy sauce, vinegar, onion and garlic, stirring well and scraping up the browned bits on the bottom. Add chicken. Top with bay leaves.
  3. Secure and seal lid. Cook at high pressure for 10 minutes then do a quick release. Remove lid and set instant pot on saute mode. Bring mixture to boil and let boil for 15 minutes or until sauce is thickened. Remove bay leaves and serve chicken over rice, garnished with chopped green onions.
Are you sick of sugar yet? Never fear, I'm going to switch to "real food" for the next few posts. I need to catch up on the savory dishes I've been making and not just the baked goods I've been mailing out.

Chicken Adobo is probably one of the easiest dishes to make. There are multiple variations of it but essentially, all you need is vinegar, soy sauce, bay leaves and peppercorns. You can add ginger if your taste buds prefer and you can play with the proportions of each to get the taste to your liking but that's essentially it. For extra flavoring, it's best to marinade the chicken overnight in the soy sauce-vinegar combination of your choice and cook it over low heat until the chicken is tender. I went the Instant Pot route for quick gratification and my taste buds aren't picky enough about it to care. This was a standard recipe and did quite nicely for a quick weeknight meal.

Monday, January 16, 2023

Toffee Bars from Alice Medrich

Toffee Bars - made January 5, 2023 from Cookies and Brownies by Alice Medrich 
1/2 cup unsalted butter
1/2 cup brown sugar
1 teaspoon vanilla
1/8 teaspoon salt
1 cup all-purpose flour

Topping
6 ounces or 1 cup chocolate chips
1/2 cup chopped almonds, lightly toasted
  1. Preheat oven to 350 degrees F. Line an 8 x 8-inch baking pan with foil and lightly spray with nonstick cooking spray.
  2. In a heavy saucepan, melt butter. Add brown sugar and whisk until combined. Stir in vanilla and salt then flour until combined.
  3. Spread in an even layer in prepared pan and bake 20 to 25 minutes until well browned at the edges and middle is golden brown.
  4. Sprinkle even layer of chocolate chips and return to oven for 1 to 2 minutes. Remove from oven and spread softened chocolate into an even layer of topping. Sprinkle toasted almonds evenly over melted chocolate. Cool completely before cutting and serving.
When I made these bars, I thought the "toffee" just referred to the combination of a brown sugar shortbread base supporting a chocolate layer topped with chopped nuts but not actual toffee.

I was pleasantly if unexpectedly surprised to be wrong. This really is like toffee down to the crunch of the base. It's almost like an Almond Roca in bar form. 
The reason I didn't expect that is because of the flour in the shortbread base so I expected, well, shortbread. It's not even shortbread texture really but actually like toffee buttercrunch.

No complaints here as I love toffee but rarely make real toffee as I don't want to hassle with boiling sugar and water, getting to the right temp, letting it boil long enough and so on. If you don't boil (real) toffee long enough, it's more sticky and tacky with no snap. Boil it too long, it's hard to eat without breaking a tooth.
So here's a cheat version. You still don't want to overbake this or underbake it either. I baked it exactly 25 minutes in my oven and got the toffee-esque crunch.

Sunday, January 15, 2023

Coffee Cake Cookies from The Palatable Life

Coffee Cake Cookies - made dough December 24, 2022 from The Palatable Life
Cinnamon Dough
1/2 cup butter, softened
1/2 cup vegetable oil
1 cup dark brown sugar
1 egg
1 teaspoon vanilla
2 teaspoons cinnamon
1/2 teaspoon baking soda
1/2 teaspoon baking powder
1/2 teaspoon salt
2 1/4 cups all-purpose flour (I added another 1/4 cup for 2 1/2 cups total as dough was too soft)

Streusel
1/4 cup butter, softened
1/4 cup brown sugar
1/3 - 1/2 cup all-purpose flour
1/2 teaspoon cinnamon
pinch of salt

Icing
1/2 cup powdered sugar
1 tablespoon milk
splash of vanilla extract
  1. Cookie dough: combine butter, oil and dark brown sugar, beating until smooth, about 2 minutes. Add egg and vanilla; beat to combine. 
  2. In a separate bowl, whisk together cinnamon, baking soda, baking powder, salt and flour. Add to butter mixture and mix on low speed until just combined.
  3. Streusel: combine butter, brown sugar, 1/3 cup flour, cinnamon and salt in a separate bowl. The mixture should stick together when squeezed but also crumble when you run your fingers through it. If it's still too wet, add flour, one tablespoon at a time, until it crumbles.
  4. Portion cookie dough into golf-ball-size dough balls. Make an indent in the center of each cookie. Cover and chill or freeze for several hours or overnight.
  5. When ready to bake, preheat oven to 350 degrees F. Line baking sheets with parchment paper. Remove frozen cookies and fill indents generously with streusel. Evenly space on baking sheets.
  6. Bake cookies for 10-12 minutes. Halfway through baking, check the oven and if your streusel is't enough because the cookies have spread, remove from oven and quickly add more streusel to the center of each cookie. Return to oven to finish baking, Remove from oven when edges are set and let rest on baking sheets for 5 minutes before transferring to wire rack.
  7. Meanwhile, make the icing: combine the powdered sugar, milk and vanilla in a small bow. Whisk until smooth and runny. Drizzle over lukewarm cookies.
The original recipe mixed up as dough that was too soft and sticky for easy handling so I ended up nearly another 1/4 cup of flour. You want the dough to be pliable but not dry or too soft. Go by feel and see if you need to add more (or less) flour to yours.
Once I had it to the consistency I wanted, it was easier to form into dough balls and use my tart tamper (yes, that's a thing) to make the center indents. The dough did crack around the edges even though the dough wasn't too dry. If that happens, just pinch the cracked edges together to keep the indented dough disc intact.
I wasn't baking these right away so I froze them and baked them later. Above are the unbaked (still frozen) cookies filled as much as possible with the streusel. But when I checked the cookies halfway through the baking time, they had spread enough such that the streusel amounts looked miniscule. No problem - I took them out and quickly added more streusel to fill the gaps. Otherwise they would have looked anemic. 

As you can see, it mostly worked. I could've added more streusel and mounded it more on the top (the recipe makes plenty of streusel so no need to skimp) but I was trying to work quickly and not have them be out of the oven too long.

You can see they still baked up thick enough. If I hadn't added the extra flour and hadn't baked from frozen dough, I think these would have been flat cookies with the indents baked right out. 
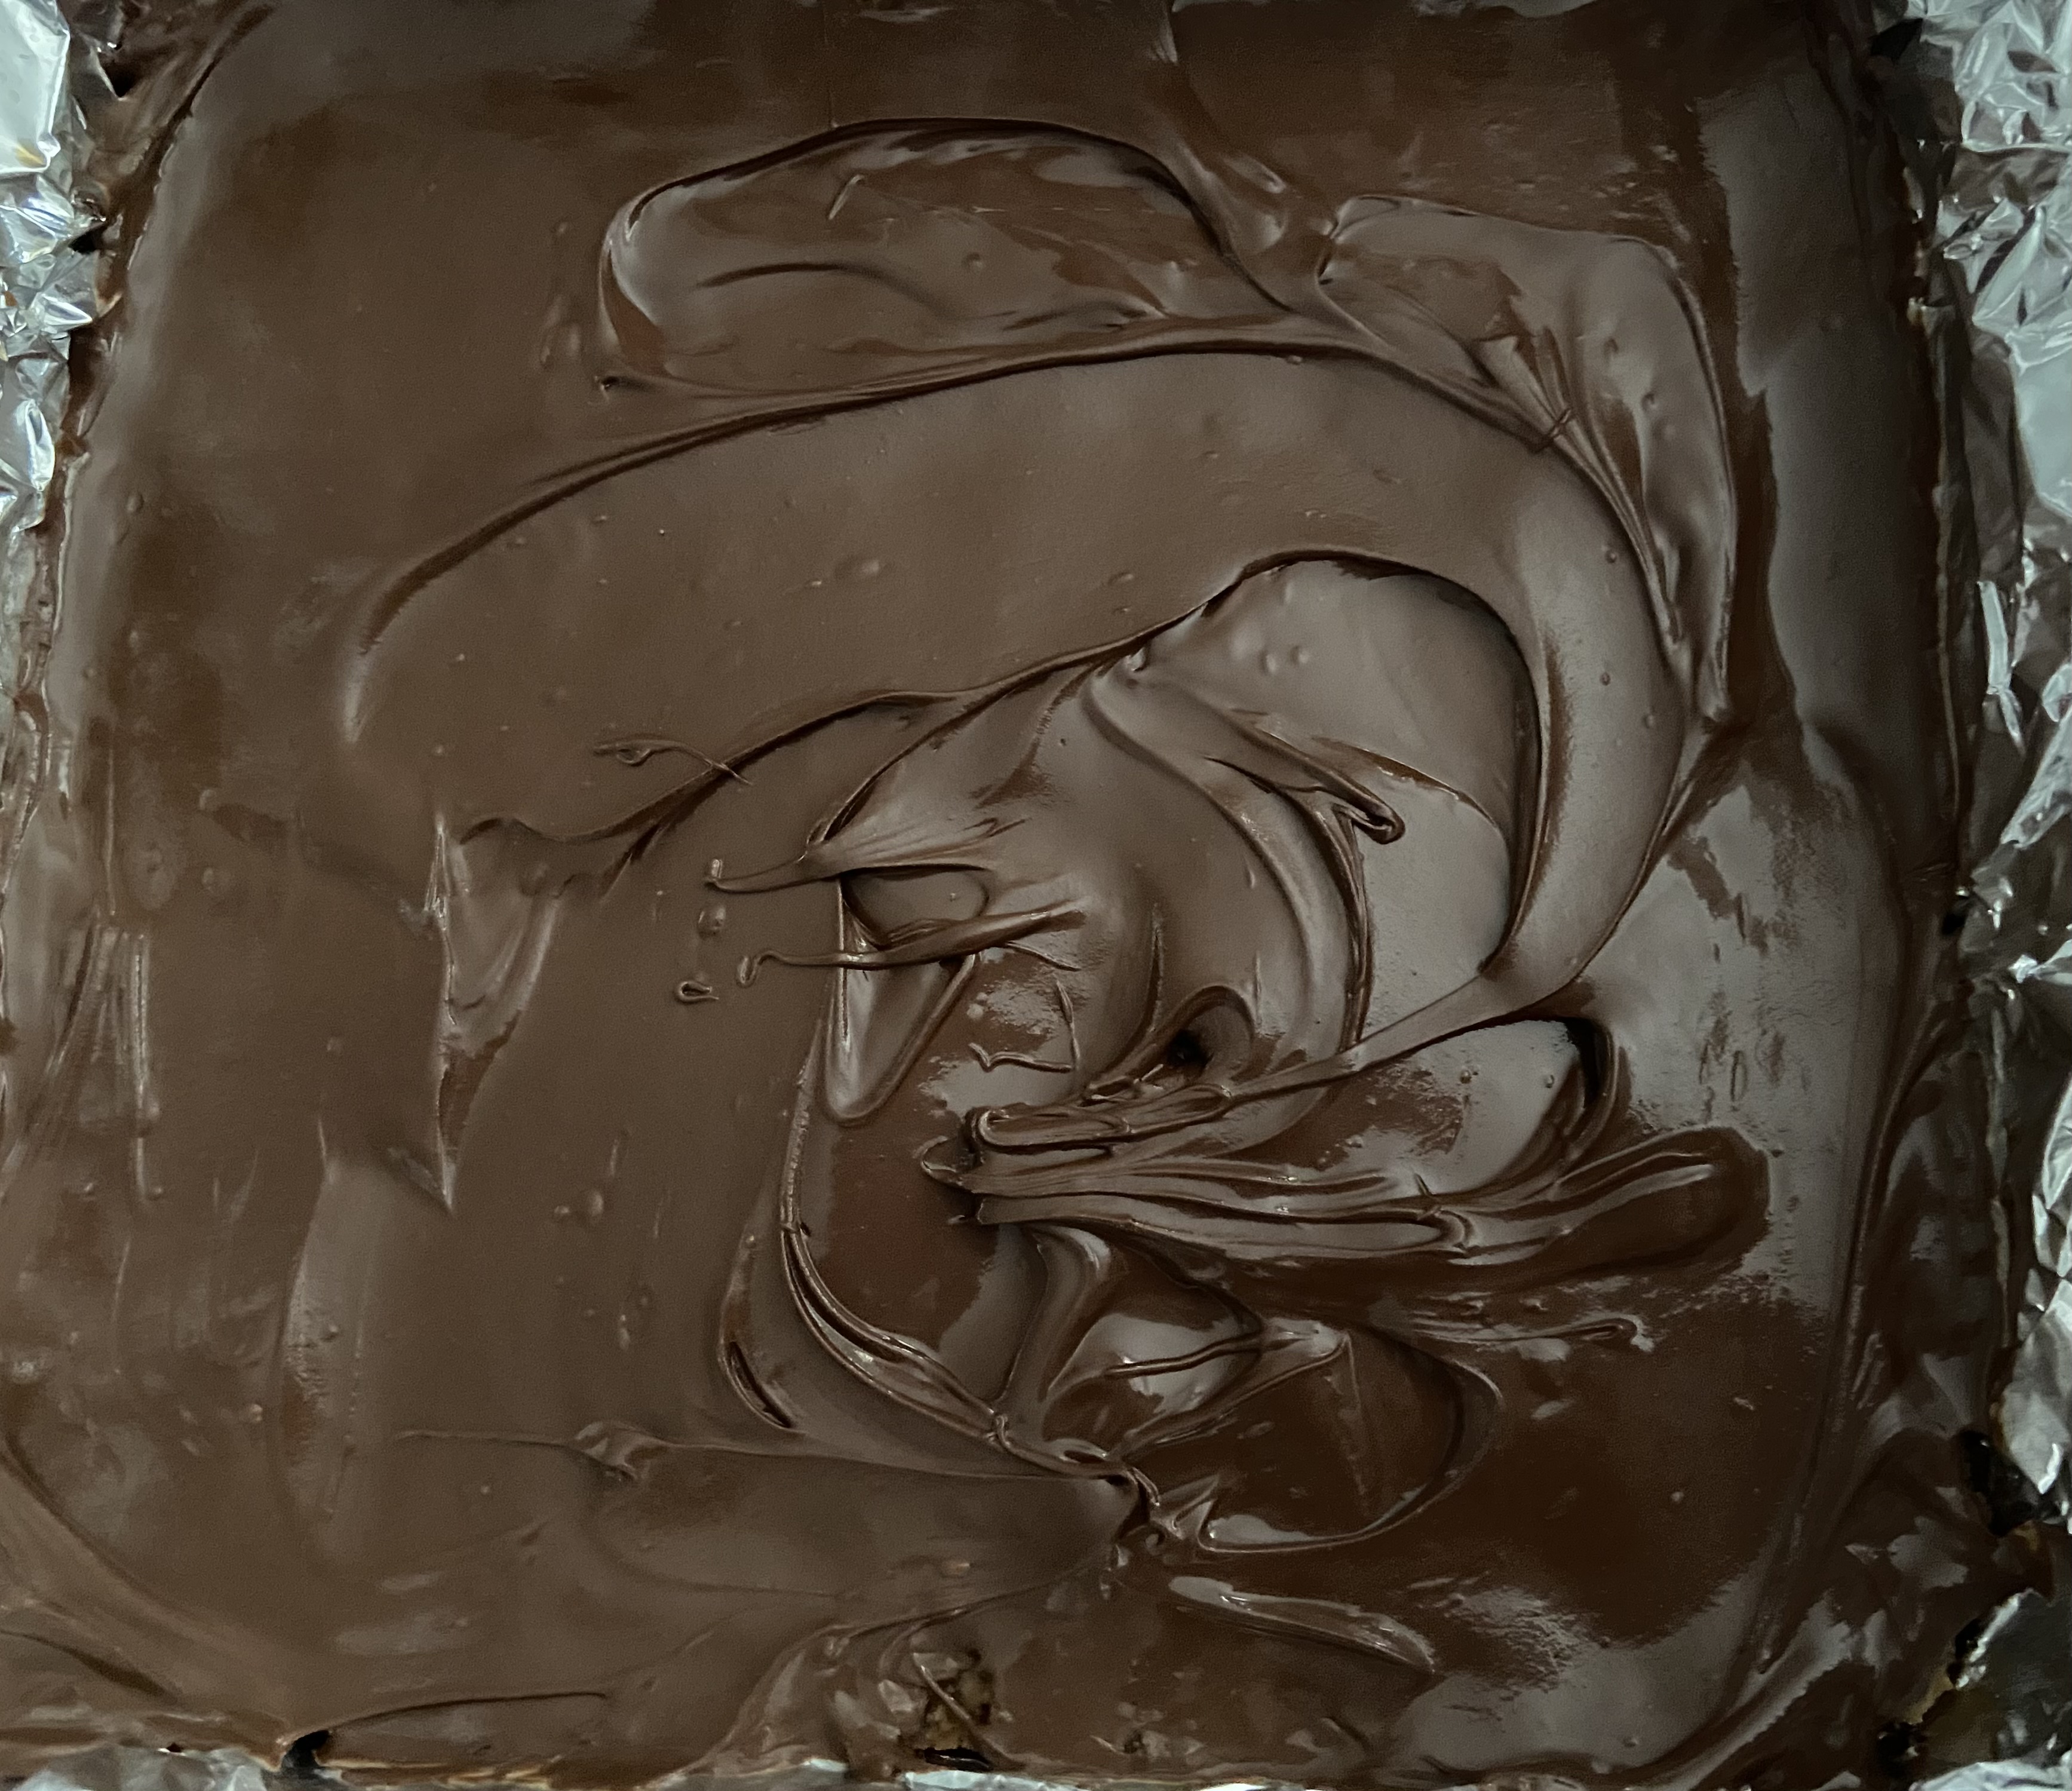
If you want the icing to melt more into the cookie, drizzle over the cookies while they're still lukewarm.
If you want the icing to be more prominent, drizzle after the cookies have cooled completely.
Taste-wise I think these were good. Although I think I could've baked them a little longer for them to have a more cakey instead of dense texture. They taste amazing when warm so even if you serve them after they've cooled, pop them into the microwave for about 10-12 seconds and enjoy warm coffee cake in cookie form.

Saturday, January 14, 2023

Coconut Bars from Fat Witch Brownies

Coconut Bars - made January 2, 2023, adapted from Fat Witch Brownies by Patricia Helding
Crust
10 tablespoons unsalted butter, room temperature
1 1/4 cups all-purpose flour
1 tablespoon plus 2 teaspoons packed light brown sugar

Topping
1 cup packed light brown sugar
1/4 cup granulated sugar
2 large eggs
1 teaspoon vanilla extract
1/4 cup sweetened condensed milk
1 tablespoon all-purpose flour
1/2 teaspoon baking powder
pinch of cinnamon
2 cups sweetened coconut (I used flaked)
  1. Preheat oven to 350 degrees F. Line an 8 x 8-inch baking pan with foil and lightly spray with nonstick cooking spray.
  2. Crust: mix together butter, flour and brown sugar until a dough forms. Spread evenly in bottom of prepared pan. Bake for 10 minutes or until crust is light golden. Remove from oven and set aside to cool.
  3. Topping: Beat brown sugar, granulated sugar, eggs and vanilla extract until well combined. Add the sweetened condensed milk, mixing thoroughly. Add flour, baking powder and cinnamon, mixing until combined. Mix in coconut until well combined. Spread topping evenly over par-baked crust. Bake for 30 minutes or until top is golden brown. Remove from oven and let cool completely before cutting and serving.
I'm forever switching back and forth between the recipes I've pinned on Pinterest and the (guilty) call of my existing baking books calling me from my bookshelves to use them. I bought them whereas the pinterest recipes are free so why don't I actually use what I bought? (rhetorical question)
In any case, I've had this book from Fat Witch Brownies for donkey's years. Long ago, when I first discovered Fat Brownies, online brownie bakeries weren't as much of a thing as they are today and getting a recipe book from said online (and brick and mortar) bakery was a big deal. So I promptly bought the book, tried a few of the recipes of the brownies I'd ordered online then let same book gather dust over the years. Sigh.
Anyway, I tried this recipe from Fat Witch and thumbs up because I love coconut and brown sugar flavor together. This one was a tad too sweet though and it may be because I didn't bake it enough (the edges were perfect, the middle piece was a bit grainy). Still, the crust was perfection, not too hard but not dry-crumbly-soft either. It's a good shortbread base and you can't beat the chewiness of the coconut.
If I make these again, I'd bake a little longer than the 30 minutes the recipe suggests (at least in my oven) or, at a minimum, I'd use the recipe for the shortbread base in any other recipe that needs it.