Tuesday, November 28, 2023

Butterfinger Cookies from Cookies and Cups

Butterfinger Cookies - made dough November 7, 2023 from Cookies and Cups 
3/4 cup butter, room temperature
1 cup granulated sugar
1 egg
1 egg yolk
1 teaspoon vanilla
1/2 teaspoon salt
3/4 teaspoon baking soda
2 1/4 cups all-purpose flour
2 cups chopped Butterfinger bars
  1. Preheat oven to 350 degrees F. Line baking sheets with parchment paper.
  2. In the bowl of a stand mixer fitted with the paddle attachment, cream together butter and sugar until light and fluffy, about 2 minutes.
  3. Add egg, egg yolk, vanilla, baking soda and salt, mixing until combined. Scrape down bottom and sides of bowl to keep mixture even textured.
  4. Add flour in two additions, mixing on low speed after each addition, until just combined. Stir in chopped Butterfingers.
  5. Portion dough into golf-ball-size dough balls. Evenly space on baking sheets and bake for 8-9 minutes or until edges are set and middles no longer look raw. Let cookies rest on baking sheets for 3 minutes then transfer to wire rack to cool completely.
I could almost become a fan of Butterfingers as long as I only use them in cookie baking. And if I wanted something flavored with peanut butter.


These were delicious and a great way to use up the leftover candy bars I still have from Halloween. Butterfingers just crumble when being chopped though so I tried to leave bigger pieces or else I'd end up with Butterfinger dust instead of chunks. They baked up nicely in this cookie and were easy to swirl to round cookies after baking since they didn't stick like Baby Ruths did.

You can see they also didn't spread too much, although the swirling not only neatens up the edges but also makes the cookies a tad thicker.

Wait until the cookies cool completely before eating or at least to lukewarm when the Butterfingers have had time to re-solidify. That adds a crispness back to the cookies and improves the texture.


Sunday, November 26, 2023

Baby Ruth Pudding Cookies from Fun with the Fullwoods

Baby Ruth Pudding Cookies - made dough November 1, 2023 from Fun with the Fullwoods
1 1/2 sticks (3/4 cup) butter
3/4 cup brown sugar
1/4 cup granulated sugar
1 3.4-ounce package instant vanilla pudding
2 large eggs
1 teaspoon vanilla extract
1 teaspoon baking soda
2 1/4 cups all-purpose flour
1-2 cups Baby Ruth bars, coarsely chopped
  1. Preheat oven to 350 degrees F. Line baking sheets with parchment paper.
  2. In a medium bowl, whisk together flour and baking soda; set aside.
  3. In the bowl of a stand mix fitted with the paddle attachment, cream together butter, brown sugar and granulated sugar until well combined, 1-2 minutes. Add dry vanilla instant pudding mix and mix to combine.
  4. Add eggs and vanilla; mix to combine.
  5. Add dry ingredients in two additions, beating on low speed after each addition, until just combined.
  6. Fold in chopped Baby Ruth bars. Portion dough into golf-ball-size dough balls and flatten slightly. Evenly space on baking sheets. Bake 8-12 minutes or until edges are set and middles no longer look raw. Remove from heat and transfer cookies to wire rack to cool completely.
Back to recipes using up my leftover Halloween candy for the next few posts (I had a lot of leftover candy). These were really good. The dough was easy to work with and they didn't spread too much. The pudding mix adds a softer texture. The edges didn't get too crisp but the texture and flavor were good.

While I normally don't care for nuts in cookies, I forgave them in this cookie since nuts are part of Baby Ruth candy bars and that's what I was using up.
The hardest part of this cookie is the Baby Ruths melt and leak out of the cookies during baking. I did the swirling trick again to tidy up the edges but the hot nougat-caramel (what's in a Baby Ruth, btw? Never mind, don’t tell me) was sticky and clung to the sides of the metal cookie cutter I was using to swirl the cookies to more neat roundness. So these aren't as perfectly circular as they could've been. But still delicious nonetheless.


Friday, November 24, 2023

Stamped Cookies #34 Speculaas Cookies from Martha Stewart

Stamped Cookies #34 Speculaas Cookies - made dough October 27, 2023 from Martha Stewart
3 1/2 cups all-purpose flour
1/2 teaspoon baking soda
1/2 teaspoon salt
1 1/2 teaspoons ground cinnamon
1 teaspoon ground ginger
1/4 teaspoon ground nutmeg
3/4 teaspoon cardamom
1/4 teaspoon ground mace
1/4 teaspoon freshly ground white pepper
pinch of ground cloves
6 ounces (1 1/2 sticks) unsalted butter, softened
1 cup light brown sugar, packed
1/3 cup water
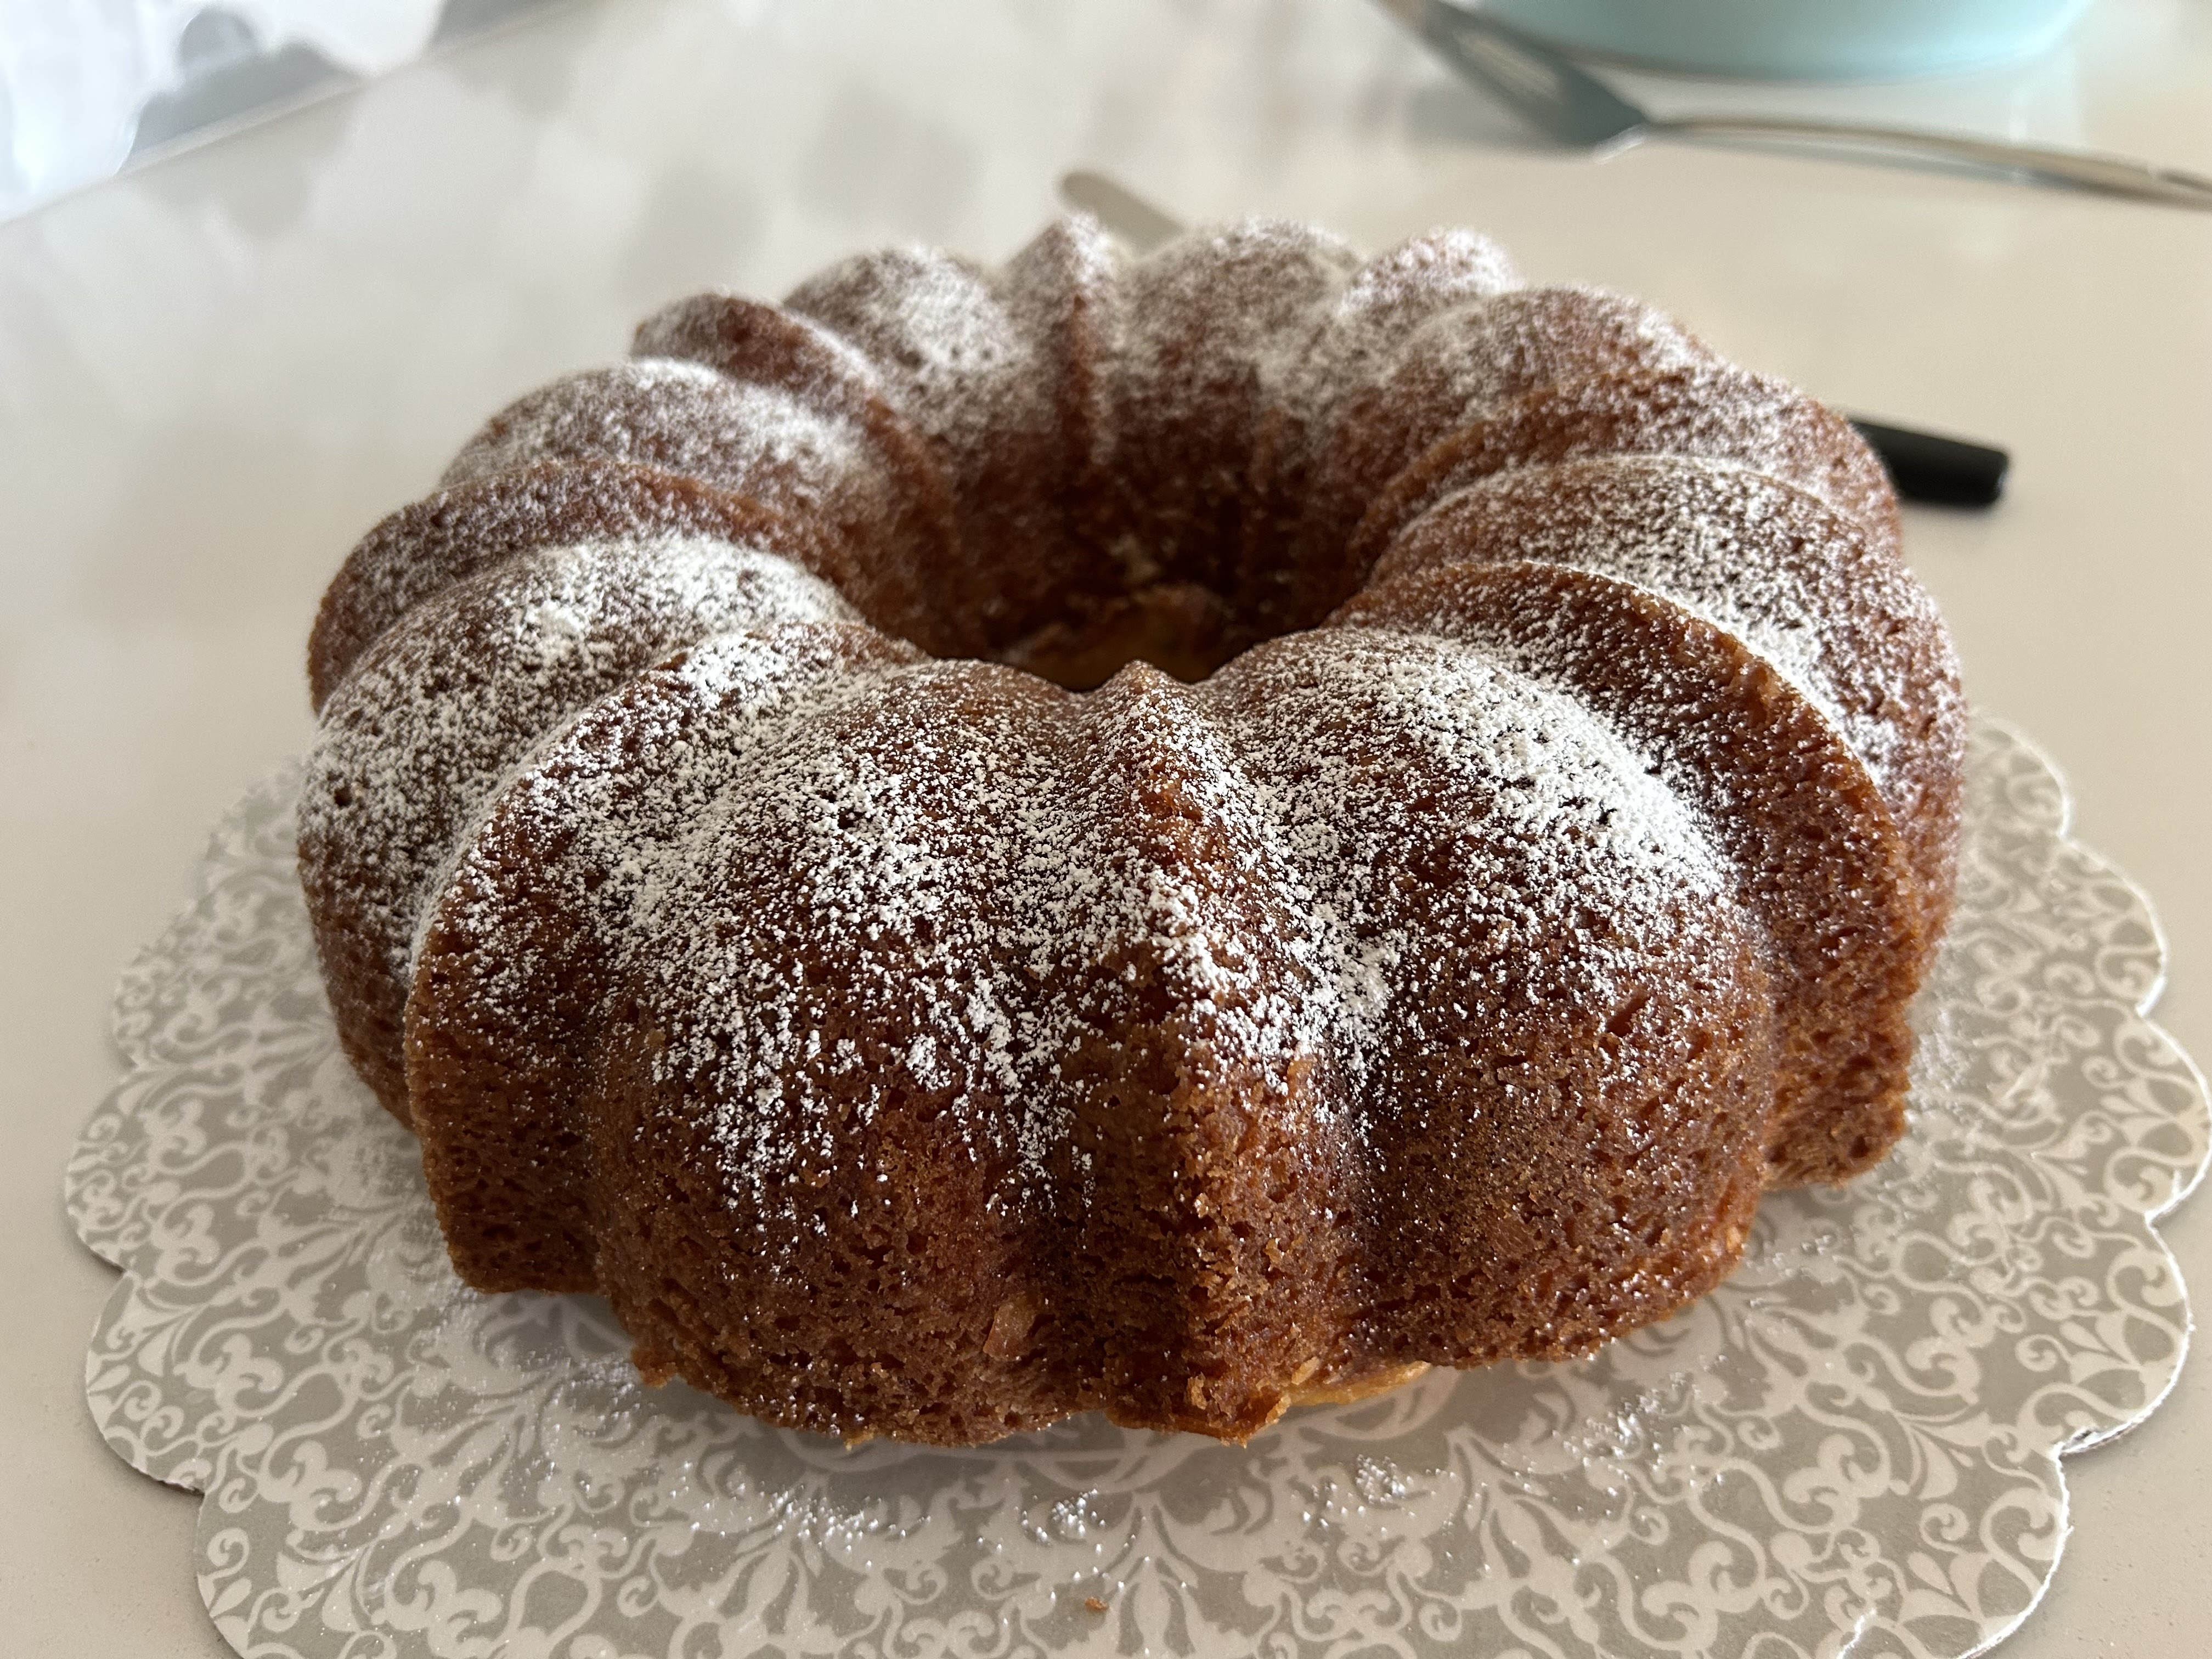
confectioners' sugar, for dusting on surface
  1. In a medium bowl, whisk together flour, baking soda, salt, cinnamon, ginger, nutmeg, cardamom, mace, white pepper and cloves.
  2. In the bowl of a stand mixer fitted with the paddle attachment, cream together butter and brown sugar until light and fluffy.
  3. Beat in half the flour mixture then beat in water. Add the remaining flour mixture and beat until just combined.
  4. Divide into three parts and shape into discs, 1 inch thick. Wrap each disc in plastic wrap and refrigerate for 1 hour.
  5. Roll dough into 1" thick and stamp out cookies. Cover and chill or freeze stamped cookies for 1 hour.
  6. When ready to bake, preheat oven to 325 degrees F. Line baking sheets with parchment paper and evenly space cookies. Reduce heat to 250 degrees F and bake cookies, 1 sheet at a time, until cookies are set and just beginning to turn light gold around edges, for 55 to 65 minutes. Let cool completely.
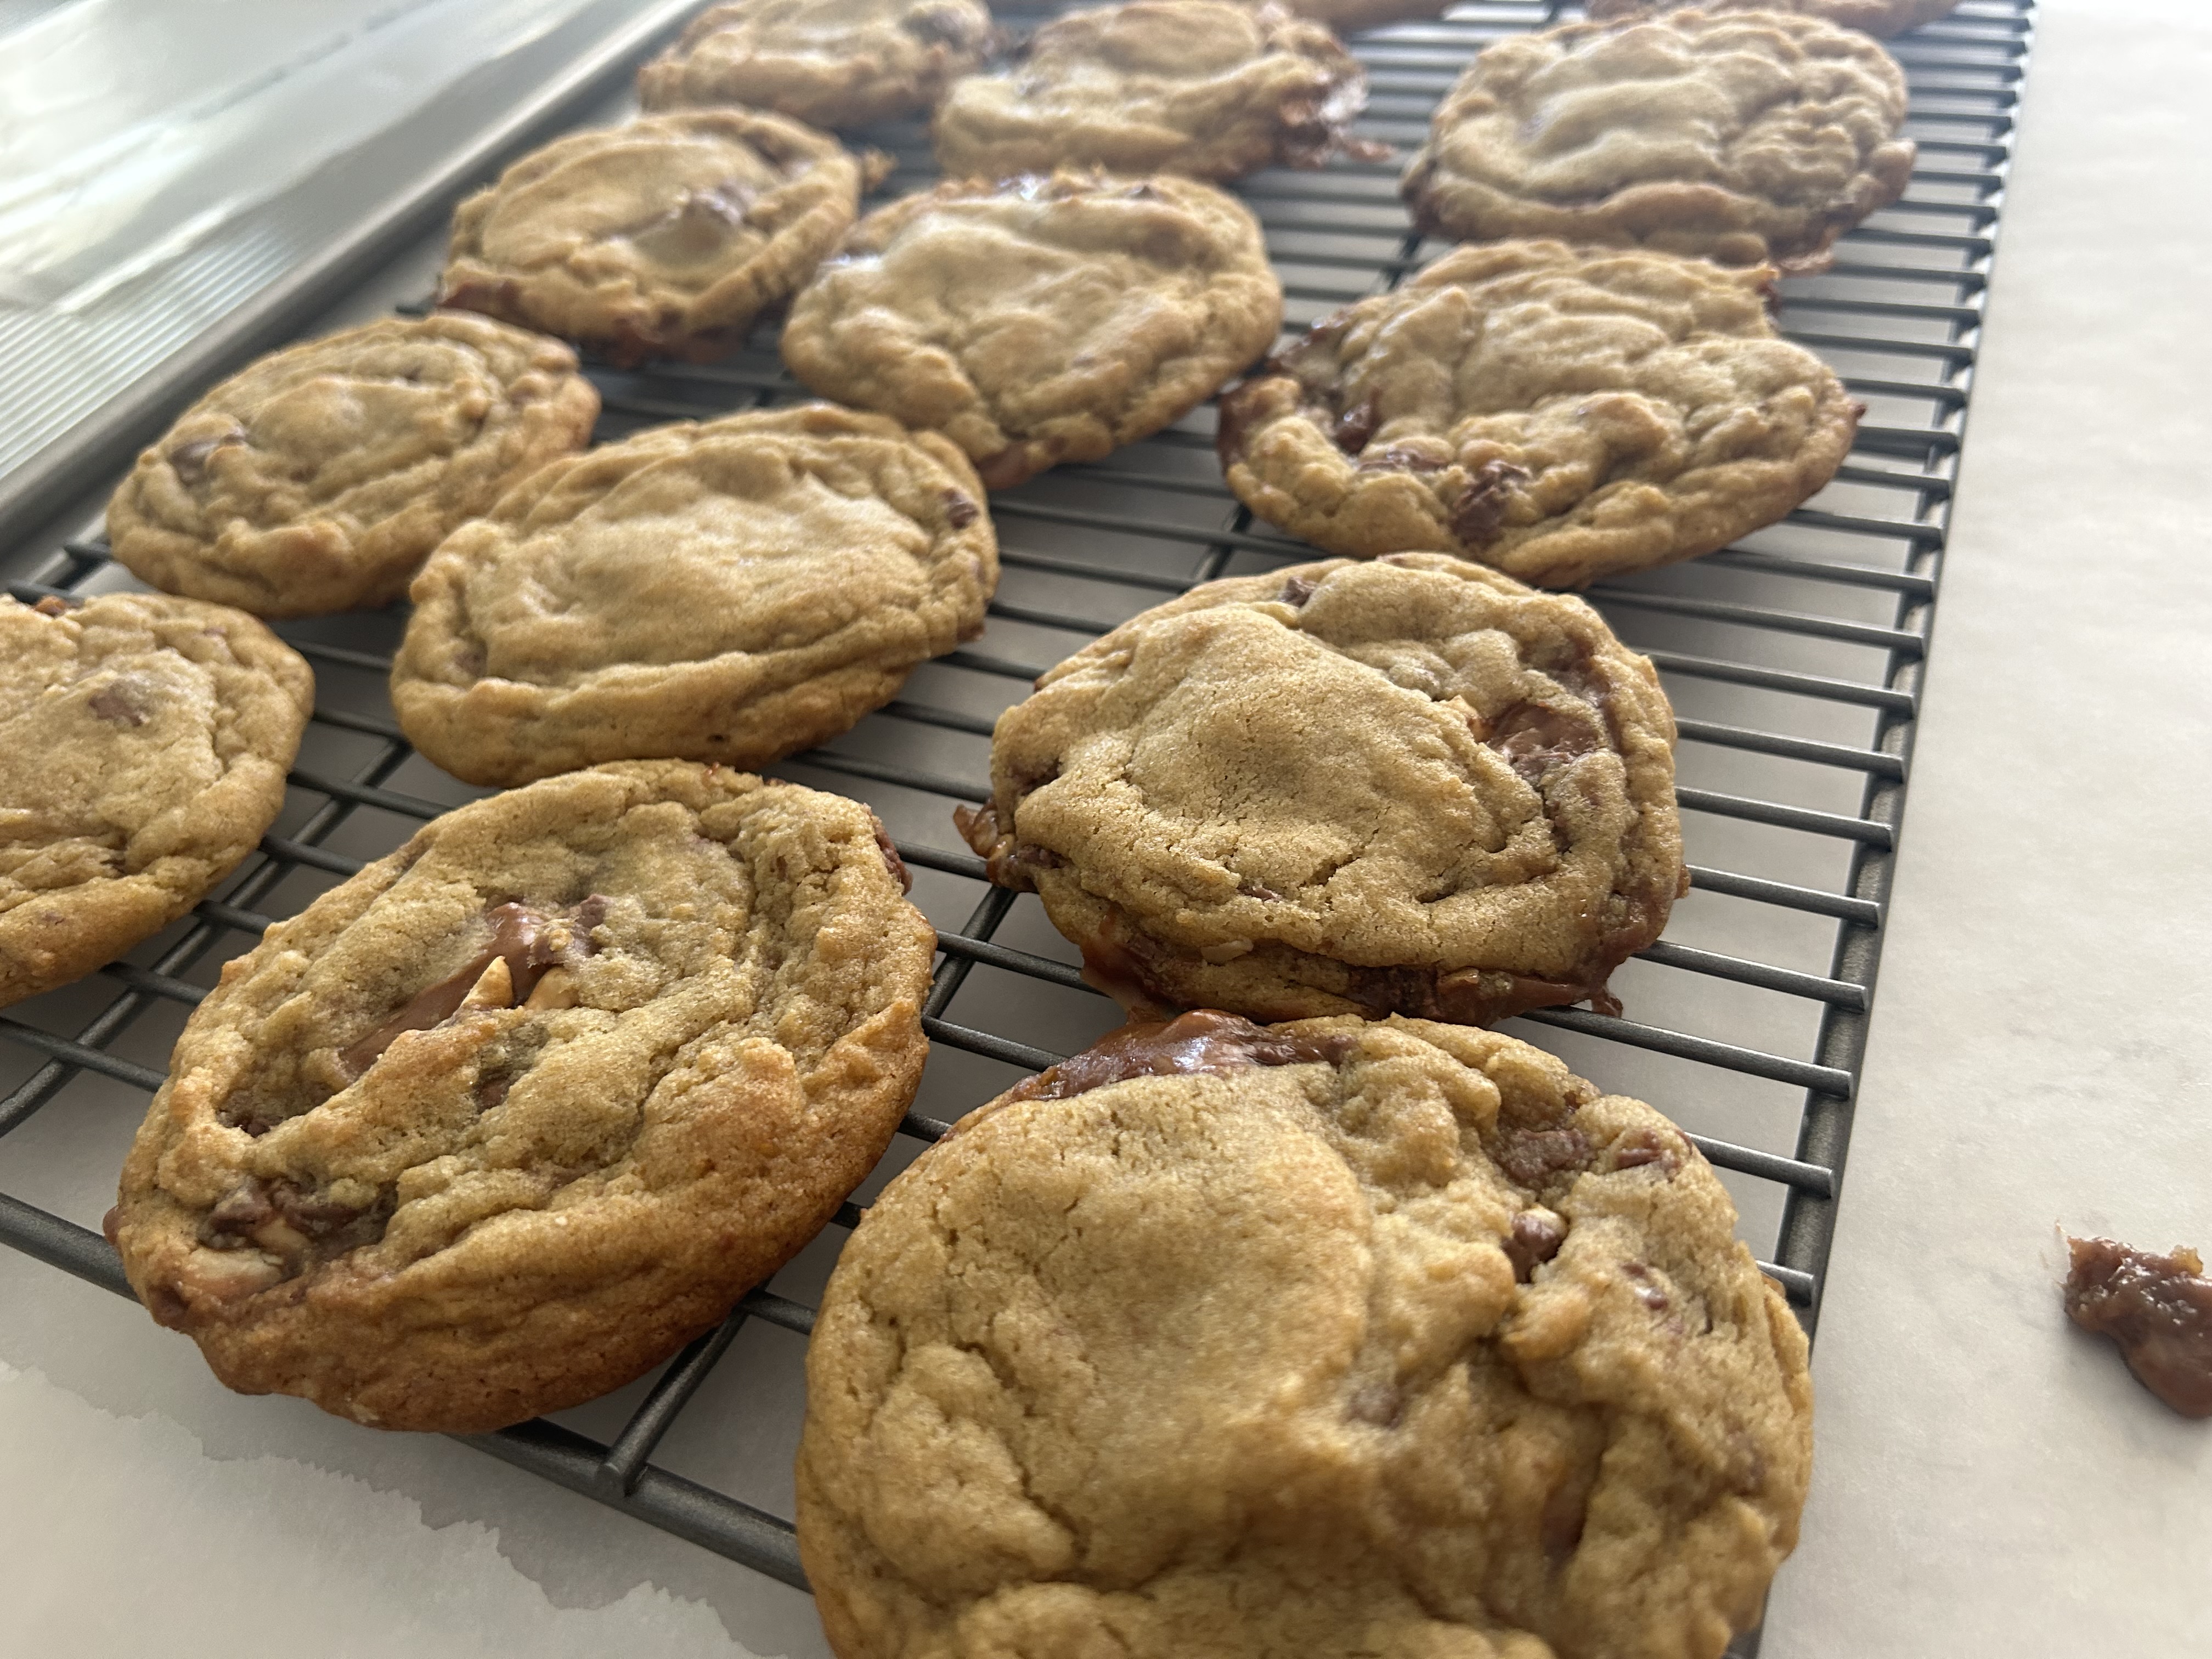
Thanksgiving just ended so I feel like I can legit post these Christmas-ish cookie stamped cookies. Although I do have mixed feelings about this cookie. I tried to follow the recipe as faithfully as possible and did when it came to mixing and chilling the dough. Where I couldn't stick to it is how long it says to bake it. Against my better baking judgment, I did bake the cookies at 250 degrees F. That's such a low temperature that I was afraid the stamped impressions would melt out of the cookies before the dough actually baked. Fortunately they didn't.
However, I couldn't bring myself to bake the cookies as long as the recipe said to. 55 to 65 minutes is a long, long time to bake cookies, even at a low temp. I made it to 40 minutes before I pulled these out. The cookies weren't exactly dry but they definitely were not moist or fudgy. The flavor was decent but not as flavorful as I expected given all the spices in it. Next time I'm going to bake them more traditionally at 350 degrees F and try taking them out at 10-12 minutes.


Tuesday, November 21, 2023

Lemon Meltaway Cookies from The Domestic Rebel

Lemon Meltaway Cookies - made dough November 3, 2023 from The Domestic Rebel 
1 cup (2 sticks) unsalted butter, room temperature
3/4 cup granulated sugar
1 large egg
zest of one medium lemon
1/2 teaspoon baking powder
1/4 teaspoon salt
2 cups all-purpose flour

Lemon Icing
2 cups confectioners' sugar
3 tablespoons fresh lemon juice
  1. Preheat oven to 375 degrees F. Line baking sheets with parchment paper.
  2. In the bowl of a stand mixer fitted with the paddle attachment, cream together butter and sugar until light and fluffy, about 1 minute. Add egg and lemon zest; mix until combined, about 30 seconds.
  3. Add baking powder and salt, mix to combine. Add flour, 1/2 cup at a time, mixing on low speed until just combined.
  4. Portion into small dough balls and flatten slightly. Evenly space on baking sheet. Bake for 8-10 minutes until edges are set and middles no longer look raw. Let rest on baking sheet for 5 minutes then transfer to wire rack to cool completely.
  5. Make the glaze: in a medium bowl, whisk together the confectioners' sugar and lemon juice until well combined. Spread glaze on tops of cooled cookies and let glaze set.
Most lemon cookies typically use the zest to flavor the cookie dough but few need the lemon juice so you end up with a naked lemon missing its yellow skin and only left with the white pith. Unless you use the juice to make the glaze. Problem solved.
I liked this cookie and it's perfect when you need a simple, no-fuss lemon cookie for your table. It's not too sweet or too tart and the texture is not too light or too dense. It's a good "tea cookie". If you want the glaze to set (and I do), keep a light hand in adding the lemon juice. Whisk it with the powdered sugar and stop when the glaze is still a little on the thick side so it'll set once it's drizzled or spread over the cookie. If you use too much juice, add more powdered sugar until it's the consistency you want.

Sunday, November 19, 2023

Cinnamon Roll Cookies from Cookies and Cups

Cinnamon Roll Cookies - made dough September 26, 2023 from Cookies and Cups 
Filling
1/4 cup butter, melted
1/3 cup dark brown sugar
1 1/2 teaspoons cinnamon

Cookie dough
3/4 cup butter, room temperature
3/4 cup granulated sugar
1 large egg
2 teaspoons vanilla
3 tablespoons heavy cream
1 teaspoon baking powder
1/2 teaspoon salt
2 1/4 cups all-purpose flour

Icing
1 cup powdered sugar
2 tablespoons butter, melted
1-2 tablespoons milk
  1. Filling: in a medium bowl, combine melted butter, dark brown sugar and cinnamon until evenly mixed. Set aside.
  2. Cookie dough: in the bowl of a stand mixer fitted with the paddle attachment, cream together butter and granulated sugar until light and fluffy, 1-2 minutes. Add egg, vanilla and heavy cream, mixing until combined.
  3. In a small bowl, whisk together baking powder, salt and flour. Add dry ingredients to butter mixture and mix on low speed until just combined.
  4. On a lightly floured piece of parchment paper, roll out the dough into a 15 x 10-inch rectangle. Spread filling mixture evenly over the dough, leaving an inch around the edges. Roll from the long edge into a tight roll.
  5. Cut the dough into 10 equal slices. Roll each slice into a ball, cover and freeze for 20 minutes.
  6. Preheat oven to 350 degrees F. Line baking sheet with parchment paper. Evenly space 5 dough balls on the baking sheet; leave the other dough balls in the freezer while the first batch bakes.
  7. Bake cookies for 15-17 minutes or until edges are golden brown and middles no longer look raw. Remove from oven and let rest on baking sheet for 5 minutes before transferring cookies to wire rack to cool completely.
  8. Icing: in a small bowl, whisk together powdered sugar, melted butter and milk, adding more or less milk until desired consistency is reached. Dip or drizzle cooled cookies with icing.
This is meant to be the cookie version of a cinnamon roll. You make the cookie dough, roll out to a rectangle, spread with a cinnamon sugar mixture, roll up into a log like you do when making cinnamon rolls and slice. Unlike with real cinnamon rolls, you roll each slice into a dough ball and bake like any other cookie dough.

Because you roll the slices into balls, the cinnamon filling is randomly disbursed in each ball, depending on the roll. Fortunately the cinnamon doesn't leak out even when exposed. I did do the swirling trick to tidy up some of the (minor) cinnamon leakage.

Then it's back to the cinnamon roll similarities with a frosting for the cookies.

It's a good concept and this was a pretty good cookie. If you want it to be closer to an actual cinnamon roll, you could go with more of a cream cheese frosting and/or sprinkle some ground cinnamon on top of the cookies.


The taste test cookie I kept for myself before giving the rest away was the end of the cookie log so it didn't have as much of the cinnamon filling. So my taste test cookie was more like a vanilla butter cookie with a little cinnamon. Still good though.


Friday, November 17, 2023

Copycat Red Velvet Oreos from Dixie Crystals

Copycat Red Velvet Oreos - made dough October 27, 2023 from Dixie Crystals 
Cookies
1/2 cup unsalted butter, softened
1/2 cup powdered sugar
1/2 teaspoon vanilla extract
pinch of salt
1 cup all-purpose flour
2 tablespoons cocoa powder
red gel food coloring

Filling
1/4 cup unsalted butter, softened
1/4 cup shortening
1/2 teaspoon vanilla extract
1 3/4 cups powdered sugar
  1. In the bowl of a stand mixer fitted with the paddle attachment, beat together butter and powdered sugar until well combined and creamy, 2-3 minutes. Add vanilla extract and salt; mix until combined. Add a drop of red food coloring and mix to combine.
  2. In a separate bowl, whisk together flour and cocoa powder. Add to butter mixture in 2 additions, mixing on low speed. Add red food coloring, drop by drop, mixing on low speed, until desired uniform colored is achieved.
  3. Divide dough in half and roll each half between two sheets of parchment to 1/4" thickness. Wrap in plastic wrap and chill for at least 30 minutes.
  4. When ready to bake, preheat oven to 350 degrees F. Line baking sheets with parchment paper.
  5. Remove chilled dough from refrigerator, stamp or roll with embossed rolling pin and cut into small rounds with a round cookie cutter. 
  6. Evenly space round, stamped cookies on the baking sheets. Bake 12 minutes. Remove from oven and let rest on baking sheet for 5 minutes then transfer cookies to wire rack to cool completely.
  7. Make the filling: Cream together butter and shortening until uniform and well combined. Add vanilla and mix to combine. Add powdered sugar in 2-3 additions, beating after each addition until combined.
  8. Place filling in piping bag fitted with icing tip #10 and pipe onto the bottoms of half the completely cooled cookies. Top with remaining cookies.
I've never had the (storebought) Red Velvet Oreos before so I don't know how well these compare to the real thing. I also only ate a tiny runt cookie that was the tail end of the dough and barely made enough to make a tiny stamped cookie.
What I did have was pretty good. Although I didn't make the filling from the original recipe that I've included here. I had some cream cheese frosting left from a banana cake I made for a local get together so I used that instead. I'm less impressed with how well the dough held the stamped impressions though. It's hard to tell from the pictures but this dough seems more suited for stamps with larger impressions and not finer details like lettering. I'll have to try this recipe again with different stamps. These were a test run for a Christmas cookie exchange I'm hosting in December and I didn't have a chance to take more pictures before I gave them away to the employees of a local nonprofit. Another reason to try them again.

Wednesday, November 15, 2023

Coconut Bundt Cake from Chef in Training

Coconut Bundt Cake - made November 3, 2023 from Chef in Training
1 box white cake mix, dry, not prepared
1 3.4-ounce box instant vanilla pudding mix
4 eggs
1/2 cup sour cream
1/2 cup granulated sugar
3/4 cup oil
3/4 cup water
1 teaspoon coconut extract
1 cup sweetened coconut flakes

Cream Cheese frosting
12 ounces cream cheese, softened
4 cups powdered sugar
1 teaspoon vanilla
1/4 teaspoon salt
1/2 cup toasted coconut
  1. Preheat oven to 350 degrees F. Grease and flour a bundt pan; set aside.
  2. In the bowl of a stand mixer fitted with the paddle attachment, combine cake mix, pudding mix, eggs, sour cream, sugar, oil, water and coconut extract; beat for 3 minutes. Stir in coconut.
  3. Pour into prepared Bundt pan and smooth top. Bake for 45-50 minutes or until a toothpick inserted in the thickest part of the cake comes out with a few moist crumbs.
  4. Cool for several minutes and loosen sides of pan with small spatula. Invert onto a serving plate and cool completely.
  5. Make frosting: Combine all ingredients in a mixing bowl and beat on high until smooth. Spoon frosting into a piping bag and pipe the frosting over the top. Sprinkle with toasted coconut.
November 15 is National Bundt Day so this seems like a good day to share this recipe. This cake is supposed to have cream cheese frosting but I had run out of powdered sugar at the time I made it so I made do with a sprinkling of the remaining spoonful of powdered sugar that I had left.
Fortunately, this cake actually doesn't really need a frosting (says the non-frosting person). It was light and cakey with a good chewiness from the coconut. Since the base is a cake mix, it's super easy to make. Just throw all the ingredients into a mixing bowl, mix, pour into the Bundt pan and bake. Plus that it also came out of the pan easily and intact. It was delicious. I liked both the flavor and the texture. Definitely a keeper. So says the non-cake-mix baking snob. Happy National Bundt Day!

Sunday, November 12, 2023

Lemon Snowball Cookies from Lifestyle of a Foodie

Lemon Snowball Cookies - made dough October 20, 2023 from Lifestyle of a Foodie
1 cup butter
2/3 cup powdered sugar
1/2 teaspoon vanilla extract
1 teaspoon lemon extract
zest of 1 lemon
1 tablespoon lemon juice
2 1/4 cups all-purpose flour
1/2 teaspoon salt
yellow gel food coloring, optional

3/4 cup powdered sugar for rolling
  1. Preheat oven to 325 degrees F. Line baking sheets with parchment paper.
  2. In the bowl of a stand mixer fitted with the paddle attachment, cream together butter and powdered sugar until well combined and fluffy. Add vanilla extract, lemon extract, lemon zest, lemon juice and a tiny amount of yellow food coloring if using. Mix until combined.
  3. Add flour and salt, mixing on low speed until combined and dough forms.
  4. Portion dough into small cookie dough balls and evenly space on baking sheets. Bake for 20 minutes. 
  5. Remove from oven and roll hot cookies in powdered sugar then place on wire rack to cool completely. Once cooled, roll cookies again in powdered sugar.
The tl;dr on these? Delicious. They look like Mexican wedding cakes, Russian tea cakes, buttery tea balls or any other name you would normally give to buttery balls, typically packed with toasted pecans.
However, these are the lemon version, no nuts. But just as good. The principle is the same in that you roll the cookies in powdered sugar right out of the oven. The heat melts some of the powdered sugar into the cookie. Then once it's completely cool, you roll it in powdered sugar again. This time most of the sugar will adhere, creating a "snowball". A really good lemon one.
This is a great cookie for the holidays, especially if you have gift recipients or party goers who are allergic to nuts. I did use a few drops of lemon food color to make a really lemony yellow cookie. No need to use any food color at all as it won't affect the taste. I just wanted to see how it would look as lemony yellow cookie against the white of the powdered sugar.