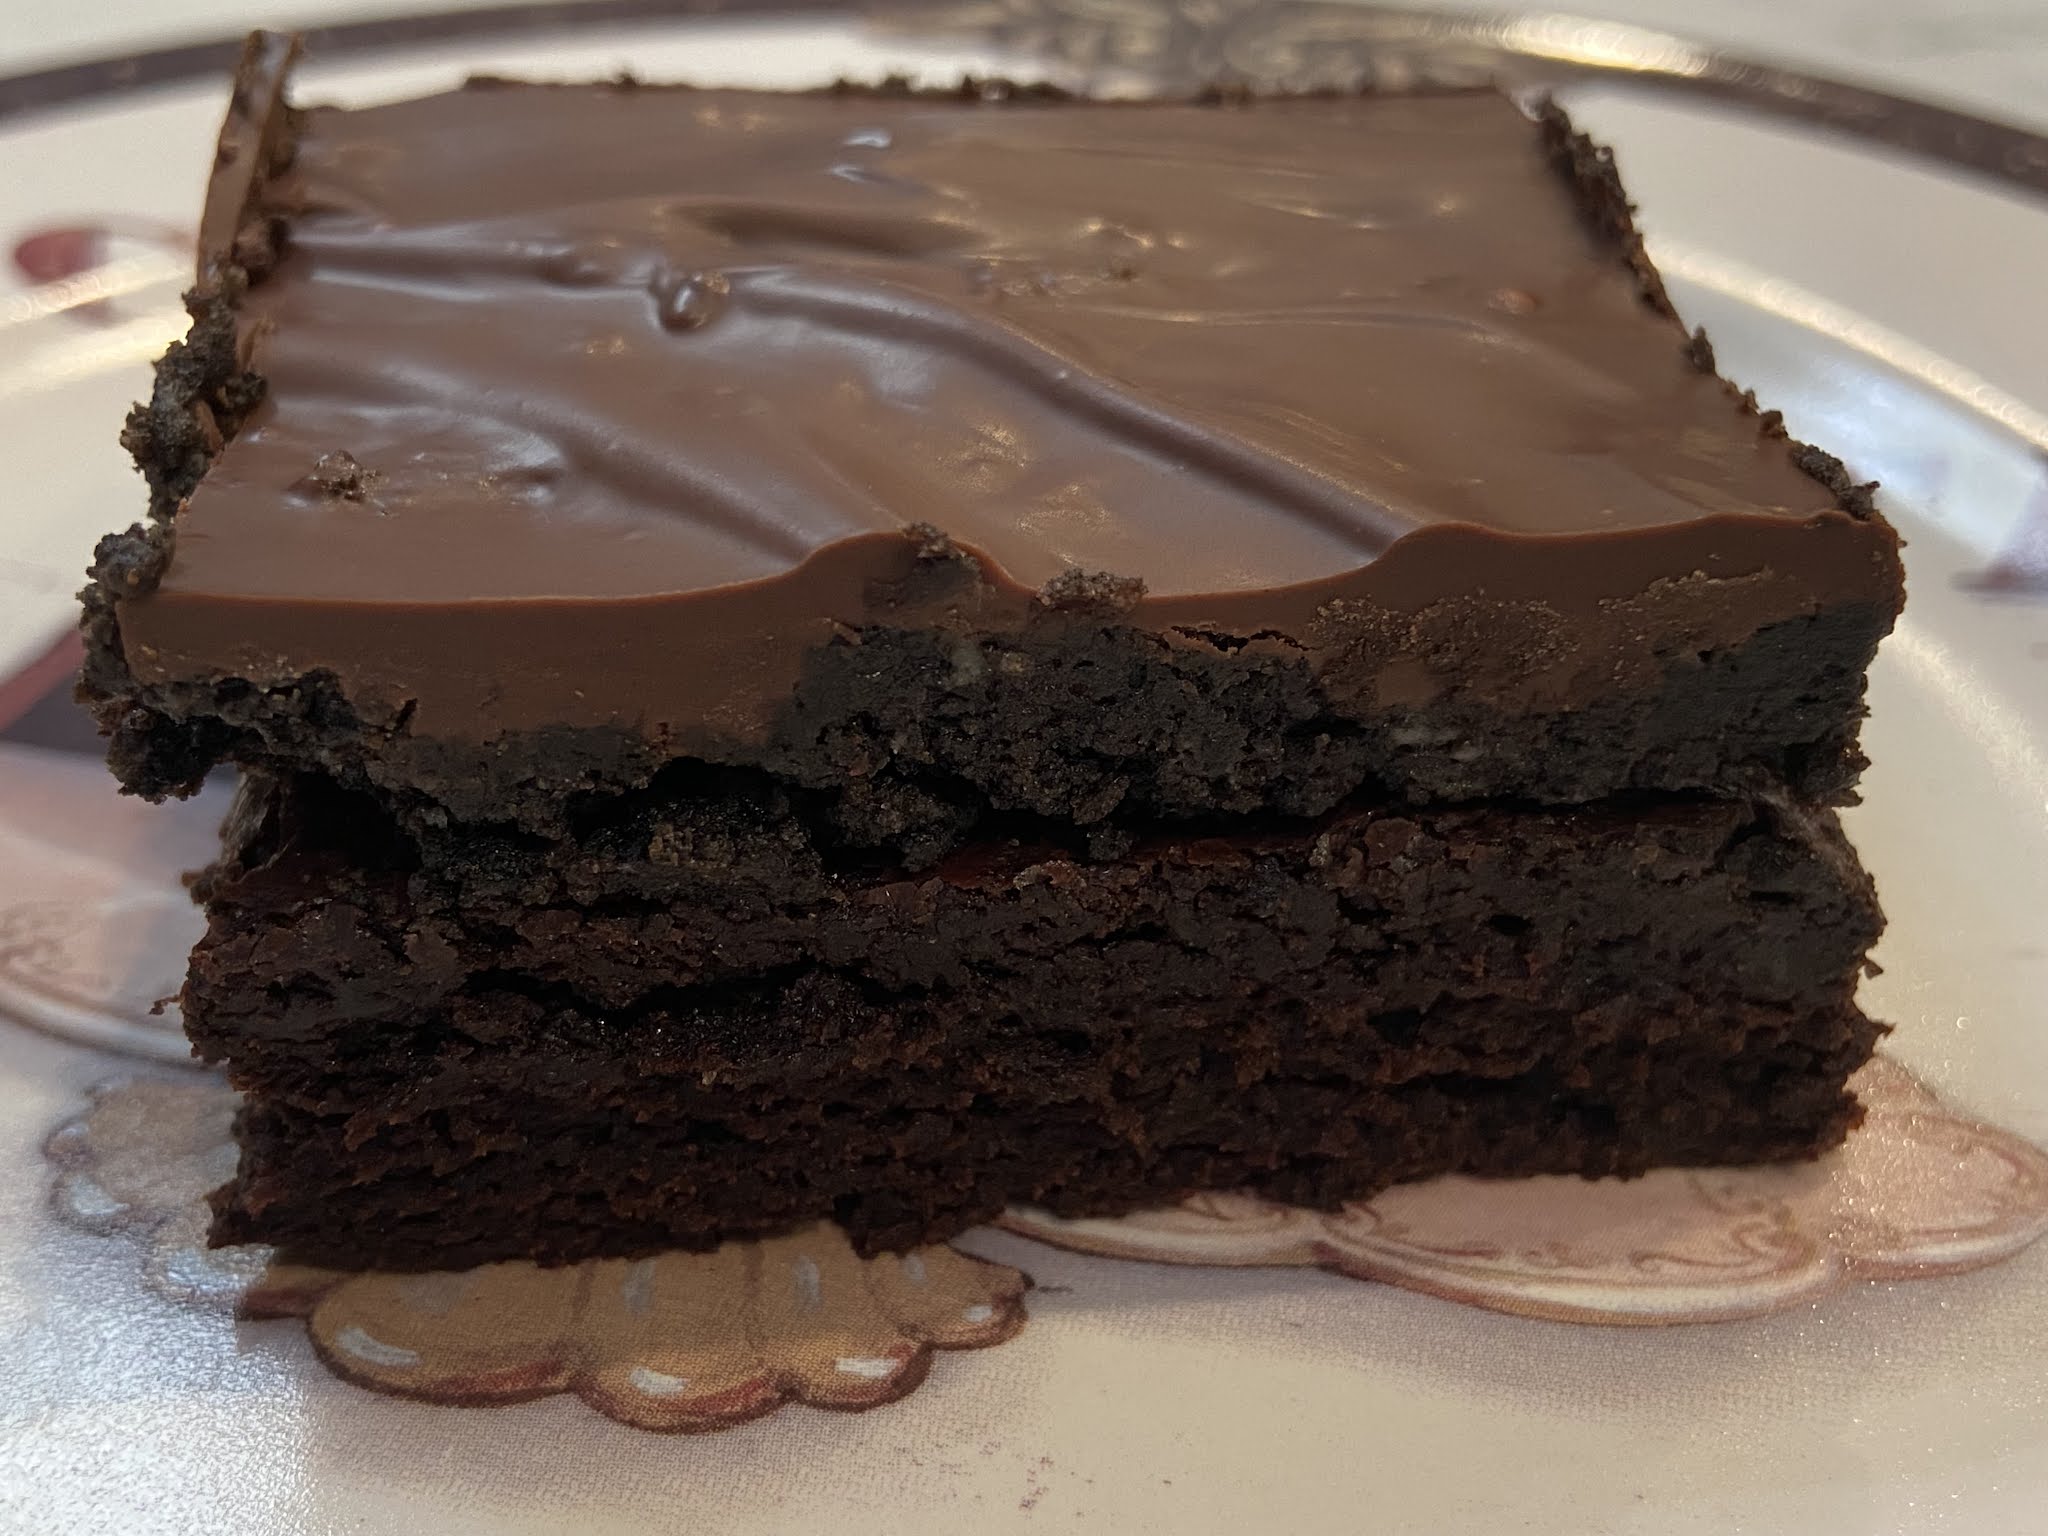
Saturday, November 6, 2021

Triple Dark Chocolate Truffle Brownies

10 tablespoons unsalted butter
1 1/4 cups granulated sugar
1/4 cup plus 3 tablespoons regular cocoa powder
1/4 cup plus 3 tablespoons dark cocoa powder
1/4 teaspoon salt
1 teaspoon vanilla extract
2 large eggs
1/2 cup all-purpose flour

Truffle Layer
4 ounces cream cheese, cubed, room temperature
30 Oreo cookies

Chocolate Coating
1 1/2 cup semisweet chocolate chips
3 teaspoons shortening
  1. Preheat oven to 325 degrees F. Line a 9 x 9 baking pan with foil and lightly spray with nonstick cooking spray.
  2. Place butter, both cocoa powders and sugar in a large microwave-safe bowl and microwave for about 1 minute and 30 seconds or until butter is melted. Whisk mixture until combined. 
  3. Stir in salt, eggs and vanilla, mixing until combined. Add flour and mix until just combined.
  4. Pour batter into prepared pan and smooth top. Bake for 22-25 minutes or until toothpick inserted near the center comes out slightly moist with a little bit of batter left on it. Cool completely in pan.
  5. Prepare truffle layer: in a large food processor, pulse Oreo cookies into a fine crumb. Add cream cheese and pulse until a dough-like consistency forms and cream cheese has been fully incorporated into Oreo crumbs.
  6. When brownies are completely cool, dollop chunks of the truffle mixture over brownie and smooth into an even layer.
  7. Prepare the chocolate coating: in a small bowl, melt the chocolate chips and shortening in 30-second increments in the microwave until completely melted. Whisk until smooth and pourable. Pour the chocolate on top of the truffle layer and spread with a small metal spatula into a smooth, even layer. Refrigerate for 20 minutes to allow the top to set. Remove from refrigerator and let come to room temperature before cutting and serving.
I've had this recipe on my pinterest board for awhile. I didn't have "dark cocoa" and had been using the Kirkland cocoa powder from Costco (the light-colored cocoa in the picture above) for my baked goods. But I was running out of the Kirkland and couldn't find it during my last Costco run so I ordered my beloved Pernigotti cocoa (the darker colored cocoa in the picture) from Chef Shop (female-owned small business).
I still had some of the Kirkland cocoa and with the Chef Shop cocoa arriving, it seemed like a good time to try out this recipe. It's got a brownie base (make sure you stir the batter enough to get to the glossy stage above), followed by a Oreo-cream-cheese layer and topped with a melted chocolate chip layer.

Note that I don't call the top layer "frosting". It's simply chocolate chips melted with a little shortening then you chill it to let it set and harden.

This was a good brownie. The brownie layer itself was a good fudgy brownie. Not sure I was an equally huge fan of the oreo "truffle" layer. I keep baking with Oreos and I keep finding I prefer Oreos in their pristine, straight-from-the-package state. That's not the fault of the brownie; it's just a taste preference for me.
Fortunately for all of us, I don't really bake just so I can eat a pan of brownies. I bake to try out recipes and I'm fortunate enough to have opportunities to share the end results with others. Win-win.


Friday, November 5, 2021

Pumpkin Spice Buttermilk Cake

2 1/4 cups all-purpose flour
2 teaspoons baking powder
1 teaspoon baking soda
2 teaspoons cinnamon
1 teaspoon ground allspice (I used pie spice)
3/4 teaspoon nutmeg
1/2 teaspoon ground ginger
1/4 teaspoon ground cloves
1/2 teaspoon salt
1 1/3 cups canned pumpkin
3/4 cup buttermilk
1 teaspoon vanilla
1 cup unsalted butter, room temperature
1 cup granulated sugar
1/4 cup brown sugar
3 large eggs

Frosting
3/4 cup unsalted butter, room temperature
8 ounces cream cheese, softened
3/4 teaspoon vanilla
1/2 teaspoon cinnamon
3 cups powdered sugar
1 tablespoon milk
  1. Preheat oven to 350 degrees F. Lightly spray a Bundt pan with nonstick cooking spray and lightly flour; set aside.
  2. In a medium bowl, whisk together flour, baking powder, baking soda, cinnamon, allspice, nutmeg, ginger, ground cloves, and salt; set aside.
  3. In another bowl, whisk together pumpkin, buttermilk and vanilla; set aside.
  4. In the bowl of a stand mixer fitted with the paddle attachment, beat the butter, granulated sugar and brown sugar until creamy and fluffy, 2-3 minutes. Add eggs, one at a time, beating after each addition until just combined.
  5. Alternately add the flour mixture and buttermilk mixture, beginning and ending with flour mixture, mixing after each addition until just combined. Do not overmix.
  6. Pour into prepared Bundt pan and bake for 40-45 minutes or until a toothpick inserted in the thickest part of the cake comes out with a few moist crumbs. Cool for several minutes then loosen the sides and center with a small rubber spatula. Invert onto a serving plate and let cool.
  7. Frosting: Beat together butter and cream cheese until well combined and creamy, about 2 minutes. Add vanilla and cinnamon and mix to combine. Add powdered sugar, 1/2 cup at a time, beating after each addition. Add milk and mix until combined, Spread over cooled cake.
After my baking fail with the Glazed Orange Bundt Cake, I tried to curb my underbaking tendencies and let this one bake long enough until I was absolutely sure it was done and before I got freaked out that it had baked too long and was going to be dry.

Fortunately, pumpkin adds a lot of moisture to a cake so it's harder to overbake it. Not that it can't be done, I'm sure, but you have a little more wriggle room with pumpkin.

I loved how this turned out. Great texture and great flavor. This does have a lot of spices and I ended up substituting pie spice for the allspice because I didn't have any allspice. That worked out fine. I used to be more simplistic in my use of spices in baking as I pretty much only liked cinnamon in baked goods.
But since I've become such a Penzey's fan and my spice drawer is full, I've become much more open to trying recipes that use a plethora of spices. They worked well in this cake and nothing says autumn baking than a pumpkin dessert. If anyone still goes to potlucks or bakes for office mates these days, this is a great cake to bring.


Wednesday, November 3, 2021

Red Velvet Sheet Cake

Red Velvet Sheet Cake - made October 10, 2021 from I Heart Eating
2 cups all-purpose flour
1 1/2 cups granulated sugar
1 teaspoon baking soda
1/4 teaspoon salt
1 cup butter 
1 cup water
1/4 cup unsweetened cocoa powder
2 large eggs, cold
1/2 cup buttermilk
2 teaspoons vanilla extract
2 tablespoons (1 ounce) red food coloring

Cream Cheese Frosting
8 ounces cream cheese, softened
2 tablespoons butter, softened
1 teaspoon vanilla
2 1/2 - 3 cups powdered sugar
1-3 tablespoons buttermilk
  1. Preheat oven to 350 degrees F. Line a 15 x 10-inch or 9 x 13-inch pan with foil and lightly spray with nonstick cooking spray; set aside.
  2. In a medium bowl, whisk together flour, sugar, baking soda and salt.
  3. In a heavy saucepan over low heat, combine butter, water and cocoa powder. Bring to a boil, whisking constantly until combined.
  4. Remove from heat and stir in eggs, buttermilk, vanilla and food color, whisking until well combined. Stir in flour mixture until combined.
  5. Pour batter into prepared pan. Bake for 20-30 minutes or until a toothpick inserted near the center comes out clean. Cool completely.
  6. Frosting: beat together cream cheese, butter and vanilla until combined. Beat in powdered sugar and enough buttermilk for desired consistency. Frost cooled cake and cut into squares.
I'm not a great food photographer. I know there are classes that teach you how to do it well but I haven't taken any. We're getting into that time of the year where natural light is available in a smaller and smaller window of time during the day. That's my lead in as to why some of my foodie pictures are going to show up a little dark or under unnatural light.
Nevertheless, that doesn't detract from the deliciousness of this cake, no matter how it shows up in the pictures. This is everything a sheet cake should be: easy to make, no fuss, great flavor and has the perfect cakey texture. I need to make this kind of cake more often as it really was delicious.
The only annoying thing with red velvet cake with cream cheese frosting is the red velvet cake crumbs that show up quite starkly against the frosting and makes it look messy. You can minimize that by chilling the frosted cake and slicing with a knife dipped in hot water (and wiped dry before cutting) then cleaning off the knife after each cut.
As you can tell from my pictures, I didn't have or take that kind of time and effort. I made this for the weekly distribution to the local houseless population and, along with the other cakes I made that week, I needed to slice it up, package each piece and get everything ready for the porch pick up the organizers were kind enough to do when I bake something. But if taste is more important than looks for you, make this cake.


Monday, November 1, 2021

Glazed Orange Bundt Cake

3 cups (315 grams) sifted cake flour, spooned and leveled
1 teaspoon salt
1 teaspoon baking powder
1/2 teaspoon baking soda
1 cup unsalted butter, room temperature
1 2/3 cups granulated sugar
4 large eggs, room temperature
1 teaspoon vanilla extract
zest from 2 oranges (about 2 packed tablespoons)
1/2 cup fresh orange juice
1/2 cup buttermilk, room temperature

Orange Glaze
1 1/4 cups (150 grams) sifted confectioners sugar
zest of 1 orange
2-3 tablespoons fresh orange juice
1/2 teaspoon vanilla extract
  1. Preheat oven to 350 degrees F. Lightly coat a Bundt pan with nonstick cooking spray and lightly flour; set aside.
  2. In a medium bowl, whisk together the flour, salt, baking powder, baking soda; set aside.
  3. In the bowl of a stand mixer fitted with the paddle attachment, beat the butter on high speed until smooth and creamy, about 1 minute. Add the sugar and beat on high speed for 2 minutes. Beat in eggs and the vanilla until combined. Beat in orange zest and orange juice.
  4. On low speed, alternately add the dry ingredients and buttermilk, mixing after each addition just until incorporated. Do not overmix.
  5. Pour batter into prepared Bundt pan and smooth top. Bake 45-55 minutes or until a toothpick inserted in the thickest part of the cake comes out clean or with a few crumbs. Let cool for several minutes then loosen the sides and center of the cake from the pan. Invert onto serving plate.
  6. While the cake cools, make the glaze. Whisk the confectioners' sugar, 2 tablespoons of orange juice, zest and vanilla until combined. Add additional orange juice if desired for a thinner consistency. Drizzle half the glaze over the warm cake. Let cake cool completely and drizzle remaining glaze over it.
Confession time: I did this cake a disservice by taking it out too soon before it had fully baked. Normally I don't mind a slightly underbaked cake, especially a pound cake or any kind of cake because I can't abide a dry cake. Which is what usually occurs when a cake is overbaked. But I took this out too soon, not because of my preference for a moist cake but because I was fooled by the toothpick test.
When I inserted the toothpick into the cake after it had baked for 50 minutes, it came out clean. But turns out that was a false positive. The cake wasn't raw but the texture would've been better and less dense if I had baked it a few minutes longer. I should've known better as my oven typically takes longer to bake things than what the recipe calls for. 50 minutes was too good to be true.
Of course by the time I realized it was underbaked, I had already glazed it so it was too late to put back into the oven to bake some more. You can tell it's underbaked by the picture below. The very bottom of the cake has the right texture. But the cake didn't bake long enough for that texture to make it to the rest of the cake. Oops.
Underbaking the cake also affected the taste. Because I hadn't baked the cake long enough, the cake itself didn't have much flavor. Most of the orange flavor came from the glaze. I'll have to try making this again as recipes from Sally's Baking Addiction are almost always pretty amazing but my attempt wasn't. User error.


Saturday, October 30, 2021

Soft and Chewy Coconut Cookies

Soft and Chewy Coconut Cookies - made dough October 2, 2021 from The Almond Eater 
1/2 cup unsalted butter, softened
3/4 cup light brown sugar, packed
1 egg
1 teaspoon vanilla extract
1 1/4 cups all-purpose flour
1 teaspoon baking soda
1/2 teaspoon salt
1 cup sweetened flaked coconut
  1. Cream butter and sugar together until combined and fluffy. Add egg and vanilla; stir to combine.
  2. In a separate bowl, whisk together flour, baking soda, salt and 1/2 cup of the coconut. Add to wet ingredients and beat together until combined. Stir in the remaining coconut. Portion into golf-ball size dough balls. Cover and chill for 1 hour or overnight.
  3. Preheat oven to 350 degrees F. Line baking sheets with parchment paper and evenly space dough balls. Bake for 10-12 minutes or until edges are set.
I love me a good coconut cookie. They're almost always brown-sugar based so there's a caramel flavor overtone that complements the chewy sweetness of the coconut.
This is a simple, basic and easy cookie to make. The dough is easy to handle and portion out and the cookies don't spread too much. 

If you like coconut, this a good-tasting, quick and easy cookie to make.


Friday, October 29, 2021

Vanilla Shortbread Cookies

Vanilla Shortbread Cookies - made dough October 2, 2021 from The Semisweet Sisters 
2 cups all-purpose flour
1 cup (2 sticks) butter, softened
1/2 cup confectioners' sugar
2 teaspoons vanilla
  1. Cream together butter, powdered sugar and vanilla. Stir in flour and beat until just combined. Do not overmix. Cover and chill dough for 20-30 minutes.
  2. Preheat oven to 350 degrees F. Line baking sheet with parchment paper.
  3. Scoop dough into balls. Flatten with the bottom of a glass to about 1/2" thick. Evenly space on baking sheets. Bake 12-15 minutes.
Here's a cookie for the purists among you. I like to make these kinds of cookies not only for their simplicity (4 ingredients) but they're also pretty sturdy for mailing.

Now that cooler temps are in the places I ship military care packages to, I have no qualms not just baking with butter but making recipes where butter is the star. Like with shortbread cookies.
These aren't crisp or crumbly since I made them thick and didn't bake them for too long but they're also not meant to be chewy like a chocolate chip cookie or a snickerdoodle. Instead, they're somewhere in between. Be sure to use real vanilla extract, not imitation, and fresh butter, not some lonely stick that's been sitting in your fridge for months. For these cookies to shine, it's all about the butter.


Wednesday, October 27, 2021

Cheesy Sausage Tortellini

Cheesy Sausage Tortellini - made October 2, 2021, adapted from Jennifer Meyering 
1 tablespoon olive oil
12 ounces pork sausage
1 teaspoon garlic powder
1 teaspoon Italian seasoning
1 teaspoon salt
1/2 teaspoon ground black pepper
1 14.5-ounce can diced tomatoes
1/3 cup heavy cream
16 ounces fresh tortellini
1 cup shredded smoked gouda cheese, divided
  1. In a large skillet, heat olive oil over medium-high heat. Add sausage, garlic, Italian seasoning, salt and pepper. Cook through, about 5-7 minutes. Drain grease and return sausage to pan.
  2. Reduce heat to medium and mix in tomatoes, heavy cream and tortellini. Cook until tortellini is done, about 5-6 minutes.
  3. Stir in 1/2 cup gouda cheese and cook until just melted. Top with remaining 1/2 cup cheese, let melt; serve immediately.
We interrupt the sugar in your (my) veins for this savory recipe. This is the kind of dish I like to prepare. Super easy, one pot and takes very little prep or cooking time.
Seriously, this is super easy and, as a non-cook, that means it's even easier for actual cooks. It helps, of course, that I had fresh tortellini and sausage from Costco so it's not like I made my own pasta or sausage. That would just be a bridge too far. 
Not only was this easy to make but it was also pretty tasty. It's hard to go wrong with tortellini and sausage. Plus cheese. Don't forget the gouda.