Sunday, March 22, 2015

Texas Turtle Sheet Cake

Texas Turtle Sheet Cake - made March 15, 2015, recipe adapted from About a Mom
I have to confess, I’m starting to lose steam on baking. Usually I “just do it” without giving it much thought beyond what ingredients I have in my pantry (usually all of what I need), what recipes I finally am going to try after having pinned them forever ago and what occasions I need them for or people I need to give them to. It’s just habit to bake now.

But I’ve been busier than usual lately, not just with work but with the non-baking aspects of my life (yes, those aspects do exist) so when I start feeling like I “have” to find time to bake, it takes the fun out of it and hovers dangerously into becoming a chore. Despite my baking fiendishness, the biggest reason I’ve never done it as a job is I didn’t want to turn something I love into a job. So I bake only when I feel like it. Mostly.

So when I don’t feel like it, my blog goes quiet for longer periods. You might not have noticed since I usually have a backlog of posts to put up and I can get away with posting every 2-3 days, sometimes more often. So it looks like I’m baking all the time but actually I’m just catching up.
Anyway, after the weekend visit to my sister’s and being on the road for hours, being behind on the errands I normally run on weekends when I’m around, looking at my overflowing laundry basket and the paper clutter that breeds on its own during the week (seriously, how does that happen??), I confess I didn’t feel like baking. Just didn’t want to do it. Was too tired, was burned out, what have you.
But, like muscle memory that automatically knows what to do even when you’re on auto pilot, I found myself in my kitchen. I swear I thought I was just tidying up but somehow I found the spark of inspiration to try out this sheet cake recipe. Before I knew it, I was lining a 9 x 13 pan with aluminum foil, bringing out my medium heavy saucepan to boil butter and buttermilk together and by the time my oven had preheated, I was popping a cake into the oven. That just goes to show how easy this recipe is even if you don’t really feel like baking.

Of course the baking part was just the first step. While the cake baked, I made the frosting and after I took out the cake, I spread the frosting over the hot cake which melted it slightly into the cake. If you want a more stiff frosting, use the full amount of confectioners’ sugar. If you like your frosting to err on the side of glaze and be less sweet, cut back on the confectioners’ sugar. The more sugar, the more the frosting will “set”.

You want to sprinkle the toasted pecans over the frosting before the frosting sets so they’ll adhere better. Same with the chocolate chips. I used salted caramel from Trader Joe’s to bring it all together but you can always make your own from scratch if you prefer. As cakes go, this was delicious, especially eaten while still slightly warm, the frosting is a little runny and the toasted pecans have a nice crunch to provide a texture contrast to the soft cake while the salted caramel provides an added gooey factor. I had a piece when I first made it and another one the next day. It wasn’t as good the next day because the pecans weren’t as toasty-crisp after sitting on top of the frosting and being covered by the salted caramel overnight. But remember that I have really picky taste buds.

2 cups granulated sugar
2 cups all-purpose flour
1 teaspoon baking powder
1 teaspoon baking soda
1/2 teaspoon salt
1 cup butter
1 tablespoon espresso powder dissolved in 1 cup water
1/3 cup unsweetened cocoa powder
2 eggs
1/2 cup buttermilk

Chocolate Frosting
1/4 cup butter
4 tablespoons buttermilk
3 tablespoons unsweetened cocoa powder
2 1/2 cups powdered sugar

Turtle Topping
1/2 cup chopped pecans, toasted
1 cup semisweet chocolate chips
1 cup salted caramel sauce, for drizzling
  1. Preheat oven to 350 degrees. Line a 9 x 13 pan with foil and lightly spray with nonstick cooking spray.
  2. In a large mixing bowl, combine flour, baking powder, baking soda, salt and granulated sugar.
  3. In a saucepan, combine 1 cup butter, 1/3 cup cocoa powdered and 1 cup of espresso. Bring to a boil, stirring constantly.
  4. Pour into prepared dry ingredients. Mix on medium speed until combined. Add eggs and the 1/2 cup buttermilk. Mix on medium speed until combined.
  5. Pour into prepared baking pan. Bake for 25-30 minutes or until a toothpick inserted near the middle comes out clean or with a few moist crumbs.
  6. Frosting: in a medium saucepan, combine 1/4 cup butter, 4 tablespoons buttermilk and 3 tablespoons unsweetened cocoa powder. Bring to a boil over medium heat, stirring constantly.
  7. Remove from heat and use a wire whisk to gradually mix in powdered sugar, 1/2 cup at a time. Pour warm frosting over warm cake. Sprinkle immediately with toasted pecans and chocolate chips. Drizzle with salted caramel.

Thursday, March 19, 2015

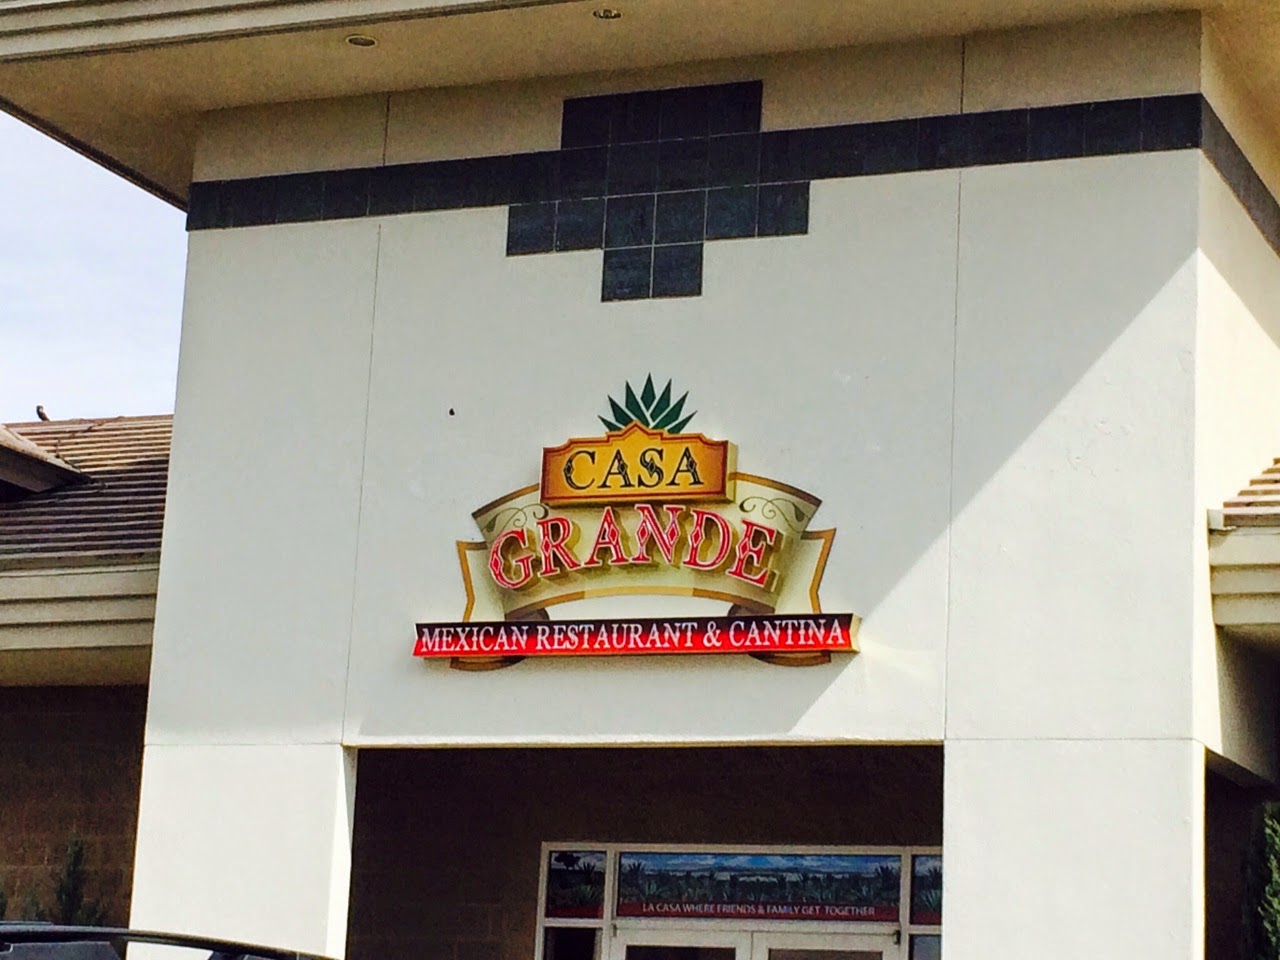
Casa Grande Mexican Restaurant - Reno, NV

Casa Grande Mexican Restaurant - lunch on March 14, 2015, 4-star rating on yelp
We visited my sister and her fiancé at their new house last weekend. The drive took several hours so by the time we arrived, unloaded the car, fawned over their dogs and drove to the restaurant, we ended up having a mid-afternoon lunch. Which worked out pretty well as the place was almost empty and there was plenty of room for our party of 6.
Even if it had been busier, Casa Grande is rather spacious so it could easily accommodate large crowds. The interior is broken up into several large eating spaces and we had the luxury of being the only occupants in one of them.
Fresh, warm tortilla chips - mmmmm
Spinach Enchiladas
 My sister and her fiancé had already eaten here to scope out the restaurant ahead of time for our visit. Plus they’re aficionados of Mexican food so we could trust any place they took us to would serve good food. No exception this time either.

I don’t remember what everyone ordered but the portions were generous and by all accounts, everyone’s entrees were pretty good. I gorged on ate more than my share of the warm tortilla chips that arrived before our meals so I didn’t have a lot of room for my shrimp fajitas but what I had was tasty.
Shrimp Fajitas
Service was excellent and our wait server was very accommodating, bringing over special house sauces by request that were spicy. My sister has more adventurous taste buds than I do and, like my mom and my nieces, has a high tolerance for spice so if you like spicy Mexican food, this is a good place to visit. Price points are in the $12-$18 range for most of the entrees and, according to two of my lunch companions, apparently they make a mean margarita.
Blended Margarita
Margarita on the Rocks

Tuesday, March 17, 2015

Red Velvet Sheet Cake

Red Velvet Sheet Cake with Cream Cheese Frosting - made March 8, 2015, adapted from Taste and Tell
Considering how much I love the simplicity of sheet cakes and the flavor of red velvet cake, it’s almost surprising that I haven’t made a red velvet sheet cake until now. But let me make that up to myself with this recipe from Taste and Tell.

As truth in advertising regarding sheet cakes, this is very easy to mix up. I used a red food gel from amazon instead of my usual Schilling red food color and got a beautiful dark red from the gel, even using less than 2 tablespoons as the recipe calls for. Huh. I may never go back to Schilling again.
Messy knife cut
The original recipe called for adding oreo cookie chunks into the cream cheese frosting but I decided to skip that add-on and keep it a pure cream cheese frosting. There are times when I like a texture contrast which I know the oreo cookie chunks would’ve provided. But this didn’t seem to be one of those times. For sheet cakes, I want nothing to interfere with my mainlining, er, eating the cake. I loved the smoothness of this cake with the smooth creaminess of the frosting so I’m glad I went with my baking instincts on this one.
Cleaner knife cut - wipe the blade clean before each cut
I did modify the recipe to increase the cocoa powder for more chocolate flavor. I was afraid using only 1 tablespoon of cocoa wouldn’t be enough chocolate punch and I’d just be left with a red-colored cake. So I increased the cocoa powder by 2 tablespoons and decreased the flour by 2 tablespoons to keep the amount of dry ingredients the same. Cocoa powder tends to be an “I’m gonna suck moisture out of anything you add me to” ingredient so I went a little more generous on the buttermilk to ensure I wouldn’t get a dry cake. You know how I sneer at dry cakes.
This is a good cake for a crowd if you need something simple and easy to make. The only painful thing with cutting a red velvet sheet cake topped with pale cream cheese frosting is the red crumbs can get everywhere and make knife cuts look sloppy. I’m somewhat on the uptight side (ha, my friends just fell out of their chairs laughing) and like things to look decently presentable so with every cut of the knife, I scraped the crumbs and frosting off the knife and wiped it down with a wet paper towel so I could make another clean cut. If you don’t, the red cake crumbs from the previous knife cut will just spread themselves with abandon as you cut the rest of the cake. Sloppy. It took way too many paper towels to keep wiping the knife to make clean cuts but the cut cake slices looked better so it was worth the little extra effort.
1 cup butter
1 generous cup buttermilk
1 7/8 cups flour
3 tablespoon unsweetened cocoa
2 cups sugar
2 eggs, lightly beaten
½ cup sour cream
2 tablespoons red food coloring
1 teaspoon vanilla
1 teaspoon baking soda
1 teaspoon salt


Frosting
8 ounces cream cheese
4 ounces butter
2½ cups powdered sugar
  1. Preheat the oven to 375ºF. Line a 9x13-inch baking pan with foil and lightly spray with nonstick cooking spray..
  2. In a saucepan, combine the butter and the buttermilk and bring to a boil. Meanwhile, in a large bowl, combine the flour and cocoa. Stir in the sugar. Add in the eggs, sour cream, red food coloring, vanilla, baking soda and salt. Mix to combine.
  3. Pour the boiling butter/buttermilk mixture into the flour mixture, a little at a time, stirring constantly. The batter will be very thin. Pour the batter into the prepared pan.
  4. Bake the cake for 25-28 minutes, or until a tester inserted in the center comes out clean.
  5. To make the frosting, beat together the cream cheese and butter until fluffy. Add in the powdered sugar a little at a time. Beat for 2-3 minutes. Frost the cake. Cut into slices to serve.

Saturday, March 14, 2015

Loaded Oatmeal Chocolate Chip Cookies

Loaded Oatmeal Chocolate Chip Cookies - made dough February 28, 2015 from Averie Cooks
Another recipe from Averie’s blog and one of the few where I have to admit I couldn’t get mine to turn out looking like hers. Which is too bad as how they looked on her blog is what sucked me into making them. They were nicely rounded and chubby not to mention moist looking.
I baked off a test batch to put into treat bags for some friends I was meeting for dinner one night. Halfway through baking, they were flattening at an alarming rate even though I had my oven on its convection setting. At the recommended baking time of 8-10 minutes, they were still raw in the middle and definitely flat. Erk. I left them in for a few extra minutes but then they browned more than I wanted before I rescued them. I had just enough for the cookie bags so I broke a cardinal rule and put them all in the bags without taste testing them. It was a minimal risk since Averie’s recipes are usually gold.
I did bake off one of the cookie dough balls later for my own taste test. This time I cranked up my oven to preheat to 375 degrees on the convection setting instead of 350. After baking for 5 minutes at the higher temp, I lowered the temp down to 350 and baked for another 5 minutes. It still looked too moist/wet but not raw so I took it out as I didn’t want it to get overly brown again.  When it cooled, the near-wet middle patches now just looked moist. Still not as rounded and chubby as Averie’s but, as I had hoped, it was delicious. Oatmeal cookies are naturally chewy but the addition of the coconut made it both moist and chewy, giving it really nice texture. Sometimes oatmeal cookies can be dry but the coconut added a nice chewy touch for moisture.
So now I’ve learned the trick with these cookies is to bake them at the initially high temperature for the first few minutes so the outside will set before the cookie spreads, lower the temp, take them out at 10 minutes no matter what they look like, and let them cool completely. Then enjoy.
1 large egg
1/2 cup (1 stick) unsalted butter
1/2 cup light brown sugar, packed
1/4 cup granulated sugar
1 tablespoon vanilla extract
1 cup old-fashioned whole rolled oats
1 cup all-purpose flour
1/2 cup sweetened shredded coconut
1/2 teaspoon baking soda
1/4 teaspoon salt
1 heaping cup chocolate chips
  1. To the bowl of a stand mixer fitted with the paddle attachment, combine egg, butter, sugars and vanilla; beat on medium-high speed until creamed and well combined.
  2. Scrape down the sides of the bowl and add the oats, flour, coconut, baking soda and salt; beat on low speed until just combined, about 1 minute.
  3. Scrape down the sides of the bowl to keep the batter even textured and add chocolate chips. Mix just until incorporated, about 30 seconds.
  4. Scoop out golf-ball-sized cookie dough balls, wrap in plastic and freeze for several hours or overnight.
  5. Preheat oven to 375 degrees. Line a baking sheet with parchment paper or a Silpat. Place dough mounds on prepared baking sheet, evenly spaced apart. Bake at 375 degrees for 5 minutes, lower your oven temperature to 350 degrees and bake another 4-5 minutes. Remove from oven and allow to cool on a wire rack.

Wednesday, March 11, 2015

Cookie Butter Chocolate Chip Cookies

Cookie Butter Chocolate Chip Cookies - made dough February 28, 2015 from Knead to Cook
I think I was in my cookie butter phase when I initially pinned these. They had such tantalizing promise when I first saw them on pinterest. It seemed like the best of both worlds, chocolate chip cookies and cookie butter. That was before I decided that cookie butter and chocolate don’t marry as well as I would like. It was also before I made the Speculoos Cookie Sandwiches and had a taste of what the homemade real thing is like.

To be fair, this wasn’t meant to be like the speculoos cookie sandwiches and was more about adding a different slant to chocolate chip cookies. It was good but I think I’m conflicted as I prefer more of a straightforward cookie butter flavor or a full-on chocolate chip cookie. If you like both, this is a good version to try as it is crisp at the edges and chewy in the middle. It even looks like a regular chocolate chip cookie so when you spring it on your unsuspecting friends without explanation of what it is *cough*, they might wonder at first “what’s different about this?”
1 stick (1/2 cup) butter, slightly cooler than room temperature
3/4 cup light brown sugar
1/4 cup granulated sugar
1/2 cup cookie butter
1 1/2 teaspoons vanilla extract
1 egg, room temperature
1 1/2 cups all-purpose flour
1 teaspoon baking soda
1/4 teaspoon salt
1 cup chocolate chips, more if desired
  1. In the bowl of a stand mixer, beat butter and sugars until fluffy. Scrape down the sides, add cookie butter, egg and vanilla. Mix until just combined.
  2. In a separate bowl, whisk together flour, baking soda and salt. Add to butter mixture and beat for 1 minutes. Add and stir, by hand, chocolate chips. Scoop into dough balls and chill or freeze for several hours or overnight.
  3. When ready to bake, preheat oven to 350 degrees F. Line cookie sheets with parchment paper and space cookie dough balls evenly, leaving about 2 inches in between. Bake for 10-11 minutes or until golden around the edges.

Sunday, March 8, 2015

Caramelized Banana Cream Pie

Caramelized Banana Cream Pie - made March 7, 2015, original recipe
March 14 or 3.14 is Pi Day! Normally Pi(e) Day whizzes past me or I ignore it because I don't make pies very often or when I do, it's always my favorite standby of apple pie. This year, after binge watching one DVR'd episode of Cupcake Wars after another a little too often, just like the contestants make up their own cupcake combinations, I was inspired to make my own creation for Pi Day.
There's nothing new about banana cream pie but most recipes call for banana pudding as the filling of the cream pie. Since I am forever in love with the pastry cream recipe from the Culinary Institute of America, I knew that was the only filling I wanted in any kind of cream pie. I also knew I didn't want to fool around with a traditional pie crust and worry about getting the right amount of flakiness. Plus, for cream pies, I prefer a more hearty crust so I went with a graham cracker base.

For the banana part of the pie, I simply caramelized 2 firm, ripe but not overripe bananas with a little butter and brown sugar. Don't heat the banana-caramel mixture at too high of a heat or cook them too long. You don't want the butter to separate which can happen if you work with too high a heat and you don't want the bananas to get mushy. Saute them in the brown sugar caramel just enough to coat them and soften slightly but are still more firm than mushy. I sliced the bananas thickly so they would take longer to cook, long enough for them to caramelize slightly but not get overly soft.

Although this pie has several components, each component is really easy to make and come together nicely. As I had hoped, the flavors worked together. The graham cracker crust served as a good base for the pie, the caramelized bananas provided delicious flavor, the pastry cream - ah, the pastry cream - brought the creamy component, the toasted coconut was a nice texture contrast to the creaminess of the pie and the salted caramel balanced out the sweetness of the rest of the pie.
If you don't want too firm of a cream filling, cut back slightly on the cornstarch when you make the pastry cream or, if you refrigerate it first after you fill the pie, bring closer to room temperature before serving. This is best made and served on the same day for optimal flavor and texture.
I may not invent my own recipe and flavor combinations very often but I'm really happy with this one. Happy Pi Day.
Crust
1 1/2 cups graham cracker crumbs
1/4 cup sugar
1/2 cup butter, melted

Caramelized Bananas
2 large bananas, sliced into thick rounds
2 tablespoons butter
1/4 cup brown sugar

1/2 recipe of pastry cream
Toasted coconut and caramel sauce for garnish
  1. Crust: Whisk graham cracker crumbs and sugar together. Mix in melted butter. Press mixture firmly to cover the bottom and sides of a 9" pie pan. Bake 8-10 minutes at 350 degrees and let cool completely.
  2. Caramelized Bananas: Melt butter over medium heat in a large saucepan. Whisk in brown sugar until combined and melted with the butter. Place sliced bananas into mixture and cook gently over low heat, turning carefully until coated with caramel but not mushy. Remove from heat and arrange over graham cracker crust. Pour any excess sauce over the bananas. Let cool.
  3. Make half recipe of pastry cream. Let cool to room temperature but do not chill. Spread over cooled banana layer, smoothing top. Sprinkle top generously with toasted coconut and drizzle with caramel sauce. Chill before cutting and serving.

Saturday, March 7, 2015

Pistachio Cake for St Patrick's Day

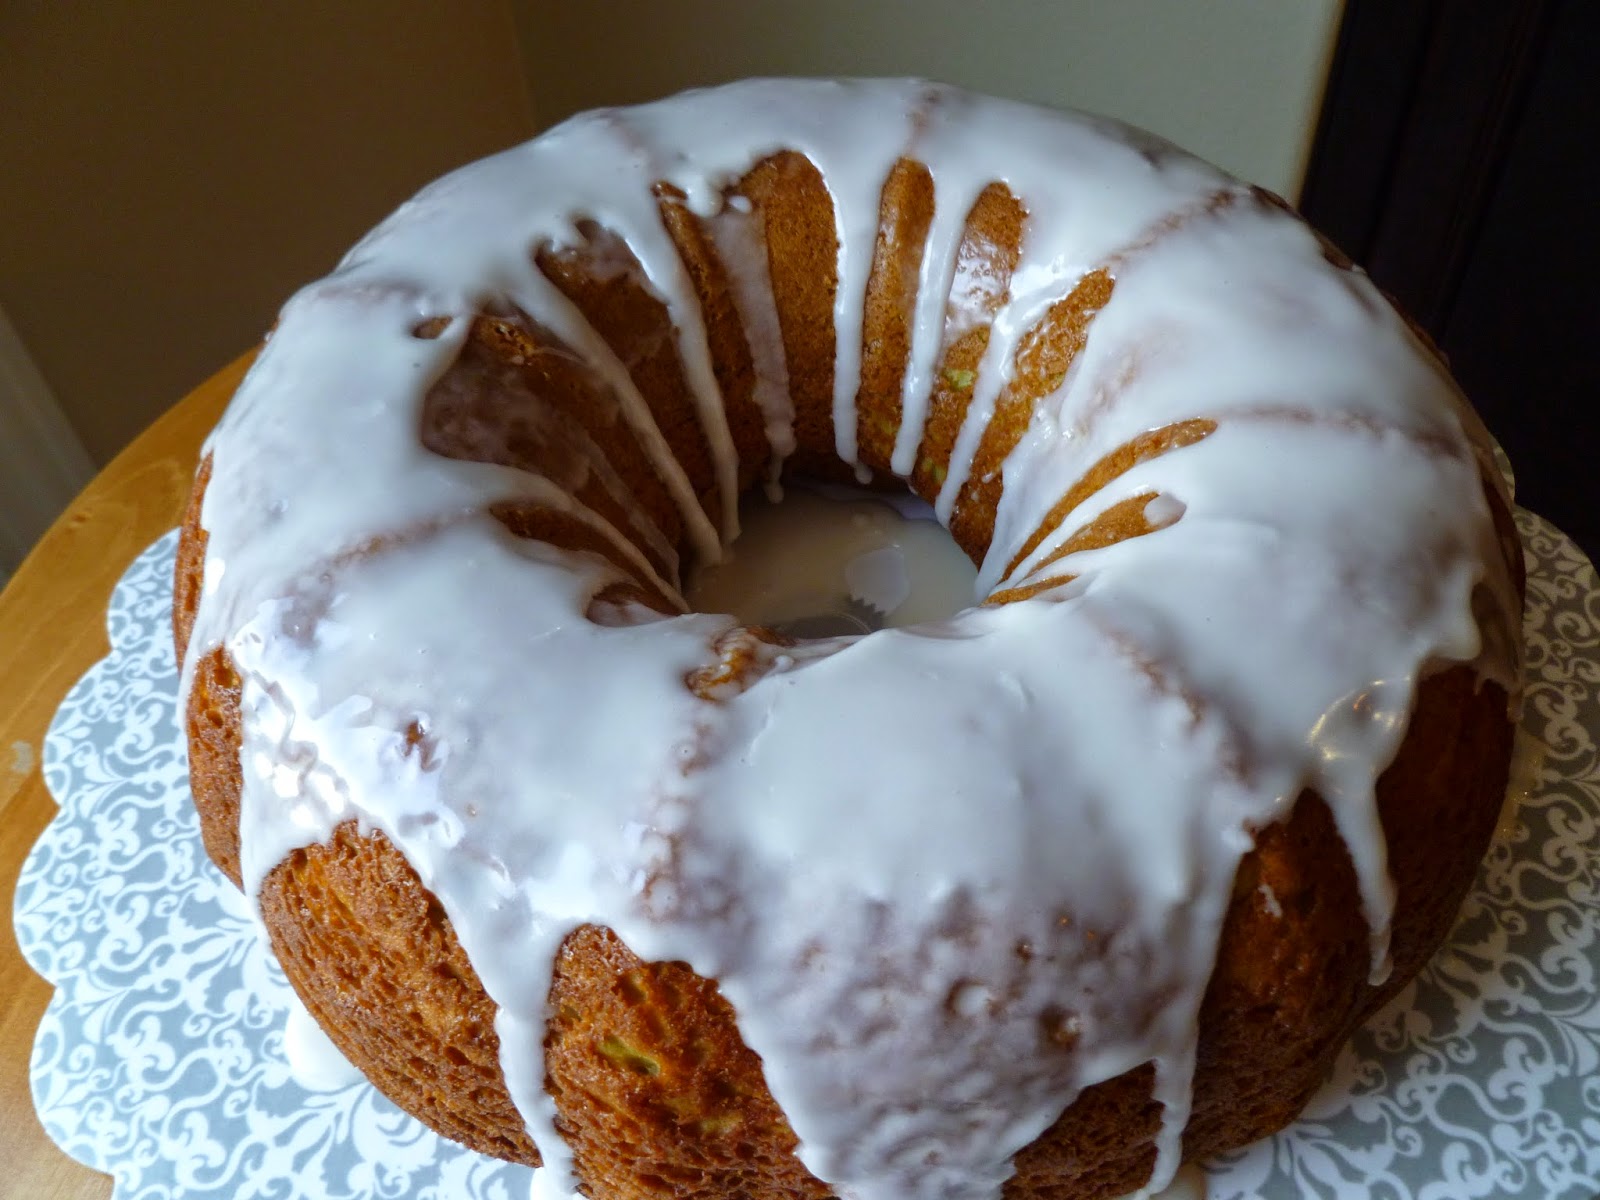
Pistachio Cake - made March 1, 2015, recipe adapted from Tasty Kitchen
It’s March. Why is it March? Where did February go? I know it only has 28 days this year but c’mon, it should’ve lasted longer than a blink of an eye. But since I blinked and February is now gone, I’m trying to get ahead of March. St Patrick’s Day is coming up and while I’m not a believer in green food (my almost daily salad notwithstanding), or at least green desserts, I did look around for something befitting the occasion. I don’t drink so anything alcohol-based was mostly out, especially after my last and only debacle in purchasing beer.
This cake is a total cheat for St Patrick’s Day but since I’m not Irish and I don’t drink, I figure there’s no way I can be an authentic St Patrick’s Day celebrant anyway. I also abandoned my no-cake-mix principles and sold out simply because this produced a (mint)green-colored cake and that’s what I wanted. The green comes from the pistachio pudding mix in the batter. Everything else is standard cake mix doctored up in an attempt to make it not taste like cake mix.


Texture-wise I thought it was fine, nice and fluffy. I can’t say this was all that flavored with pistachio though so at most, I had a light green vanilla cake with good texture. To bring out more of the pistachio flavor, I recommend sprinkling toasted, chopped pistachios over the glaze. To make it even more befitting St Patrick’s Day, you can also tint some of the glaze with a little green food color. Lay down a white glaze first then drizzle stripes of green glaze on top of it to make the green stand out. 

1 18.25-ounc package yellow cake mix
1 3.4-ounce package instant pistachio pudding mix
4 eggs
1 1/2 cups water
1/4 cup vegetable oil
1/2 teaspoon vanilla extract
  1. Preheat oven to 350 degrees F. Grease and flour a 10-inch tube pan or Bundt pan
  2. In a large bowl, mix together cake mix and pudding mix. Make a well in the center and pour in the eggs, water, oil and vanilla extract,
  3. Blend ingredients and beat for 2 minutes at medium speed until smooth.
  4. Pour into prepared pan. Bake for 50-55 minutes or until cake springs back when lightly pressed. Cool in the pan for 15 minutes. Turn out onto a wire rack and cool completely.
Glaze
1 1/2 cups powdered sugar, sifted
enough whole milk to achieve runny consistency
  1. Add milk tablespoon by tablespoon to powdered sugar until desired consistency is achieved. Pour over cooled cake. Let set and serve.