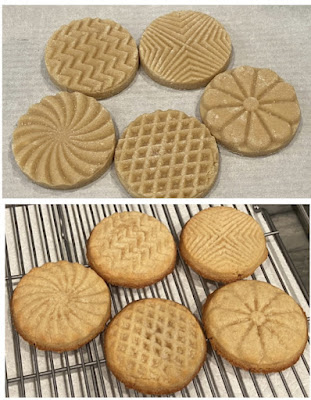
Stamped Cookies #18: Maple Sugar Cookies - made January 2, 2022, modified from Liv for Cake
3 cups all-purpose flour
1/2 teaspoon salt
1 cup unsalted butter, room temperature
1/2 cup granulated sugar
1/2 cup brown sugar, packed
1 large egg yolk
1/2 cup pure maple syrup
- In a medium bowl, whisk together flour and salt; set aside. In the bowl of a stand mixer fitted with the paddle attachment, cream together butter, granulated sugar and brown sugar until well combined, light and fluffy, 2-3 minutes on medium speed. Scrape down sides and bottom of bowl to keep mixture even textured.
- Add egg yolk and beat on low speed until combined. Add maple syrup and beat on low until combined.
- Add dry ingredients in two additions, mixing on low speed until just combined and dough comes together. Divide dough in half and form each half into a thick disc. Cover in plastic wrap and chill for 30-45 minutes.
- Tear off a large piece of parchment paper and lay out on your work space. Lightly flour. Tear off a second, equally large piece of parchment paper. Leaving one dough disc in the refrigerator while you work on the first one, unwrap chilled dough and place in the middle of the lightly floured parchment. Cover with second piece of parchment and, using a plain rolling pin, roll out to an even 1/3" thickness. Flour sparingly, if needed, to keep the dough from sticking.
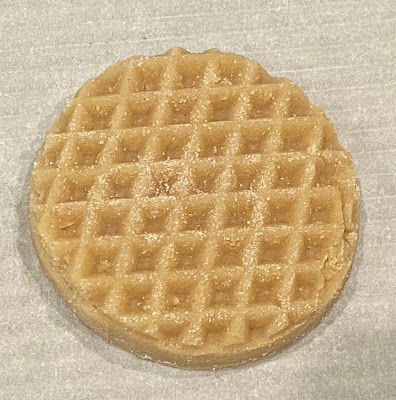
- Remove top piece of parchment and lightly flour dough. Roll out with your embossed rolling pin. Cut into desired shapes. Take remaining dough scraps and roll into golf-ball-size dough balls. Roll in granulated sugar, coating completely then use cookie stamps to stamp out designs.
- Repeat with second dough disc. Cover and chill or freeze embossed, stamped and cut out cookies for several hours or overnight.
- When ready to bake, preheat oven to 325 degrees (I baked at 375). Line baking sheets with parchment paper and evenly space cookies. Bake for 10-12 minutes or until edges are light golden brown. Remove from oven and let cool on baking sheets for several minutes before transferring to wire racks to cool completely.


No comments:
Post a Comment