White Velvet Sugar Cookies - made October 26, 2019 from
Mel's Kitchen Cafe
I don't often post a recipe where I say "drop everything, go to your kitchen and make this" but if you like not-too-sweet, dense-textured butter cookies that don't spread and will keep whatever shape or impression you make them into, well, then, drop everything, go to your kitchen and make this.
Seriously, this might be the best butter cookie I've ever had. With the holiday season coming up, I wanted to try experimenting with sugar cookies I can ice and decorate. Which is not usually my thing since I always value taste over decor. But, as I expect to have more spare time now, I decided I'd try my hand at the ubiquitous decorated holiday cookie.
Although, no, don't look for fabulously decorated cookies in this post. I have to take these things one step at a time. And the first step is to find a good cookie that would hold its shape and keep any impression I make on the dough. But the taste needs to be everything and this cookie delivers. You know my one-taste-test-piece rule? Well, I had a taste test cookie of this. Then I ate four more. Granted, they were small since my cookie cutter was small. But still....

You want to make sure your butter and cream cheese are at room temperature or at least softened enough that they'll blend together uniformly when you beat them. No butter lumps allowed. Once mixed, the dough is easy to work with. I used a trick from Dorie Greenspan to roll out the dough between sheets of parchment paper. Saves you from adding too much flour during the rollout and once you roll out the dough between the parchment, you can easily stack each rolled-out slab in the refrigerator to chill since the parchment paper separates each slab.
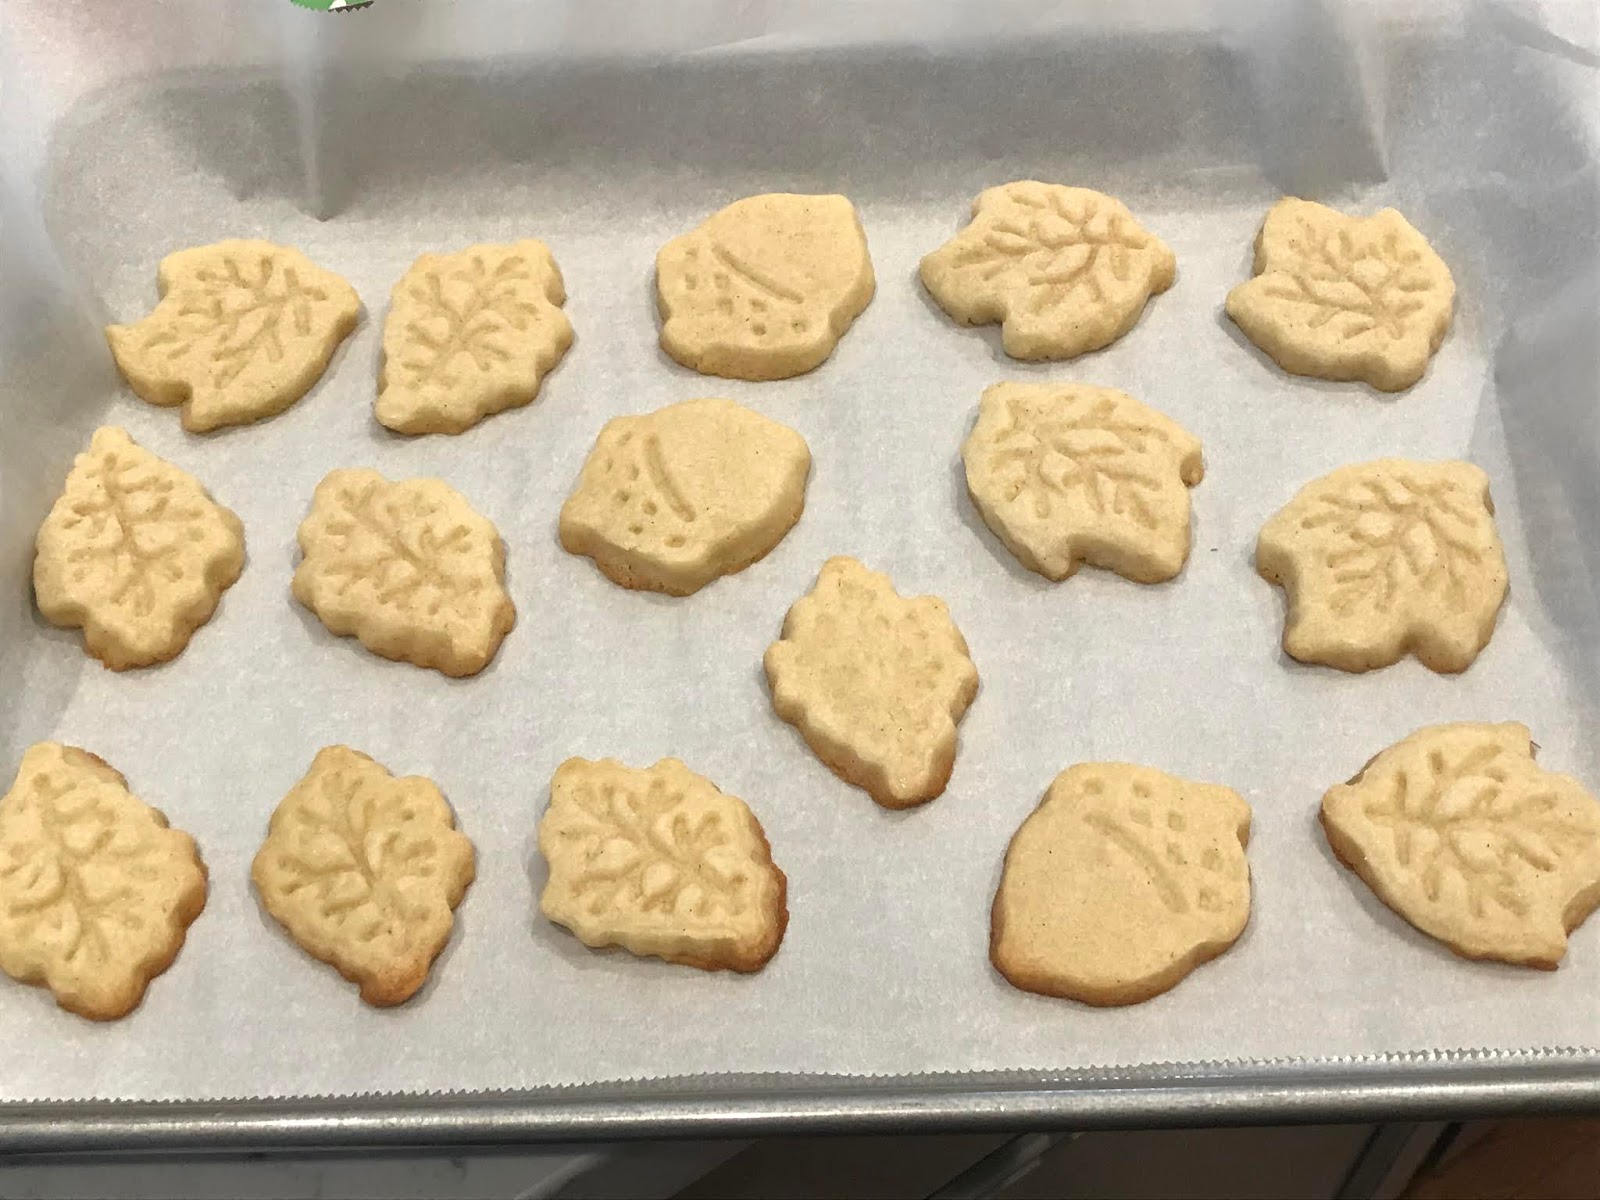
Depending on your cookie cutter(s), you don't want to roll these too thick or too thin. I rolled out mine to slightly thicker than 1/4". I don't like thin cookies. But you don't want too thick either unless you want behemoth cookies.
Bake until the edges just get barely golden brown and the middles are dry-looking with a few cracks. But don't overbake. Once they're cool, you can decorate however you wish. I'm currently experimenting with cookie icing and plan to try making royal icing for piping and flooding. And am gratified that I'm finally using cookie cutters I bought long ago for when I was going to learn how to decorate cookies "someday". Someday is coming in a future post.
2 cups (16 ounces) butter, softened to room temperature
8 ounce package cream cheese, softened to room temperature
2 cups (15 ounces) granulated sugar
2 large egg yolks
1 teaspoon vanilla extract
4 3/4 cups (23.75 ounces) all-purpose flour
1/4 teaspoon salt
- In the bowl of a stand mixer fitted with the paddle attachment, cream together the butter and cream cheese until light and fluffy, 2-3 minutes, scraping down the sides of the bowl as needed.
- Add the sugar, egg yolks and vanilla, beating another 1-2 minutes to combine.
- Add flour and salt; beat until just combined. Do not overmix.
- Spread the dough into a thick rectangle on a sheet of parchment paper; cover. Refrigerate and chill the dough for 2 hours or up to 12 hours.
- Preheat the oven to 350 degrees F. Line baking sheets with parchment paper.
- Roll the dough between 2 sheets of parchment paper to about 1/4" thick. If dough is too firm, let it rest at room temperature for 10-15 minutes before rolling.
- Use cookie cutters/cookie shapers to cut into shapes and place 2 inches apart on prepared baking sheets.
- Bake for 10-12 minutes until set but not browned on the edges or bottom. Remove to wire racks to cool completely. Frost as desired.


No comments:
Post a Comment