Sour Cream Fudge Cake - made December 15, 2013, adapted from
Baking by Flavor by Lisa Yockelson
Merry Christmas! I'm still putting up posts from stuff I made last week but my baking season is winding down. I probably have enough sugar running through my veins by now to rival a C&H factory. But I'm always a week or two behind in posting so the sugar will keep on coming on my blog for a little longer.
During high baking season, aka all the days leading up to today, I'm a time management fiend. Even when I'm not actually in the kitchen, I'm thinking about what I need, how much of it, when I can get it all done, and what needs to happen. It's all choreographed in my head before I even get up in the morning. So it's a good thing I love to bake or I'd be really stressed right about now, lol.
I hadn't planned to specifically make this cake a couple of weekends ago. Matter of fact, it's been in my files for awhile and I could've sworn I've made it already because it was so familiar. So either I have made it but don't remember it (and the search function on blogger wasn't working every time I tried to search my blog for it), Lisa Yockelson's recipes are so similar that I've made something like it but not this exact one, I've had this recipe so long and have become so familiar with it that I think I've made it but actually haven't or some combination of all three.

I decided to stop making myself crazy with "did I or didn't I" questioning and went ahead and made it. I did modify it slightly though as the original recipe got its chocolate flavoring just from the 4 ounces of melted unsweetened chocolate. It didn't make for a very dark chocolate batter and was more milk chocolate in color. So I cut back on the cake flour and added a tablespoon of Pernigotti cocoa instead. It made it a little more chocolaty but not too much so I probably could've added a little more cocoa and been fine.
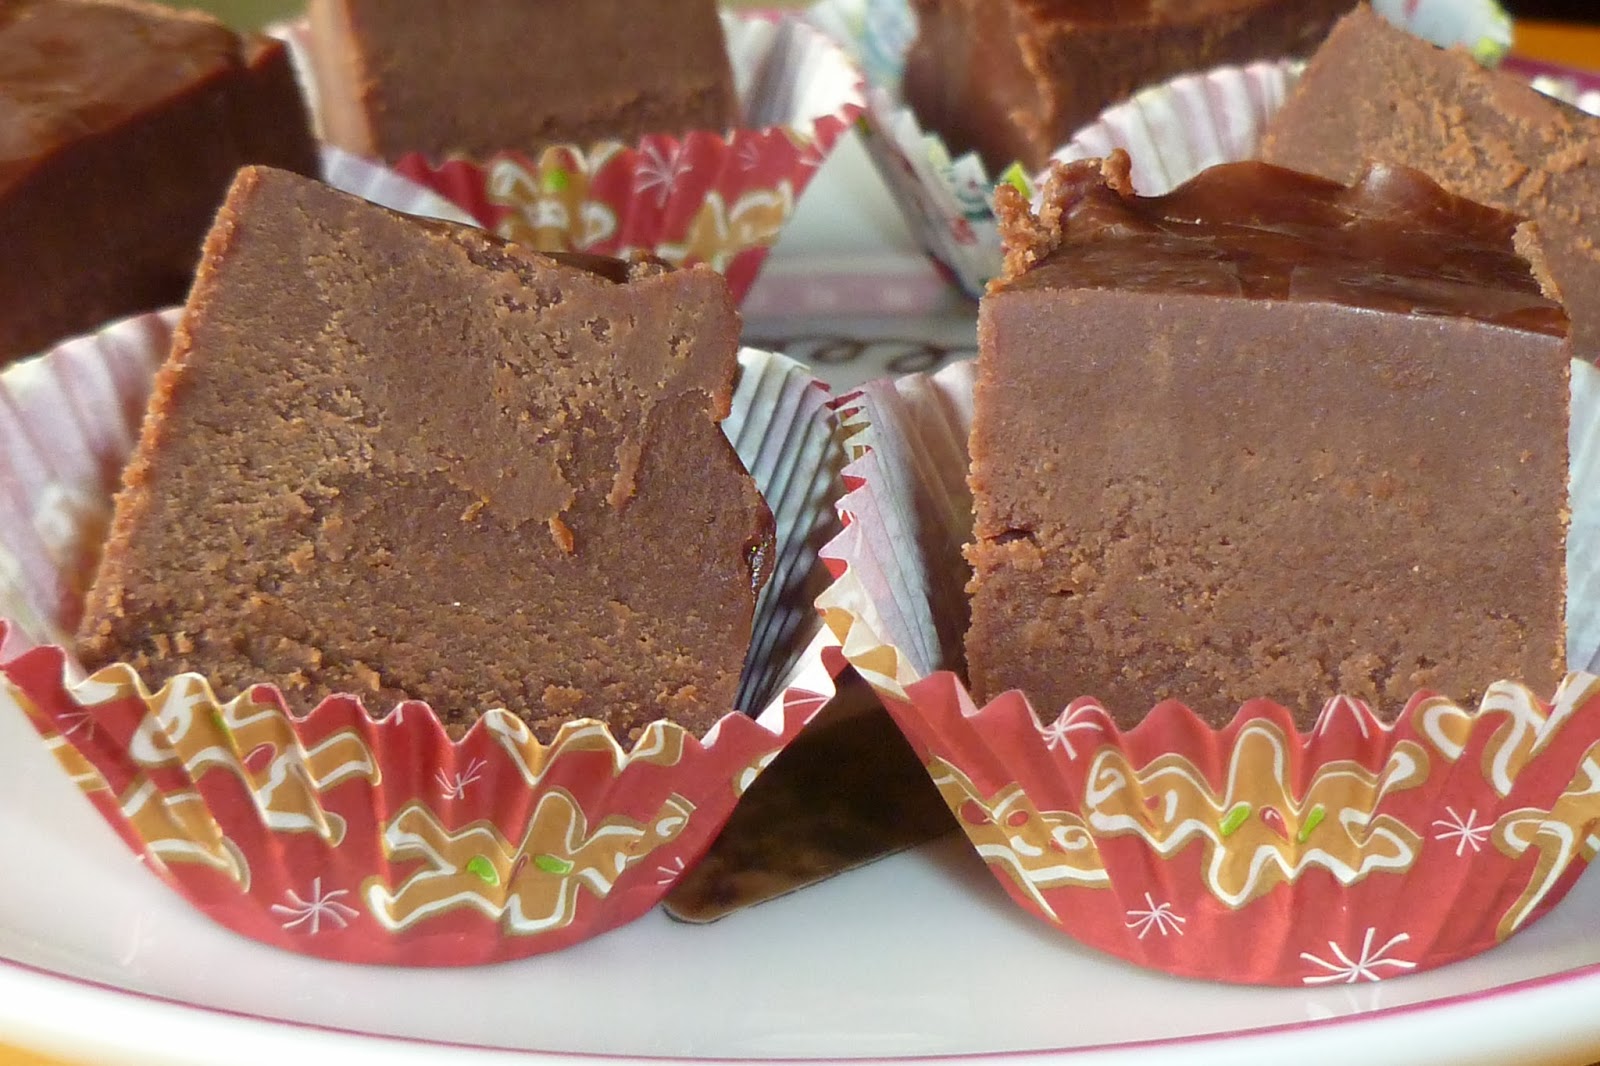
In any case, this still turned out pretty well. The crumb was tender but not too light, just sturdy enough to hold up the weight of the frosting. The frosting was almost like a fudge layer as it did set once it had cooled. That could've been my fault though as, like I do with all the frostings I make, I didn't use all the powdered sugar the recipe called for and just kept alternately adding the sugar and the milk until it was the consistency I wanted. The butter did separate out a little once I spread it over the hot cake and that was partly due to not using all the sugar but also partly because of the heat from the cake causing it to melt. I blotted it with paper towels until it stopped glistening with melted butter while it was still warm then let it set as it cooled. This was a good chocolate cake although I admit, I'd done so much baking last weekend when I made this that I could only handle a sliver for the taste test. But this is a good crowd pleaser cake to make, especially if you're making up care packages and goodie bags for 23 people. I cut the pieces fairly small so it stretched to make it into most of the goodie bags.

1 ¾ cups unsifted bleached cake flour minus 1 tablespoon
¼ cup unsifted bleached all-purpose flour
1 tablespoon unsweetened cocoa powder
¾ teaspoon baking soda
¼ teaspoon baking powder
¾ teaspoon salt
16 tablespoons or 8 ounces unsalted butter, softened
1 ¾ cups granulated sugar
4 large eggs
4 ounces unsweetened chocolate, melted
1 ¾ teaspoons vanilla extract
¾ cup plus 2 tablespoons sour cream whisked with ½ cup
buttermilk
Fudge Cake Frosting
6 ¾ cups plus 2 tablespoons unsifted confectioners’ sugar
1/8 teaspoon salt
12 tablespoons unsalted butter, melted and cooled to
tepid
3 ounces unsweetened chocolate, melted and cooled to
tepid
2 teaspoons pure vanilla extract
½ cup milk
1. Preheat
oven to 350⁰F. Line a 9 x 13” baking pan
with foil and lightly spray with nonstick cooking spray.
2. Sift
the cake flour, all-purpose flour, cocoa powder, baking soda, baking powder and salt onto a
sheet of waxed paper.
3. Cream
the butter in the large bowl of a freestanding electric mixer on moderate speed
for 2 minutes. Add the granulated sugar
in 3 additions, beating 1 minute after each addition. Beat in the eggs, one at a time, mixing for
30 seconds after each addition. Blend in
the melted unsweetened chocolate and vanilla extract, mixing until the batter
is a uniform color. Scrape down the
sides of the mixing bowl to keep the batter even-textured.
4. On
low speed, add the sifted mixture in three additions with the sour
cream-buttermilk blend in two additions, beginning and ending with the dry
ingredients.
5. Spoon
the batter into the prepared baking pan.
Smooth the top with a rubber spatula.
6. Bake
the cake in the preheated oven for 40 minutes or until set and a toothpick
inserted near the center comes out clean or with a few moist crumbs.
7. Have
the frosting ready 10 minutes before the cake is baked. Place the confectioners’ sugar and salt in a
large mixing bowl. In a medium-size
mixing bowl, whisk together the melted butter, melted unsweetened chocolate and
vanilla extract. Blend the ingredients
well to create a smooth mixture.
8. Pour
and scrape the chocolate mixture over the confectioners’ sugar. Add the milk.
Using an electric mixer, combine the ingredients together on moderately
low speed until thoroughly mixed and very smooth. Scrape down the sides of the bowl to keep
frosting even-textured. The frosting
should be smooth and creamy; if it’s too dense, add a tablespoon of milk, 1
teaspoon at a time, until desired consistency.
9. Cool
the cake in the pan on a rack for 5 minutes.
Carefully place generous spoonfuls of the frosting over the surface of
the cake, and gently spread it over the top of the cake, using a flexible
palette knife. The frosting will smooth
out as the heat of the cake softens it.
As the cake cools, the frosting will set.
10. Cool
the cake completely before cutting into squares.