Have you ever heard of
Crumbl Cookies? If you haven't, I recommend checking out their website and keeping a Kleenex handy to wipe the drool from your screen. I won't repeat their story since they write it up so nicely on their website
here but it's worth a look.
Sadly, there's no Crumbl where I live and I'd never heard of them until I was surfing Pinterest and kept seeing all these Crumbl copycat recipes. It was like the new copycat craze after
Levain Bakery copycats. And like any good
obsessive baker, I had to try a bunch of them for myself. At the time I made these, I had not had an authentic Crumbl cookie since there wasn't one in my area so I had nothing to compare the copycats too. I made my notes about them as I made each one but it was more to judge them as milk chocolate chip cookies rather than as Crumbl copycats.


To cut to the chase, these are all fine recipes. As long as you're using fresh, good-quality ingredients, it's hard to go wrong with whopping big chocolate chip cookies eaten warm with melting milk chocolate chunks. Truly. Rather than write out each recipe which would make this post too long for text instead of just pictures, I've summarized them in an Excel table at the bottom of this post and provided the links to each one underneath their picture so you can go directly to each site from which I got the recipes.
You'll notice from the dates that I made the doughs within the same 2-week timeframe but I will admit, I didn't bake each one and taste test them without having at least a week or three between taste-test cookies. Eating 6-ounce cookies need to be spaced out, even for me. I made a 6-ounce cookie from each batch then baked the rest as normal-sized cookies for military care packages. Win-win for everyone.
Now, since the taste test cookies, I did end up being able to try a genuine Crumbl cookie from an actual Crumbl franchise bakery. Turns out there's one 2 hours away from me. While even I won't drive 2 hours just for a cookie (er, at least I don't think I would), serendipitously, the Crumbl bakery was on the way to the Bay Area and was less than a mile out of my way when I did a road trip back to my geographic roots last month. So I got to try the original milk chocolate chip cookie as well as their Samoa cookie. Crumbl rotates their cookie flavors each week and I was lucky enough to catch the Samoa when I went.
 |
| Crumbl Milk Chocolate Chip cookie |
You go inside the bakery to place your order then wait outside for them to give it to you. The retail space is small and shares space with an open kitchen so customers can see the baking activity. During these Covid times, only a limited number of people are allowed inside and most customers have to wait outside for their orders to be brought out in the signature pink Crumbl bakery box(es).
 |
| Crumbl Samoa cookie |
My 2 cookies came 1 to a box and were given to me warm. Think of a Mrs. Fields cookie back in its heyday but on steroids in terms of size, flavor and classy packaging. And price. I only had room in my belly for one cookie (at a time) so I only had half of the milk chocolate chip cookie while it was warm and while I was continuing on my road trip. Yes, it was delicious. I think it's hard to beat a well-made, warm chocolate chip cookie. It had a softer outside texture than a Levain Bakery cookie and was flatter but not flat. It also wasn't as sweet or as frankly overwhelming as a Levain cookie. I like both and you can't make me choose a favorite.
In terms of price, I paid $10 for 2 Crumbl cookies but that included the tip I left the bakery workers so, if memory serves, each cookie was $4. Which might seem a bit steep for a cookie but think of it as spending $4 for the experience, not just the cookie. Make sure to eat it warm though because that is part of the experience.
I can't say any of the copycats were that close to the real Crumbl cookie but, in fairness, since I didn't eat them side by side at the same time, I may not be the best judge as I'm only going by memory over a span of 2 months' worth of cookies. I will say all of these copycat recipes are good chocolate chip cookie recipes. I would say the same thing of all the Levain Bakery copycats as well. Not quite the real thing but still good recipes, although I might have to give the nod to the recipe from Salt & Baker as my favorite of this batch of recipes that I tried. For all of these recipes though, I do advise double panning them for baking so the cookie bottoms won't get too hard or overbaked while the rest of the (giant) cookie catches up. In hindsight, I would also minimize the number of chocolate chips on the outside of the cookie. Tuck them inside the cookie dough before baking then as soon as you take the cookie(s) out of the oven, press the milk chocolate chips gently on the outside of each cookie. Since the bake time is so long on big cookies, the chocolate chips on the outside of the cookie will have a tendency to burn, especially if you bake at a higher temp or your oven runs hot. Better to press the chocolate chips on the outside of the cookie as soon as it's baked.
Copycat Recipes
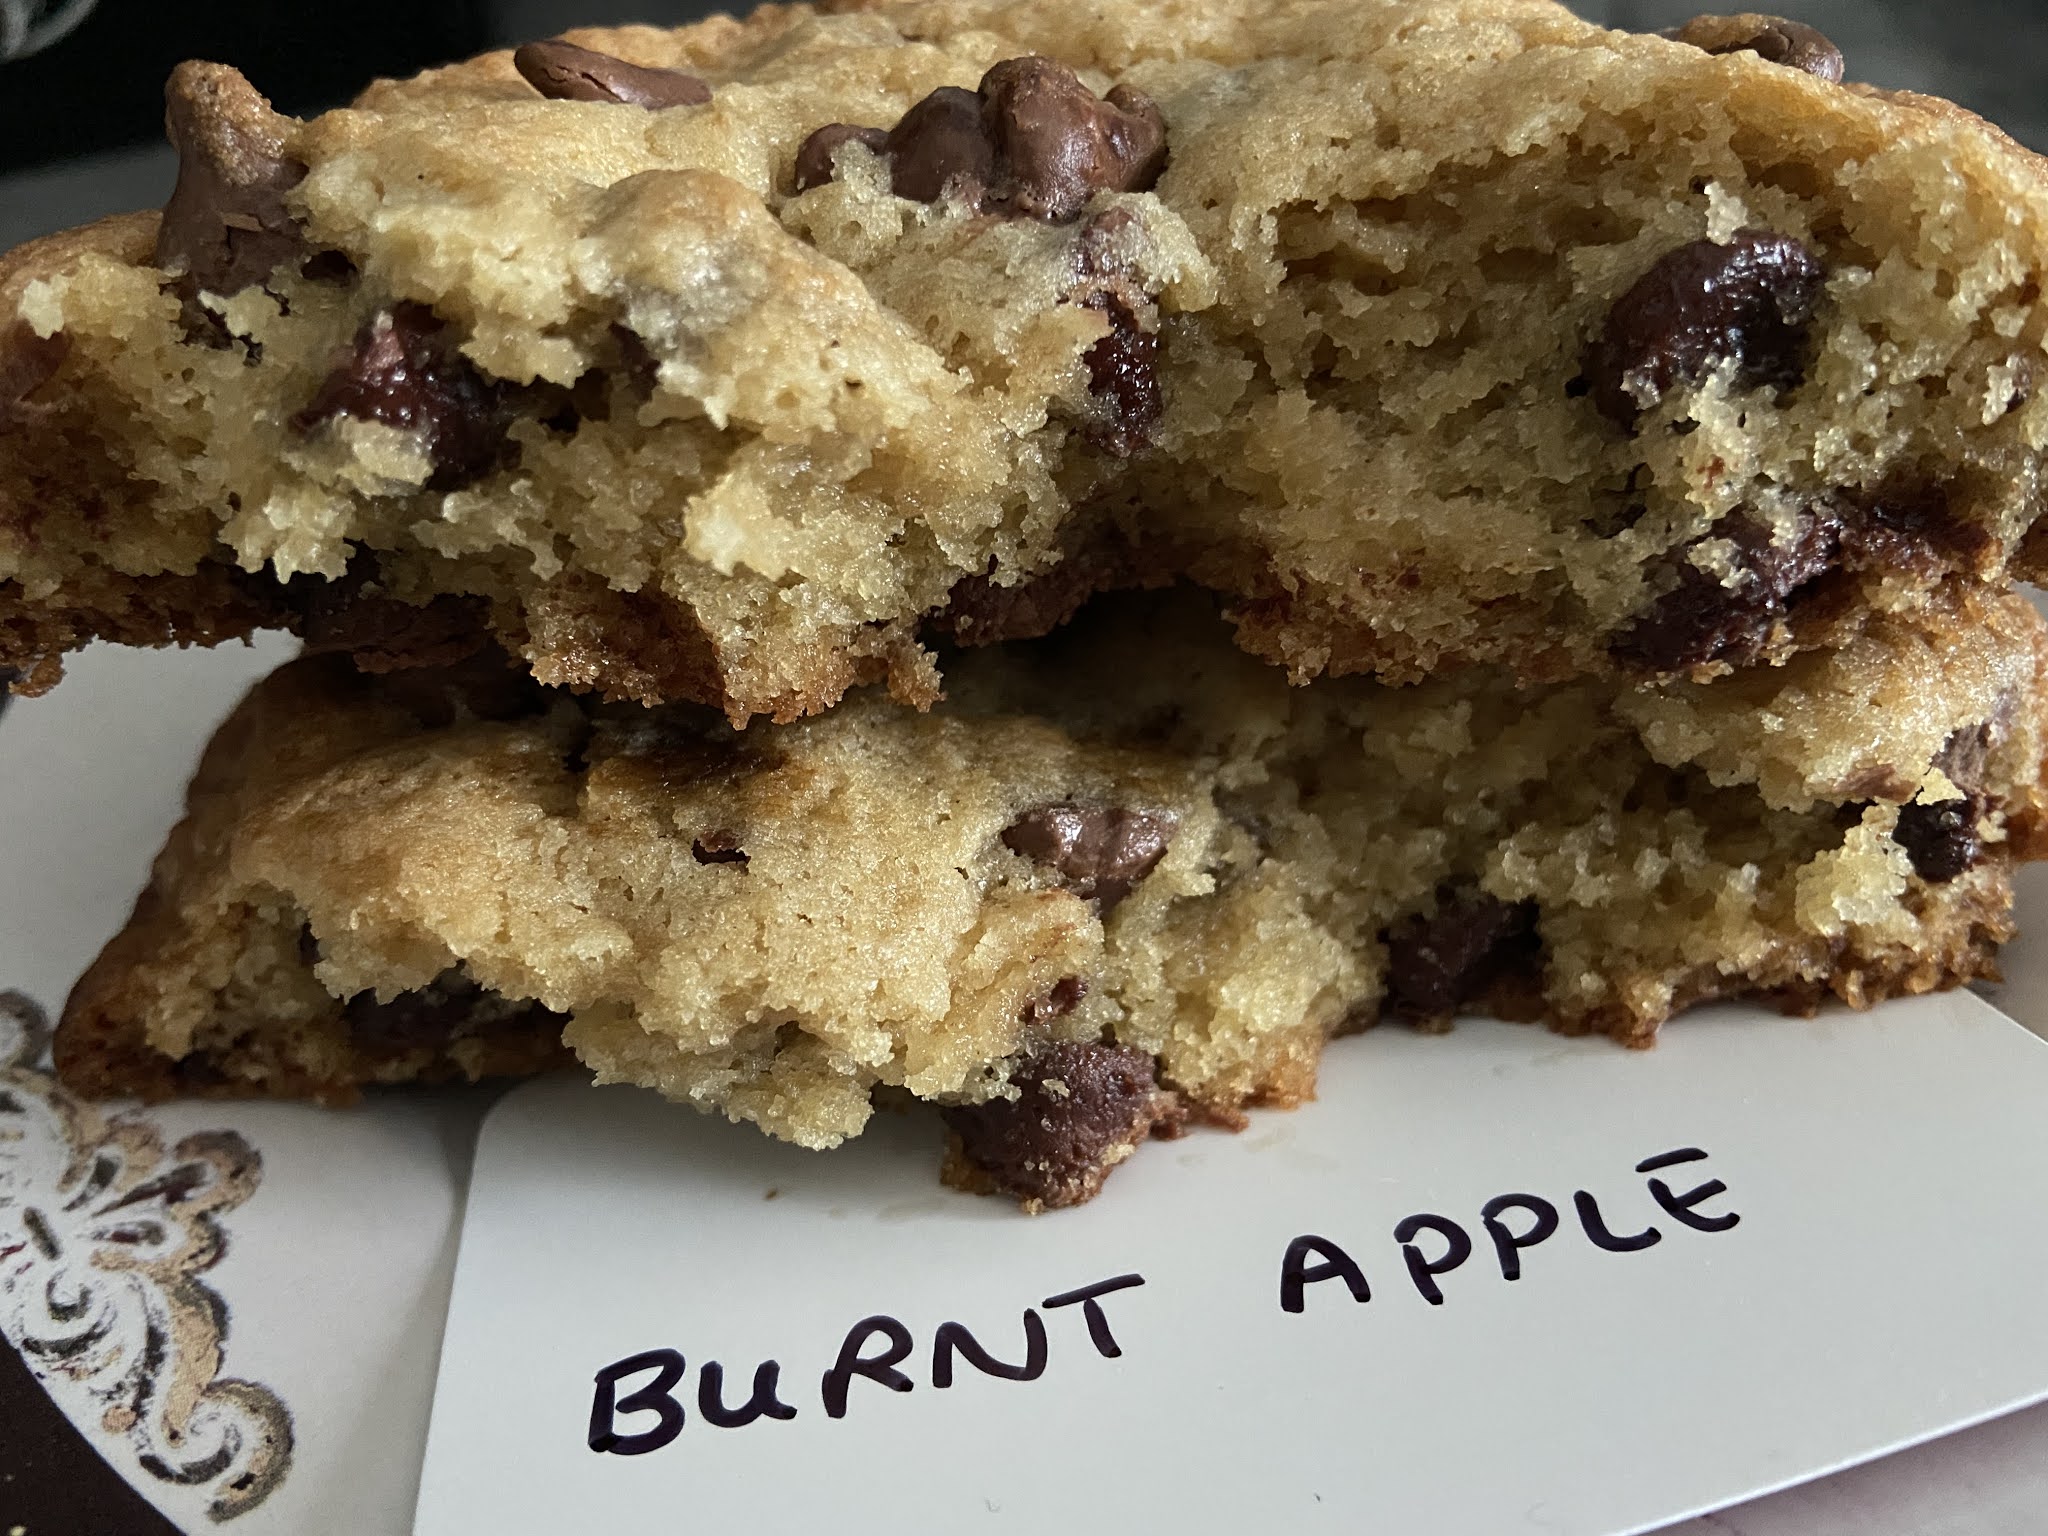
 |
| Salt and Baker |