Monday, May 19, 2025

Sourdough (Discard) Skillet from Farmhouse on Boone

Sourdough (Discard) Skillet - made May 15, 2025, modified from Farmhouse on Boone
1 1/2 cups sourdough starter
3 eggs
1 teaspoon salt
1 teaspoon basil
3 tablespoons butter or coconut oil
2 teaspoons baking powder
1 pound ground turkey
4 cups mixed veggies - I used spinach and Japanese sweet potatoes
1/4 cup fresh cilantro
1 1/2 cups cheddar cheese, optional
  1. Preheat oven to 400 degrees F.
  2. Saute the ground turkey in a cast iron skillet on the stove. After it's completely cooked, place on a plate and set aside.
  3. Peel 3 medium-sized Japanese sweet potatoes, peel and cut into chunks. Parboil in salted boiling water for 10 minutes. Remove from heat and drain. 
  4. Thoroughly wash spinach.
  5. In the cast iron skillet, stir together the spinach, potato chunks and cilantro until spinach has cooked down. Add the ground turkey back in.
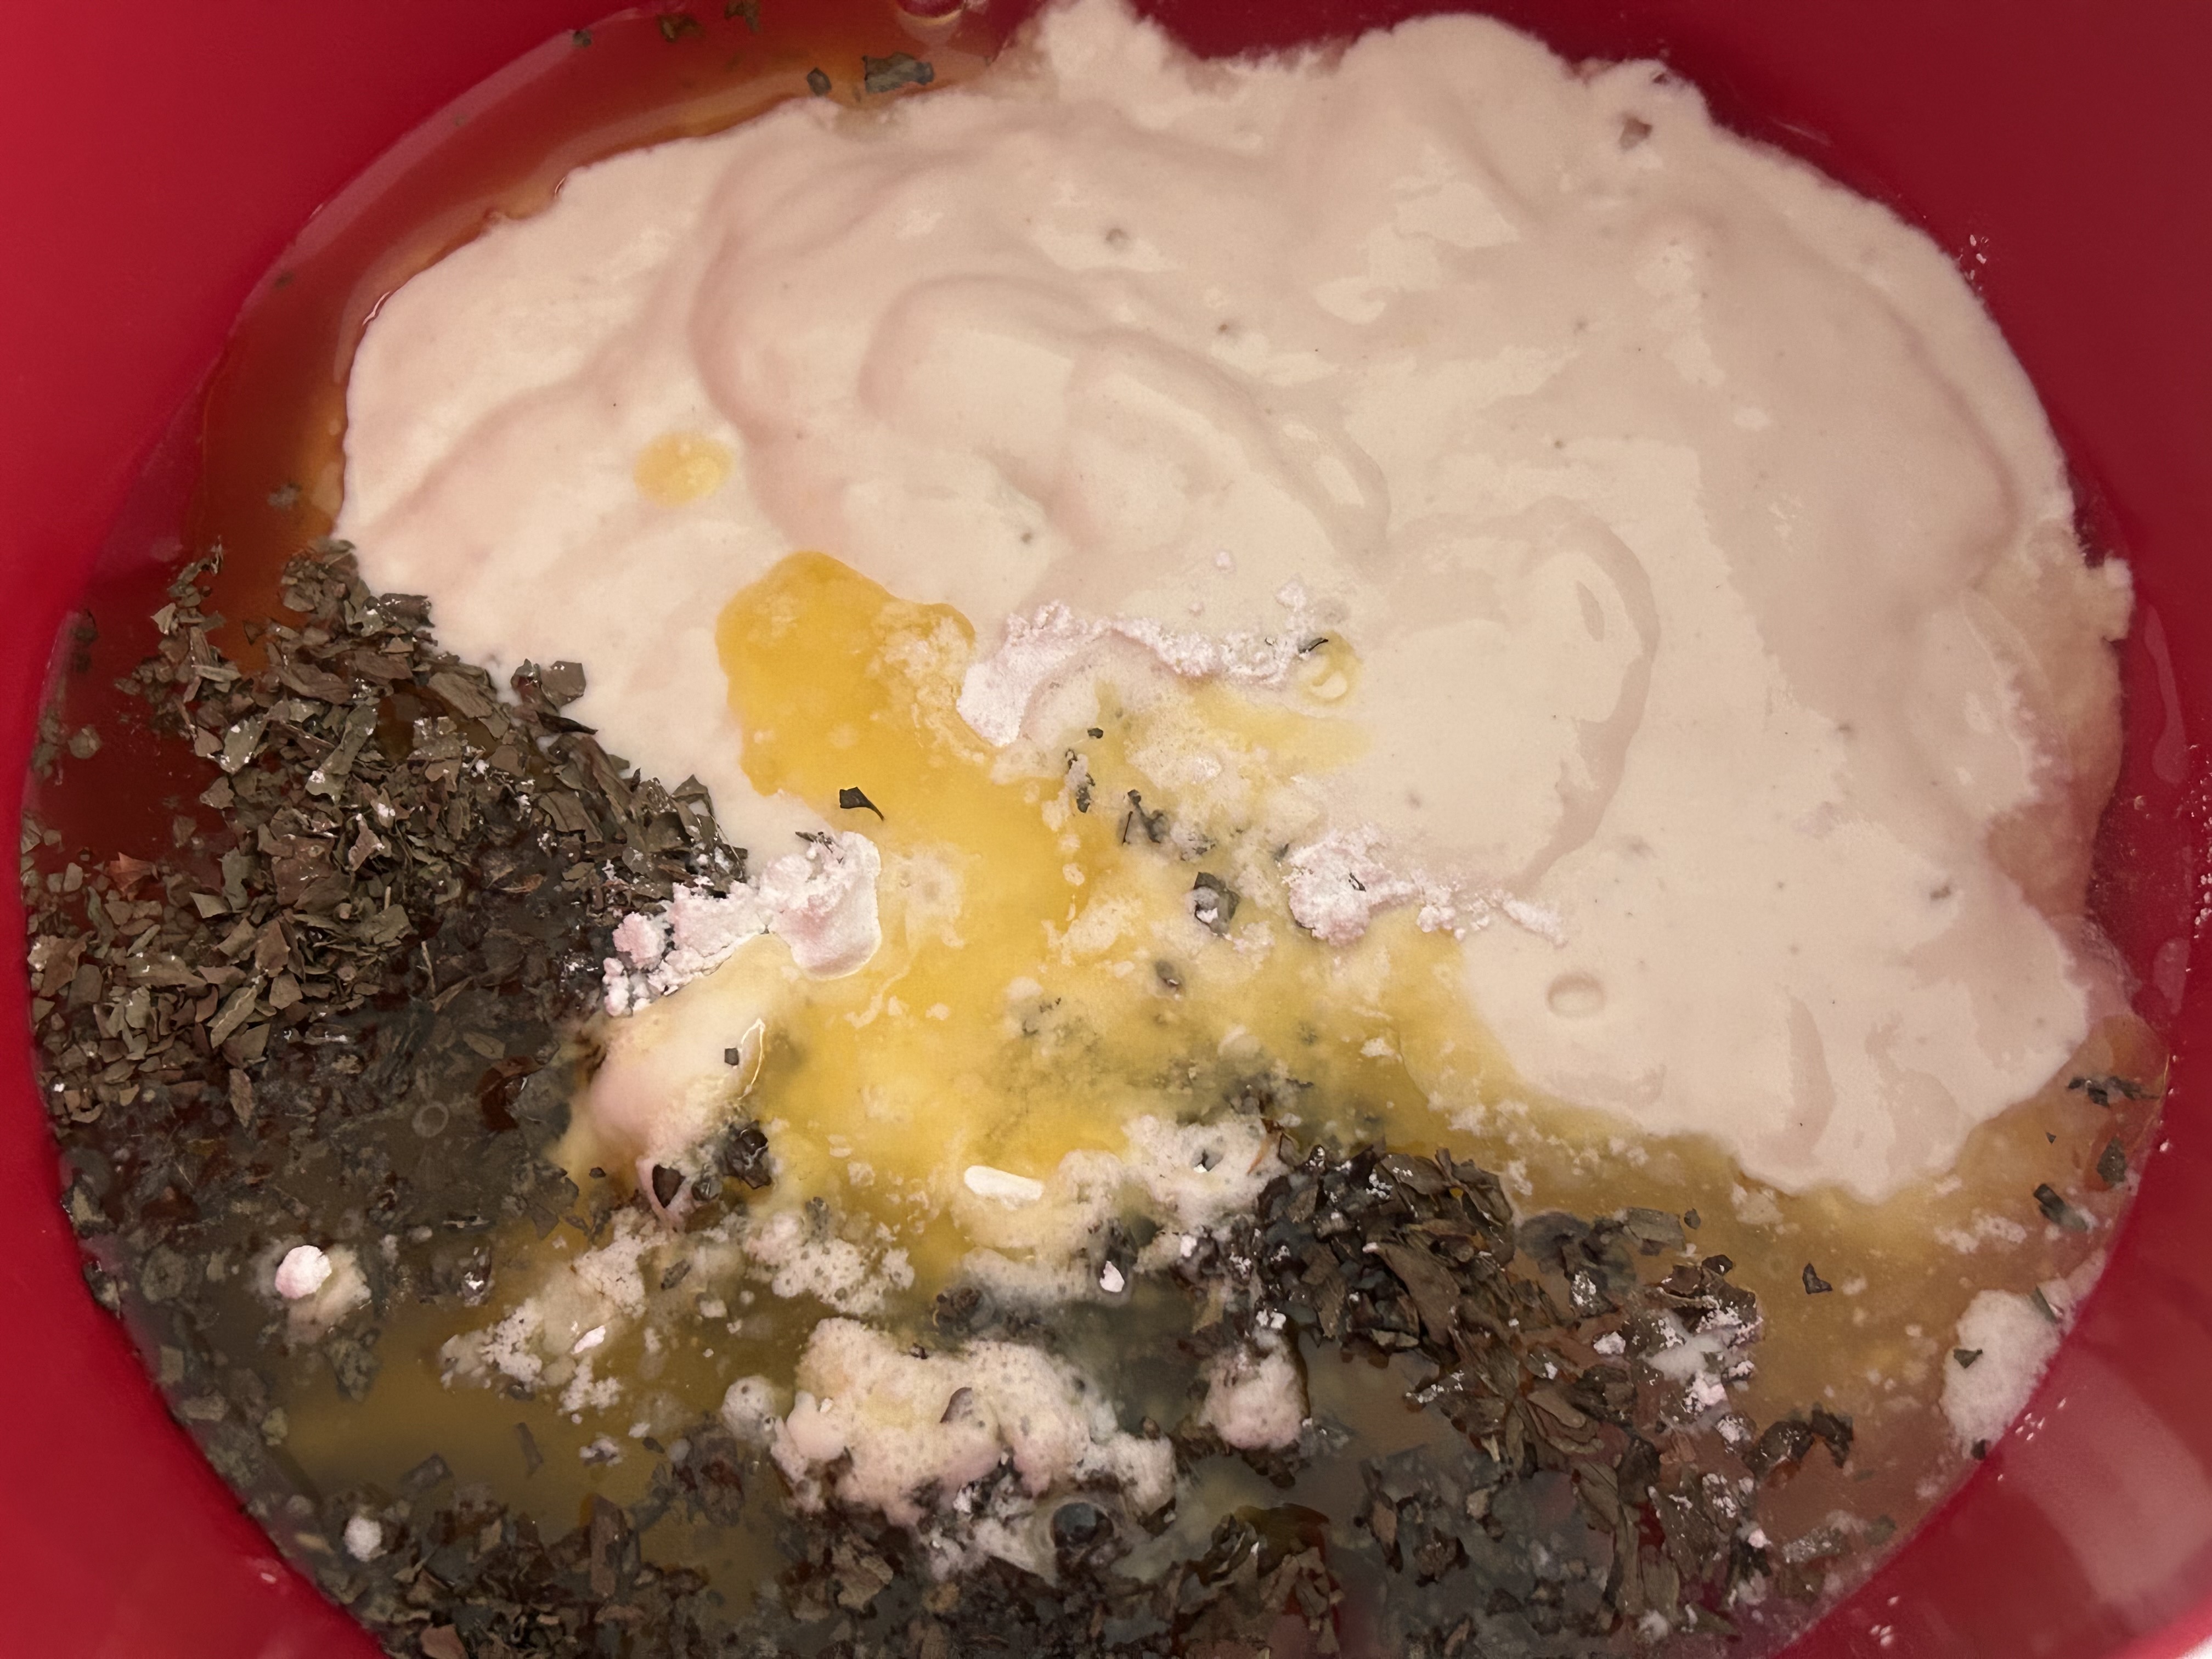
  6. In a medium bowl, mix together the sourdough starter, eggs, salt, basil, butter and baking powder. Spread the sourdough mixture evenly over the top of the ground turkey and veggies. Sprinkle with the 1 1/2 cups grated cheddar cheese.
  7. Bake for 25 minutes or until bread is cooked through and golden.
As anyone who's ever nurtured and fed a sourdough starter, you have to keep it alive and active through regular feedings of water and flour. But whenever you feed it and it grows, you also have to discard some of the starter to make room for the new growth.
I hate to waste anything, even or particularly, ingredients that could be used to make new (or even familiar) dishes. It turns out I'm not alone as there are a lot of recipes using up sourdough discard. Who knew?? (Probably many other people)

I had never heard of sourdough discard skillet but I was happy to find this recipe where it seemed so flexible that I could use anything, most notably, the ingredients I either had on hand or was easy to buy. For this particular version, I used ground turkey, spinach and Japanese sweet potatoes, also know as Murasaki sweet potatoes, available at Trader Joe's.

I slightly underestimated how much discard I had and used up almost all of it, leaving just enough to have the new feeding of water and flour to work with to grow more starter.
As advertised, this couldn't be easier to make. I did parboil the sweet potatoes briefly, just to make sure they cooked through. And I could probably have added more spinach given how much spinach cooks down. But for my first effort, it turned out pretty well.
For the more creative cooks among you (of which I am not one), there's so much flexibility to this type of recipe. Throw together whatever ingredients suit you and cover it with the sourdough discard mixture and cheese and voila, easy dinner dish. Bonus that I got to use my cast iron pan which had been gathering dust for awhile. Next time I wouldn't hesitate to use more spices either to jazz up the dish. I just need to grow more starter.

Thursday, May 15, 2025

Sourdough Bread

Sourdough Bread - made February 12 - 14 and April 19 - 21, 2025
My quilting instructor shared sourdough starter with us as well as the instructions on how to make sourdough bread. She also demo'd how to make the bread. I never got on the sourdough bread baking bandwagon that so many others did during Covid but I jumped on the bandwagon now. 

Breadmaking is not one of my stronger skills, especially if I can't use a bread machine. But I thought I'd give it a go. My first attempt didn't have the same airiness of crumb that my quilt leader's had, my second attempt was better in that the top half did but the bottom half was more dense. The third time finally got close to what she did with irregular air pockets more evenly distributed for a soft but still chewy crumb. I've laid out the multiple steps below. I already had the starter she gifted to us so I'm not including directions on how to make a starter but I'm sure there are plenty of directions out there for starting one.

Although the directions are long, they're not hard or complicated. Just be aware you need to plan ahead and allow yourself 2 days before bread baking (and eating) can happen. Sourdough bead is not something to be rushed but definitely something to be enjoyed.
2 days before you want to bake the bread - Starter Prep Day
  1. The night of Day -2 add 100 grams of all-purpose flour and 100 grams warm (~105 degrees F) water to 20-100 grams of starter. Loosely cover and let sit at room temperature overnight.
My sourdough starter after feeding

right after feeding and mixing

left to grow overnight at room temp


Day -1: Bread Mix Day
  1. Pour 525 grams warm (105 degrees F) water into large bowl. Add 200 grams starter and mix thoroughly with dough whisk until well combined.
  2. Add 700 grams bread flour and 20 grams salt; mix with dough whisk then plastic bowl scraper. You can use wet hands to form a shaggy dough ball.
  3. Cover bowl with towel and let rise (autolyse stage) for at least an hour and up to 4 hours.
  4. After the autolyse stage, using wet hands, pull the dough from under the dough ball up and stretch it gently as you pull it over the doughball top. Release. Give the bowl a quarter turn and repeat the process until the dough is stretched and pulled from each quarter of the bowl.
  5. Over the next 2 1/2 hours, repeat the stretch and fold every 30 minutes for a total of four times. The dough will change from a slimy, ropy mass to a billowy dough with many air pockets and definite body as you stretch and fold it. Do not punch down the bowl at any time. The dough should become elastic and resilient and pass the window pane test. If your dough is still breaking before it goes transparent when pulled, do another stretch and fold.
  6. Bulk rise: after the stretch and folds, allow the dough to bulk rise in the bowl at room temperature for 1-3 hours until it rises by 30% or so. Cover the dough bowl with plastic wrap and set it refrigerator for 12-15 hours (overnight).
after mixing and folding


Baking Day: 
  1. Remove the dough from the refrigerator and let sit on the counter in the bowl for 2 hours or until the dough reaches room temperature.
  2. On a clean, unfloured counter, pour out the dough into a large mass. Flour the top of the dough lightly and evenly.
  3. Cut dough in half with bench scraper and form each half into a dough ball: scrape each half in a circle around the dough, leaving it unturned, flour side up. The unfloured counter will hold the dough center and create tension as you circle the dough with the scraper, forming a ball. Repeat for both dough balls. The dough edge should be round and the dough balls should have some form and resilience.
  4. Let the dough balls rest for 20-30 minutes. They will spread out but should not fall off at the edge of the pancake. If they do, reform the (round) loaves and bench rest them again to build the structure of the dough better.
  5. Final shape and rise: gently slide the dough scraper under one of the dough balls and flip it over so it rests on the floured side.
  6. Gently stretch and pull the dough over from the bottom to 1/3 up the loaf. Stretch and pull the dough from the sides to the dough middle. For the final stretch, take the dough from the top of the ball and pull it all the way down to the bottom. Form a seam, pinching the seam as necessary.
  7. Place the dough seam side up in a rice-floured banneton or bowl. Cover and place in the refrigerator to rise for 2-4 hours.
  8. Set a baking stone, Dutch oven or baking sheet in the oven. Preheat oven to 450 degrees F for at least 30 minutes.
  9. Keep the formed loaf in your banneton in the refrigerator until oven has fully heated for 30 minutes. Remove one banneton from the fridge. Gently flip loaf onto a piece of parchment paper, seam side down. Score with lame or razor blade or sharp scissors. Pick up edges of parchment paper and gently place in very hot Dutch oven. Cover with lid and return covered Dutch oven to oven. Bake 30 minutes at 450 degrees F. 
  10. Remove the lid after 30 minutes. Bake an additional 10 minutes, uncovered to 205 degrees F (use a meat thermometer to check). Remove from oven and let cool for at least 1 hour to set the crumb. Repeat with remaining dough loaf.
  11. If you don't have a Dutch oven, preheat oven to 400 degrees with baking pan inside for 15 minutes. On the shelf below the baking sheet, fill a pan with water for steam. Reduce heat to 375 and spritz loaves liberally with water before placing scored loaves atop parchment paper inside. Bake 30-40 minutes. Let cool for at least 1 hour before slicing.
when dough is first poured out from fridge


tighten into round ball

in the banneton for final chill and rise


don't forget to score the dough loaf before baking


my first attempt

my first attempt
As you can see from the pictures, my first attempt only had the air pockets in the top half of the loaf and the bottom was more dense. I thought I had taken pictures of the inside of my third loaf but apparently not. Just imagine the third loaf had the top half and the bottom loaf both with more evenly disbursed air holes, lol.

Thursday, April 17, 2025

Crumbl Cookies review #94 - Classic Yellow Layer Cake and Flourless Chocolate Cake

Crumbl Cookies review #94: Classic Yellow Layer Cake and Flourless Chocolate Cake - visited April 12, 2025
I almost didn't get anything from the Crumbl lineup last week. They made a big deal of this collaboration with the Kardashian/Jenner names and to be honest, that had the opposite effect on me than Crumbl intended. I'm not into either family name and am not incented to buy anything attached to them.

So I dawdled until the last day these were available, trying to make up my mind if I wanted them or not. I did end up getting two of them to try but in hindsight, should've just tried one of them.
Because the yellow cake wasn't anything special and I already had a suspicion it wouldn't be. It's just a yellow cake with chocolate frosting. It was okay but I've had better and it wasn't really worth the upcharge or the calories. Truthfully, it was so generic I thought I'd tried it already and had just forgotten but that wasn't the case.
Now I've tried it and would skip it next time it comes around, regardless of whose name it's marketed with.

The flourless chocolate cake was more interesting to me. I almost didn't get it because I don't like raspberries but I was visiting with my mom and my niece the next day so I got it to share with them. I "suggested" to my niece that she eat the raspberries and she did. Problem solved.
I have much more positive things to say about the flourless chocolate cake. It was marketed as having "zero refined sugar" and it definitely wasn't sweet. It was like eating a dark chocolate truffle.
And while I don't usually like dark chocolate, it worked well in the flourless chocolate cake. This had a great, creamy texture and rich chocolate flavor. It was like baked fudge but not as sweet. I'm glad I shared it as I don't think I can eat a whole one, even over several days. Too rich for more than a few bites at a time. As it was, the three of us ate 3/4 of it in one sitting and I had the remaining 1/4 the next day. My niece liked it too and asked me to let her know the next time it was on the menu as they just opened a Crumbl near her. Ah, another Crumbl convert.

Tuesday, April 8, 2025

Sourdough Banana Bread from Lifestyle of a Foodie

1 cup mashed bananas, about 2-3 medium, ripe bananas
2 large eggs
2 teaspoons vanilla extract
1/2 cup unsalted butter, melted
1/2 cup sourdough discard
1/2 cup brown sugar, packed
1/3 cup granulated sugar
1 3/4 cups all-purpose flour 
2 teaspoons baking powder
1/2 teaspoon baking soda
1/2 teaspoon salt
1 tablespoon honey or maple syrup, optional, for brushing on after baking
  1. Preheat oven to 350 degrees F. Grease and flour a 1-lb loaf pan or line with parchment paper.
  2. In a large bowl, combine mashed bananas, eggs and vanilla extract.
  3. Add melted butter, sourdough discard, brown sugar and granulated sugar; mix to combine.
  4. In a separate bowl, whisk together the flour, baking powder, baking soda and salt.
  5. Add dry ingredients to banana mixture, stirring gently. Do not overmix; batter will be slightly lumpy.
  6. Pour into prepared pan and bake 50-60 minutes or until a toothpick inserted in the center comes out clean. Remove from oven and if desired, brush with honey or maple syrup while still warm. Let cool in pan for 10 minutes. Run a small spatula around the sides and invert onto serving plate. Let cool before cutting and serving.
Although my baking days are getting increasingly rare, as evidenced by the more frequent posting of Crumbl and Crave cookie reviews rather than recipes, I do still occasionally turn my oven on to try a new recipe.
Earlier this year, my quilting instructor gave us a sourdough starter and showed us how to make sourdough bread. I've made it a couple of times but haven't quite perfected it yet so I haven't posted that yet. But I did find this recipe to use up the sourdough discard that comes with feeding the starter and keeping it alive.
As I've mentioned before, I have a go-to recipe for banana bread that I've made for years and my family will accept no other so I rarely try out new recipes for banana bread. But I wanted to try this one, mainly because it uses up the sourdough discard and it appealed to my thrifty soul so I wouldn't have to just throw the discard away.
The original recipe didn't have the streusel but I had some to use up so I added it. I was glad I did as this bread actually isn't that sweet. The streusel adds a nice crunch and sweetness to the bread. It also has a tighter crumb and is more bready than my go-to recipe which is sweeter and more cakey,
This was good but I think I still prefer my go-to recipe. Still, this is pretty good with the streusel and eaten warm.

Saturday, April 5, 2025

Crumbl Cookies review #93 - Strawberry Butter Cake

Crumbl Cookies review #93: Strawberry Butter Cake - visited April 1, 2025
I'm getting this review just under the wire as this is the last day this week that the Strawberry Butter Cake was available.

As always, I have reservations about getting strawberry anything from anywhere. I like strawberries as a whole fruit but I rarely like it as a flavor in anything Mother Nature didn't create herself. It always tastes artificial to me and just not as good as strawberry the actual fruit.
But I love, love, love Crumbl's Butter Cake and their Caramel Butter Toffee Cake in particular so I thought I'd give the strawberry version a try.
In a nutshell, love the outer sugared crust, love the texture, even liked the vanilla bean mousse on top or essentially, all the things I love about their butter cake in the first place. But, as expected, less enamored of the artificial-to-me strawberry flavor. It was okay but I didn't love it. 
I still like their butter cakes and can't resist the texture but I'm hoping the next product extensions of it would be lemon, orange, caramel apple, Nutella, cookie butter, coconut - sky's the limit! Just not strawberry.