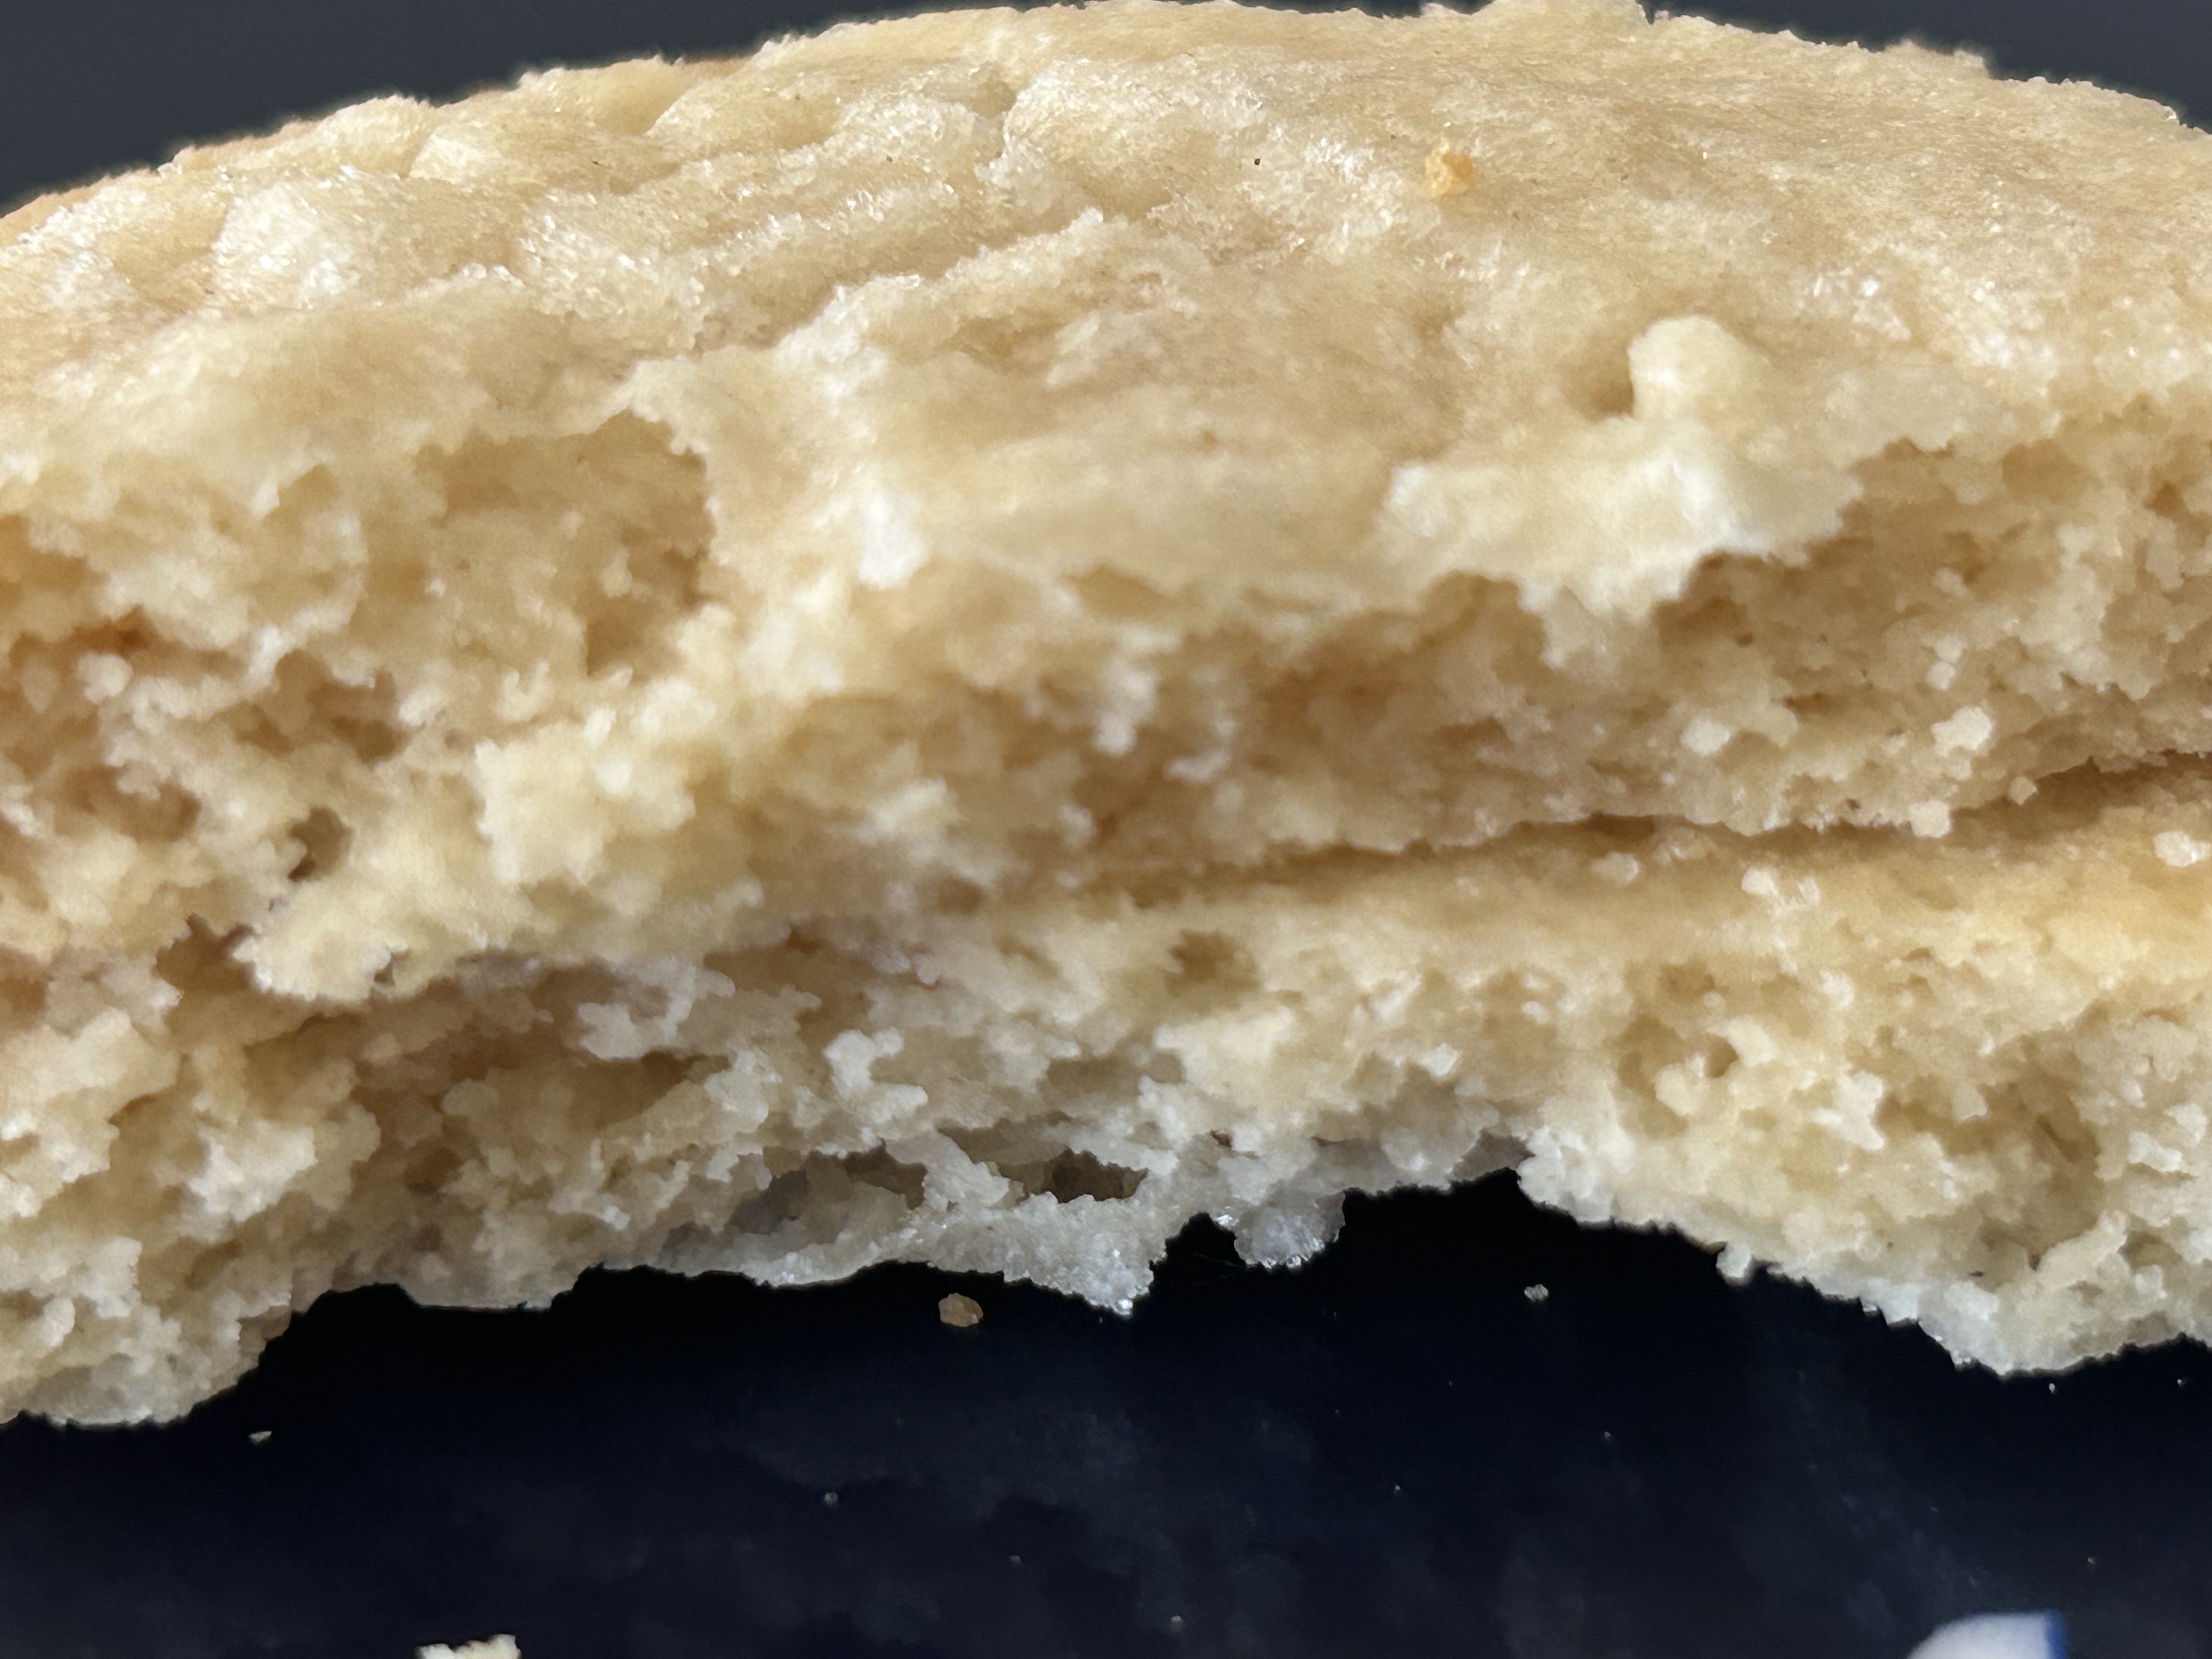
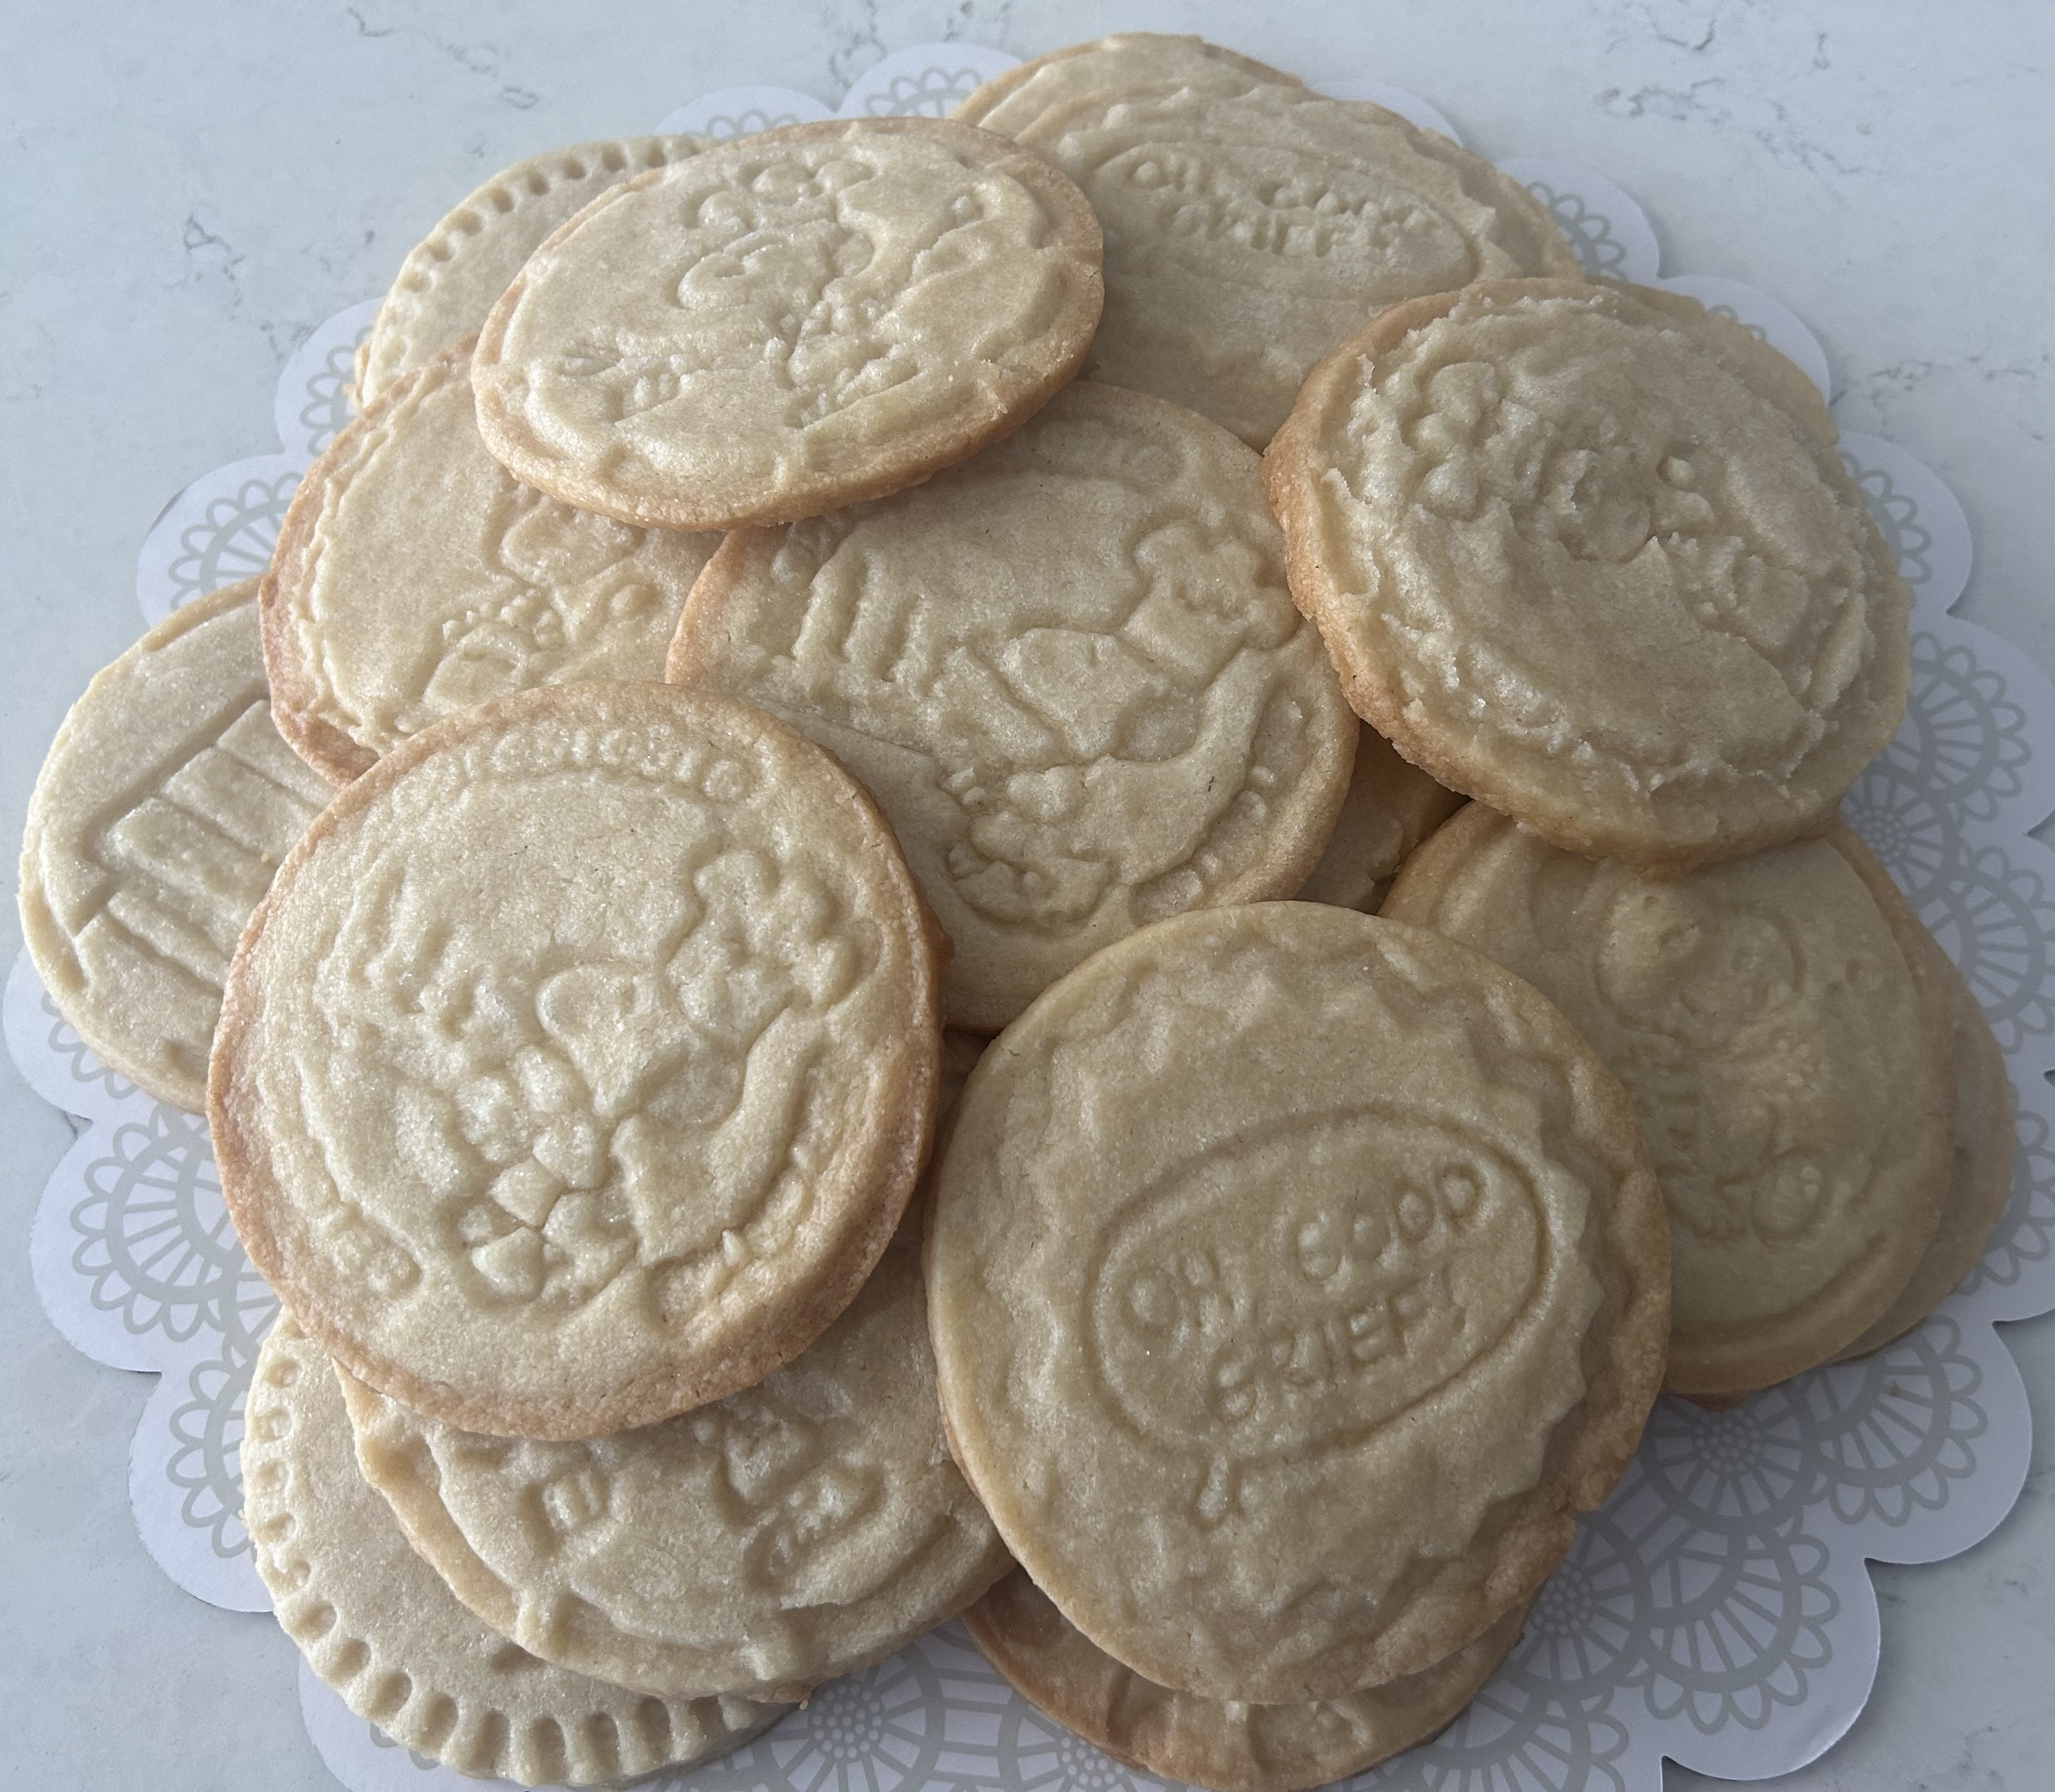
Saturday, June 22, 2024

Soft Cinnamon Roll Cookies from Divas Can Cook

Cookies
3/4 cup granulated sugar
2 tablespoons butter-flavored shortening
2 tablespoons butter, room temperature
1 egg, room temperature
1/4 cup buttermilk
1/4 teaspoon vanilla extract
1 3/4 cups all-purpose flour
1/2 teaspoon baking powder
1/2 teaspoon baking soda
1/8 teaspoon salt

Cinnamon Sugar mixture
1/2 cup brown sugar
1/2 tablespoon cinnamon
2 tablespoons unsalted butter, melted

Cream Cheese Frosting
2 ounces cream cheese, room temperature
2 tablespoons butter, room temperature
1/2 cup + 2 tablespoons powdered sugar
2-3 teaspoons milk
splash of vanilla extract
  1. In the bowl of a stand mixer fitted with the paddle attachment, cream together sugar, butter and shortening. Mix in egg, buttermilk and vanilla extract.
  2. In a separate bowl, whisk together flour, baking powder, baking soda and salt.
  3. Add dry ingredients to wet ingredients and mix on low speed until a soft dough forms. Place dough in a plastic bag and flatten. Refrigerate for at least an hour or up to overnight.
  4. Cinnamon-sugar mixture: in a small bowl, stir together brown sugar, cinnamon and melted butter.
  5. When ready to bake, mix together 1 tablespoon flour and 1 tablespoon powdered sugar. Generously sprinkle over a nonstick work surface and over a rolling pin.
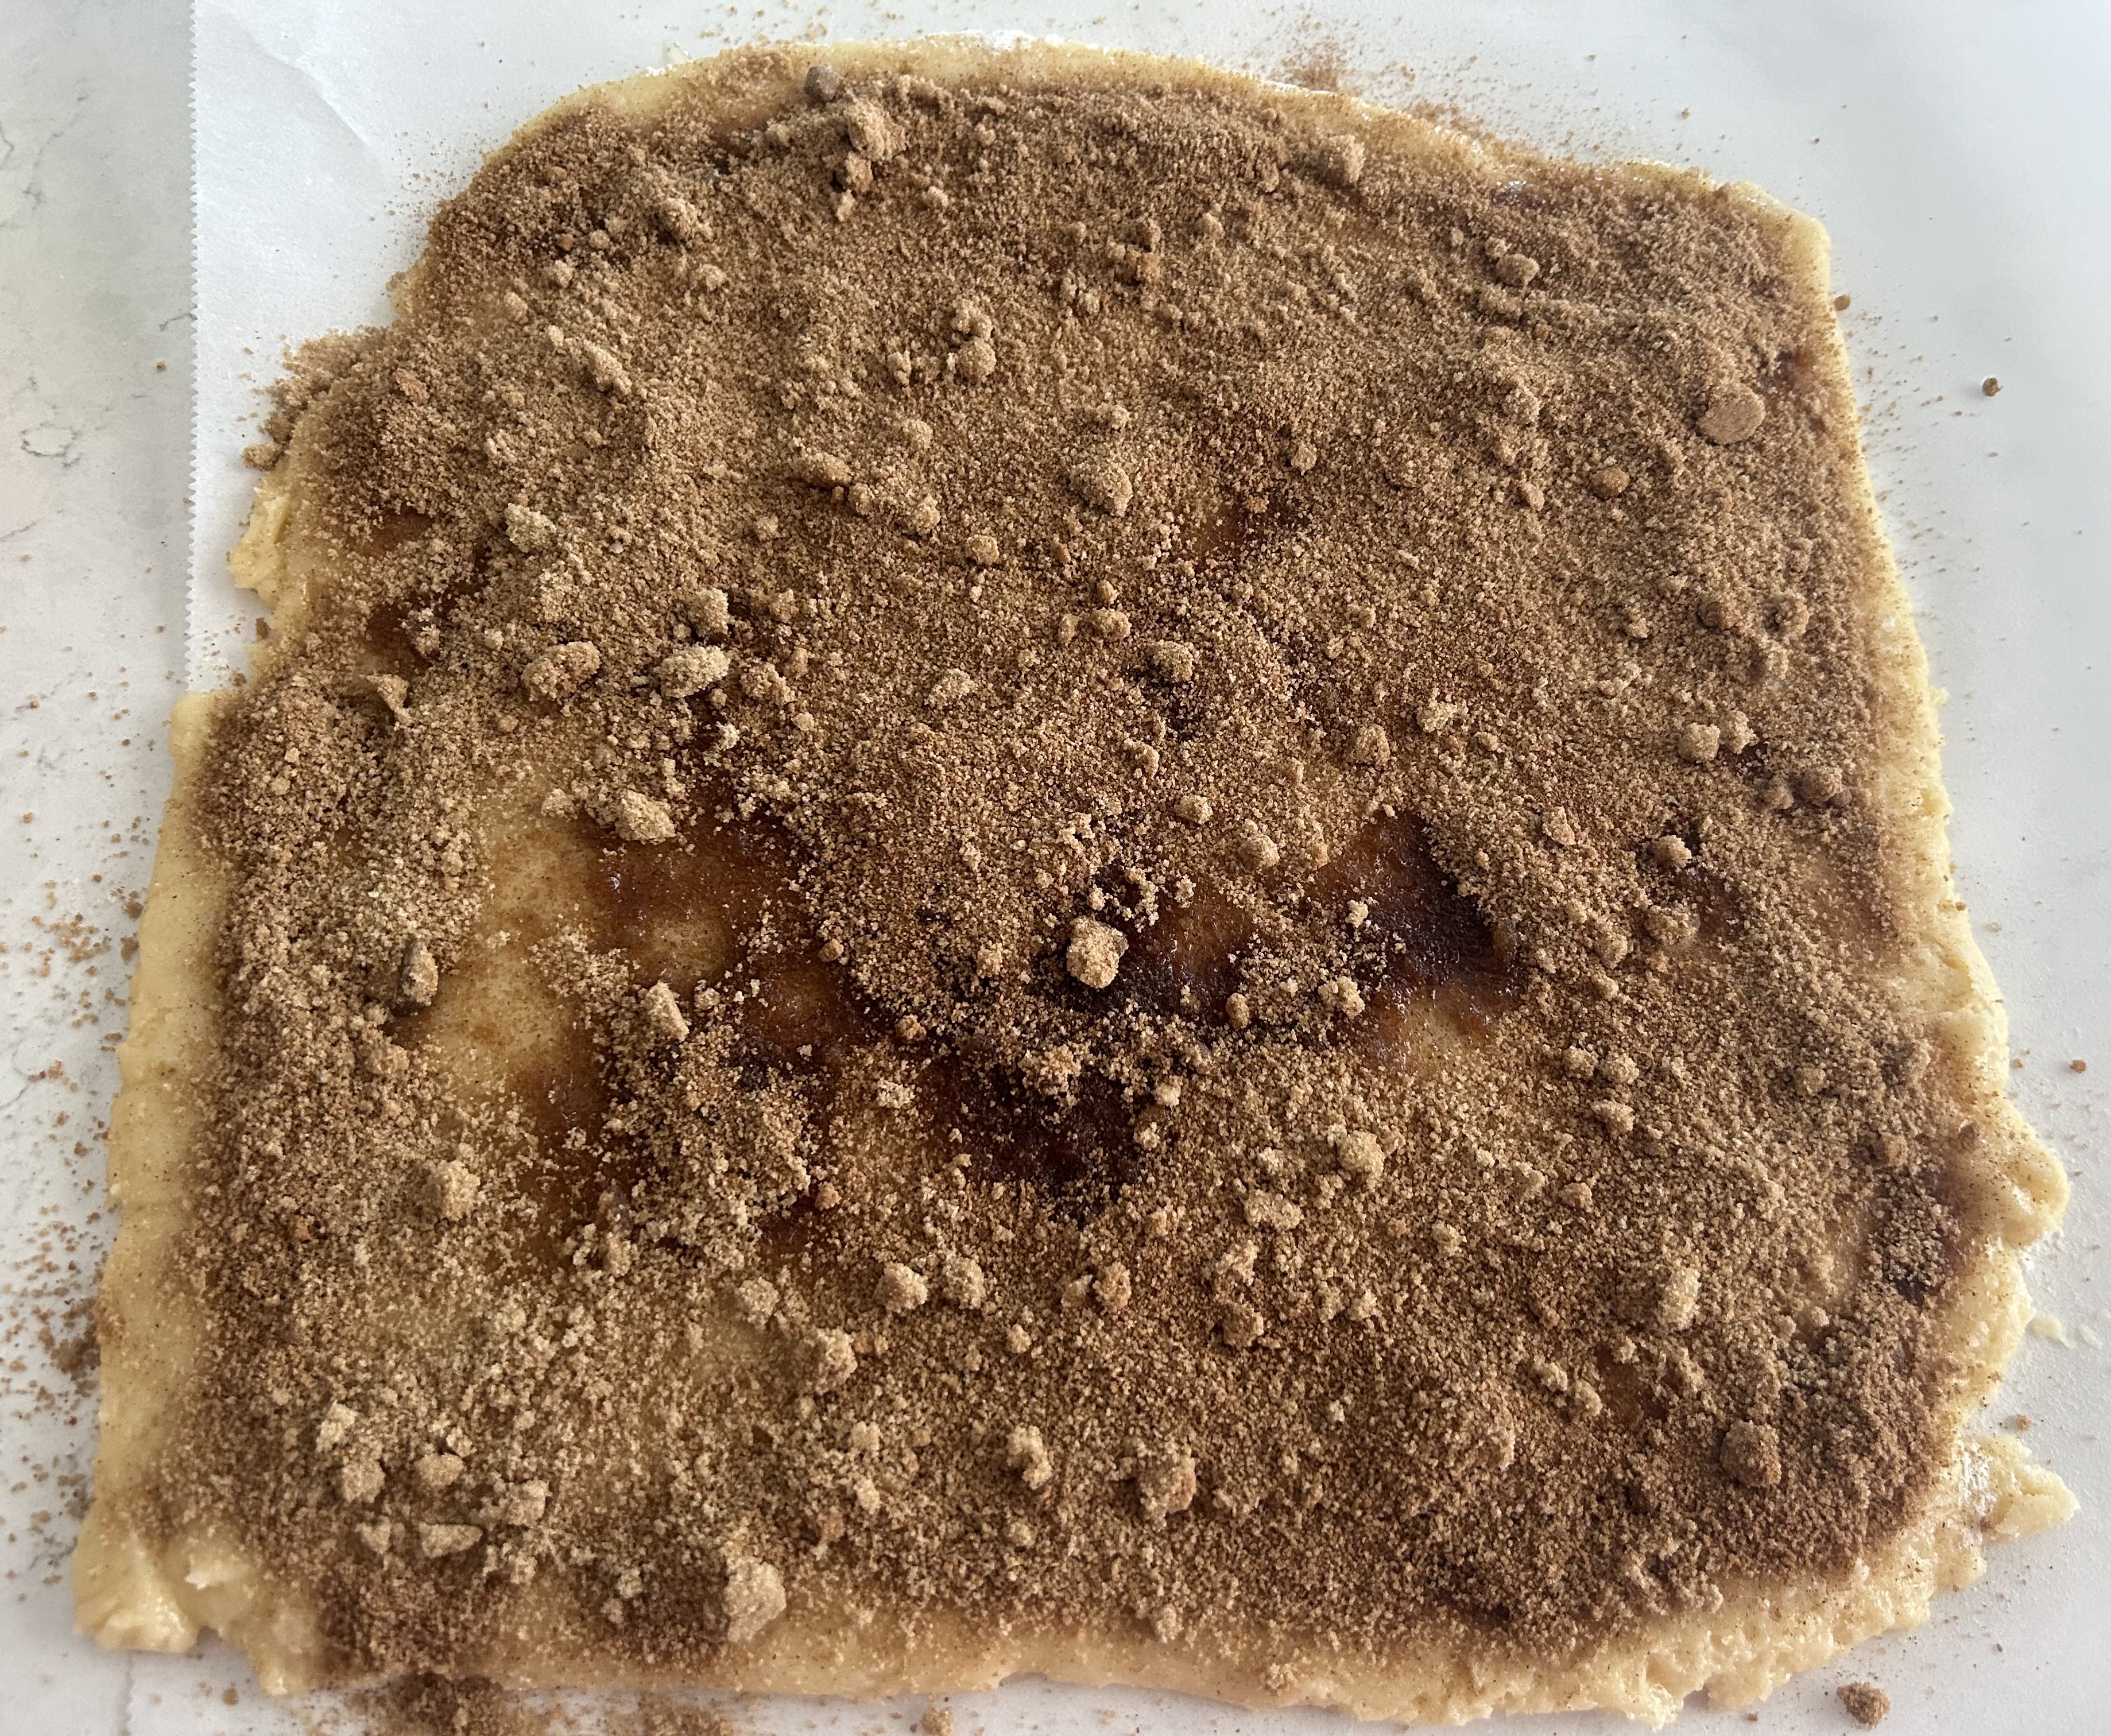
  6. Remove chilled dough from refrigerator and roll into a 12 x 9-inch rectangle about 1/4" thick. Brush surface of dough with melted butter.
  7. Immediately sprinkle the brown sugar-cinnamon mixture into an even layer, pressing down gently int the dough.
  8. Starting with the longest side, gently and quickly roll dough into a tight log. Roll log in plastic wrap and place on a tray.
  9. Freeze for 30 minutes or until roll is firm enough to cut without squishing when cutting.
  10. Preheat oven to 350 degrees F and line baking sheets with parchment paper.
  11. Slice log into 1-inch thick slides using a serrated knife and evenly space 2 inches apart on lined baking sheets. Pinch the ends of the cookies together to prevent roll from unraveling during baking. Bake for 10-12 minutes. Remove from oven and let cool on wire rack.
  12. Prepare glaze: combine cream cheese, butter, powdered sugar, milk and vanilla.
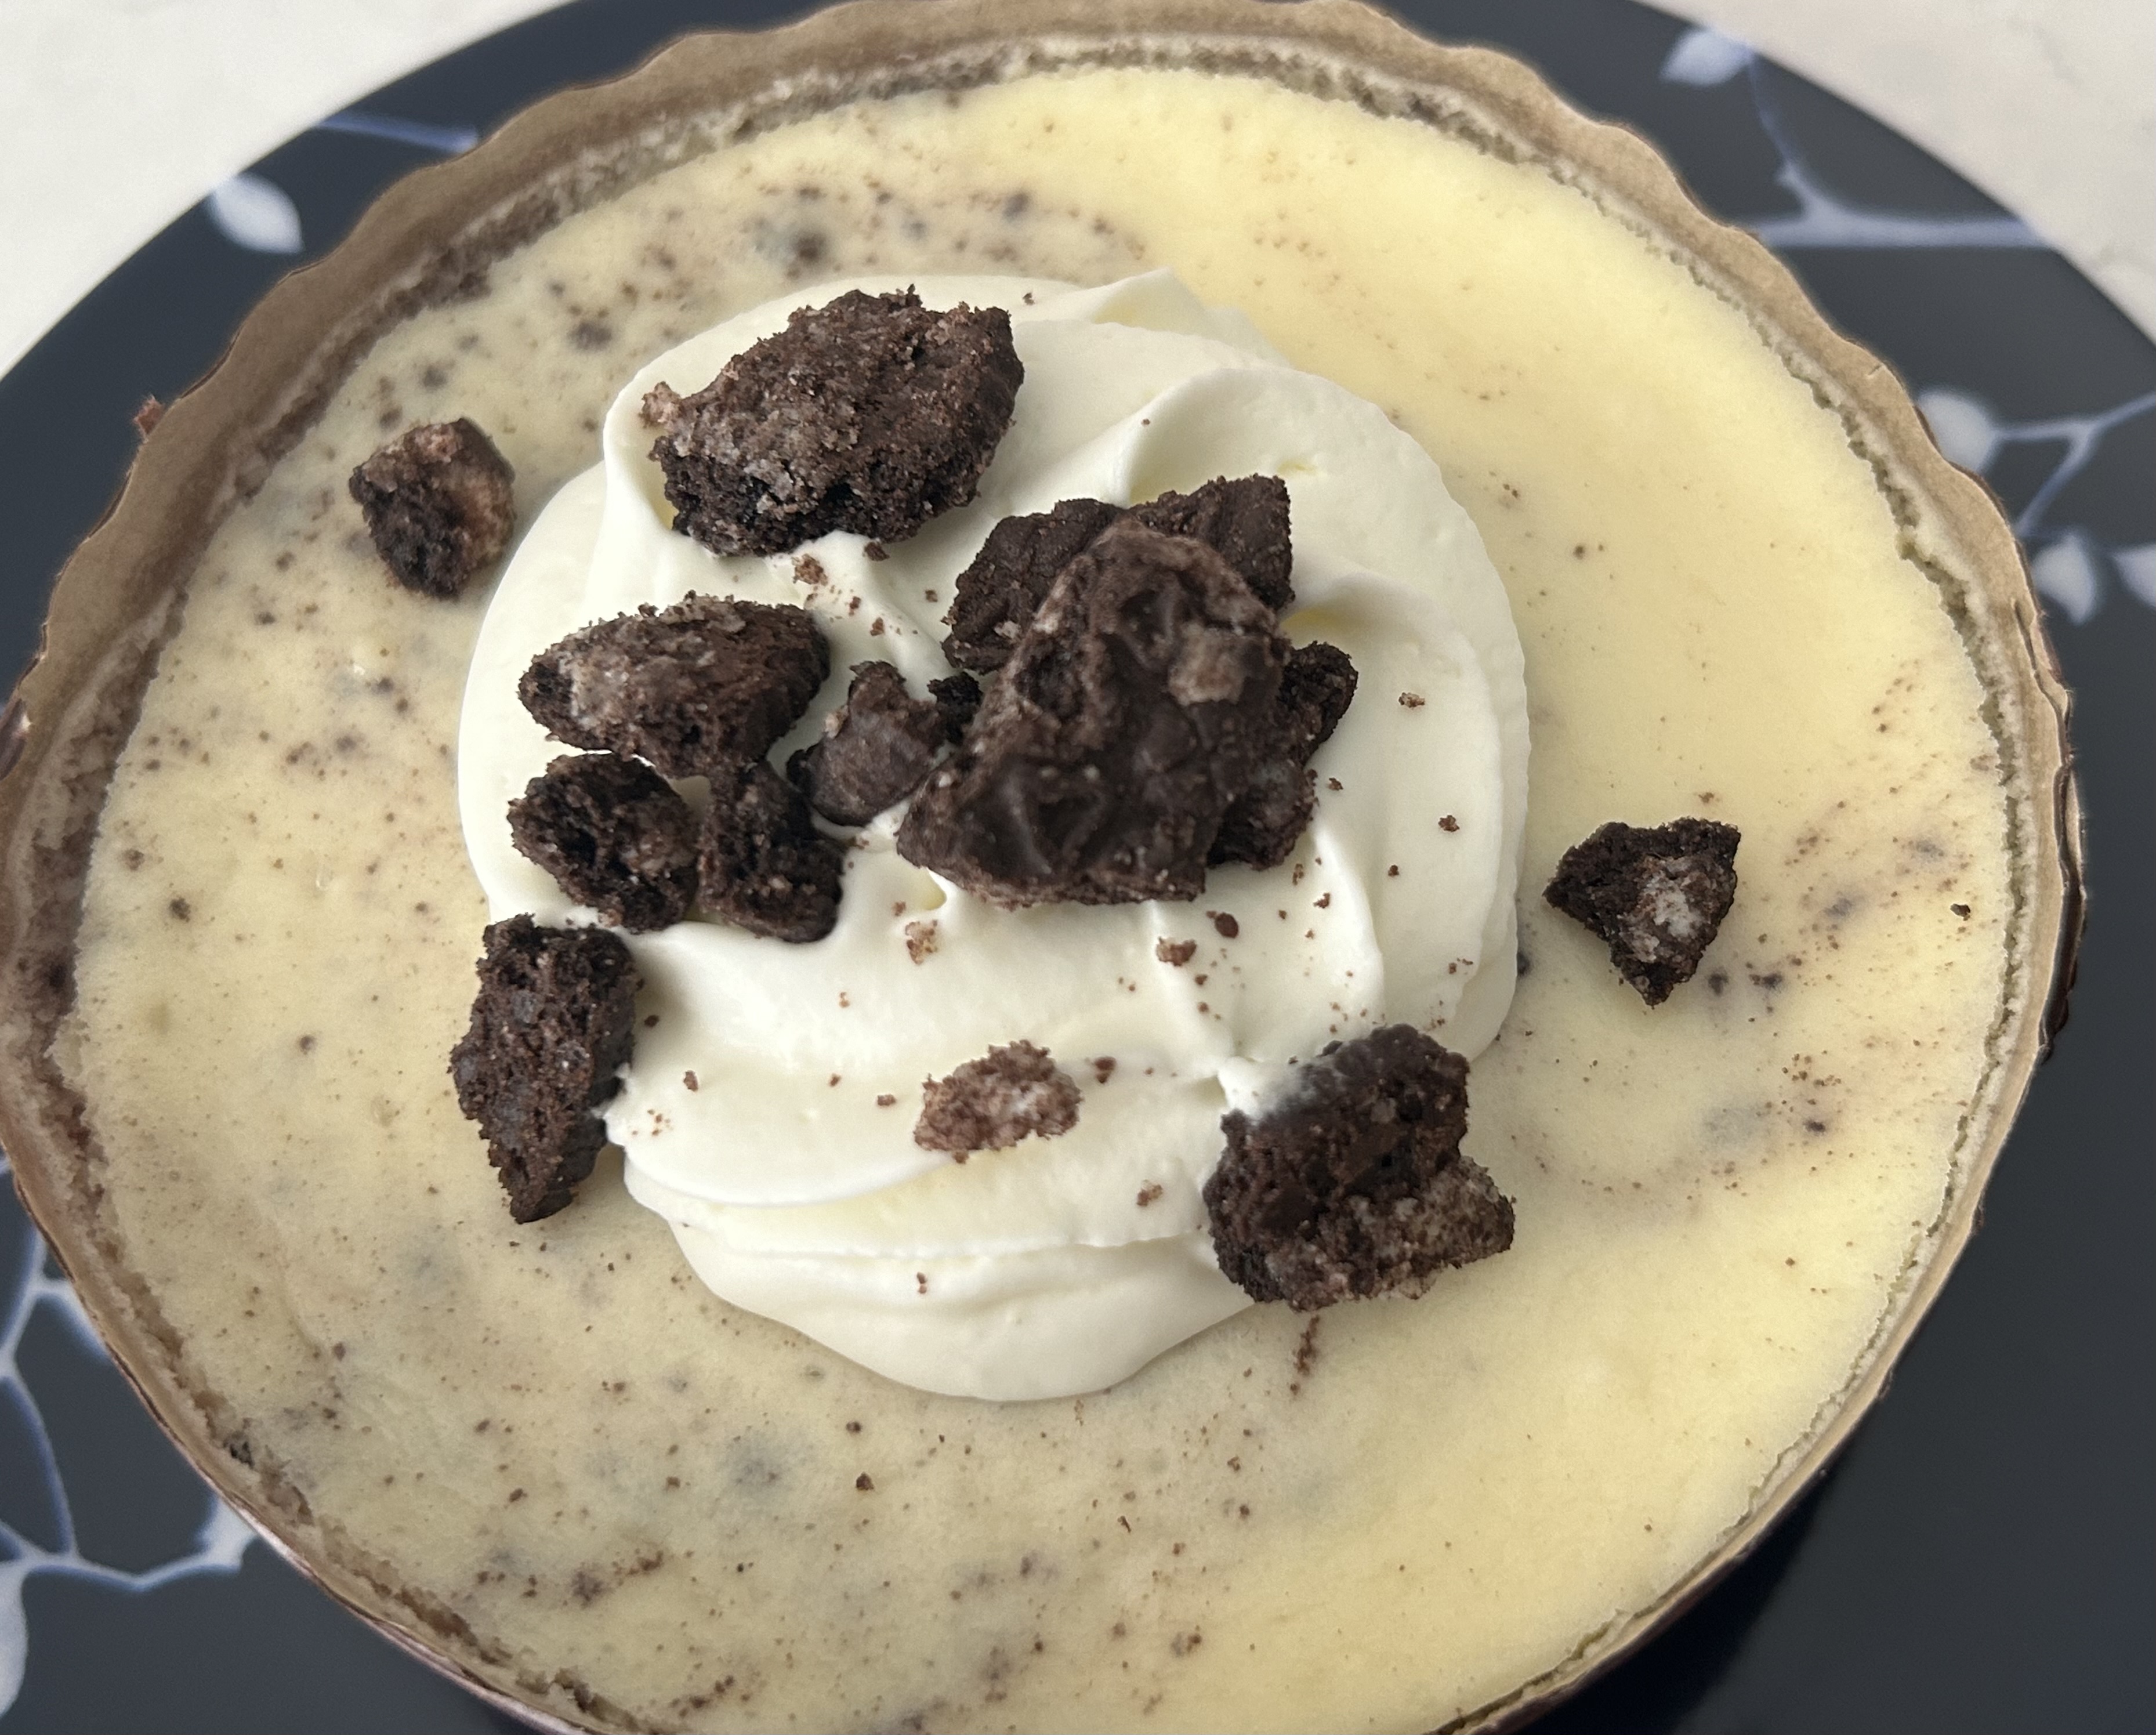
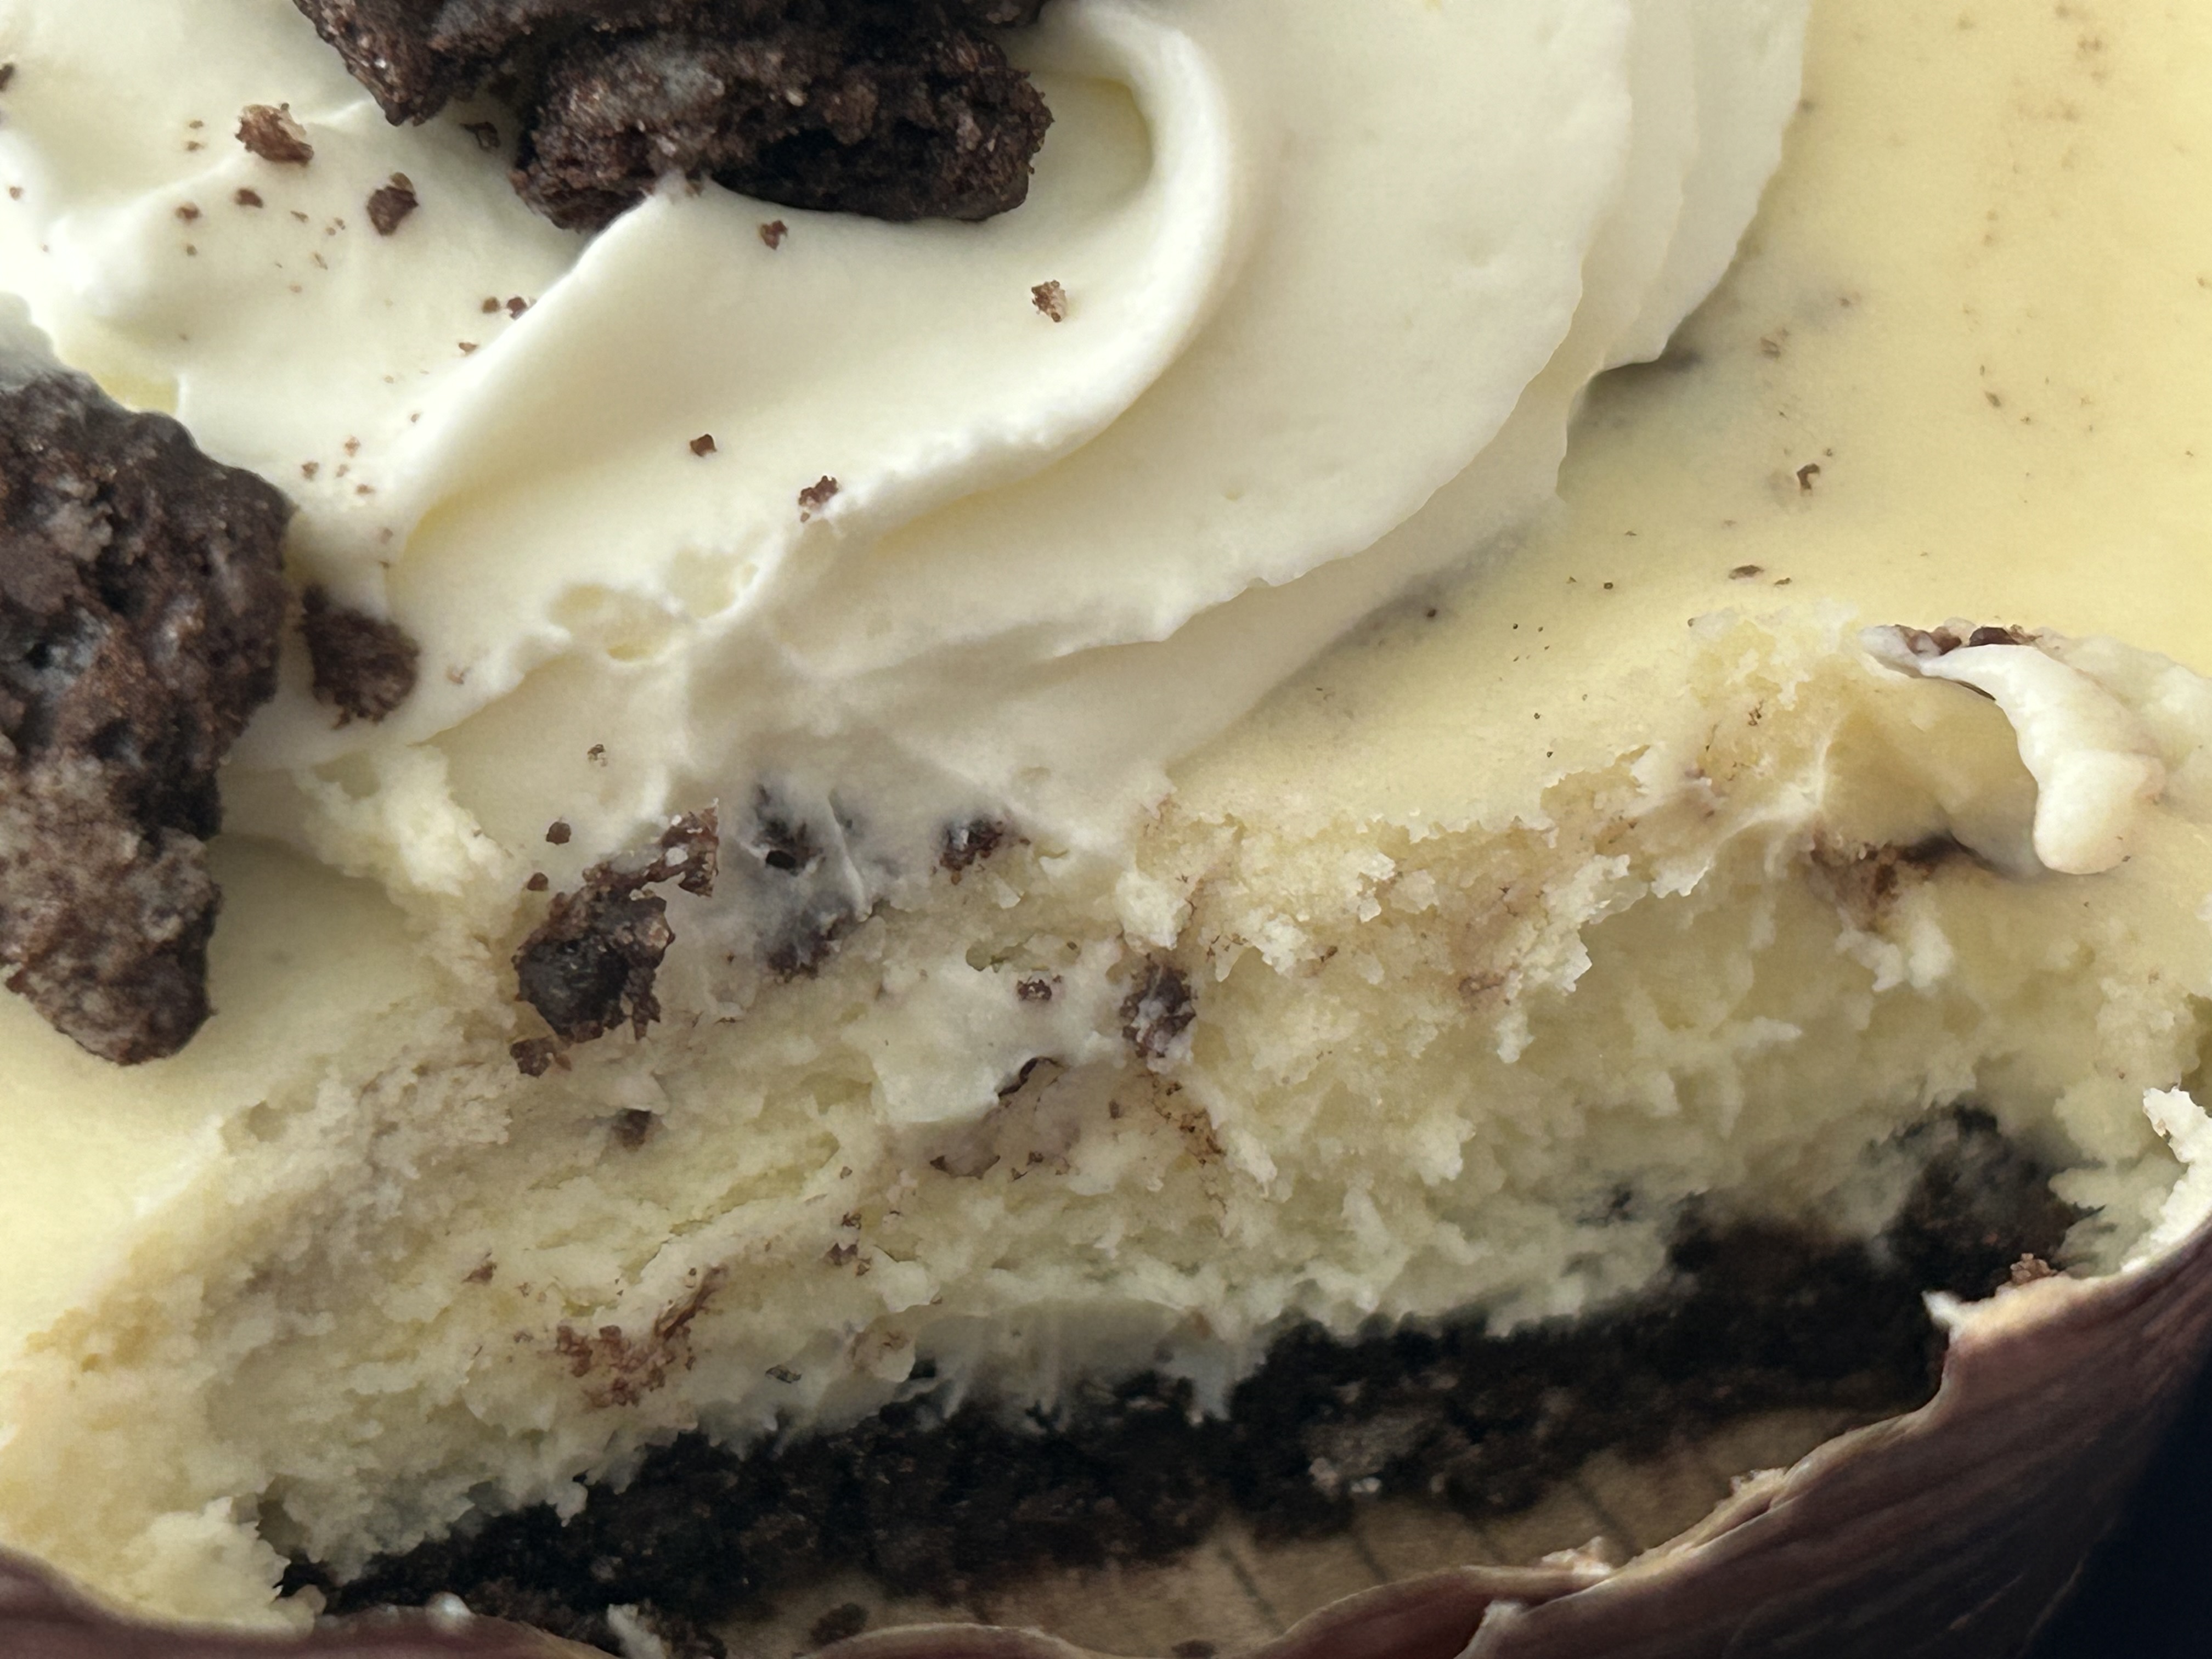
  13. While cookies are still warm, brush with glaze, allowing the glaze to melt down into the folds of the cookie. Let glaze set and cookies cool completely.
This was a half-success, half-failure. And definitely better suited for making in cooler weather. Of course, I didn't know that until it was too late. But part of trying new recipes is making these discoveries, lol. I followed the recipe exactly as laid out and that might've been my first mistake. The dough was too soft and sticky when mixed and could've used more flour. I didn't add more though and instead hoped the chilling process would make the dough easier to handle. 

The easiest way to make a roughly square-ish shape of dough is to roll it out while in a gallon-size ziploc freezer bag.
That definitely helped when rolling out the dough as the plastic bag protected the rolling pin from the sticky dough. But - you guessed it - the dough was too soft to come out of the bag and still maintain its shape, even chilled. I cut the bag open and gingerly peeled it off but the dough threatened to tear and fall apart, even after being chilled for almost an hour. I had to use a lot of flour on the parchment paper the dough sat on during rolling, on the rolling pin and on the dough to make it even close to manageable.
As with cinnamon roll dough, then you sprinkle the cinnamon-brown sugar mixture over the cookie dough into an even-ish layer then you roll it up into a log. This was the comic portion of the process as the dough was too soft to roll properly or tightly, which is what you need to make a decent-looking semblance of a cinnamon roll. Plus, there was so much filling, it made it difficult to keep the dough in a tight roll.
I froze the log for several hours but that still didn't matter, as you can tell from the cut cookies. The log of dough was still soft and still refused to roll into an actual round shape but remained flattishly oval. Oy.
At this point, I assumed these would spread spectacularly given how soft the dough stubbornly remained. So I put a few in cupcake liners as an experiment and baked the rest as intended to see the spread.


Surprisingly, they didn't spread as much as I expected given the softness of the (frozen) dough. And they even looked more cinnamon roll-ish than I expected. Yes, still janky but recognizable.

But the swirl of the "cinnamon roll" didn't matter as these were meant to be covered with cream cheese frosting. And that's the next place these went awry. As you can tell from the picture, I didn't beat the cream cheese enough to get the lumps out before adding the rest of the frosting ingredients. Sigh. Rookie error.

So then I tried to cover my frosting sins by sprinkling some Penzey's cinnamon over the top. LOLOLOL.
The bottom line, after all my baking mishaps, is these cookies weren't bad. Not quite a snickerdoodle but a good sugar cookie, liberally flavored with brown sugar. Which was the biggest drawback as I found the brown sugar filling a bit too sweet. There was too much brown sugar in the filling so I would cut that back and let the cinnamon in the filling come out a bit more. I'm not going to say "next time" as I don't know if I would make these again. If I did, I would definitely add more flour and cut back on the brown sugar in the filling. And beat the cream cheese properly for the frosting.

Thursday, June 20, 2024

Stamped Cookies #40 from Constellation Inspiration

Stamped Cookies #40 - made dough June 7, 2024 from Constellation Inspiration


227 grams (1 cup) unsalted butter, room temperature
115 grams (1 cup) powdered sugar
1 tablespoon vanilla extract
260grams (2 cups + 3 tablespoons) all-purpose flour
1/2 teaspoon salt
  1. In the bowl of a stand mixer fitted with the paddle attachment, cream together butter, powdered sugar and vanilla at medium speed until combined and fluffy, 1-2 minutes.
  2. Add flour and salt; mix on low speed until just combined.
  3. Place dough atop a large piece of parchment paper and cover with another large piece of parchment paper. Roll dough to an even thickness, 1/4-1/3" thick. Refrigerate for 10-15 minutes.
  4. Remove dough from refrigerate and lift off the top piece of parchment paper. Stamp and cut out cookies. Cover and freeze stamped cookies for at least 30 minutes.
  5. When ready to bake, preheat oven to 350 degrees F. Line baking sheets with parchment paper. Evenly space frozen stamped cookies. Bake 12-14 minutes or until lightly golden brown. Remove from oven and let rest on baking sheet for several minutes before transferring to wire rack to cool completely.
This is the third of three recipes I made for dessert for Ronald McDonald House and the second one for stamped cookies that I dropped off last week. 
This dough was harder to work with than the other one as it softened quickly. It was 90-degree weather when I made it so I had to chill it a few times between rolling out and stamping to be able to get decent stamped impressions. 

This also didn't hold some of the finer details in the stamps, both because the dough was too soft when I tried stamping and also because more of the smaller details baked out or blurred during baking.
However, despite all that, these were delicious. More of a regular butter cookie rather than shortbread. The butter flavor was more prominent and the bite was soft but chewy, like a good butter cookie, rather than the crisp snap of a shortbread. I liked both stamped cookie recipes but for a good butter cookie, I have to give the nod to this one. I need to make this again once the weather cools and see if I can get the stamped impressions to hold better.

Tuesday, June 18, 2024

Stamped Shortbread Cookies #39 from Uncomplicated Chef

Stamped Shortbread Cookies #39 - made dough June 7, 2024 from Uncomplicated Chef
1 cup unsalted butter, room temperature
3/4 cup powdered sugar
2 cups all-purpose flour
1 teaspoon almond extract (I used vanilla)
  1. In the bowl of a stand mixer fitted with the paddle attachment, cream together butter and powdered sugar until well combined and fluffy.
  2. Add vanilla and mix to combine. Add flour and mix on low speed until just combined.
  3. On a large piece of parchment paper, form dough into a ball. Place another large piece of parchment paper over it and roll out dough into a large piece 1/4 - 1/3" thick. Refrigerate for 15 minutes.
  4. Remove dough from refrigerator. Stamp and cut out cookies. Freeze stamped cookies for at least 30 minutes.
  5. Preheat oven to 350 degrees and line baking sheets with parchment paper. Space stamped cookies evenly on prepared baking sheets and bake for 12-15 minutes or until lightly golden brown. Remove from oven and let rest on baking sheet for several minutes before transferring to wire rack to cool completely.
This was the second of three recipes I made for the families staying at Ronald McDonald House last week. The first was the Buttermilk Chocolate Cake. Then I made 2 different recipes for stamped cookies and this is one of them. I don't usually make stamped cookies in the summer as it's often too hot to work with the cookie dough easily enough for stamping. But I wanted something fun for both the siblings of the children getting treatment as well as the kids themselves who were at the hospital. So I had to use my Snoopy stamps for this. Making stamped cookies in hot weather is possible but requires a bit more time and care. 
First, be careful that "room temperature" butter isn't too soft to work with or your dough will be too soft and greasy, not to mention harder to stamp well. I cut the butter into tablespoon-size pieces right out of the refrigerator, toss them into the mixing bowl and start mixing. Even then, it was so hot when I made this, that the dough was rather soft and had to be refrigerated before I could even stamp them.

Second, many recipes call for patting the dough into a ball, wrapping in plastic wrap and chilling before trying to roll out. As long as your dough isn't too soft, I find it easier and more efficient to roll the just-mixed dough between two pieces of parchment paper then chill it. The main thing you have to watch is not chilling it for too long as if the dough is too firm, it'll be harder to make clean, crisp stamped impressions. Too soft or warm and the dough will stick to your stamp(s). The sweet spot for me is about 10-15 minutes of chilling time but you do have to work quickly as this dough softens and warms within a few minutes out of the refrigerator.

The stamped impressions held decently well after baking but this dough is better suited for stamps with larger impressions and not finer details as the smaller details will tend to blur out during baking. Fortunately, Snoopy was easily recognizable in these cookies.

The taste was good as I had used Kerrygold butter for a more buttery flavor. Texture-wise, this was more of a shortbread texture in that it had a snap and a drier mouthfeel. But that was to be expected since this is billed as a shortbread. So it delivered its promise. The picture above is a combination of both the stamped cookie recipes I made (second recipe to follow in the next post) but the other pictures are just of this recipe.


Monday, June 17, 2024

Buttermilk Chocolate Cake from Southern Bite

Buttermilk Chocolate Cake - made June 11, 2024 from Southern Bite
Cake
2 cups all-purpose flour
1 teaspoon baking powder
1 teaspoon baking soda
1/2 teaspoon salt
2 cups granulated sugar
1/2 cup unsalted butter
3 tablespoons cocoa powder
1/2 cup vegetable oil
1 cup water
3 large eggs
1/2 cup buttermilk
1 teaspoon vanilla extract

Frosting
1/2 cup unsalted butter
3 tablespoons cocoa powder
1 16-ounce box powdered sugar (3 3/4 cups)
1 teaspoon vanilla
6 to 8 tablespoons buttermilk
  1. Preheat oven to 350 degrees F. Line 9 x 13-inch baking pan with foil and lightly spray with nonstick cooking spray.
  2. In a large bowl, whisk together flour, baking powder, baking soda, salt and sugar.
  3. In a medium saucepan, melt together butter, cocoa powder, oil and water. Bring to a boil and let boil for 1 minute. Let cool slightly.
  4. In a small bowl, whisk together eggs, buttermilk and vanilla.
  5. Pour melted butter mixture over dry ingredients and beat to combine. Add egg mixture and mix to combine to a smooth batter.
  6. Pour batter into prepared pan. Bake 35-45 minutes or until a toothpick inserted near the center comes out with a few moist crumbs.
  7. Make icing: in a saucepan, melt butter and cocoa powder, whisking until butter is completely melted and mixture is smooth. Remove from heat and whisk in vanilla.
  8. Place powdered sugar in a large mixing bowl. Pour melted butter mixture over powdered sugar and beat to combine. Add buttermilk and beat until desired consistency is reached. Pour over warm cake and smooth.
Whenever you see me make cakes or anything that doesn't ship well overseas, it means I'm baking for local folks. As was the case for this Buttermilk Chocolate Cake. I had an opportunity to provide dessert for 10-15 people last week. They were family members of children getting treatment at a local hospital and they were staying at Ronald McDonald House. A group of volunteers provided salad, main course and dessert. I of course immediately volunteered to bring dessert. I love baking for a good cause and I appreciated the opportunity.
I made 3 things (the other 2 to follow in the next 2 posts) and one of them was this cake. I wanted something simple yet indulgent and this recipe fit the bill. No nuts because you never know if someone has an allergy and something that could also easily be packed up for lunches for the families the next day.

This is essentially a Texas sheet cake, one of my favorite things to make and eat. And this recipe was no exception. It was delicious. The texture was perfectly soft and cakey but not too chocolaty-rich. The richness and sweetness came from the frosting. Don't be afraid to use a good dark cocoa powder to cut some of the sweetness.

If you don't want too sweet of a frosting, besides using a dark cocoa powder, cut back on some of the powdered sugar in the frosting. But also cut back on some of the liquid in the frosting or else it'll be too runny. I'm glad this turned out well and I hope the families enjoyed it.


Saturday, June 15, 2024

Dulce de Leche Oat Bars from The Sparrow's Home

Dulce de Leche Oat Bars - made June 7. 2024 from The Sparrow's Home 
1/2 cup unsalted butter, softened
1 cup brown sugar
1 large egg
1 teaspoon vanilla extract
1/2 teaspoon baking soda
1/2 teaspoon salt
1 1/4 cups all-purpose flour
1 1/2 cups oats
1 can dulce de leche
  1. Preheat oven to 350 degrees F. Line a 9 x 9-inch baking pan with foil and lightly spray with nonstick cooking spray.
  2. In the bowl of a stand mixer fitted with the paddle attachment, cream together butter and brown sugar. Add egg and vanilla; beat to combine.
  3. Add baking soda, salt, flour and oats, mixing until just combined.
  4. Press half of the mixture in the bottom of prepared pan. 
  5. Place dulce de leche in a microwave-safe bowl and heat until just spreadable, 30-45 seconds.
  6. Spread dulce de leche in an even layer over oat layer, leaving a small border around the edges. Drop small pieces of remaining dough over the dulce de leche, pressing in gently.
  7. Bake for 23-28 minutes, until top is golden brown. Cool completely before cutting and serving.
When I send out care packages to deployed military service members, I typically do a combination of brownies and various types of cookies. Summertime gets a little more tricky as I'm often sending it to desert-climate countries in triple-degree heat so whatever I send has to withstand extreme temperatures and long mailing times. 
Brownies typically still work fine as long as you don't do any cream cheese-type mixins. Dairy doesn't do well in high temps. I'm hoping dulce de leche does do well, although it's dairy, being that dulce de leche is caramelized sweetened condensed milk. I've been able to successfully send magic cookie bars which has sweetened condensed milk as a topping so fingers crossed that dulce de leche also holds up.

This is an oat bar with dulce de leche as a layer. You make the oat bars, spread half as the bottom layer, cover with dulce de leche then "crumble" the rest of the oat mixture on top. This is one bar cookie you don't want to underbake as part of the texture comes from baking it long enough for the oat topping to get a little crunch. Which then pairs nicely with the smooth creaminess of the dulce de leche.  
I thought this turned out pretty well as the sturdiness of the oat bar perfectly complemented the creamy sweetness of the dulce de leche. It does get slightly messy as the dulce de leche doesn't "set". It remains creamy. The advantage of dulce de leche over caramel is that the texture doesn't change when exposed to heat. Caramel can set and become hard or too chewy when exposed to baking heat but dulce de leche fares better. It doesn't necessarily make for the cleanest slices though so you may want to chill the whole bar before cutting if neatness matters to you. 

Wednesday, June 12, 2024

Crumbl Cookies review #72: Chocolate Toffee Cake and Cookies & Cream Cheesecake (tester)

Crumbl Cookies review #73: Chocolate Toffee Cake and Cookies & Cream Cheesecake (tester) - visited June 10, 2024
Chocolate Toffee Cake
I got two things from Crumbl this week and neither one was a cookie. I had already tried the Chocolate Milkshake (although back then they called it Chocolate Milk and that was a leftover flavor from last week) and I didn't want any of the other cookie flavors in this week's lineup.

I've been trying to keep an open mind about the non-cookie cake offerings since I enjoyed the Tres Leches one so much. Hope springs eternal that Crumbl will release something equally as good. But, alas, the Chocolate Toffee Cake is not it.
Much as I (surprisingly) liked the whipped cream topping on the Tres Leches Cake, I didn't like it on the Chocolate Toffee Cake. I dislike whipped cream on cakes because you technically should be refrigerating anything with whipped cream. But when you refrigerate a cake, it'll have a dry mouthfeel. The Tres Leches avoids this by being soaked in three milks. The chocolate toffee cake does not.
I found the cake dry when it was chilled and when I let it come to room temperature, it was better but then I didn't like the texture of the room temperature whipped cream. The cake itself also wasn't that special. At the risk of sounding snobby (and let's face it, I'm a baking snob), this is something I - and probably most people - can make on their own. No need to pay $5.98 ($4.49 for the single cookie price + $1.49 upcharge for the cake) for a simple chocolate cake that was neither spectacularly rich or fudgy.
What also killed this cake for me was something I thought I would like the most and that was the caramel. It was too pale and a bit grainy, signs that it hadn't been cooked long enough to get the real caramelization and flavor. I don't know if my store didn't cook it long enough or if this is just how Crumbl corporate directs them to make it. My store rarely makes mistakes though so it literally could be either. But the caramel didn't save the cake and actually detracted from it by being undercooked.

Cookies and Cream Cheesecake
Last week, I don't think there was a tester, at least none that I saw when I checked last Wednesday. Surprisingly, when I randomly checked this past Monday, my store did have a test offering on both Monday and Tuesday. So I don't know if this is a one-off or if Crumbl is no longer doing testing on Wednesdays but letting the store decide. 
Either way, against my better judgment (let's hear it for sweet-tooth greed), I got this Cookies and Cream Cheesecake tester. It's against my better judgment simply because I don't like cheesecake. Cream cheese is too tangy for me and cheesecakes aren't worth the calories to me. So this probably isn't fair for me to review because of my anti-cheesecake bias. As objectively as possible, I'll say if you like cheesecake, this might be worth it to you. You can't go wrong with an Oreo cookie crust. The cheesecake itself was a little firm; I think I would've preferred it to be a little softer and smoother but that's a personal preference.
Because I'm not a cheesecake person, I haven't eaten enough cheesecakes to be that discerning about it. Was it the best cheesecake I've ever had? No. It wasn't the worst either but I don't think I've had more than a dozen cheesecakes in my life. For me, this is tangy and I just don't enjoy the tang of cream cheese. I can take it in cream cheese frosting if you put enough sugar in it to counter the tang but not in an actual cheesecake. For Crumbl and cheesecake fans, the $5.98 (again, single cookie price + $1.49 upcharge) might be worth it. For me, it was not. I'm glad I tried it so I can make an informed opinion about it but this isn't something I'd get again.