Monday, March 30, 2015

Restaurant Review: Palace BBQ Buffet

Palace BBQ Buffet - dinner on March 27, 2015
I met a friend for dinner last Friday for Korean BBQ, a good way to end the week. We were able to meet early so the restaurant wasn’t crowded at all.  I’d been to Palace BBQ Buffet years ago but typically only for lunch with my coworkers. We didn’t go that often and only when none of us had any afternoon meetings because you literally walked out smelling like Korean BBQ.

There’s a grill at every table and the buffet has both a hot side with food already cooked and a raw side with meats you cook at your table. You can get an unlimited amount since it’s a buffet (although I wouldn’t advise it for the sake of the fit of your clothes). Unlike Beque Korean Grill, there’s no special ventilation system that draws the smoke and cooking smells away from the diners so you’ll pretty much end up smelling like your meal. I think it’s a downside to most Korean BBQ places where you grill at your table. Not a big deal but just something to be aware of. This’ll sound funny but I deliberately didn’t wash my hair that day until after dinner that night because I knew I didn’t want to go to bed smelling like Korean BBQ. And I didn’t want to wash my hair twice in the same day. Yes, I plan ahead on the oddest things.

Anyway, for the most part, the food is pretty decent. The short ribs are the best because of the marinade. The beef is good but not as good as Beque Korean Grill or Jang Su Jang. It just didn’t have the same flavor. But the short ribs do so if you go here, load up on those. The cooked food side didn’t have much to tempt me so I didn’t stock up much from that side other than with steamed rice and a couple of chicken drummettes. The short ribs are where it’s at. Service was fine and we had no complaints.


For someone with my limited taste buds, the main drawback for me is the price – dinner is $30 a person. Back in the heyday of Korean BBQ as a novelty or when I was on a low-carb, high-protein eating plan, that would’ve been fine. But with the other options like Beque that are cheaper, are also all-you-can-eat and taste better, Palace BBQ Buffet isn’t as attractive a choice for dinner. Plus, it’s not high on my list to leave a restaurant smelling like a short rib. I’d probably only come back here when I have a large party as the place is big enough to accommodate a lot of people.


Cooking at the grill at our table

Saturday, March 28, 2015

Peanut Jumbles

Peanut Jumbles - made dough March 21, 2015, recipe modified from Great Cookies by Carole Walter
I haven't been combing through pinterest lately and the plethora of recipes I've already pinned haven't tempted me lately to finally try them. Fortunately, I still have over 200 baking books to turn to and hundreds, if not thousands, of recipes still left to try from them.
One of the downsides of having such a wide variety to choose from *cough* First World problem *cough* is I'm either overwhelmed by all the choices and can't decide so I end up baking nothing or I'm drawn to a recipe I'm almost always sure I've made before but I don't know for sure. After going through a ritual of mental gymnastics every time I peruse my baking books (should I try this one? Did I make this already? Did it turn out? Why don't I have a picture of it?), I finally got smart and started tagging the recipes inside the books themselves.
The book nerd in me can't handle the thought of actual writing in the book itself as it would be akin to spraying graffiti on a signboard or, you know, the Mona Lisa, so I compromised by sticking a post-it note on the recipe's page with the date I made it and cryptic words about what I thought of the finished product like "good", "okay", "nah". It's too bad I didn't think of this system until just recently so I'm still faced with wondering about most of the recipes I don't remember clearly if I'd made it before but at least I can flag new experiments now.
I modified this recipe for peanut butter cookies by substituting peanut butter chips and chocolate chips for the peanuts that it was meant to have. So I guess technically I can't call these "peanut jumbles" the way Carole Walter originally meant them to be. But still, they turned out pretty well. The dough was easy to work with and I was pleased that the cookies stayed thick even during baking.
Form the dough balls, make the cross hatches with the tines of a fork or the pointed side of a meat mallet, sprinkle with granulated sugar then freeze for several hours or overnight before baking. Don't overbake these or they'll be cakey. I recommend baking just until the middle doesn't look raw anymore and the edges show a few cracks. Let them cool to at least lukewarm or they might be too mushy.
2 ½ cups sifted cake flour, spooned in and leveled
½ teaspoon baking powder
½ teaspoon salt
¼ teaspoon baking soda
¾ cup (1 ½ sticks) unsalted butter, slightly firm
¾ cup creamy peanut butter
1 cup lightly packed dark brown sugar
½ cup granulated sugar
2 large eggs
2 teaspoons pure vanilla extract
2 cups whole salted peanuts. optional (I substituted 1 package of peanut butter chips and 1 1/2 cups of chocolate chips)
  1. Strain together the flour, baking powder, salt and baking soda. 
  2. In the large bowl of an electric mixer fitted with the paddle attachment, mix the butter on medium-low speed until smooth. Blend in the peanut butter. 
  3. Gradually add the dark brown sugar, then the granulated sugar and beat until lightened in color, about 2 minutes. Blend in the eggs, one at a time, then the vanilla. Reduce the mixer speed to low. 
  4. Add the dry ingredients in three additions and mix just until combined. Using a large, rubber spatula, fold in the peanuts, if using, or chips. 
  5. Form dough into golf ball-size mounds and freeze for several hours or overnight. 
  6. When ready to bake, preheat oven to 375 degrees F. Bake for 10 to 11 minutes, until golden brown, rotating the pans top to bottom and front to back towards the end of the baking time. 
  7. Let stand for 2 or 3 minutes before loosening with a thin metal spatula. Transfer to wire cooling racks.

Thursday, March 26, 2015

Sugarcrust Cake

Sugarcrust Cake - made March 22, 2015 from Great Cakes by Carole Walter
On the heels of the Snickerdoodle Apple Bread, I thought I would try out this Sugarcrust Cake that had a similar concept of sugar sprinkled on top. Unfortunately, it wasn’t as successful an experiment. The recipe book says the sugar topping would melt and form a glaze. Nope, that didn’t happen. It just stayed crunchy sugar in blotches. I was actually okay with that because I like a sugary crunch as a topping. I had the tiniest sliver when this first came out of the oven and I thought it was fantastic. Warm, buttery, awesome vanilla flavor and I loved the sugar crunch on top.

Then I had a more decent forkful later the same day when it had cooled and I wasn’t as enamored. The taste was still vanilla butter goodness but the texture seemed a bit on the dry side. It’s possible I overbaked it by a minute or two or didn’t beat the batter enough so it was on the dense side. Or both. Either way this was much better warm, to the point that if you make this, I suggest serving it warm from the oven or heating it up at the last minute before consuming.
2 cups sifted unbleached all-purpose flour
1 1/2 teaspoons baking powder
1/2 teaspoon salt
2/3 cup (1 1/3 sticks) unsalted butter, cut into tablespoons
1 cup superfine or strained sugar, less 2 tablespoons
2 large eggs
1 large egg yolk
1 teaspoon vanilla extract
2/3 cup milk
1 large egg white

Sugarcrust topping
1/4 cup sugar
1 tablespoon unbleached all-purpose flour
1/4 teaspoon vanilla extract
  1. Preheat oven to 350 degrees F. Line a 9" x 9" baking pan with aluminum foil and spray lightly with nonstick cooking spray.
  2. Sift together the flour, baking powder and salt; set aside.
  3. Cream the butter until smooth and light in color, 1 1/2 to 2 minutes. Add the sugar, 1 tablespoon at a time, taking about 4-6 minutes to blend it in well. Scrape down the sides of the bowl.
  4. Add the eggs and the egg yolk, 1 at a time at 1-minute intervals. Blend in the vanilla.
  5. Reduce mixer speed to low. Add the dry ingredients, alternately with the milk, dividing the flour into three parts and the liquid into two parts, starting and ending with the flour. Mix only until just combined after each addition. Scrape down the sides of the bowl and mix briefly.
  6. Spoon the batter into the prepared pan and smooth the surface with the back of a tablespoon.
  7. Beat the egg white with a fork until frothy, about 20 to 30 whips. Spread about 1/2 to 2/3 of the beaten white on top of the batter, using a pastry brush. Discard the remaining white.
  8. Make the topping: combine the sugar, flour and vanilla in a small bowl. Using your fingertips, work together until well blended. Sprinkle the sugar mixture over the cake.
  9. Bake for 30 to 35 minutes or until the cake just begins to come away from the sides of the pan. The topping should be brown and form a glaze.
  10. Remove the cake from the pan and set on a wire rack to cool. 

Tuesday, March 24, 2015

Snickerdoodle Apple Bread

Snickerdoodle Apple Bread - made March 21, 2015 from Cookies and Cups
On the heels of my last post where I said I didn’t feel like baking and you can’t tell since I usually have a backlog of 2 weeks’ worth of posts to put up so technically I can go two weeks without baking before anyone notices – yeah, the reason you don’t notice is once those 2 weeks are up, I’m usually back in the baking saddle once more.

As is the case here. I had an afternoon open last weekend when a friend couldn’t make our original plans so I ended up puttering around in my kitchen; that’s baking speak for “I made stuff”. Besides 2 cookie doughs and a cake (future posts – I’m backlogged again), I made this Snickerdoodle Apple Bread. This goes under the category of “why I’ll never give up sugar”. Also known as “why I’m not losing the last 10 pounds anytime soon. Or ever.”
That’s my lead in to say, this is feckin’ delicious. When I make quick breads, which is what this is, I usually make my banana bread. This time I deviated into apple bread territory. Just as with most quick breads, this has a cakey-but-more-dense-than-cake texture. Not as dense as a pound cake but definitely more heft than a chiffon cake. The flavor was great, accentuated by the chunks of apples in the bread, something I normally don’t care for since I usually don’t like “stuff” in my cakes or quick breads but given the softness and moistness not to mention flavor of the apples, it was a good addition. Plus, anything topped with cinnamon sugar, c’mon. That’s just utter goodness.
One tip to make this easier to take out of the pan without dislodging the topping as you definitely don’t want to turn this upside down to get it out of the pan or you risk losing more of the cinnamon sugar than you should. Instead, tear off a strip of parchment paper that’s narrower than the length of the pan but wide enough that you can lift the baked loaf out of the pan. Place it in the middle of the greased pan before you pour the batter in and fold down the ends of the parchment strip so they don’t flop into your batter. Pour the batter in and smooth, sprinkle the cinnamon sugar topping over it and bake. Once your quick bread is baked, let it cool for a few minutes, run a spatula around the sides to loosen then gently lift up by the parchment strip to set it on a wire rack and let it cool completely.
I had a slice of this when it was lukewarm and I was in there-goes-the-diet-and-I-don’t-care territory. Delicious, I tell you. The pictures are from when the quick bread was still warm so the inside might look a little gooey but it wasn't so much mushy as moist. I had a second piece the next day and yup, it was still just as tasty. Which meant it was a good thing I gave the rest away or I would’ve probably eaten the whole loaf. As it was, my parents liked it too and didn’t even demur on the sugar topping. Success.
½ teaspoon kosher salt
1½ teaspoon baking powder
1½ cups flour
½ cup butter, room temperature
1 cup light brown sugar
¼ cup granulated sugar
½ tablespoon cinnamon
2 eggs
1 tablespoon vanilla
½ cup milk
1 Granny Smith Apple, finely chopped
Cinnamon sugar topping
2 tablespoons granulated sugar
1 teaspoon cinnamon
  1. Preheat oven to 350°
  2. Spray a 9x5 loaf pan with baking spray. Line bottoms and up the ends with a strip of parchment paper (for easy removal) and spray again. Set aside.
  3. Whisk together salt, baking powder and flour. Set aside.
  4. In bowl of stand mixer beat butter, both sugars and cinnamon for 2 minutes on medium speed, scraping sides as necessary. Add in both eggs and vanilla and continue mixing until smooth, again scraping sides as necessary.
  5. Turn mixer to low and add in flour mixture and milk in alternating additions, starting and ending with flour. Mix until just combined.
  6. Finally add in apples and stir until just combined and pour batter into prepared pan.
  7. Mix together the sugar and cinnamon for topping and sprinkle on top of batter.
  8. Bake for 50-55 minutes until bread is set and toothpick inserted into the center comes out clean.
  9. Allow to cool in pan for 10 minutes and then remove transfer to a wire rack to cool completely.
  10. Serve warm or at room temperature.

Sunday, March 22, 2015

Texas Turtle Sheet Cake

Texas Turtle Sheet Cake - made March 15, 2015, recipe adapted from About a Mom
I have to confess, I’m starting to lose steam on baking. Usually I “just do it” without giving it much thought beyond what ingredients I have in my pantry (usually all of what I need), what recipes I finally am going to try after having pinned them forever ago and what occasions I need them for or people I need to give them to. It’s just habit to bake now.

But I’ve been busier than usual lately, not just with work but with the non-baking aspects of my life (yes, those aspects do exist) so when I start feeling like I “have” to find time to bake, it takes the fun out of it and hovers dangerously into becoming a chore. Despite my baking fiendishness, the biggest reason I’ve never done it as a job is I didn’t want to turn something I love into a job. So I bake only when I feel like it. Mostly.

So when I don’t feel like it, my blog goes quiet for longer periods. You might not have noticed since I usually have a backlog of posts to put up and I can get away with posting every 2-3 days, sometimes more often. So it looks like I’m baking all the time but actually I’m just catching up.
Anyway, after the weekend visit to my sister’s and being on the road for hours, being behind on the errands I normally run on weekends when I’m around, looking at my overflowing laundry basket and the paper clutter that breeds on its own during the week (seriously, how does that happen??), I confess I didn’t feel like baking. Just didn’t want to do it. Was too tired, was burned out, what have you.
But, like muscle memory that automatically knows what to do even when you’re on auto pilot, I found myself in my kitchen. I swear I thought I was just tidying up but somehow I found the spark of inspiration to try out this sheet cake recipe. Before I knew it, I was lining a 9 x 13 pan with aluminum foil, bringing out my medium heavy saucepan to boil butter and buttermilk together and by the time my oven had preheated, I was popping a cake into the oven. That just goes to show how easy this recipe is even if you don’t really feel like baking.

Of course the baking part was just the first step. While the cake baked, I made the frosting and after I took out the cake, I spread the frosting over the hot cake which melted it slightly into the cake. If you want a more stiff frosting, use the full amount of confectioners’ sugar. If you like your frosting to err on the side of glaze and be less sweet, cut back on the confectioners’ sugar. The more sugar, the more the frosting will “set”.

You want to sprinkle the toasted pecans over the frosting before the frosting sets so they’ll adhere better. Same with the chocolate chips. I used salted caramel from Trader Joe’s to bring it all together but you can always make your own from scratch if you prefer. As cakes go, this was delicious, especially eaten while still slightly warm, the frosting is a little runny and the toasted pecans have a nice crunch to provide a texture contrast to the soft cake while the salted caramel provides an added gooey factor. I had a piece when I first made it and another one the next day. It wasn’t as good the next day because the pecans weren’t as toasty-crisp after sitting on top of the frosting and being covered by the salted caramel overnight. But remember that I have really picky taste buds.

2 cups granulated sugar
2 cups all-purpose flour
1 teaspoon baking powder
1 teaspoon baking soda
1/2 teaspoon salt
1 cup butter
1 tablespoon espresso powder dissolved in 1 cup water
1/3 cup unsweetened cocoa powder
2 eggs
1/2 cup buttermilk

Chocolate Frosting
1/4 cup butter
4 tablespoons buttermilk
3 tablespoons unsweetened cocoa powder
2 1/2 cups powdered sugar

Turtle Topping
1/2 cup chopped pecans, toasted
1 cup semisweet chocolate chips
1 cup salted caramel sauce, for drizzling
  1. Preheat oven to 350 degrees. Line a 9 x 13 pan with foil and lightly spray with nonstick cooking spray.
  2. In a large mixing bowl, combine flour, baking powder, baking soda, salt and granulated sugar.
  3. In a saucepan, combine 1 cup butter, 1/3 cup cocoa powdered and 1 cup of espresso. Bring to a boil, stirring constantly.
  4. Pour into prepared dry ingredients. Mix on medium speed until combined. Add eggs and the 1/2 cup buttermilk. Mix on medium speed until combined.
  5. Pour into prepared baking pan. Bake for 25-30 minutes or until a toothpick inserted near the middle comes out clean or with a few moist crumbs.
  6. Frosting: in a medium saucepan, combine 1/4 cup butter, 4 tablespoons buttermilk and 3 tablespoons unsweetened cocoa powder. Bring to a boil over medium heat, stirring constantly.
  7. Remove from heat and use a wire whisk to gradually mix in powdered sugar, 1/2 cup at a time. Pour warm frosting over warm cake. Sprinkle immediately with toasted pecans and chocolate chips. Drizzle with salted caramel.

Thursday, March 19, 2015

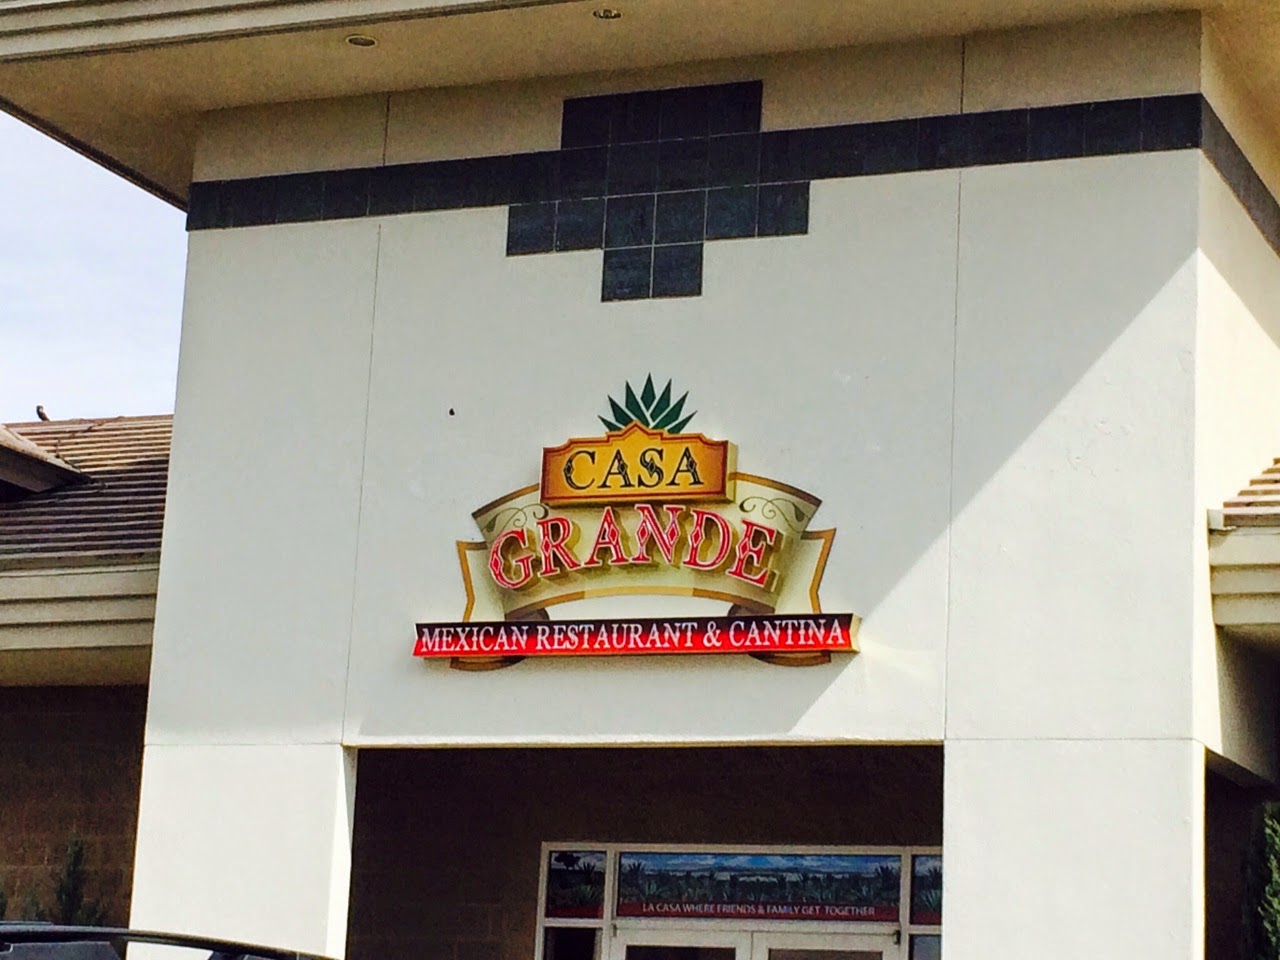
Casa Grande Mexican Restaurant - Reno, NV

Casa Grande Mexican Restaurant - lunch on March 14, 2015, 4-star rating on yelp
We visited my sister and her fiancé at their new house last weekend. The drive took several hours so by the time we arrived, unloaded the car, fawned over their dogs and drove to the restaurant, we ended up having a mid-afternoon lunch. Which worked out pretty well as the place was almost empty and there was plenty of room for our party of 6.
Even if it had been busier, Casa Grande is rather spacious so it could easily accommodate large crowds. The interior is broken up into several large eating spaces and we had the luxury of being the only occupants in one of them.
Fresh, warm tortilla chips - mmmmm
Spinach Enchiladas
 My sister and her fiancé had already eaten here to scope out the restaurant ahead of time for our visit. Plus they’re aficionados of Mexican food so we could trust any place they took us to would serve good food. No exception this time either.

I don’t remember what everyone ordered but the portions were generous and by all accounts, everyone’s entrees were pretty good. I gorged on ate more than my share of the warm tortilla chips that arrived before our meals so I didn’t have a lot of room for my shrimp fajitas but what I had was tasty.
Shrimp Fajitas
Service was excellent and our wait server was very accommodating, bringing over special house sauces by request that were spicy. My sister has more adventurous taste buds than I do and, like my mom and my nieces, has a high tolerance for spice so if you like spicy Mexican food, this is a good place to visit. Price points are in the $12-$18 range for most of the entrees and, according to two of my lunch companions, apparently they make a mean margarita.
Blended Margarita
Margarita on the Rocks