Crumbl Cookies review #74: Cookie Butter Tres Leches cake (tester) visited June 24, 2024 and Butter Cake, visited June 26, 2024
I think Crumbl is changing its testing format. It used to be a tester would be released (almost) every Wednesday at all of its test stores. They went through a period of not having testers at all and now, recently, it appears a tester would only come to a limited number of test stores and it would be available all week. At least that's what I've found lately with the
Cookies and Cream Cheesecake tester and the
Nanaimo Bar Cookie tester.
They don't seem to do a tester every week either but that could also be because I haven't always paid attention every week. Fortunately I paid attention this week and even more fortunately, my store seems to be one of the limited number of test stores who continue to have test products available.
I say fortunately because y'all know my love of the
Tres Leches Cake Crumbl had awhile back. It appeared to be successful enough for Crumbl to test a taste variation of it in the form of a Cookie Butter Tres Leches. You also know my love of cookie butter.
 |
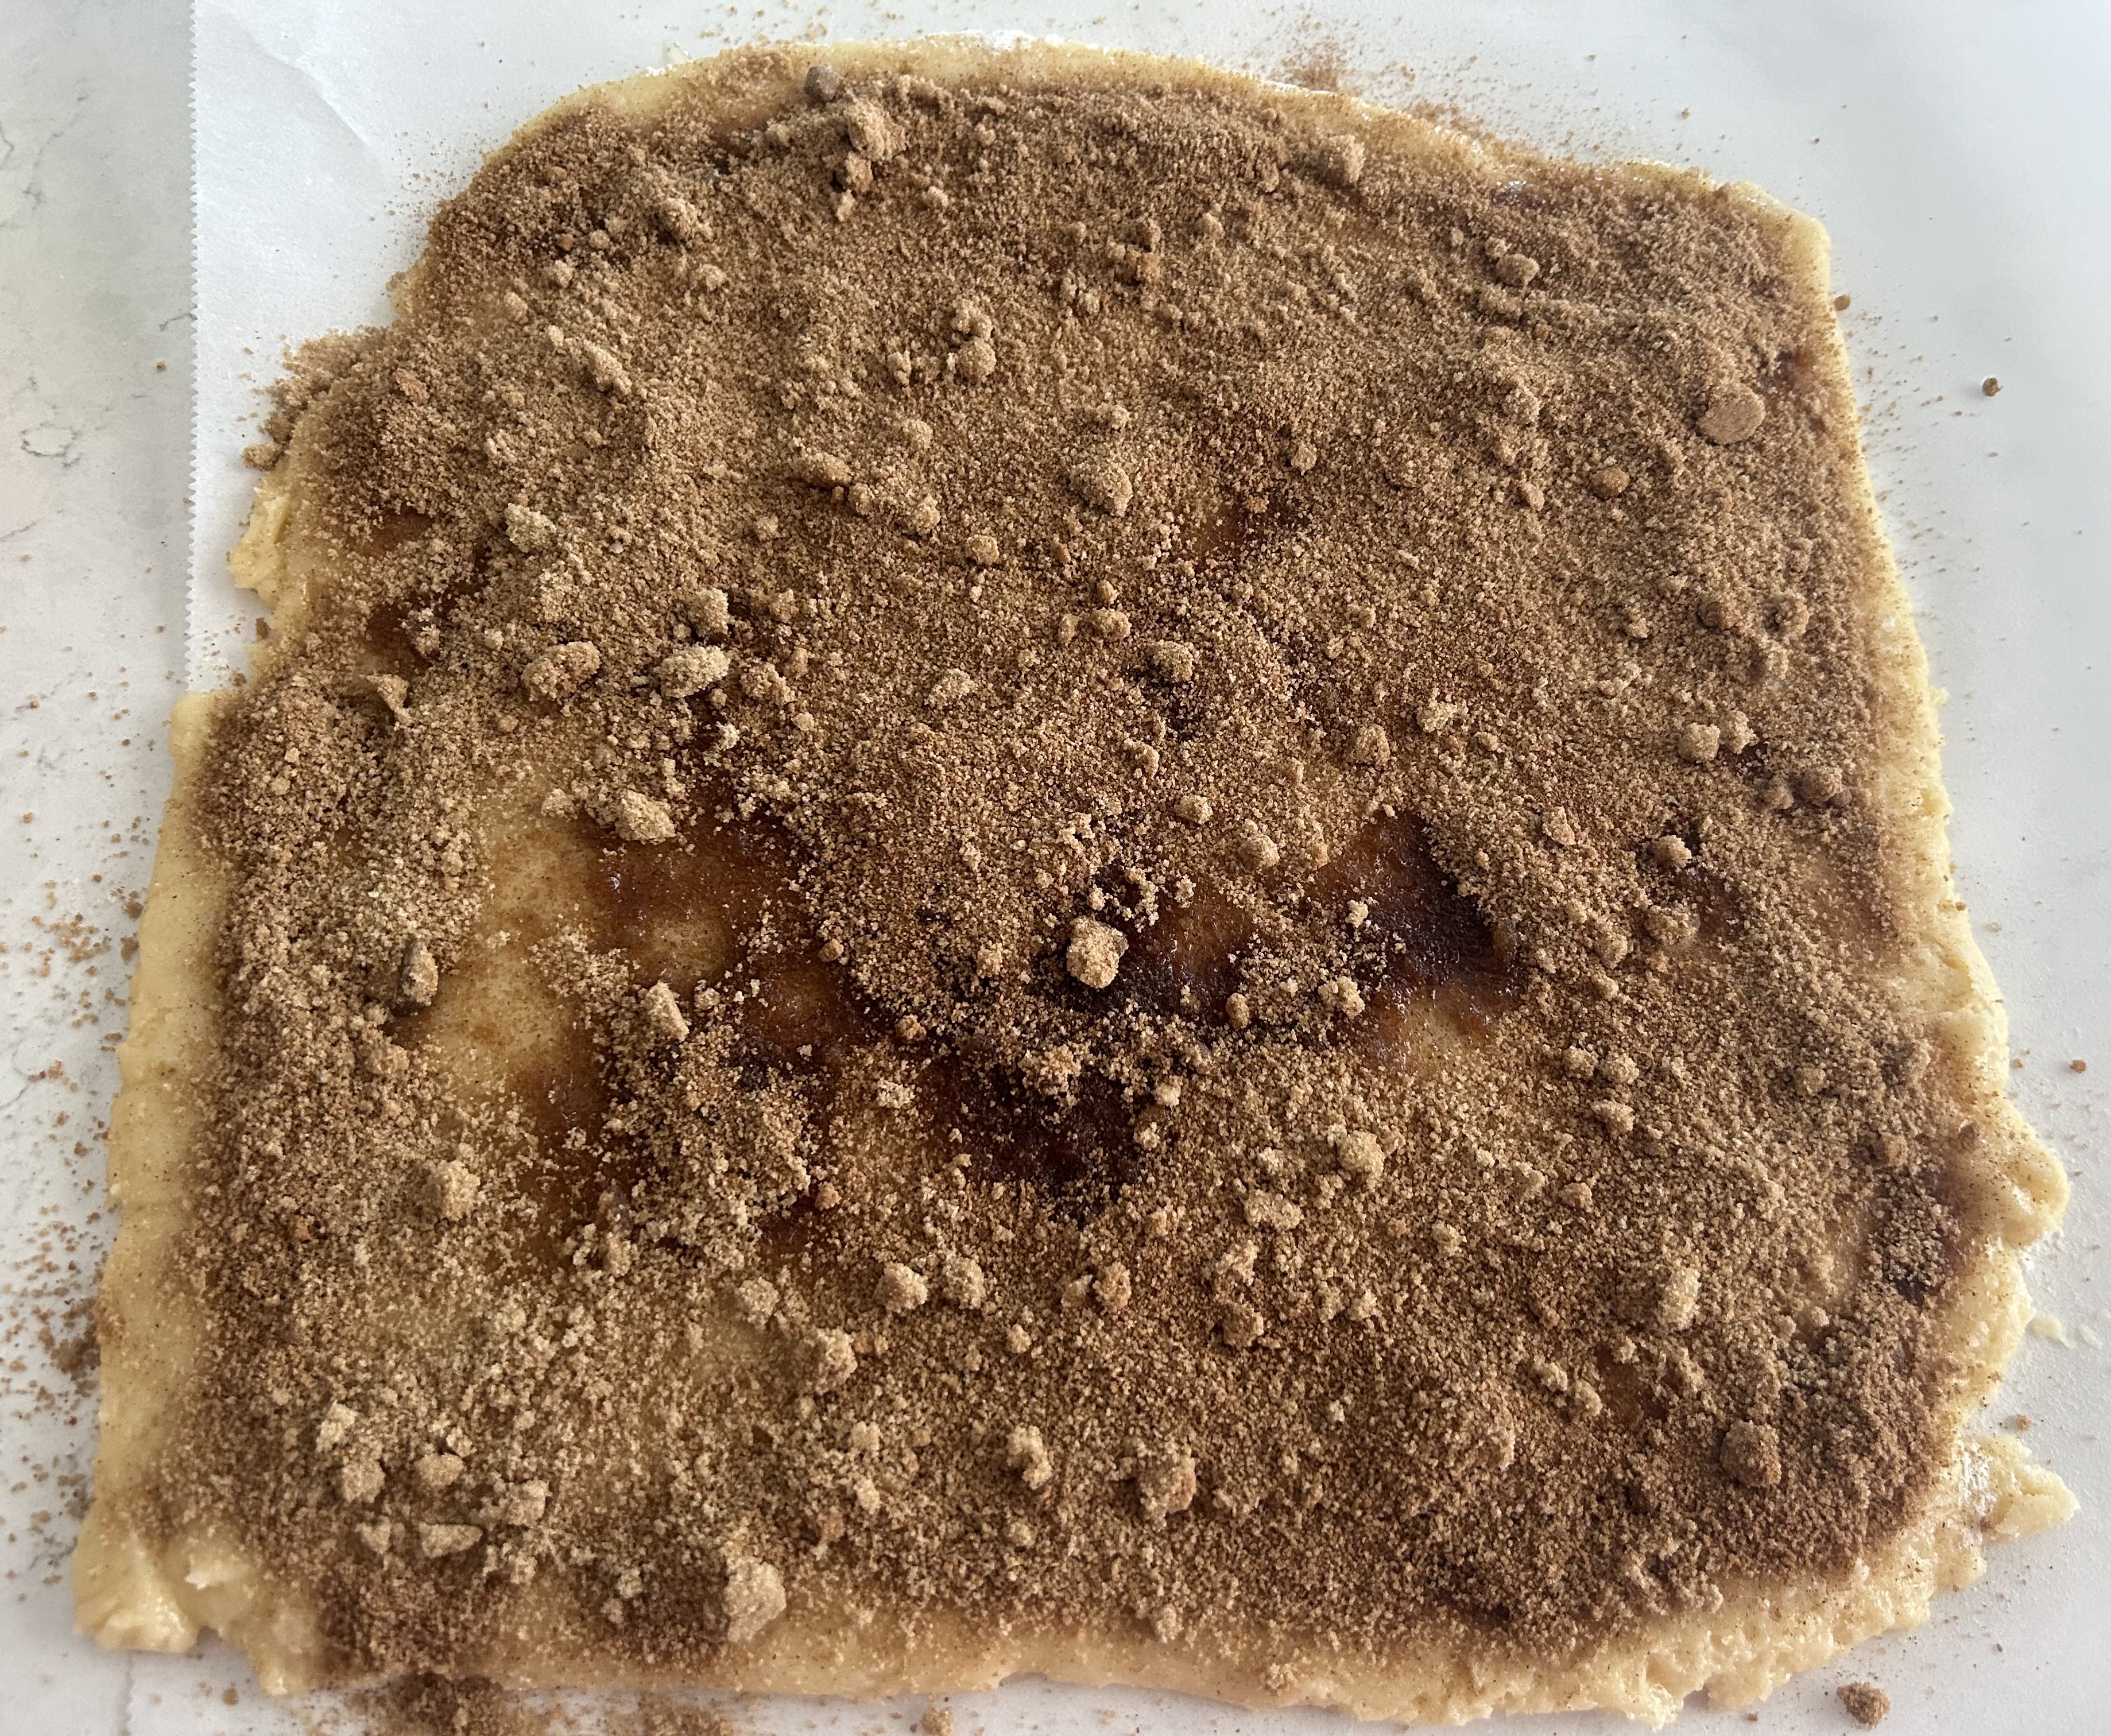
| Cookie Butter Tres Leches Cake |
So I was already predisposed to like this cake and I did. I won't say it was as good as the original as I think I prefer the original with its cinnamon overtones in the topping. But still, cookie butter.... Cookie butter isn't a particularly strong flavor when blended into baked goods but this had enough flavoring to be a cookie butter tres leches cake. My store does the tres leches really well. This was neither too soggy or too dry. It was delicious. I wouldn't be sorry if/when they have the original tres leches again but this one is a good substitute in the meantime. At my store, this had a $1.49 upcharge so the total was $5.98 plus tax.
I also have to admit, contrary to what I posted about the
cinnamon square and how I go to Crumbl for cookies, not cakes I have to eat with a fork or spoon, I was wrong. Crumbl has done well with these little cakes so far and I was so wrong from my original opinion that I've actually been going to Crumbl more for their cakes than their cookies lately.
 |
| Butter Cake |
Which brings us to the Butter Cake, which, besides the Cookie Butter Tres Leches tester, was the only thing I wanted from this week's menu. I've already tried a non-chocolate version of the
Pretzel Pie, the
Lemon Cupcake and the
Honey Bun. I had zero interest in the peanut butter and jelly (I don't like jelly) or the semisweet (I prefer milk chocolate).
But the butter cake was intriguing. I'm already a fan of
Crumbl's Kentucky Butter Cake cookie and I like butter cakes in general anyway. This one had a $0.99 upcharge so it was $5.48 at my store plus tax.
Okay, wow, to cut to the chase, I loved this Butter Cake. Loved. As in, I could easily forego Crumbl cookies from now on and live on a caloric high (literally) with their cakes. Especially this one. It was freaking delicious and is one of the reasons I'm publishing this post now while there's still time for people to get this by Saturday. If you're on the fence about this one, jump off, run, don't walk, to your nearest Crumbl. It was freaking amazing.
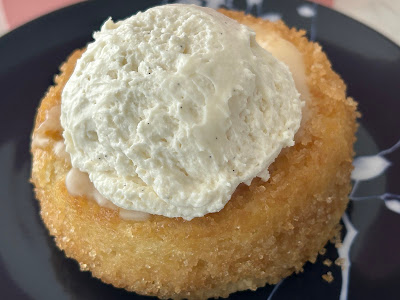
I loved 3 things about this cake and liked the 4th. First, the cake itself was absolutely delicious in both buttery goodness and perfect, slightly dense, moist cake texture. Second, the sugar crystals around the outside provided the best texture contrast with the crunch and added sweetness to the cake. Third, the butter glaze was perfect, adding a nice buttery flavor to enhance the cake. The vanilla bean whipped cream was more of a like than a love because you know my bias against whipped cream. But even that was still good as it was reminiscent of the vanilla bean mousse in the
skillet cookie. If they had used the mousse from that cookie instead of the whipped cream, my like would shoot to love.
But, regardless of the whipped cream, I still loved this cookie overall. So much so that I may get another one this week and do another double workout in case I eat it all again instead of virtuously storing in the freezer for another time. We'll see.