Sunday, September 17, 2017

Hong Kong - Hei Lee Bakery

Hei Lee Bakery - visited August 28, 2017
Since Jenny Bakery didn’t offer any samples of their cookies, it was fortunate that literally next door to them was Hei Lee Bakery. They didn’t offer samples either but they had individual baked goods for sale and were the more typical Asian bakery I had been hoping for in Hong Kong.

If you’ve never gone to an Asian bakery before, get the bread or any bread product. They make the best, no lie. I don’t happen to like the paste-filled stuff as in rolls filled with red bean paste or mung beans or any other kind of bean paste but I do like the baked pork buns and the cocktail buns which are filled with coconut and sugar. The pineapple buns are good too although I don’t get the name since they don’t contain a lick of pineapple in them. Instead, they’re fluffy, pillowy, delicious sweet rolls. Like King’s Hawaiian rolls on steroids but better.

Sandra and I had already had a typical Chinese breakfast earlier (pork chop with rice noodles and broth for me) but given we’d slogged 4 kilometers in pouring rain to buy cookies we wouldn’t be able to eat for another 5 days, we deserved a little local bakery goodness. The heat and humidity were doing a bang up job suppressing my appetite and we had designs on dim sum for lunch (next post) so I exercised some self control and only bought a cocktail bun and an egg white coconut tart for later.

Hei Lee Bakery’s offerings were similar to Sheng KeeBakery which I visit regularly back home – probably too regularly. They had the usual fare of bean paste-filled buns, cocktail buns, buns filled with hot dog (it’s an Asia thing), pork buns, bread rolls, bread slices and butter cookies. The cookies are only sold by the pound and the minimum you could buy was half a pound. Sandra bought some for us to share later but we both ended up forgetting about them and I never tried them. 


The cocktail bun was good though. I ate the egg white coconut tart the next day but forgot to take a close up of it. It was a little dry. I don’t know if that’s because I ate it a day later or if that’s how it’s supposed to be but the texture of the bottom crust was a bit dry and crumbly and the filling was also (I think intentionally) dry. It wasn’t a custard filling but more like a dense cake that wasn’t cakey. The flavor was good but I think the texture could’ve been improved if I’d been able to warm it up when I ate it. Unfortunately, I didn’t have a microwave in my hotel room.


Saturday, September 16, 2017

Hong Kong - Jenny Bakery

Jenny Bakery - visited August 28, 2017
Rainy Hong Kong view from my hotel room
As I arrive at the 8-year anniversary of my blog (8 years, wowsa, first blog post was on September 13, 2009), I reflect back on how much it’s evolved. When I first started it, I was simply publishing online what I did whenever I tried a new recipe: I would copy the recipe, note where I got it from, attach a picture of the finished product, and write myself a note on whether I made any changes, how the recipe turned out, and what I thought of it. I had separate Word documents, some of which I printed out and bound into my own collection of recipes for a “recipe book”. 
Then I ventured into the world of blogging, started to get more verbose than my earlier, terse recipe notes and began taking more (and more and more) pictures of what I made. I’d throw in the odd recipe or two for savory food, known as “real food” in my sweet tooth nomenclature. Then began the period where I took pictures of just about everything I ate. Thank you, Steve Jobs and Apple, for the iphone which meant I had a built-in camera whenever I sat down to a restaurant meal. Bakery reviews and restaurant reviews were launched, partially as my effort to promote small foodie businesses that I experienced and raise awareness about patronizing small businesses in general.
It got even more fun (for me) when I traveled and blogged about my (mostly foodie) experiences and my blog expanded to include my nomadic adventures. It was partly to capture the experiences, partly to serve as references in case I wanted to recommend places to others and partly as a reminder of what I’d done and eaten and eaten some more in my past.

This post marks the beginning of my latest trip to Hong Kong. Prepare for some serious culinary consumption. I hadn’t been back to Hong Kong in over 19 years, prior to the British handover back to China. I wasn’t as much of a foodie back then so most of my memories were of Hong Kong as a fascinating mixture of Chinese and British culture as well as being a mecca for shoppers. I was more of a shopper than a foodie back then and Hong Kong defeated even my shopping inclinations because everywhere you turned, there were shops.
For this trip, I replaced those shopping memories with food ones. You know by now that before I travel anywhere, I look up must-visit bakeries as recommended by the internet, yelp where available, trip advisor when not. I look up local foodie lists of “must-try” foods, bakeries and restaurants. I map different recommendations from my hotel and see what’s within walking distance. I’m not a fan of taxis during my travels unless I’m coming from or going to the airport. Whenever possible, I take easy-to-follow public transportation (in Hong Kong, that would be the MTR or the HK version of London’s Underground) or I simply walk. It’s the best way to see a new city as long as you have a good sense of direction or data roaming-enabled GPS.
Jenny Bakery was my first bakery stop on this trip. It not only came up on a google search as “famous” but a coworker recommended them and said they had “crack cookies”. I rarely need much more encouragement than that to seek out a bakery in a new city. I was in Hong Kong for business but I came in a day earlier than I had to in order to give myself time to recover from jet lag. I love to travel but I’m a horrible traveler since I can rarely sleep on planes and need time to adjust to the local time zone.
What the tin looked like for Chinese New Year 2017
My coworker Sandra and I were both early for our meeting so we used part of our adjust-to-Hong-Kong-time period to make the 4-kilometer walk from our hotel to Jenny Bakery. 4 km is completely walkable and like me, Sandra prefers walking in order to be able to see more of the city. Unfortunately, we were walking in the aftermath of Hong Kong’s most recent typhoon so it rained pretty much the whole day, including during our walk. When I say it rained, if you’ve ever been in Asia during typhoon season, you know I’m not talking gentle pitter patter of raindrops. It means we both got Nature’s shower and became soaked to the skin. Fortunately, it wasn’t cold rain nor was it windy and the temperature was warm enough that I really didn’t mind the rain that much. Okay, my shoes got soaked and I had to change completely into another outfit by the time we got back to the hotel but hey, that’s part of the adventure.
It took us awhile to find Jenny Bakery. Neither one of us activated the data roaming on our phones (I hadn’t bought international roaming and didn’t want the exorbitant, mortgage-a-kidney charges) so we went off screen shots I’d downloaded of the directions I mapped earlier. I’ll spare you the description of how we didn’t quite end up following the path Google said to follow. By luck of the baking gods, I spotted the street name Jenny Bakery was located on by the merest chance. It wasn’t so much a “street” as an “alley”. No matter, we made it.
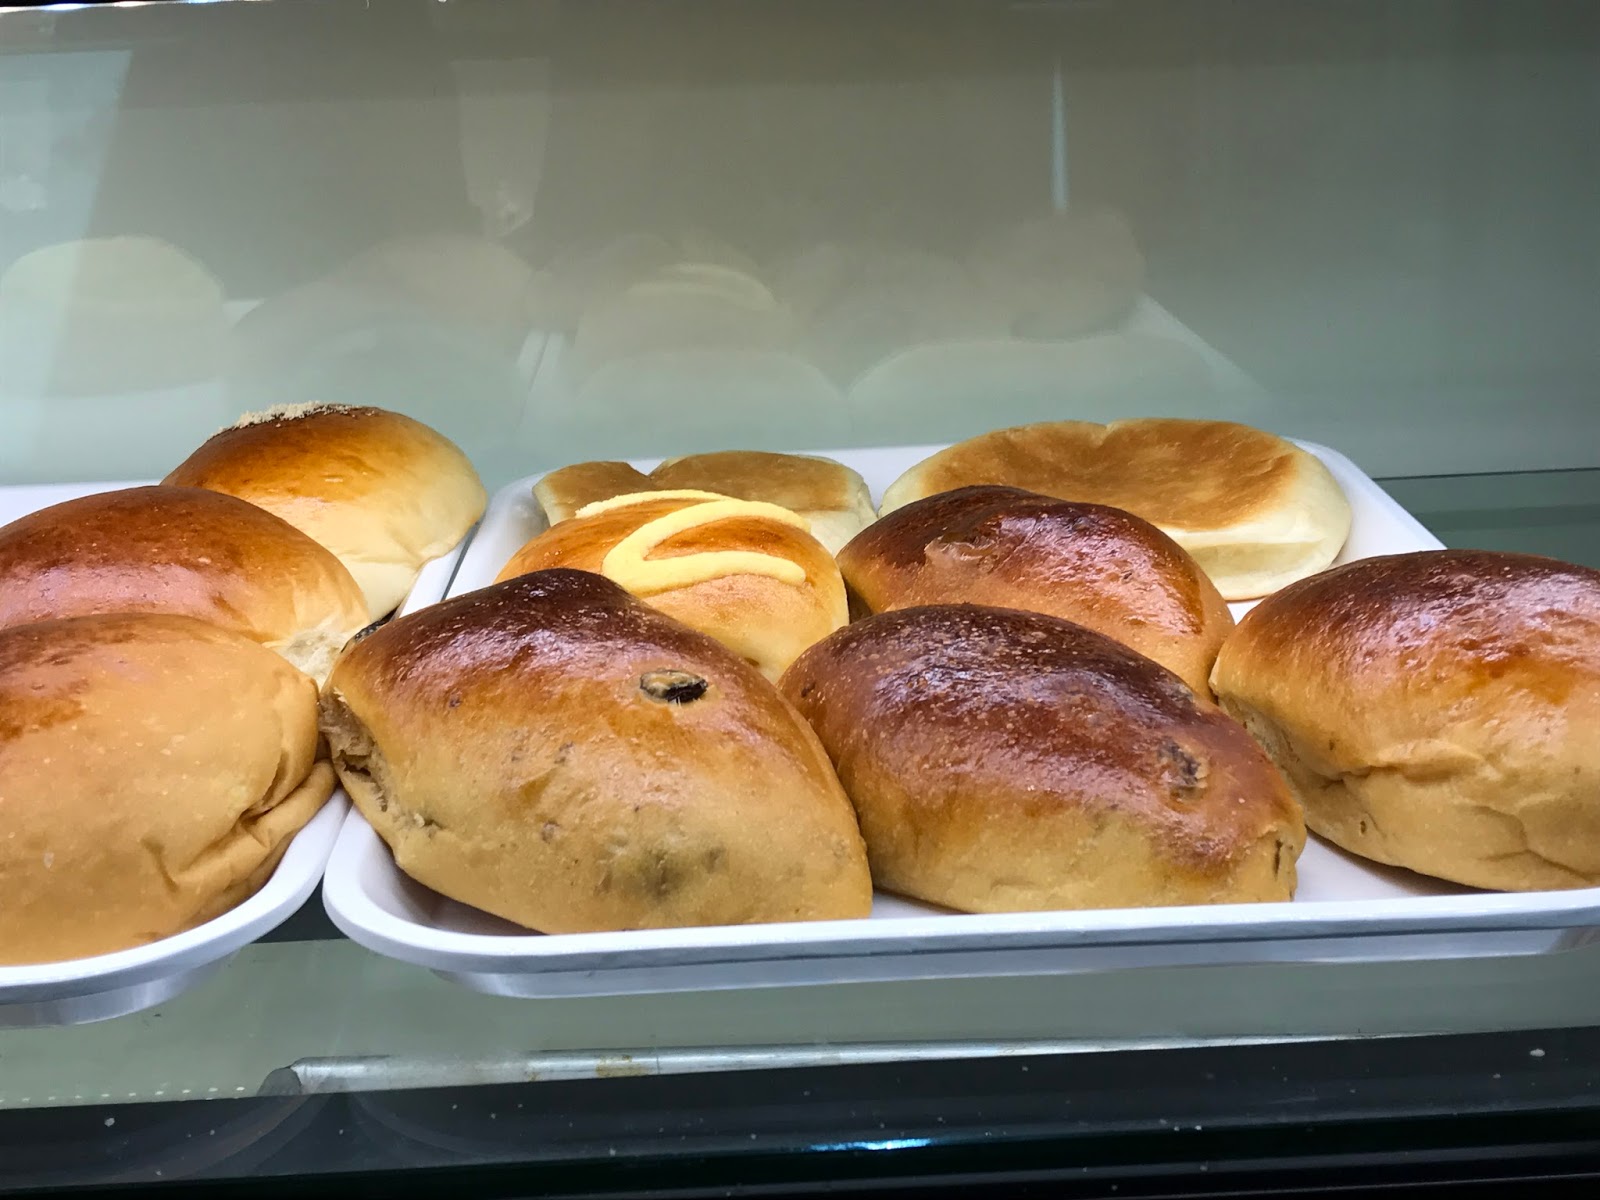
I wasn’t quite sure what I had expected of Jenny Bakery other than it was a bakery that sold cookies. After arriving, I had to revise my assessment to “a storefront that sells cookies in tins”. Because that’s literally what it was. You walk in, there are posters of the choices of various tins you could buy with differing combinations of flavors and sizes of tins, you go to the counter, tell (or point to) which ones you want, the ladies behind the counter select your choices, you pay (they only accept cash) and they hand them over. If you want a bag for your cookie tins, it’s 1 HKD. The small tin is 320 grams and costs 70 HKD. The large tin is 640 grams and 130 HKD. 
The most common tin is the one with 4 flavors: original butter, coffee, shortbread and oatmeal raisin. I got the 4-flavor tins for gifts and a 2-flavor mix of butter and coffee cookies for more personal taste testing. The cookie tins are vacuum sealed so I felt confident in buying them so early in the trip since they would last until I got them back home. Freshness is always a concern when buying foodie gifts to take back.
The bottom layer of the 640 g tin of 4-flavor cookie tin
But that meant neither Sandra or I could try the cookies on the spot since neither of us was willing to break open one of our tins for an onsite taste test. Jenny Bakery doesn’t offer samples either, which is too bad. I guess they felt successful enough and confident enough in word-of-mouth and internet fame not to need that kind of pull-marketing. And it worked. Based on their reputation for “crack cookies”, I bought them untasted in enough quantities (I also went back at a later date to pick up a couple more tins that I forgot I needed for gifts). There weren’t any lines while we were there but they did a pretty steady business.
Coffee Cookie on the left, Butter Cookie on the right
Flash forward a week later; I was back stateside and had opened my taste test tin to share with my family and finally got to try the cookies. First, let me say, they smelled heavenly. As in, you know these were made with butter, lotsa butter. Then probably more butter for good measure. Second, they were good cookies. But I’ll go out on a limb and brave the internet and Trip Advisor commentators’ wrath when I say I’m not sure I would really consider them out of this world. Don’t get me wrong; they were good. But I’ve had lots of good butter cookies and I don’t know that these stood out in any particular way. They were good butter cookies. Would I go back again next time I’m in Hong Kong? Probably not. Mostly because I’d already tried them, know what they taste like and would rather try something new or different. But they were not a standout like Laduree’s Sucre Plaisir or Levain Bakery’s cookies or Dominique Ansel’s DKA; all of which I would return to over and over again given the choice. These were just good butter cookies.

Thursday, September 14, 2017

Super Fudgy Brownies

Super Fudgy Brownies - made August 19, 2017, adapted from The First Year Blog
This is one of those recipes where there’s truth in advertising. These brownies are super fudgy. Helped by the fact that they contain unsweetened chocolate more than cocoa and there’s relatively less flour compared to other recipes.

I’ve made countless brownies and tried dozens, if not hundreds, of recipes for various brownies. I have many brownie prejudices. I don’t like them cakey or “mousselike”, meaning too soft and mushy. But I do like them chewy, dense and fudgy with enough chocolate punch to make you weep. For that reason, I don’t usually care for brownie recipes that only use cocoa powder. True, cocoa will provide more chocolate flavor than from just melted baking chocolate. But the texture isn’t as good; it isn’t as dense and tends to have a more dry, cakey mouthfeel.
A good compromise to look for in a brownie recipe is one that uses unsweetened baking chocolate (and  sometimes bittersweet chocolate) that’s melted with the butter and a little cocoa powder sifted into the dry ingredients to amp up the chocolate flavor. The baking chocolate will give you the texture and the cocoa powder will deliver on the flavor.
As you can tell from the ingredients, this had a relatively large amount of baking chocolate in it compared to the cocoa and flour. That’s what helped live up to its name of “super fudgy”. With that much unsweetened chocolate, it’s also guaranteed to make a rich dark chocolate brownie, especially if you use the good cocoa, not the wimpy stuff. I kept this one plain to keep the focus on the fudgy texture but feel free to dress it up with add ins.

1 cup butter
6 ounces unsweetened chocolate
2 tablespoons cocoa powder, sift if lumpy
1/2 cup flour
1/2 teaspoon salt
4 eggs
1 1/2 cups granulated sugar
1 tablespoon vanilla extract
1/2 cup chocolate chips
  1. Preheat oven to 350 degrees F. Line an 8 x 8" square baking pan with foil and lightly spray with nonstick cooking spray.
  2. Melt butter and unsweetened chocolate together in the top half of a double boiler set over hot, not simmering, water. Whisk until melted and smooth. Let cool slightly.
  3. In a separate bowl, whisk together cocoa powder, flour and salt; set aside.
  4. Beat eggs and granulated sugar until frothy. Add vanilla extract and combine until smooth. Add melted butter-chocolate mixture and mix until combined.
  5. Add dry ingredients and mix until just combined. Pour batter into prepared pan and sprinkle top with chocolate chips. Bake 45-55 minutes or until a toothpick inserted near the center comes out with moist crumbs. Do not overbake. Cool completely before cutting and serving.


Tuesday, September 12, 2017

Brown Butter Cinnamon Crinkles

Brown Butter Cinnamon Crinkles - made dough August 19, 2017, adapted from Cookies and Cups
Is there anything better than browned butter? Probably but I can’t think of what that would be right now. Butter itself is the nectar of the gods. It powers all baked goods worth eating. Browned butter? A whole ‘nother level.

So I was predisposed to like this recipe for Brown Butter Cinnamon Crinkles from Cookies and Cups. It’s a fairly simple vanilla-butter-cinnamon cookie. The added little something-something was to roll the dough balls in powdered sugar before baking. Think of them as the vanilla version of chocolate crinkles. Because you roll them in powdered sugar before baking, they don’t quite have the velvety, melt-in-your-mouth texture that marks the typical Mexican Wedding Cake or the Buttery Tea Balls I like to make.
They tasted good though so I’m not quibbling. I advocate baking these just long enough to let the “crinkles” appear, meaning the cookies are no longer the smooth dough balls they started out as but have spread (slightly) and show the cracks in the powdered sugar coating. You also don’t want to roll the dough balls into the powdered sugar until right before you put these into the oven. Otherwise, the powdered sugar will just melt into the moistness of the dough.
When just the slightest bit underbaked, these have a great texture. If it had been a chocolate crinkle, I would’ve called it fudgelike. Since they were vanilla, maybe vanilla-fudge-like? Either way, they were delicious. If you want to amp up the cinnamon flavor, add a teaspoon of cinnamon to the powdered sugar before you roll the cookie dough balls in it. And I will again put in a plug for Penzey’s Vietnamese Cinnamon. Not affiliated with them but they have the best cinnamon ever. It’s the only one I ever use now.
10 tablespoons butter, melted and browned
2 1/2 cups all-purpose flour
1 teaspoon baking powder
1 teaspoon ground cinnamon
1/2 teaspoon salt
1 cup granulated sugar
1/4 cup dark brown sugar
2 eggs
1 teaspoon vanilla extract
1/2 cup confectioners' sugar
  1. Combine flour, baking powder, cinnamon and salt; set aside.
  2. Mix together granulated and brown sugars in the bowl of a standing electric mixer. Pour in cooled melted butter and mix to combine. Add eggs, one at a time, mixing briefly after each addition. Add vanilla extract and mix until smooth.
  3. On low speed, add flour mixture, mixing until just combined. Cover and chill for at least 1 hour.
  4. Portion into dough balls, cover and chill or freeze overnight or several hours.
  5. When ready to bake, preheat oven to 350 degrees F. Line baking sheets with parchment paper.
  6. Place confectioners' sugar in small shallow bowl. Roll dough balls in confectioners' sugar and evenly space on lined baking sheets. Bake 10-12 minutes or until cookies are set.


Saturday, September 9, 2017

Hunka Hunka Triple Chocolate Cookies

Hunka Hunka Triple Chocolate Cookies - made dough August 19, 2017, adapted from Modern Honey
This is one of those recipes where I wonder if I did something wrong because I couldn’t replicate how the cookies looked on Modern Honey, the original blog where the recipe came from. I followed the mixing directions exactly and that’s where I wonder if I shouldn’t have. The directions say to start with cold butter and cream the butter and sugar for 4 minutes. I started with cold butter and I creamed the butter and sugar for 4 minutes.
But I rarely ever cream ingredients that long for cookies. Cakes, yes, to aerate the batter. But I don’t want airy cookies, especially not chocolate ones. But the main reason I don’t normally cream butter that long is it softens and warms it up too much, even though I started with right-out-of-the-fridge cold butter. That’s because I use a KitchenAid stand mixer and it easily creams butter in a minute or less. Four minutes might be fine if you’re using a hand mixer since they’re not as powerful as a stand mixer. For a stand mixer, beating butter for four minutes turned out to be too long.

I could tell the butter had warmed up because the dough was soft when I finished mixing it. I had to chill it briefly before I could form it into thick discs. That’s not a good sign. And sure enough, when I baked it, it spread like a normal cookie instead of staying almost as thick as the disc I had shaped it in. The texture itself was okay, not too light or cakey but definitely not as densely fudgy as the pictures on Modern Honey’s blog had led me to hope.
I will have to try these again but next time, I won’t beat the butter and sugar for so long. A minute should do the trick. You only want to beat just long enough to get rid of obvious butter lumps. The rest will smooth out as you beat in the rest of the ingredients.
1 cup cold butter
1 3/4 cups granulated sugar
2 eggs
2 teaspoons vanilla
2 1/4 cups all-purpose flour
1/2 cup cocoa powder, measured then sifted
1 teaspoon baking powder
1/4 teaspoon salt
1 cup semisweet chocolate chips
1 cup milk chocolate chips
1 cup white chocolate chips
  1. Cream butter and sugar together for 4 minutes (I recommend 1-2 minutes). Add eggs, one at a time, mixing just until combined with each addition. Mix in vanilla.
  2. Sift together flour, cocoa powder, baking powder and salt. Add to butter-sugar mixture in 3 additions, mixing until just combined. Do not overmix.
  3. Fold in chocolate chips. If dough is soft, chill for 30 minutes to firm up before dividing into dough balls.
  4. Portion dough into golf-ball size dough balls and flatten slightly into thick discs. Cover and chill or freeze for several hours or overnight.
  5. Preheat oven to 360 degrees F. Line baking sheets with parchment paper. Arrange dough discs evenly and bake cookies for 10-14 minutes. Remove to wire cooling racks.

Wednesday, September 6, 2017

Cilantro Lime Shrimp

Cilantro Lime Shrimp - made August 14, 2017 from Rasa Malaysia
My favorite flavor combination for seafood is lime and cilantro. I first discovered it when my uncle, an avid fisherman, grilled a 10-lb trout he had caught and seasoned/stuffed it with this lime and cilantro combination that was to die for. Seriously.

Prior to this revelation, for savory foods, I liked a soy sauce, honey and lemon mixture to marinate and cook seafood in. But that got booted in favor of the lime-cilantro flavor profile.
I couldn’t find limes at the farmers’ market (they only had lemons) but I did score a bunch of cilantro there. I bought several limes the next day to make for this quick and easy shrimp stir fry. It was delicious. I know a lot of people don’t care for cilantro and without the lime, I’m agnostic about it. But add the lime? I’m there.
1 pound jumbo shrimp, peeled and deveined
1/4 teaspoon salt
big pinch of cayenne pepper
2 tablespoons olive oil
4 cloves garlic, minced
3 tablespoons chopped cilantro
1 tablespoon unsalted butter
2 tablespoons lime juice
fresh lime wedges
  1. Season the shrimp with salt and cayenne pepper.
  2. Heat a cast-iron skillet, add the olive oil and garlic; saute lightly before adding the shrimp. Stir and cook until the shrimp is half-cooked. Add the cilantro and butter; stir to combine well with the shrimp.
  3. Add the lime juice and continue to cook the shrimp. Turn off the heat when the lime juice dries up and the shrimp is cooked. Serve immediately with fresh lime wedges.


Sunday, September 3, 2017

Jumbo Chocolate Chip Cookies

Jumbo Chocolate Chip Cookies - made dough August 6, 2017 from Center Cut Cook
It’s ironic that the last chocolate chip cookie recipe I tried was a Levain Bakery copycat but it didn’t look or taste like Levain Bakery but this one, simply and honestly billed as a Jumbo Chocolate Chip Cookie and wasn’t trying to be a Levain Bakery copycat, came closer to being one.

Since it was supposed to be jumbo, I did make the taste test cookie as a jumbo. I portioned out a half-cup measure of cookie dough and made it into a high, round, thick disc. It was practically the size of a biscuit. When making large cookies, I prefer to make the dough into disc shapes rather than round balls. If you make them as golf balls rather than discs, during baking, the ends will spread thinner while the middle remains rounded. Which in most cases is fine but it does mean your edges are likely to bake faster than your middle and your edges will be thinner. Depending on how big you made the dough ball, you could end up with a raw middle and overbaked edges in the same cookie.

I prefer a little more uniformity so I go the disc route. The cookies spread less, remain thick at the edges and the cookie tends to bake more evenly, even if not perfectly uniformly. In this case, the taste test cookie was so thick (I wasn’t messing around) that it didn’t spread very much and the middle was still domed by the time I took it out. If I had left it in to bake longer, I’m sure it would’ve spread to a more even thickness but you know me and my preference for underbaked cookies.
Consequently, when I cut it in half, it almost looked like a Levain Bakery copycat in terms of its size and texture. Cool. The outside didn’t have the same crust as a Levain cookie but that was okay. This was still a great cookie. I could’ve baked it a trifle longer as the thickest part of the cookie was a bit more cookie-dough-like than I prefer (I’m not a fan of cookie dough) but still, at room temperature, this has great texture. You do want it to cool completely or else it’ll be too mushy.
I only made the jumbo size for the taste test cookie. I made the rest of the dough into normal size cookies since I was giving them away at work. As non-jumbo cookies, these spread to a nice uniform thickness. I didn’t try any of the regular-sized ones since I had eaten the jumbo (yes, all of it) but these disappeared at work faster than usual so I assume they came out okay, even at a more modest size.
2 1/4 cups flour
2 teaspoons cornstarch
1 teaspoon baking soda
1/2 teaspoon salt
3/4 cup butter
3/4 cup brown sugar
1/2 cup granulated sugar
1 egg
1 teaspoon vanilla
1 1/2 cups chocolate chips
  1. In a medium-size bowl, whisk together flour, cornstarch, baking soda and salt; set aside.
  2. In the bowl of a stand mixer fitted with the paddle attachment, cream together butter, brown sugar and granulated sugar until well combined. Add egg and vanilla and mix until just combined.
  3. Add dry ingredients and mix until just combined. Fold in chocolate chips.
  4. Scoop dough into 1/2 cup portion and form into thick discs. Cover and chill or freeze for several hours or overnight.
  5. When ready to bake, preheat oven to 350 degrees F and line baking sheets with parchment paper. Evenly space 3 frozen cookie discs onto each sheet and bake for 17-19 minutes, until edges are golden brown and middles are no longer raw. Remove from oven and let cookies cool on baking sheet for 5 minutes before removing to wire rack to cool completely.