Copycat Red Velvet Oreos - made dough October 27, 2023 from Dixie Crystals
Cookies
1/2 cup unsalted butter, softened
1/2 cup powdered sugar
1/2 teaspoon vanilla extract
pinch of salt
1 cup all-purpose flour
2 tablespoons cocoa powder
red gel food coloring
Filling
1/4 cup unsalted butter, softened
1/4 cup shortening
1/2 teaspoon vanilla extract
1 3/4 cups powdered sugar
- In the bowl of a stand mixer fitted with the paddle attachment, beat together butter and powdered sugar until well combined and creamy, 2-3 minutes. Add vanilla extract and salt; mix until combined. Add a drop of red food coloring and mix to combine.
- In a separate bowl, whisk together flour and cocoa powder. Add to butter mixture in 2 additions, mixing on low speed. Add red food coloring, drop by drop, mixing on low speed, until desired uniform colored is achieved.
- Divide dough in half and roll each half between two sheets of parchment to 1/4" thickness. Wrap in plastic wrap and chill for at least 30 minutes.
- When ready to bake, preheat oven to 350 degrees F. Line baking sheets with parchment paper.
- Remove chilled dough from refrigerator, stamp or roll with embossed rolling pin and cut into small rounds with a round cookie cutter.
- Evenly space round, stamped cookies on the baking sheets. Bake 12 minutes. Remove from oven and let rest on baking sheet for 5 minutes then transfer cookies to wire rack to cool completely.
- Make the filling: Cream together butter and shortening until uniform and well combined. Add vanilla and mix to combine. Add powdered sugar in 2-3 additions, beating after each addition until combined.
- Place filling in piping bag fitted with icing tip #10 and pipe onto the bottoms of half the completely cooled cookies. Top with remaining cookies.
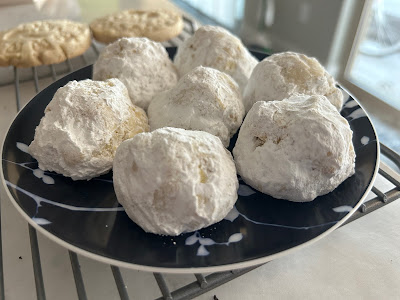
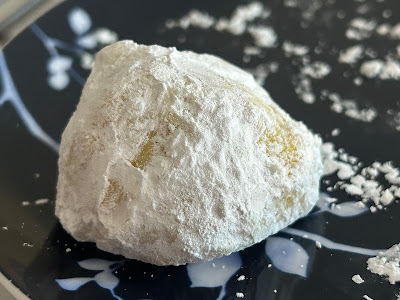
What I did have was pretty good. Although I didn't make the filling from the original recipe that I've included here. I had some cream cheese frosting left from a banana cake I made for a local get together so I used that instead. I'm less impressed with how well the dough held the stamped impressions though. It's hard to tell from the pictures but this dough seems more suited for stamps with larger impressions and not finer details like lettering. I'll have to try this recipe again with different stamps. These were a test run for a Christmas cookie exchange I'm hosting in December and I didn't have a chance to take more pictures before I gave them away to the employees of a local nonprofit. Another reason to try them again.


