Wednesday, October 8, 2014

Brookies

Brookies - made dough September 27, 2014 from Mel's Kitchen Cafe
Despite the cutesy name, I do think this is a brilliant concept. Technically I suppose you can consider it a half chocolate/half chocolate chip cookie but it’s meant to be half brownie + half cookie = brookie so you can get the cutesy name. We’ll run with that.
These take a bit more time to prepare since you’re essentially making two cookie doughs but both are easy to make so don’t let that put you off. The key to a cookie like this is that both doughs should have similar textures so you don’t have one runny batter-like dough and one firm dough. Otherwise they’ll bake up wonky. Imagine the runny dough spreading like a puddle while the other kept its shape and yet they’re supposed to be one cookie.

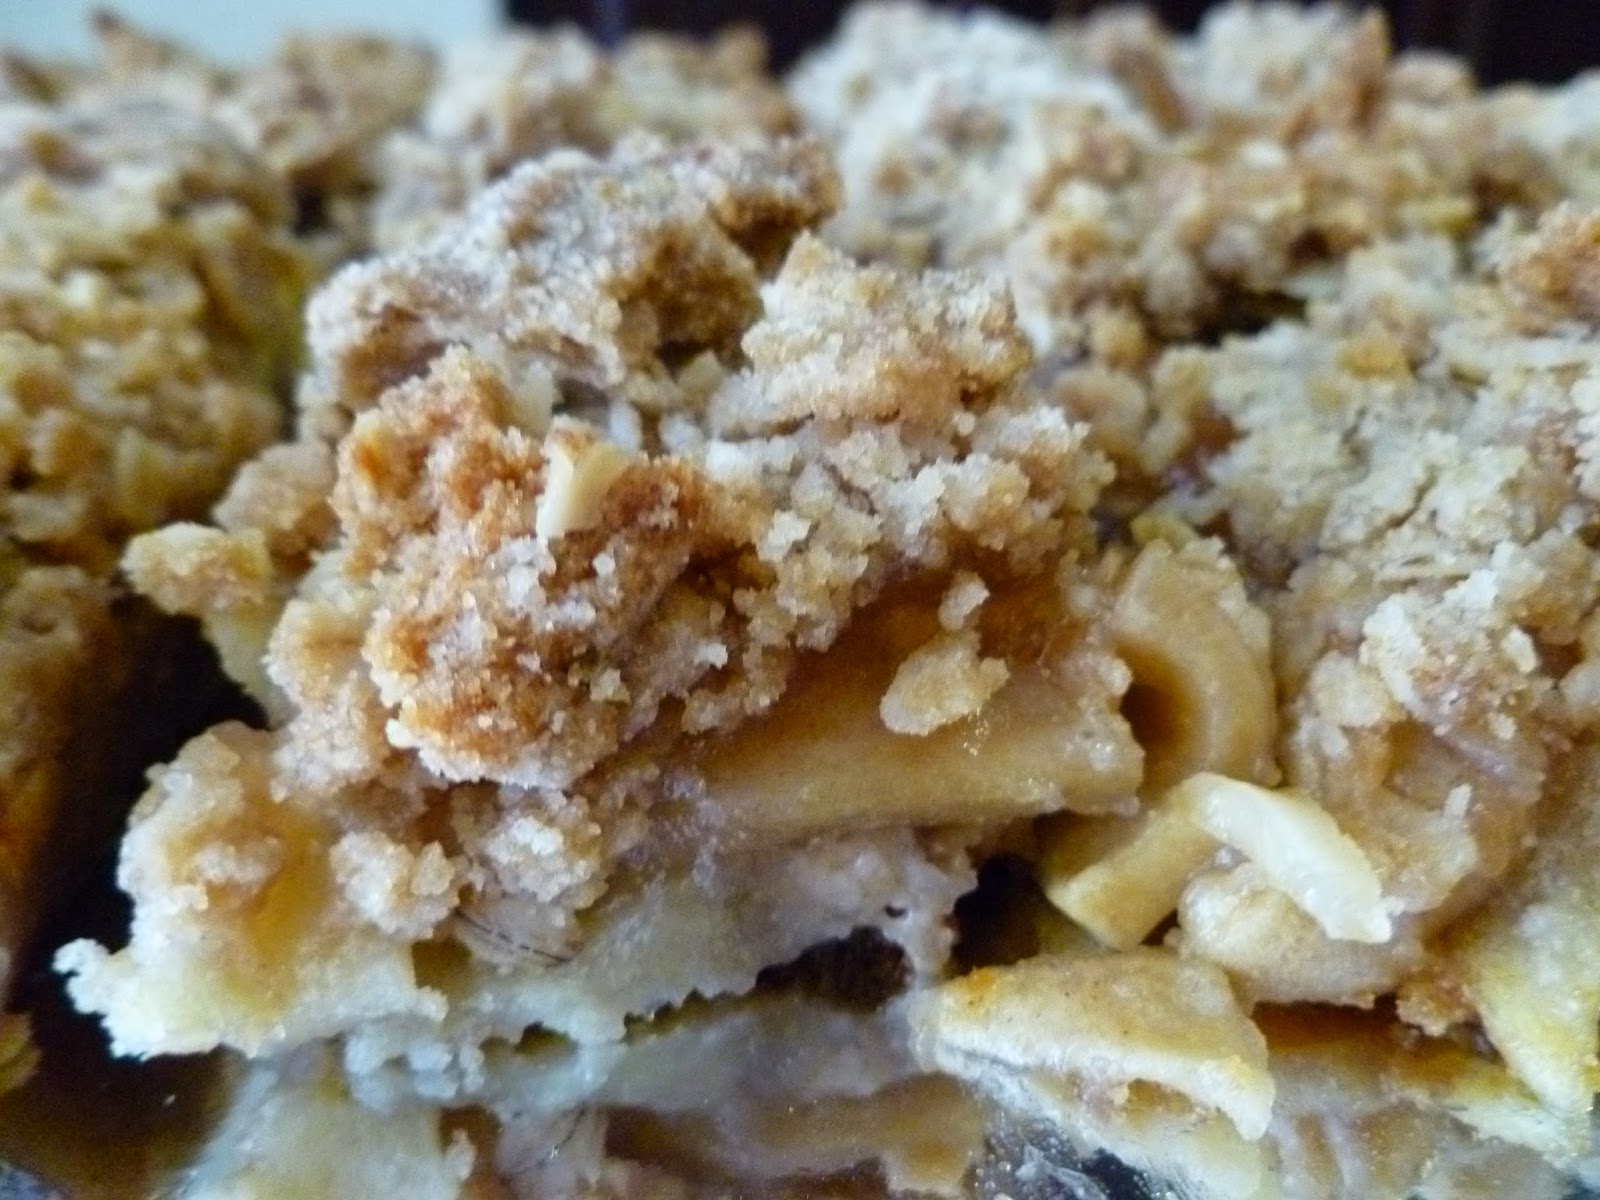
Fortunately, this cookie didn’t have that problem with either dough. Not surprising since the ingredients were similar in proportion of wet to dry ingredients. I do advocate making the chocolate dough first and letting it chill while you do the chocolate chip dough just to make sure it firms up enough to handle. You don’t want your butter too soft either. I took mine directly from the fridge and just beat it into submission with my Kitchen Aid. If your butter is too soft, your cookie dough(s) will be too soft and greasy.
Once you have both doughs, scoop equal parts from each dough and squish together. Yes, that’s the technical term: squish. They’ll adhere pretty easily so no need to roll into a perfect ball once the two halves join. Just squish. Chill or freeze before you bake them or store in freezer bags for baking later on.

The only drawback is these did spread. Fortunately they spread about the same so they actually turned out looking the way they were supposed to, er, more or less. Unfortunately they spread a tad more than I like my cookies to spread. They weren’t super thin but they weren’t chubby chunkies either. A less picky person would be okay with that. (Deafening silence as we let that soak into the air.) But you know me (end silence). However, taste-wise these were good cookies. The chocolate “brownie” half was good pure chocolate and the chocolate chip cookie was a delicious chocolate chip cookie. Because of my tinkering ways however, you just know I’m going to take this brookie concept and apply it to a brownie-cookie and a chocolate chip cookie that aren’t going to spread as much. Because we want chubby brookies. 
Brownie Dough
10 tablespoons butter, softened
2/3 cup lightly packed brown sugar (5 ounces)
2/3 cup granulated sugar (5 ounces)
1 large egg
1 large egg yolk
1 teaspoon vanilla extract
1 1/4 cups plus 3 tablespoons flour (7.25 ounces)
1/2 cup unsweetened natural cocoa powder (1.5 ounces)
1 teaspoon baking soda
1/4 teaspoon salt

Chocolate Chip Cookie Dough
10 tablespoons butter, softened
2/3 cup granulated sugar (5 ounces)
2/3 cup light brown sugar (5 ounces)
1 teaspoon vanilla
1 large egg
1 large egg yolk
2 cups plus 2 tablespoons all-purpose flour (about 10.75 ounces)
1 teaspoon baking soda
1/4 teaspoon salt
1 1/4 cup chocolate chips (mini size preferred)


  1. Preheat the oven to 350 degrees F. Line baking sheets with silpat liners or parchment paper. Set aside.
  2. For the brownie cookie batter, in a medium bowl with a handheld electric mixer (or in the bowl of an electric stand mixer), beat the butter, granulated sugar and brown sugar together until smooth and creamy, 1-2 minutes. Add the egg, yolk and vanilla and beat the mixture for 2-3 minutes until light in color.
  3. In a separate small bowl, whisk together the flour, cocoa, soda and salt. Add the dry ingredients to the batter and mix until combined. Cover and refrigerate while making the chocolate chip cookie batter.
  4. For the chocolate chip cookie batter, in the bowl of an electric stand mixer or with a handheld electric mixer, cream together the butter, granulated sugar, and brown sugar until smooth, 1-2 minutes.
  5. Blend in the egg, egg yolk and vanilla, mixing for 2-3 minutes until the batter is very light in color. In a separate small bowl (you can use the same one as the brownie batter dry ingredients), whisk together the flour, baking soda, and salt. Add the dry ingredients to the batter with the chocolate chips and mix until no dry streaks remain and the chocolate chips are evenly distributed.
  6. Portion both sets of dough into about 4 dozen equal pieces; they will be small teaspoon or so sized balls (if you want to be super precise, I weigh about .5 ounce balls for the brownie batter and .65 ounce balls for the chocolate chip cookie batter).
  7. Grabbing one chocolate chip cookie ball and one brownie batter ball, press them together and use your hands to gently form into a cookie shape, flattening and turning to smooth the edges and form a flattish but still thick cookie shape; they'll spread out while baking. See the simple picture tutorial below the recipe, if needed.
  8. Bake the cookies on the prepared baking sheets for 8-10 minutes. Don't overbake or they will be dry and crunchy - underbake just slightly for a soft, chewy texture. It's ok if the chocolate side crackles just a bit. Remove from the oven and let the cookies cool on the pan for 1-2 minutes before scooping onto a cooling rack to cool completely.


Tuesday, October 7, 2014

Restaurant Review: Isla (Filipino food)

Isla - lunch on September 28, 2014
When my cousins were here for my dad’s birthday party a couple of weeks ago, they went the next day to a Filipino restaurant called Isla. Neither my parents nor I had ever heard of it but, on my cousins’ recommendations, we decided to try it for lunch after church a week later. There aren’t that many Filipino restaurants where my parents live, at least not many we know about or seek out, except for Tribu. Isla was closer to our church and, ironically, within walking distance of the restaurant where we had my dad’s party.
The restaurant is quite large and was structured to accommodate large groups of people as most of the round tables were set for 8-10 people. There are only a few 4-toppers and we were seated at one of those. Their menu held a lot of classic Filipino dishes and their prices were mostly in the $8-12 range. Isla offers unlimited free rice (“rice-y” Asians will appreciate this) and other specials such as if you buy more than $50 worth of entrees, you get some kind of freebie, either a discount or an appetizer, I think. Sorry, I forgot what it was.
We ordered the fried lumpia appetizer (always have to try the lumpia at a new Filipino restaurant) - $7.95 for 20 pieces. The pieces were a bit small compared to my mom’s. Before I go further, just accept that I will always compare any Filipino food not cooked by my mom to my mom’s cooking. It’s just the way of the universe. And probably one reason we don’t eat at Filipino restaurants very much because they’re often not as good as my mom’s cooking. Truth.
Lumpia
My dad got the “bangsilog” which is shorthand for “bangus” (milk fish) and “itlog” which is the Tagalog word for egg. All such “-ilog” dishes come with rice so think of them as a Filipino rice plate. With fried egg. If you want the egg scrambled, you have to let your server know when you order. Otherwise it’ll come sunny side up. My mom and I went with the pancit palabok (noodle dish) and pork BBQ. In Filipino-speak, it isn’t “BBQ Pork” or “BBQ Chicken” – the bbq comes at the end. Don’t ask me why. I just accept it.
Bangsilog
The pancit was, almost inevitably, not as good as my mom’s. The sauce was just okay and I didn’t like the noodles they used. I didn’t like the texture (a bit coarse) and the sauce didn’t make up for it. The Pork BBQ however was delicious. Great flavor, really tender and not too much fat. Not dry as pork dishes sometimes are. I could’ve wished for a little more sauce/marinade but only because it was so good and I wanted to moisten my rice more with it so that was wishing for more in a complimentary greedy sort of way. It was good and something I’d get again next time I go there.
Pancit Palabok
Pork Barbecue
Service was a bit sketchy as the servers were busy and rushed around too fast, making it difficult to catch their eye but they were nice and when we did manage to snag their attention, they were very helpful. Both my mom and I liked the “caldero” or little pot the rice came in. The authentic and larger version is the type of pot old-school Filipinos would’ve made rice in over an open flame. None of that rice cooker business. My grandmother would’ve used something like that so it gave me a pang of nostalgia.
It was also a good sign that most of the patrons while we were there were Filipino – that’s how you know it’s good. I’d go back again; they’ve got reasonable prices and yeah, that Pork BBQ has my name on it.

Sunday, October 5, 2014

Baked Pumpkin Doughnuts

Baked Pumpkin Doughnuts - made September 27, 2014 from Eat, Drink, Love
Remember how I said I wasn’t a doughnut person and yet I still bought a doughnut pan to bake doughnuts in? And how I used it once to try out a recipe? Have you heard me talk about doughnuts since then? Probably not. Mostly because I haven’t actually made doughnuts since then so I’ve had those doughnut pans sitting in the cupboard, neglected and reproachful. “Hey, you bought me. Dust me off and use me.” Every once in a while, I listen to my baking pans. Especially when their voices combine with the shrieks from the recipes on my pinboard, “Try me! Why’d you pin us if you weren’t going to use us? Are we just decorating your cyber space here??” Good questions – all of them.
To stop those voices in my head, I shut them all up by trying out this recipe for baked pumpkin doughnuts. We’re still having Indian summer weather but it’s October so I’m pretending it’s fall. Which means pumpkin stuff. Mostly because I wanted to use up the leftover pumpkin puree from the Glazed Pumpkin Sugar Cookies I’d made before.

Baked doughnuts almost always have the texture of cake doughnuts rather than yeasted doughnuts. Which makes sense since you’re baking them like a cake rather than frying them. Healthier for you but it’s a small round cake with a hole in the middle, just to set your expectations. I liked these doughnuts in that they were cakey and the melted butter/cinnamon-sugar coating just made the doughnut. Honestly, the doughnut was just the vehicle to get the butter-cinnamon-sugar into your mouth. Pumpkin doesn’t have a strong flavor so these may be a bit bland if you don’t do the coating but why would you leave it out? These would also be good glazed with some royal icing (confectioners’ sugar, vanilla extract and milk).
Similar to cakes, these doughnuts are best served fresh the day they’re made. If you’re not going to serve them right away, don’t coat them at all; just wrap them individually in plastic wrap, place in a freezer bag and freeze them. When you’re ready to serve them, let them thaw, refresh them slightly by heating in the microwave or oven then dip them in melted butter and roll them in cinnamon sugar or skip the butter and just glaze them.
1 3/4 cups all-purpose flour
2 teaspoons baking powder
1/2 teaspooon salt
1/2 teaspoon cinnamon
1/2 teaspoon nutmeg
1/2 teaspoon allspice
1/8 teaspoon ground cloves
1/3 cup butter-flavored olive oil (I used regular)
1/2 cup light brown sugar
1 large egg
1 teaspoon vanilla extract
3/4 cup pumpkin puree
1/2 cup milk

Cinnamon Sugar Coating
6-7 tablespoons unsalted butter, melted
2/3 cup sugar
2 tablespoons ground cinnamon
  1. Preheat oven to 350 degrees F. Spray a doughnut pan with non-stick spray.
  2. In a mixing bowl, stir together the flour, baking powder, salt, cinnamon, nutmeg, allspice, and cloves.
  3. In a separate, larger bowl, stir together oil, brown sugar, egg, vanilla, pumpkin and milk until smooth.
  4. Add dry ingredients in with the wet ingredients and mix until just combined, being careful not to overmix. Spoon the batter into each cavity of the pan. Bake for about 10-15 minutes or until a toothpick inserted comes out clean. 
  5. For cinnamon sugar coating, melt about 6-7 tablespoons of butter. In a separate bowl, stir together about 2/3 cup sugar and 2 tablespoons of cinnamon. Dip each doughnut into the butter until completely coated and then dip into the cinnamon and sugar. Repeat with each doughnut.

Saturday, October 4, 2014

Soft Peanut Butter White Chocolate Chip Cookies

Soft Peanut Butter White Chocolate Chip Cookies - made dough September 7, 2014 from Cookies and Cups
I normally pair peanut butter with semisweet or milk chocolate – and fine combinations those are too. This is a different twist with white chocolate instead. Both these flavors I’m just so-so about but figured I would go for it since I share what I bake anyway and I can’t always bake for what only I love. Well, I could but let’s try to be a little less selfish with this recipe.


It’s actually a pretty good peanut butter cookie. I made them on the small side and baked them from frozen dough. They didn’t spread much either which was a point in their favor. Although semisweet or milk chocolate pairs well with peanut butter and complements it, I thought the white chocolate chips enhanced the peanut butter flavor. It didn’t compete with the peanut butter so much as make a nice backdrop for it. So if you want a quick, easy peanut butter cookie recipe, kick the tires on this one and let me know what you think.
Oh and you will only get this "fudgy" texture that you see here if you don't overbake it. Did that even need to be said?
1 cup light brown sugar
1/2 cup butter, melted and cooled slightly
1 egg
2 Tbsp milk
1 Tbsp vanilla
3/4 cup creamy peanut butter
1/2 tsp salt
1/2 tsp baking soda
2 cups flour
1 1/2 cups white chocolate chips


  1. Preheat oven to 350°
  2. Line a baking sheet with parchment paper and set aside.
  3. In bowl of stand mixer combine all the ingredients except flour and white chocolate chips.
  4. Beat mixture on medium speed for 2 minutes, scraping sides as needed.
  5. Mix in flour until combined and finally stir in white chocolate chips.
  6. Using cookie scoop or large spoon place dough 2 inches apart on baking sheet. If you prefer not as tall of a cookie, press dough down slightly, as cookies will not spread when baking.
  7. Bake for 9-10 minutes until bottoms have just set. Do not overbake, cookies will still be soft on the inside.
  8. Allow to cool on a wire rack.

Friday, October 3, 2014

Restaurant Review: Three Seasons

Three Seasons - dinner on September 16, 2014
As part of the second conference I was at a few weeks ago, we had team dinners following food truck night. The conference attendees were split up into groups of 10-15 and assigned different restaurants nearby.
I thought that was a brilliant idea because it gave us a chance to get to know a smaller subset of people much better. I was lucky enough to be in a group where I already knew a couple of people but the others were either complete strangers or people I barely knew. So it was a good opportunity to have real conversations to get to know people. Which I prefer as, despite my indoctrination in business school, surface schmoozing isn't my strength. Actual conversations beyond the weather and how long each of us has worked at the company is much more meaningful.
Even better, I had been to Three Seasons previously but only once before and with that size group, I could safely recommend a couple of favorites I had tried and still partake of the other dishes I'd never had so I could try something new.
Three Seasons is Vietnamese fusion, similar to Tamarine, although I have to give Tamarine the edge for good food. Still, Three Seasons is also good, particularly their shaking beef and garlic noodles with prawns. Those were my favorites that I begged recommended the group try.
Chicken Satay appetizer
Shaking Beef
Curry Chicken
The Curry Chicken was something I hadn't had before but it ended up being a third favorite to add to my list. I normally don't eat a lot of curry as the flavor can be too strong for me but this was a good balance, not too much curry but pretty tasty.
Garlic Noodles with Prawns
Fried Rice
I didn't try all of the dishes since I was saving room (you can guess for what) but I snapped pictures of them all. Since I was dining with relative strangers who didn't know my penchant for taking photos of every edible thing that hit the table, they were remarkably forbearing and humored me, which I appreciated.
A veggie dish I didn't eat
Lamb Chops
Fried Snapper
But let's cut to the chase and get to dessert. My tablemates were "full" but fortunately I found a few kindred spirits who were game for dessert. With their input, we ordered the banana egg rolls and the molten chocolate cake.
Banana Egg Rolls
The banana egg rolls were a little more anemic thinner than I expected and you definitely should eat these a little warm while they had some crunch. I like the concept of them but I would've made them fatter. It was almost like eating a puffy french fry whereas I had been hoping for something more spring roll-sized. Still, it's hard to go wrong with fried caramelized bananas with caramel, chocolate sauce and ice cream.
Molten Chocolate Cake

You can go even less wrong with molten chocolate cake. I know they're very commonplace in restaurants now and have been for some time. Long enough that food snobs probably look askance at them. But, while I am a dessert snob, I never want to be so snooty that I would yawn over warm chocolate cake with a liquid center. With ice cream. C'mon, there's no place for that kind of snobbery here.

Wednesday, October 1, 2014

Soft Glazed Pumpkin Sugar Cookies

Soft Glazed Pumpkin Sugar Cookies - made September 21, 2014 from Lauren's Latest
I made these for a potluck after church the day after my dad's birthday party. I had baked a lot for the party but held back this batch of cookie dough to bake the morning of the potluck. I knew after my dad's party I would be pretty wiped out and likely not in the mood to bake. Yes, those times do happen but once those 5 minutes have passed, I like to be ready to turn the oven on and get going.
These didn't spread much so you want to flatten the cookie dough into thick discs once you portion them out and before you freeze the dough. The dough itself is a bit soft so I layered them between sheets of wax paper before I froze them.
I admit I overbaked the first batch by a minute or so - see how cakey the picture below looks? It wasn't dry but I prefer my cookies a little more moist. Fortunately the glaze helped. So I underbaked the next batch by a couple of minutes and was happier with the result. This is a cookie you don't want to overbake but you also don't want to underbake too much or else it'll be doughy.
Flavor-wise, this didn't not have a strong pumpkin flavor. If you want to amp up the spices, you could try increasing the pumpkin pie spice or adding cinnamon or nutmeg. I did find it a little bland so don't skip the glaze as that helps sweeten the cookie.
Baked properly, a bit more moist, dense and chewy rather than cakey
1/2 cup softened butter
1/2 cup vegetable oil
1/2 cup pumpkin puree {canned pumpkin}
1 cup granulated sugar
1/2 cup powdered sugar
1/2 teaspoon vanilla
2 large eggs
4 cups all purpose flour
1/4 teaspoon baking soda
1/4 teaspoon cream of tartar
1/2 teaspoon salt
1/2 teaspoon pumpkin pie spice

Glaze 
3 cups powdered sugar
4 tablespoons water
1/4 teaspoon pumpkin pie spice
  1. Preheat oven to 350 degrees. Line a baking sheet with parchment paper and set aside.
  2. In a large bowl, stir butter, oil, pumpkin, sugars, vanilla and eggs together until incorporated and smooth. 
  3. Slowly mix in all dry ingredients until completely incorporated. 
  4. Scoop onto prepared baking sheet using 1 1/2 tablespoon scoop and flatten to 1/2 inch thick using the bottom of a glass. If the dough is sticking to the glass, press the bottom of the glass in granulated sugar before flattening. Bake 8-9 minutes.
  5. While cookies bake, stir all ingredients together for glaze until smooth.
  6. Once cookies are finished baking, cool 3 minutes on baking sheet before transferring to cooling rack. Spread 1 1/2 teaspoons glaze over each warm cookie. Let glaze harden 2-3 hours before serving. 

Tuesday, September 30, 2014

Spiced Apple Caramel Crumble Bars

Spiced Apple Caramel Crumble Bars - made September 19, 2014 from The Comfort of Cooking
This is one of the bar cookies I made for my dad's birthday party. For the life of me, I couldn't get a picture of them as good as the ones from The Comfort of Cooking so please click on the title of this post to go directly to their blog and their pictures. Theirs look much better than mine.
This is one of those bar cookies that need to be eaten with a fork or else made and served in a cobbler dish or in ramekins. Then you can make them more like apple cobbler or apple crisp. I went for the bar version and they came out a little more delicate than I had anticipated.
For more sturdiness, I recommend you make the bottom crust a bit thicker (so use 1/2 to 2/3 of the crumb mixture for the bottom layer) and perhaps even pre-bake it for 10-15 minutes to give it a head start. Or you can make as is below and just accept the bottom layer will be soft.
I did like the apples and the thickened sugar syrup poured over them before baking. You know that thickened mixture of apple juices when you bake an apple pie? It's like that but without relying on the apples to bake in their own juice. The extra "sauce" gives them an extra boost. These were pretty delicious, especially as a fall dessert. At my dad's party, my parents' friends liked it. I'm going to assume they thought it "wasn't too sweet".
3 cups all-purpose flour
1 1/2 cups old-fashioned oats
1 1/2 cups packed light brown sugar
1/4 teaspoon baking soda
1/2 teaspoon salt
1 1/4 cups cold butter, divided
5 cups (4-5 medium) peeled, diced apples
1 cup granulated sugar
3 tablespoons cornstarch
1 cup cold water
1 teaspoon vanilla extract
1/2 teaspoon ground cinnamon
1/8 teaspoon (pinch) ground nutmeg
  1. Preheat oven to 350 degrees F. Line a 13 x 9-inch baking dish with foil and spray lightly with nonstick cooking spray.
  2. In a large bowl, combine flour, oats, brown sugar, baking soda and salt. Cut in 1 cup plus 2 tablespoons butter until mixture resembles coarse crumbs. Set aside 2 cups for topping.
  3. Press remaining crumbs into prepared baking dish. Evenly arrange apples over top.
  4. In a small saucepan, combine sugar, cornstarch, water, vanilla, cinnamon, nutmeg and remaining 2 tablespoons butter. Bring to a boil. Cook and stir for 2 minutes or until thick and bubbly; spread over apples. Sprinkle with reserved crumbs. For large "crumbs", squeeze into clumps and sprinkle on top without breaking them.
  5. Bake for 35-45 minutes, or until top is lightly browned. Let bars cool completely before cutting.